

Think about apps like Gallery – those grids of thumbnails showcasing your photos and videos. This is a prime example of GridView in action. GridView isn’t limited to just gallery apps; it’s a versatile tool that can enhance the visual presentation of various data items in a grid format, making it useful for a variety of applications.
In this article, we’ll explore the significance of GridView, how it can be utilized in different contexts, and provide a step-by-step guide to implementing it in Android Studio. Whether you’re looking to create a sleek photo gallery or organize other types of content, understanding GridView is a valuable skill for any Android developer.
What is an Android GridView?
Android GridView is a well-known way of representing data items. Whenever you require something like a table, then you can use GridView. GridView is a two-dimension view where you have both rows and columns to hold data items. Below is a pictorial representation of how a GridView looks.
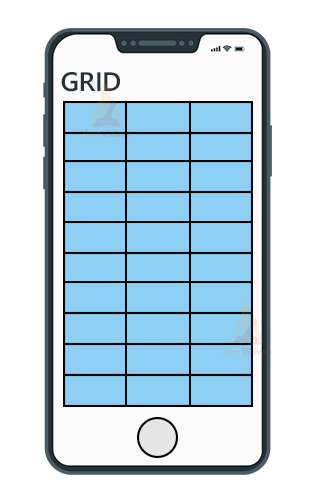
GridView is auto-scrollable. You need not use any ScrollView or NestedScrollView to make the grid scrollable. Whenever there are more items in the grid, you can scroll the grid without using any other view.
How to create a GridView in Android
Creating a GridView involves two steps. Firstly, you need to design the GridView in the layout by using the <GridView> tags. Secondly, you need to insert data items into the grid. You need to use the Android Adapter. Android Adapter helps in getting the content from the data source and then dump into the GridView.
Below is an example of how you can create a GridView in Android.
XML Code:
<GridView
        android:background="@color/white"
        android:id="@+id/food_grid_view"
        android:layout_width="match_parent"
        android:layout_height="match_parent"
        android:numColumns="2"
        android:horizontalSpacing="10dp"
        android:verticalSpacing="10dp"
        android:layout_margin="10dp"/>
Kotlin Code to attach the adapter:
//creating the object of the Adapter and passing data and context
 val foodAdapter = FoodAdapter(this@MainActivity, foodImages)

 //setting the adapter to our GridView
 foodGridView.adapter = foodAdapter
Attributes in Android GridView
The attributes present in the GridView are set properties that are applied to a GridView to style it and add more functionalities to it. Some of the prevalent attributes in GridView are mentioned below.
| Attribute Name | Description |
| android:id | The “id” attribute of the GridView is used to identify the view in a pool of many views uniquely. |
| android:horizontalSpacing | The “horizontalSpacing” attribute of GridView is used to provide a distance between the columns. |
| android:verticalSpacing | The “verticalSpacing” attribute of GridView is used to provide a distance between the rows. |
| android:gravity | The “gravity” attribute of the GridView is used to align the grid to the left, right, centre areas. |
| android:numColumns | The “numColumns” is used to set the count of columns you need in the GridView. |
| android:height | The “height” attribute is used to set the height of your GridView. |
| android:width | The “width” attribute is used to set the width of your GridView. |
| android:stretchMode | The “stretchMode” is usually used to fill the space caused by extra data elements. |
| android:columnWidth | The “columnWidth” is used to set the width of each of the columns of the grid. |
Sub-Activity in Android GridView
Sub-Activity is like an activity that opens up when you click on an item present in the GridView. To implement this, we need to add click event listeners to each data item of the GridView. In the implementation of GridView, you will also encounter the way of implementing sub-activity with GridView.
Implementation of Android GridView
So, now we will see how you can implement GridView in your Android Applications. We will create a food listing application that will have food item pics in the form of a grid.
1: Run your Android Studio and click on Create a new Project.
2: Select Empty Activity and then provide your application name. Select Android Lollipop and then proceed.
3: Now, you need to design your XML layout and add a GridView there. Use the below code to get started with GridView in your layout.
Code: activity_main.xml
<?xml version="1.0" encoding="utf-8"?>
<LinearLayout xmlns:android="http://schemas.android.com/apk/res/android"
    xmlns:tools="http://schemas.android.com/tools"
    android:layout_width="match_parent"
    android:layout_height="match_parent"
    android:orientation="vertical"
    android:background="@color/white"
    tools:context=".MainActivity">

    <TextView
        android:id="@+id/title"
        android:layout_width="match_parent"
        android:layout_height="wrap_content"
        android:layout_marginTop="20dp"
        android:layout_marginBottom="30dp"
        android:text="TechVidvan GridView"
        android:gravity="center"
        android:textSize="30sp"
        android:textColor="#009688"
        />
    <GridView
        android:background="@color/white"
        android:id="@+id/food_grid_view"
        android:layout_width="match_parent"
        android:layout_height="match_parent"
        android:numColumns="2"
        android:horizontalSpacing="10dp"
        android:verticalSpacing="10dp"
        android:layout_margin="10dp"/>

</LinearLayout>
4: Now, you need to design an XML layout to apply to each food item in the GridView.
Code: each_food_item.xml
<?xml version="1.0" encoding="utf-8"?>
<com.google.android.material.card.MaterialCardView
    xmlns:android="http://schemas.android.com/apk/res/android"
    android:layout_width="wrap_content"
    android:layout_height="wrap_content"
    xmlns:app="http://schemas.android.com/apk/res-auto"
    app:cardElevation="15dp"
    android:layout_margin="10dp"
    app:cardCornerRadius="20dp"
    android:backgroundTint="@color/white"
    android:background="@color/white"
    >

    <ImageView
        android:layout_width="150dp"
        android:layout_height="150dp"
        android:layout_gravity="center"
        android:id="@+id/food_image_view"/>

</com.google.android.material.card.MaterialCardView>
5: Now, you need to create an Adapter class to add the items in GridView. For this you need to right-click on your package name and create a new Kotlin class called “FoodAdapter”.
Code: FoodAdapter.kt
import android.content.Context
import android.view.LayoutInflater
import android.view.View
import android.view.ViewGroup
import android.widget.BaseAdapter
import android.widget.ImageView
import com.techvidvan.techvidvangridview.R

internal class FoodAdapter
    (
    //getting the context and the food images list
    //from MainActivity
    private val context: Context,
    private val foodImages: IntArray
) :
    BaseAdapter() {

    //declaring variables
    private var layoutInflater: LayoutInflater? = null
    private lateinit var foodImageView: ImageView

    override fun getCount(): Int
    {
        //getting the count of the data items
        return foodImages.size
    }
    override fun getItem(position: Int): Any? {
        return null
    }
    override fun getItemId(position: Int): Long {
        return 0
    }
    override fun getView(
        position: Int,
        convertView: View?,
        parent: ViewGroup
    ): View? {

        //creating the view
        var foodView = convertView
        if (layoutInflater == null) {

            //creating a layout inflater
            layoutInflater =
                context.getSystemService(Context.LAYOUT_INFLATER_SERVICE) as LayoutInflater
        }
        if (convertView == null)
        {
            foodView = layoutInflater!!.inflate(R.layout.each_food_item, null)
        }

        //fetching each image view of the card
        foodImageView = foodView!!.findViewById(R.id.food_image_view)
        //setting the food pic in each image view
        foodImageView.setImageResource(foodImages[position])

        return foodView
    }
}
6: Now, you need to create a sub-activity to show the full image of the data item you clicked. For this, you can right-click on the package name and click on new and select an empty activity. Now copy the below codes for your sub-activity.
Code: activity_sub.xml
<?xml version="1.0" encoding="utf-8"?>
<androidx.constraintlayout.widget.ConstraintLayout
    xmlns:android="http://schemas.android.com/apk/res/android"
    xmlns:app="http://schemas.android.com/apk/res-auto"
    xmlns:tools="http://schemas.android.com/tools"
    android:layout_width="match_parent"
    android:layout_height="match_parent"
    tools:context=".SubActivity">

    <ImageView
        android:id="@+id/food_full_image"
        android:layout_width="400dp"
        android:layout_height="400dp"
        app:layout_constraintBottom_toBottomOf="parent"
        app:layout_constraintEnd_toEndOf="parent"
        app:layout_constraintStart_toStartOf="parent"
        app:layout_constraintTop_toTopOf="parent" />

</androidx.constraintlayout.widget.ConstraintLayout>
Code: SubActivity.kt
package com.techvidvan.techvidvangridview

import android.os.Bundle
import android.widget.ImageView
import androidx.appcompat.app.AppCompatActivity


class SubActivity : AppCompatActivity()
{
    //declaring imageView variable
    lateinit var foodFullImage:ImageView
    override fun onCreate(savedInstanceState: Bundle?)
    {
        super.onCreate(savedInstanceState)
        setContentView(R.layout.activity_sub)

        //fetching the data from the MainActivity Intent
        val mIntent = intent
        val food_value = mIntent.getIntExtra("imageInt", 0)

        //binding the image view with the variable
        foodFullImage = findViewById(R.id.food_full_image)

        //setting up the image on the image view using its resource id
        foodFullImage.setImageResource(food_value)
    }
}
7: After your layout designing and adapter creation are done, you need to add the adapter’s data items. For this, you can use the below code, and your GridView will then connect to the adapter.
Code: MainActivity.kt
package com.techvidvan.techvidvangridview

import FoodAdapter
import android.content.Intent
import android.os.Bundle
import android.widget.AdapterView
import android.widget.GridView
import androidx.appcompat.app.AppCompatActivity


class MainActivity : AppCompatActivity()
{
    //declaring the GridView variable
    lateinit var foodGridView: GridView
    //declaring a list containing images of food items
    private var foodImages = intArrayOf(R.drawable.food_pics_1,
        R.drawable.food_pics_2,
        R.drawable.food_pics_3,
        R.drawable.food_pics_4,
        R.drawable.food_pics_5,
        R.drawable.food_pics_6,
        R.drawable.food_pics_7,
        R.drawable.food_pics_8,
        R.drawable.food_pics_9,
        R.drawable.food_pics_10,
        R.drawable.food_pics_11,
        R.drawable.food_pics_12,
        R.drawable.food_pics_13,
        R.drawable.food_pics_14,
        R.drawable.food_pics_15,
        R.drawable.food_pics_16
    )

    override fun onCreate(savedInstanceState: Bundle?)
    {
        super.onCreate(savedInstanceState)
        setContentView(R.layout.activity_main)

        //binding the gridView with our created variable
        foodGridView = findViewById(R.id.food_grid_view)

        //creating the object of the FoodAdapter
        val foodAdapter = FoodAdapter(this@MainActivity, foodImages)

        //setting the adapter to our GridView
        foodGridView.adapter = foodAdapter

        //Adding On Click Event Listener to each of the food item pic
        foodGridView.onItemClickListener = AdapterView.OnItemClickListener { _, _, position, _ ->

            //creating intent object to sub activity
            val myIntent = Intent(this@MainActivity, SubActivity::class.java)
            //passing the image resource id to the sub activity
            myIntent.putExtra("imageInt", foodImages[position])
            //starting the sub activity
            startActivity(myIntent)
        }
    }
}
Now, let’s run the application to see how the output looks. The application displays all the food items in the form of a grid, as shown below.
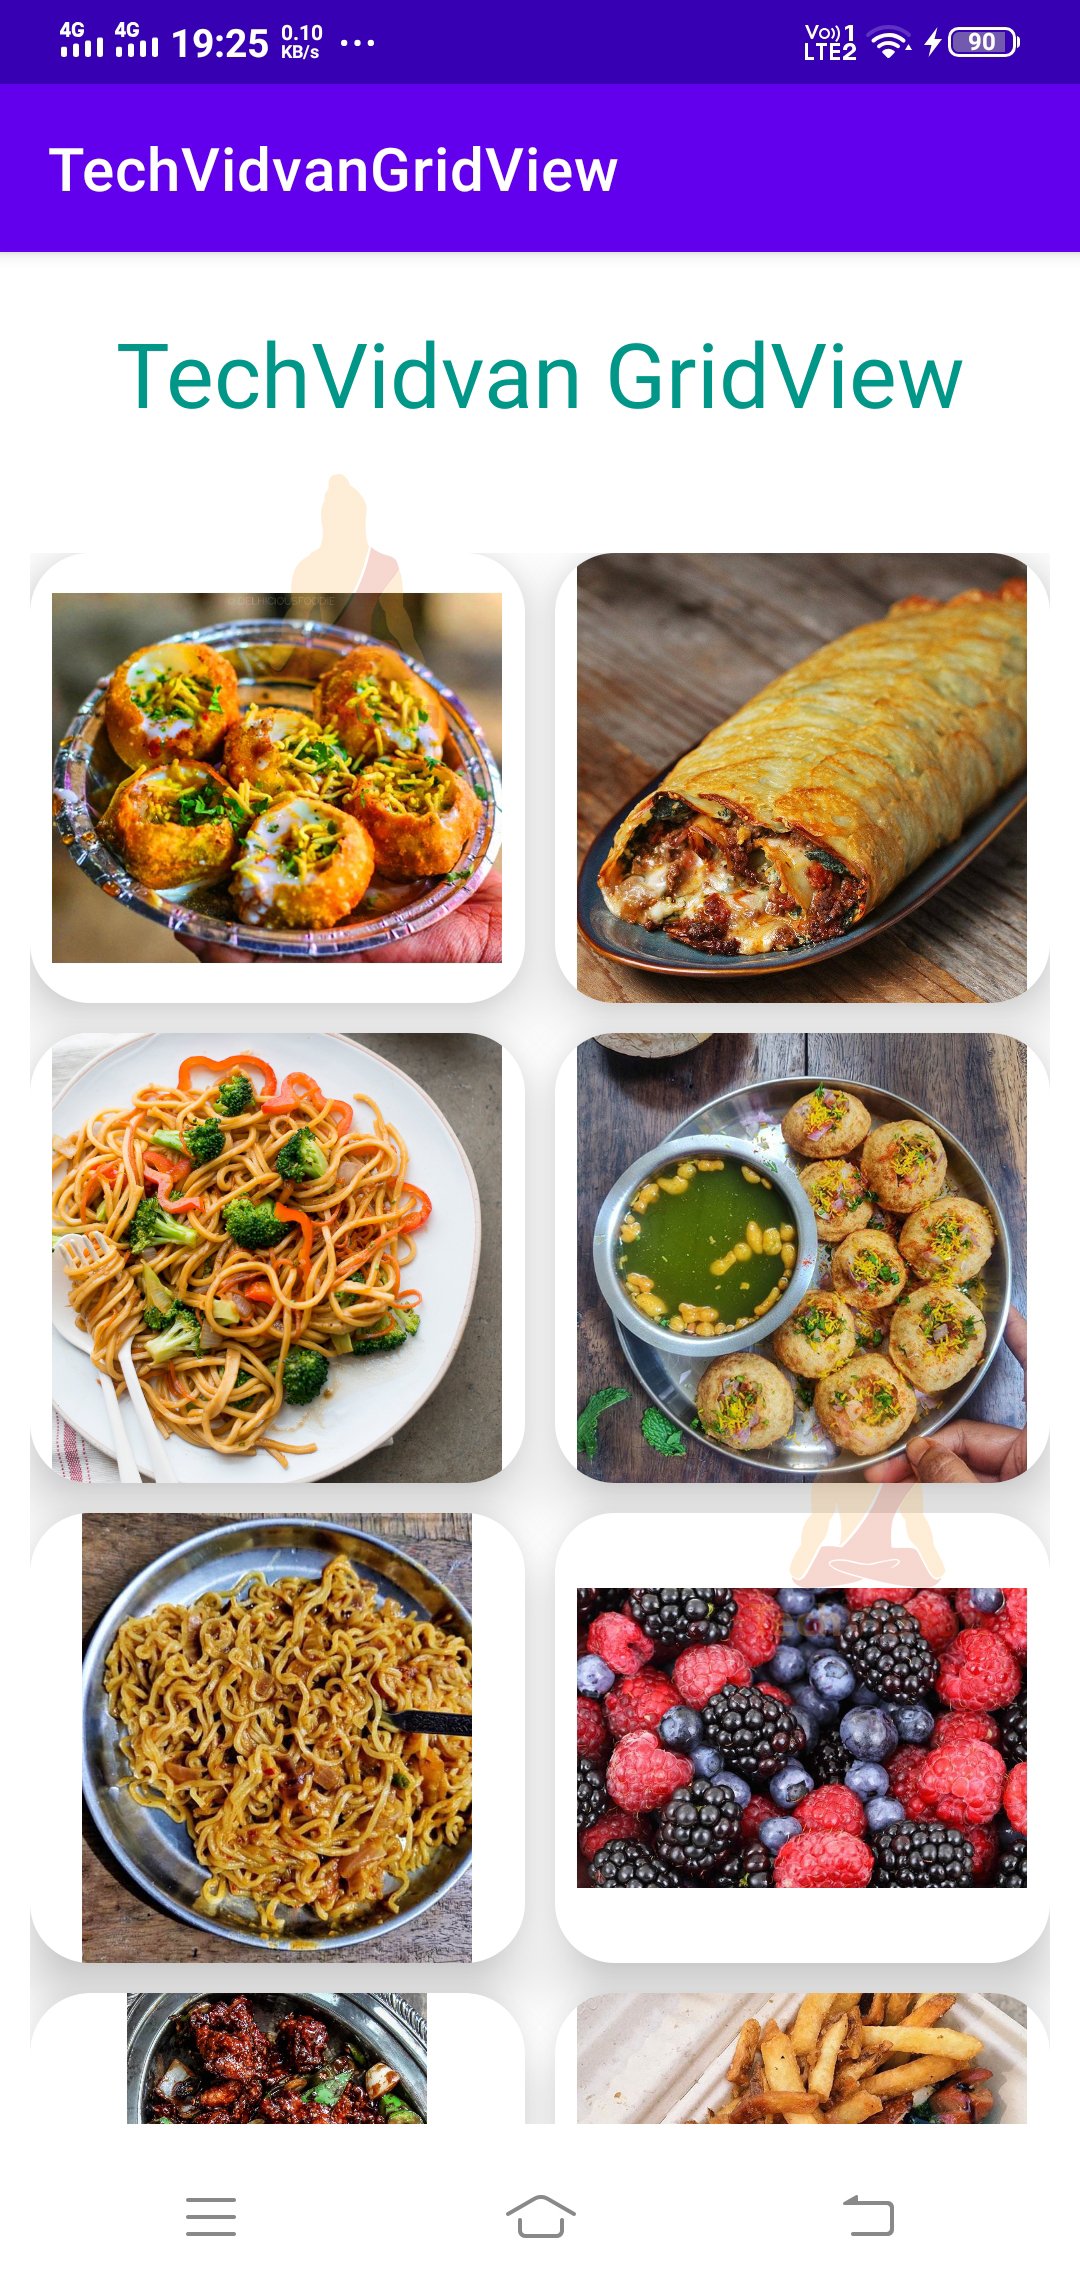
You can even scroll below to see more items. When you click on an item, then that appears in a new activity.
Summary
So through the Android GridView article, you came across a new way of listing your data items. You got to know what a GridView is and how you can use it on Android. Later you came across the various attributes present in the GridView. Finally, you came across the implementation of the Android GridView using a food item displaying app.