
Hey there, Android enthusiasts; today, we are going to see and learn to implement an Android Project that is a Simple Calculator App in android studio. We’ll understand the complete project development in this article.
About Android Simple Calculator
This is a simple project for those just learning the fundamentals of developing Android applications. This Android app’s user interface consists of a variety of buttons for various operands and operators. To create a basic calculator application, we will work with Android Studio and Kotlin. Below is a list of the functionalities that the user interface will have:
- The user interface will have two text fields, one for displaying the mathematical operations and numbers other to display the result.
- The user interface will have buttons for the user to enter numbers and operations, respectively.
- The user interface will also have a clear button, “C”, which will help to erase the latest operator or operand pressed.
- The user interface also has an all-clear button, “AC”, which will erase everything from both the textviews.
- At the bottom, the user interface has an equal button, “=,” which will calculate and display the result in the respective result textview.
Prerequisites for Simple Calculator using Android
To develop this Android application, the requirements and prerequisites are as follows:
- Kotlin: You first need to be familiar with Kotlin programming. Given that we will write the app code in the programming language Kotlin, it is necessary.
- XML: Another crucial component of our Android application is XML. It will be applied to the development of the application’s user interface.
- Android Studio: The core of our application is Android Studio because that is how we will develop it. Also included with Android Studio is an Android virtual device that can be used to test the functionality of applications.
Download Android Simple Calculator Project
Please download the source code of Android Simple Calculator Project from the following link: Android Simple Calculator Project Code.
Steps to Create a Simple Calculator Using Android
Following are the steps for developing the Android Simple Calculator Project:
We’ll now start working on developing a simple calculator app. Before putting the code into practice, we will learn about its purpose and function throughout this article. So let’s look at the files and functions needed to run the code:
You must complete a set of steps in order to create this simple Android calculator application. We are here to walk you through every stage of developing an app.
- Extract all the files from the downloaded zip file to the location of your choice.
- Open Android Studio.
- Click on File, then Open.
- Find and select the folder you extracted earlier and click on OK.
You have successfully opened the reminder app’s source code in android studio.
Before getting started with the ‘ MainActivity.kt ’ and ‘ acitivity_main.xml ‘ files, we need to set up some things in the drawable folder.
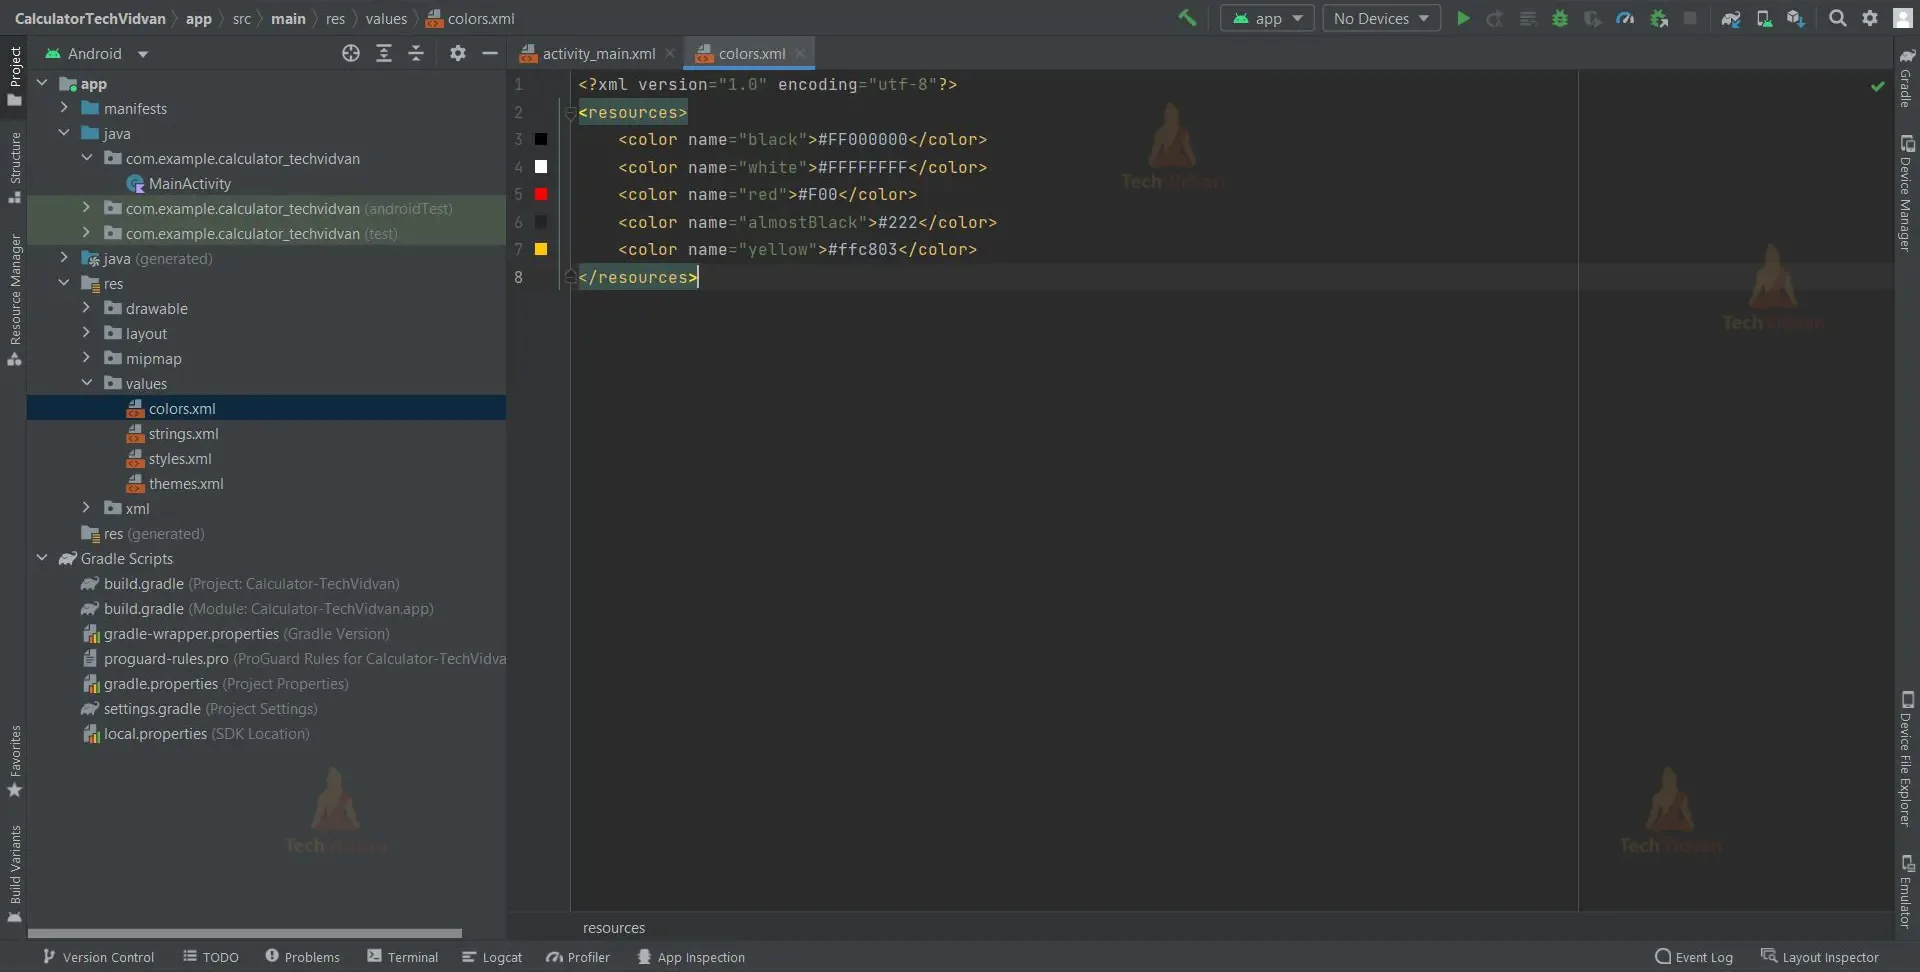
1. We’ll use colors for the user interface that aren’t initially defined in Android Studio. Go to res -> values -> colors.xml to add colors.
Code:
<resources>
    <color name="black">#FF000000</color>
    <color name="white">#FFFFFFFF</color>
    <color name="red">#F00</color>
    <color name="almostBlack">#222</color>
    <color name="yellow">#ffc803</color>
</resources>
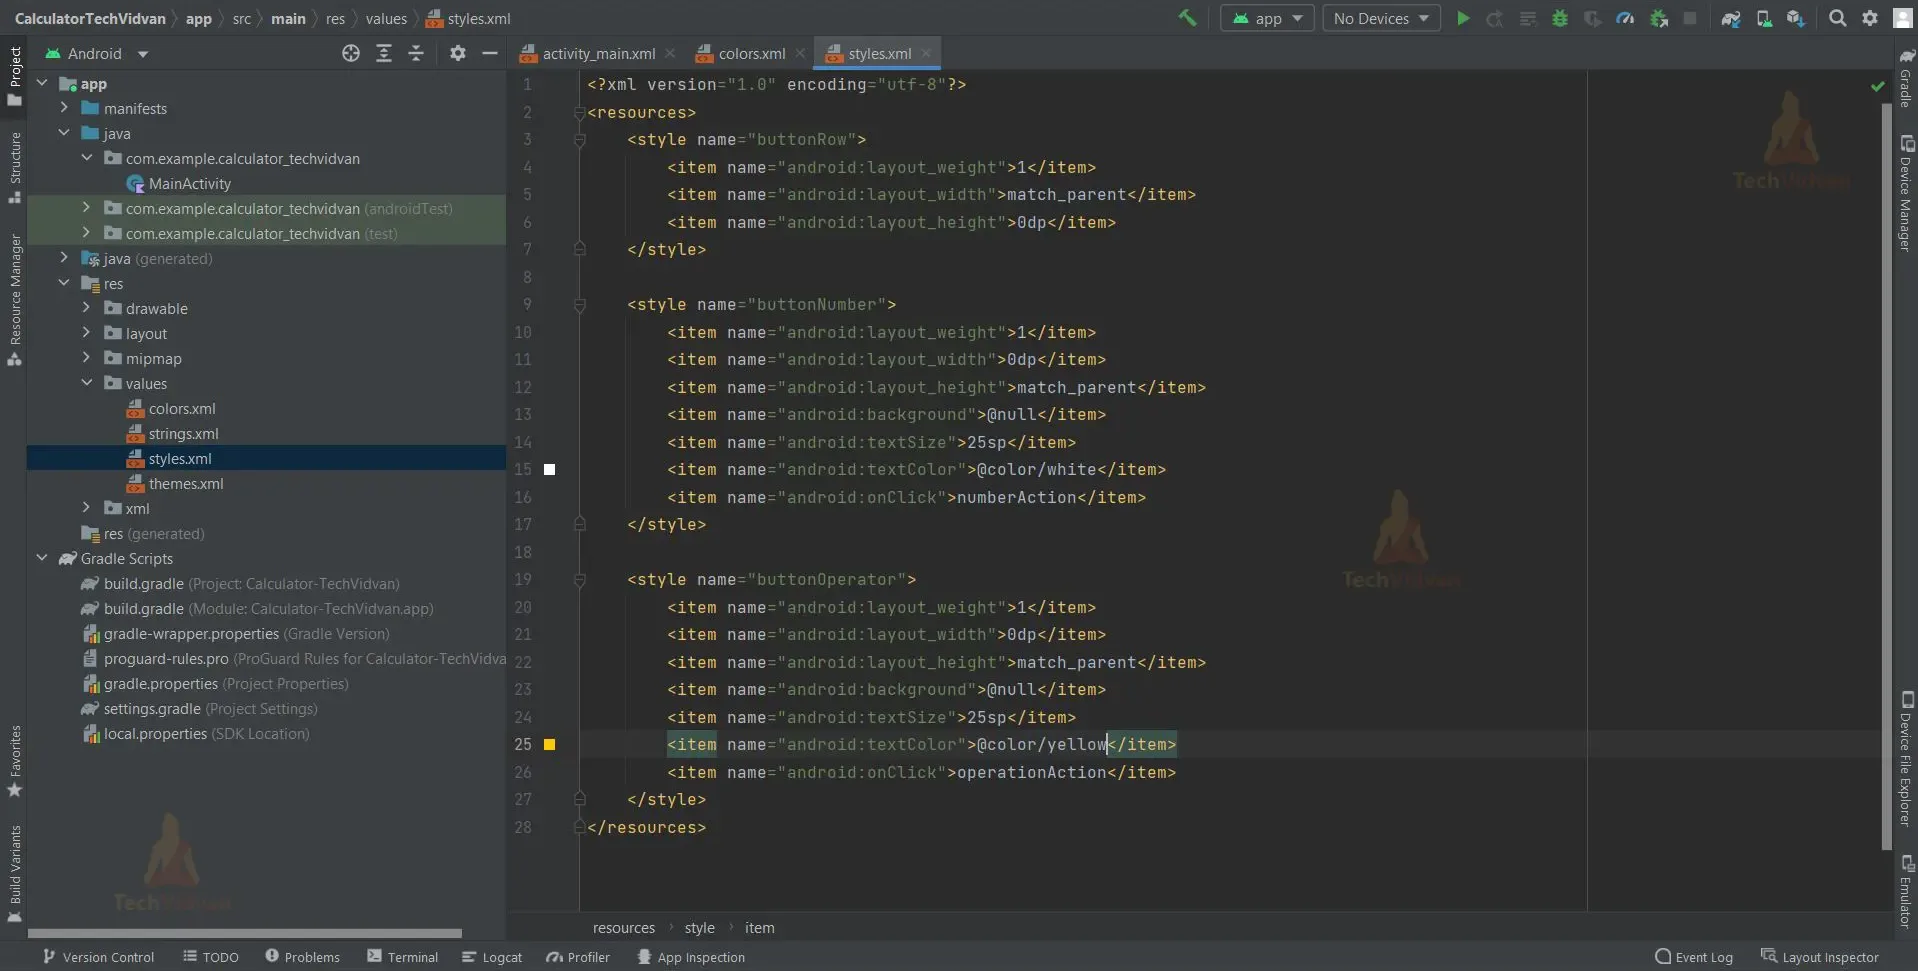
2. We will create new “styles.xml” files for the operator and operand buttons, which may be reused in the “activity main.xml” file, to eliminate the hassle of writing a similar XML code of buttons for operands and operators. Navigate to Res > Values, select the Values folder, and then right click select New > Values Resource File. Type “styles” as the file name, then click “OK.”
Code:
<resources>
    <style name="buttonRow">
        <item name="android:layout_weight">1</item>
        <item name="android:layout_width">match_parent</item>
        <item name="android:layout_height">0dp</item>
    </style>

    <style name="buttonNumber">
        <item name="android:layout_weight">1</item>
        <item name="android:layout_width">0dp</item>
        <item name="android:layout_height">match_parent</item>
        <item name="android:background">@null</item>
        <item name="android:textSize">25sp</item>
        <item name="android:textColor">@color/white</item>
        <item name="android:onClick">numberAction</item>
    </style>

    <style name="buttonOperator">
        <item name="android:layout_weight">1</item>
        <item name="android:layout_width">0dp</item>
        <item name="android:layout_height">match_parent</item>
        <item name="android:background">@null</item>
        <item name="android:textSize">25sp</item>
        <item name="android:textColor">@color/yellow</item>
        <item name="android:onClick">operationAction</item>
    </style>
</resources>
Let’s go through each file in this project one at a time as we comprehend how the application works.
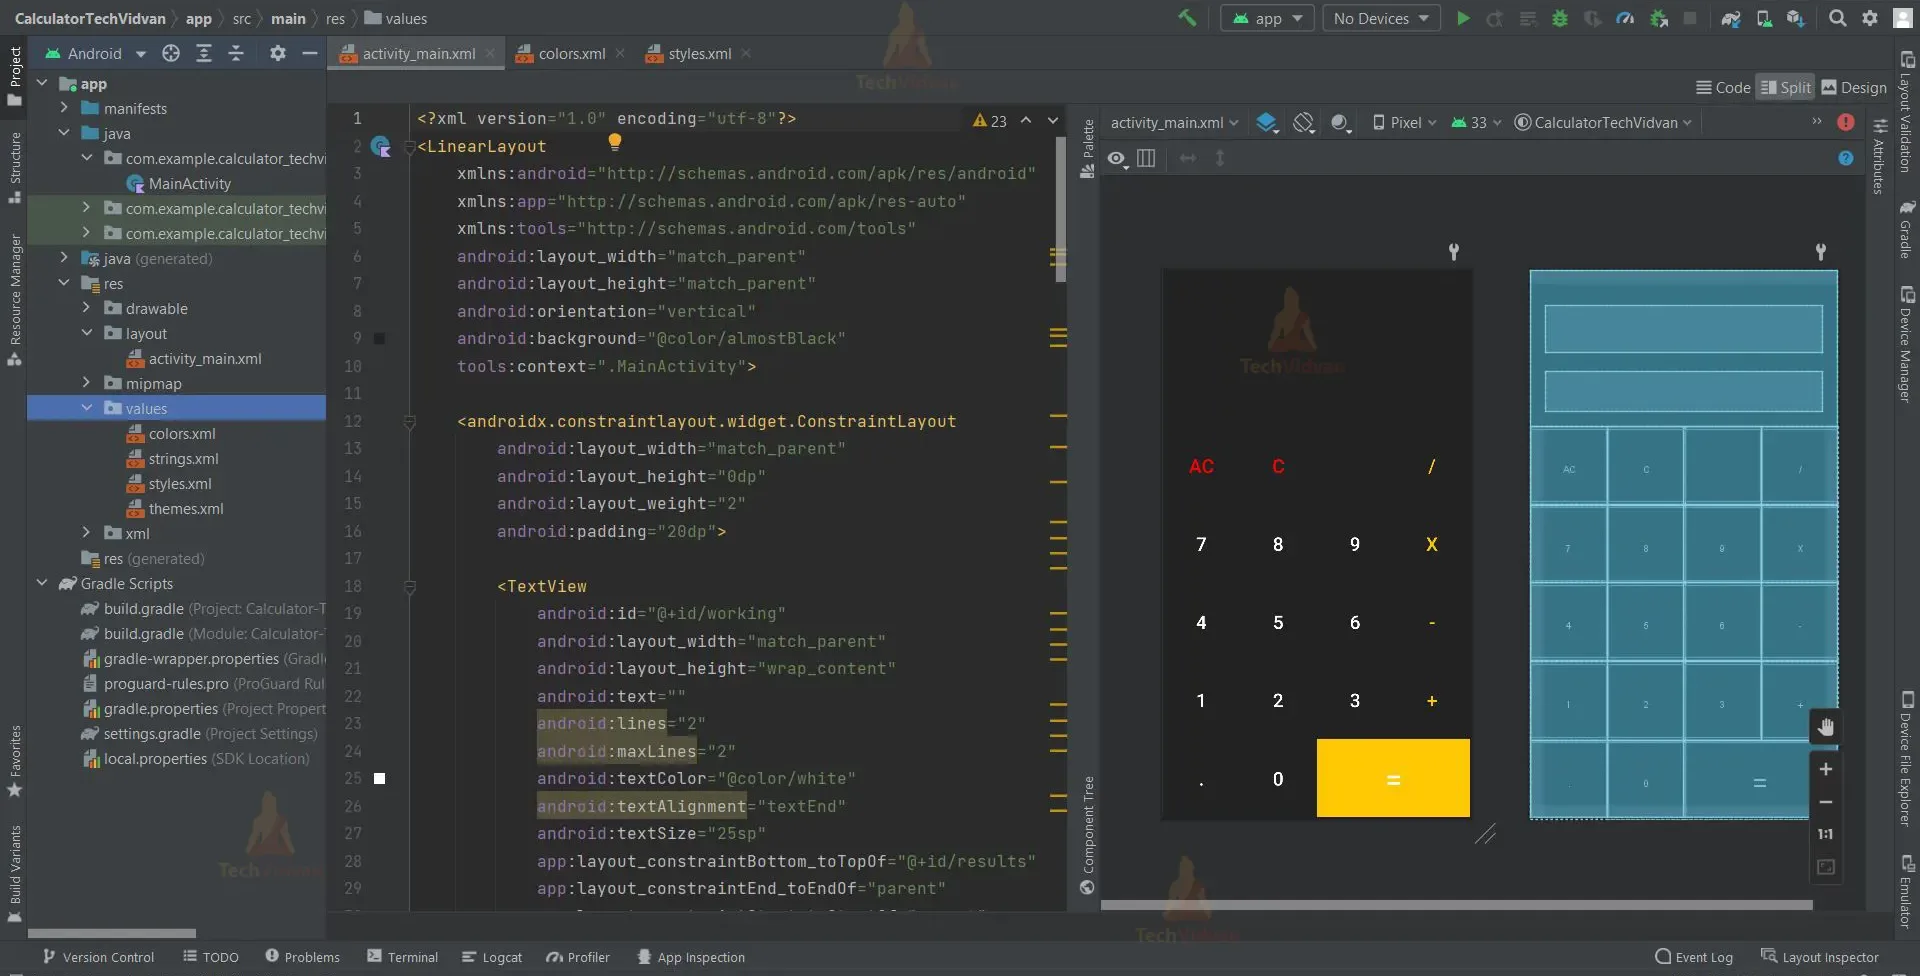
1. The “activity_main” is an XML file which is responsible for creating the text fields and buttons included in the user interface.
Code:
<?xml version="1.0" encoding="utf-8"?>
<LinearLayout
    xmlns:android="http://schemas.android.com/apk/res/android"
    xmlns:app="http://schemas.android.com/apk/res-auto"
    xmlns:tools="http://schemas.android.com/tools"
    android:layout_width="match_parent"
    android:layout_height="match_parent"
    android:orientation="vertical"
    android:background="@color/almostBlack"
    tools:context=".MainActivity">

    <androidx.constraintlayout.widget.ConstraintLayout
        android:layout_width="match_parent"
        android:layout_height="0dp"
        android:layout_weight="2"
        android:padding="20dp">

        <TextView
            android:id="@+id/working"
            android:layout_width="match_parent"
            android:layout_height="wrap_content"
            android:text=""
            android:lines="2"
            android:maxLines="2"
            android:textColor="@color/white"
            android:textAlignment="textEnd"
            android:textSize="25sp"
            app:layout_constraintBottom_toTopOf="@+id/results"
            app:layout_constraintEnd_toEndOf="parent"
            app:layout_constraintStart_toStartOf="parent"
            app:layout_constraintTop_toTopOf="parent"
            />

        <TextView
            android:id="@+id/results"
            android:layout_width="match_parent"
            android:layout_height="wrap_content"
            android:text=""
            android:lines="1"
            android:maxLines="1"
            android:textColor="@color/white"
            android:textAlignment="textEnd"
            android:textSize="40sp"
            app:layout_constraintBottom_toBottomOf="parent"
            app:layout_constraintEnd_toEndOf="parent"
            app:layout_constraintStart_toStartOf="parent"
            />
    </androidx.constraintlayout.widget.ConstraintLayout>

    <LinearLayout
        style="@style/buttonRow">
        <Button
            style="@style/buttonNumber"
            android:textColor="@color/red"
            android:onClick="allClearAction"
            android:text="AC"
            tools:ignore="OnClick" />
        <Button
            style="@style/buttonNumber"
            android:textColor="@color/red"
            android:onClick="backSpaceAction"
            android:text="C"
            tools:ignore="OnClick" />
        <Button
            style="@style/buttonNumber"
            android:text="" />
        <Button
            style="@style/buttonOperator"
            android:text="/"/>
    </LinearLayout>

    <LinearLayout
        style="@style/buttonRow">

        <Button
            style="@style/buttonNumber"
            android:text="7"/>
        <Button
            style="@style/buttonNumber"
            android:text="8"/>
        <Button
            style="@style/buttonNumber"
            android:text="9" />
        <Button
            style="@style/buttonOperator"
            android:text="x"/>

    </LinearLayout>

    <LinearLayout
        style="@style/buttonRow">

        <Button
            style="@style/buttonNumber"
            android:text="4"/>
        <Button
            style="@style/buttonNumber"
            android:text="5"/>
        <Button
            style="@style/buttonNumber"
            android:text="6" />
        <Button
            style="@style/buttonOperator"
            android:text="-"/>

    </LinearLayout>

    <LinearLayout
        style="@style/buttonRow">

        <Button
            style="@style/buttonNumber"
            android:text="1"/>
        <Button
            style="@style/buttonNumber"
            android:text="2"/>
        <Button
            style="@style/buttonNumber"
            android:text="3" />
        <Button
            style="@style/buttonOperator"
            android:text="+"/>

    </LinearLayout>

    <LinearLayout
        style="@style/buttonRow">

        <Button
            style="@style/buttonNumber"
            android:text="."/>
        <Button
            style="@style/buttonNumber"
            android:text="0"/>
        <Button
            style="@style/buttonNumber"
            android:layout_weight="2"
            android:background="@color/yellow"
            android:textSize="40sp"
            android:onClick="equalsAction"
            android:text="@string/equal"
            tools:ignore="OnClick" />

    </LinearLayout>


</LinearLayout>
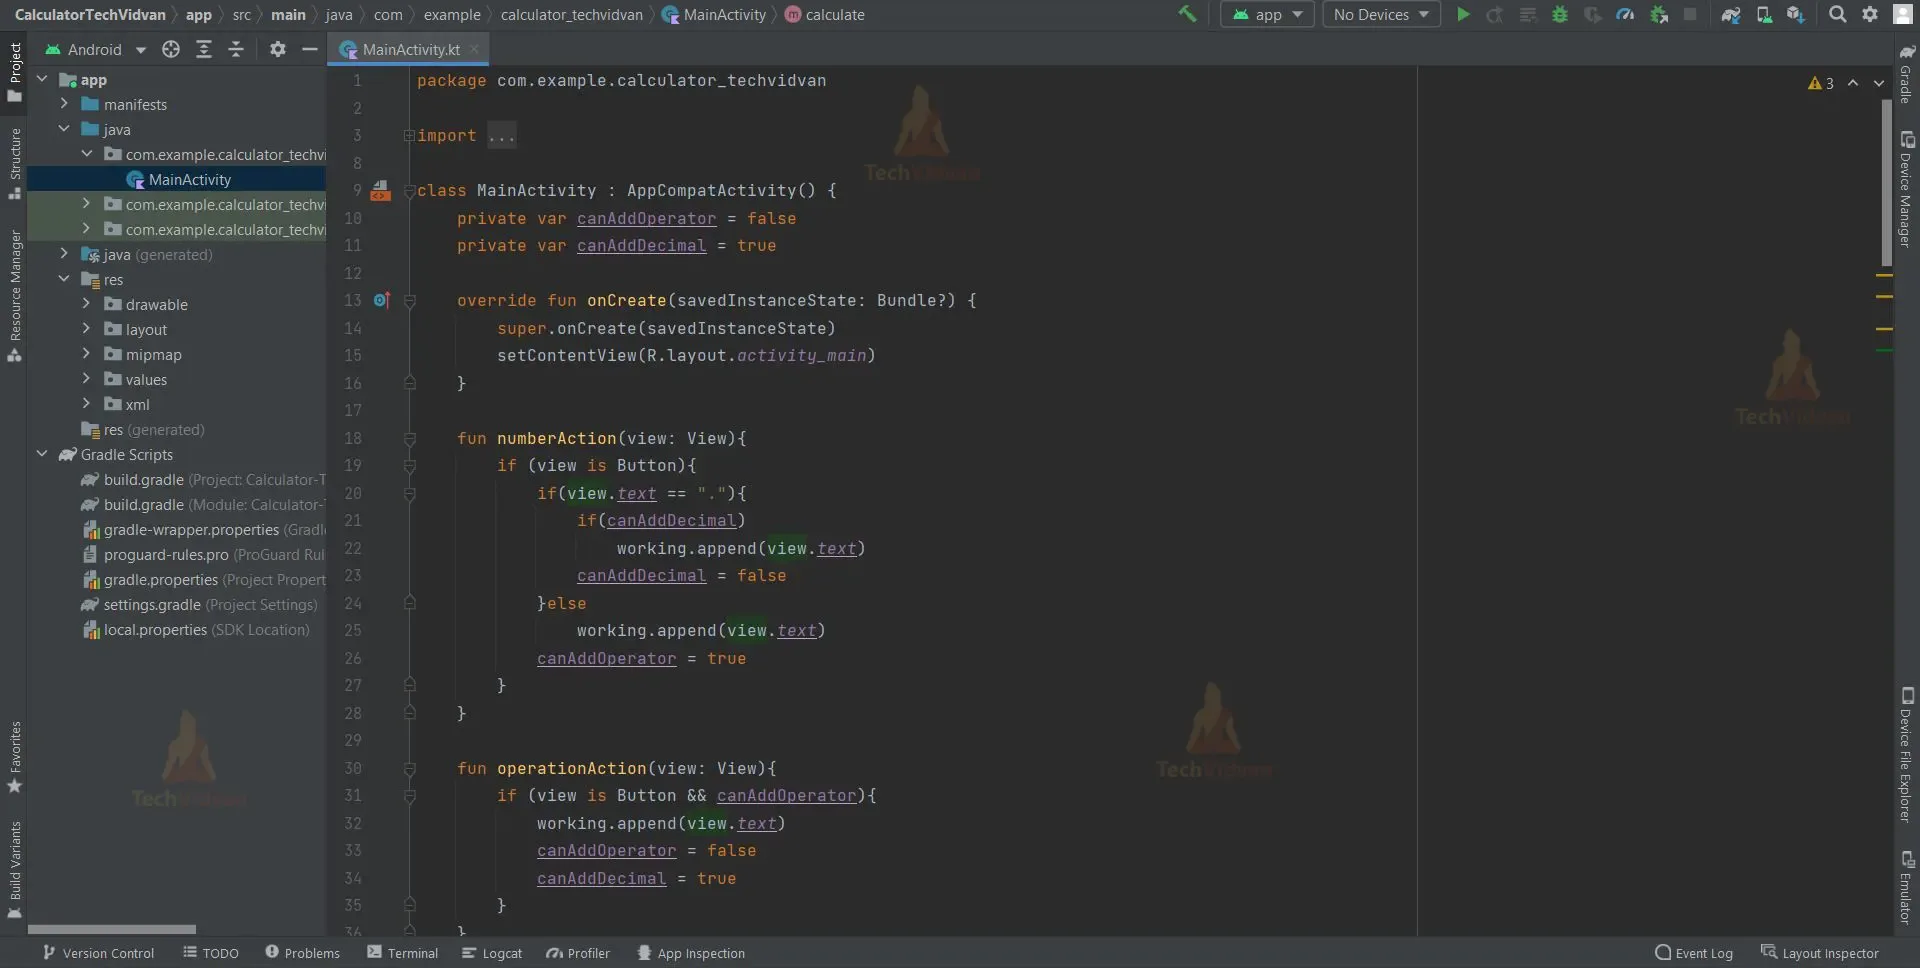
2. “MainActivity” is a kotlin file which is responsible for initializing our application.
This file contains various functions that are responsible for the working and functioning of our application.
Code:
import androidx.appcompat.app.AppCompatActivity
import android.os.Bundle
import android.view.View
import android.widget.Button
import kotlinx.android.synthetic.main.activity_main.*

class MainActivity : AppCompatActivity() {
    private var canAddOperator = false
    private var canAddDecimal = true

    override fun onCreate(savedInstanceState: Bundle?) {
        super.onCreate(savedInstanceState)
        setContentView(R.layout.activity_main)
    }

    fun numberAction(view: View){
        if (view is Button){
            if(view.text == "."){
                if(canAddDecimal)
                    working.append(view.text)
                canAddDecimal = false
            }else
                working.append(view.text)
            canAddOperator = true
        }
    }

    fun operationAction(view: View){
        if (view is Button && canAddOperator){
            working.append(view.text)
            canAddOperator = false
            canAddDecimal = true
        }
    }

    fun allClearAction(view: View) {
        working.text = ""
        results.text = ""
    }
    fun backSpaceAction(view: View) {
        val length = working.length()
        if(length > 0){
            working.text = working.text.subSequence(0,length-1)
        }
    }
    fun equalsAction(view: View) {
        results.text = calculate()
    }

    private fun calculate(): String
    {
        val digitsOperators = digitsOperators()
        if(digitsOperators.isEmpty()) return ""

        val timesDivision = timesDivisionCalculate(digitsOperators)
        if(timesDivision.isEmpty()) return ""

        val result = addSubtractCalculate(timesDivision)
        return result.toString()
    }

    private fun addSubtractCalculate(passedList: MutableList<Any>): Float
    {
        var result = passedList[0] as Float

        for(i in passedList.indices)
        {
            if(passedList[i] is Char && i != passedList.lastIndex)
            {
                val operator = passedList[i]
                val nextDigit = passedList[i + 1] as Float
                if (operator == '+')
                    result += nextDigit
                if (operator == '-')
                    result -= nextDigit
            }
        }

        return result
    }

    private fun timesDivisionCalculate(passedList: MutableList<Any>): MutableList<Any>
    {
        var list = passedList
        while (list.contains('x') || list.contains('/'))
        {
            list = calcTimesDiv(list)
        }
        return list
    }

    private fun calcTimesDiv(passedList: MutableList<Any>): MutableList<Any>
    {
        val newList = mutableListOf<Any>()
        var restartIndex = passedList.size

        for(i in passedList.indices)
        {
            if(passedList[i] is Char && i != passedList.lastIndex && i < restartIndex)
            {
                val operator = passedList[i]
                val prevDigit = passedList[i - 1] as Float
                val nextDigit = passedList[i + 1] as Float
                when(operator)
                {
                    'x' ->
                    {
                        newList.add(prevDigit * nextDigit)
                        restartIndex = i + 1
                    }
                    '/' ->
                    {
                        newList.add(prevDigit / nextDigit)
                        restartIndex = i + 1
                    }
                    else ->
                    {
                        newList.add(prevDigit)
                        newList.add(operator)
                    }
                }
            }

            if(i > restartIndex)
                newList.add(passedList[i])
        }

        return newList
    }

    private fun digitsOperators(): MutableList<Any> {
        val list = mutableListOf<Any>()
        var currentDigit = ""
        for (character in working.text) {
            if (character.isDigit() || character == '.')
                currentDigit += character
            else {
                list.add(currentDigit.toFloat())
                currentDigit = ""
                list.add(character)
            }
        }

        if (currentDigit != "")
            list.add(currentDigit.toFloat())

        return list
    }
}
Android Simple Calculator Output
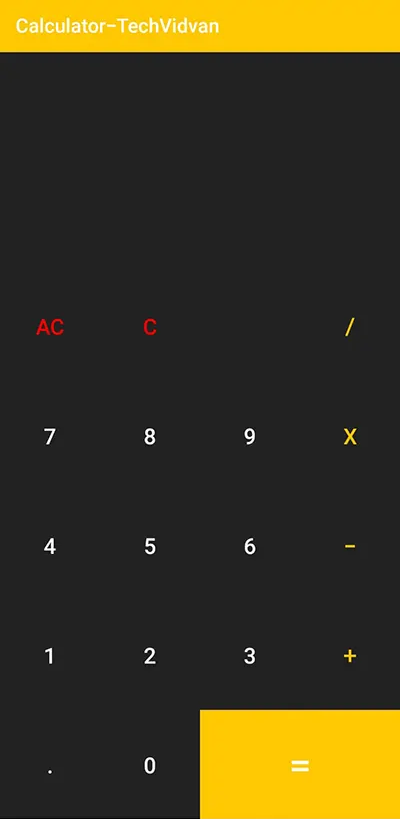
1. Home Screen:

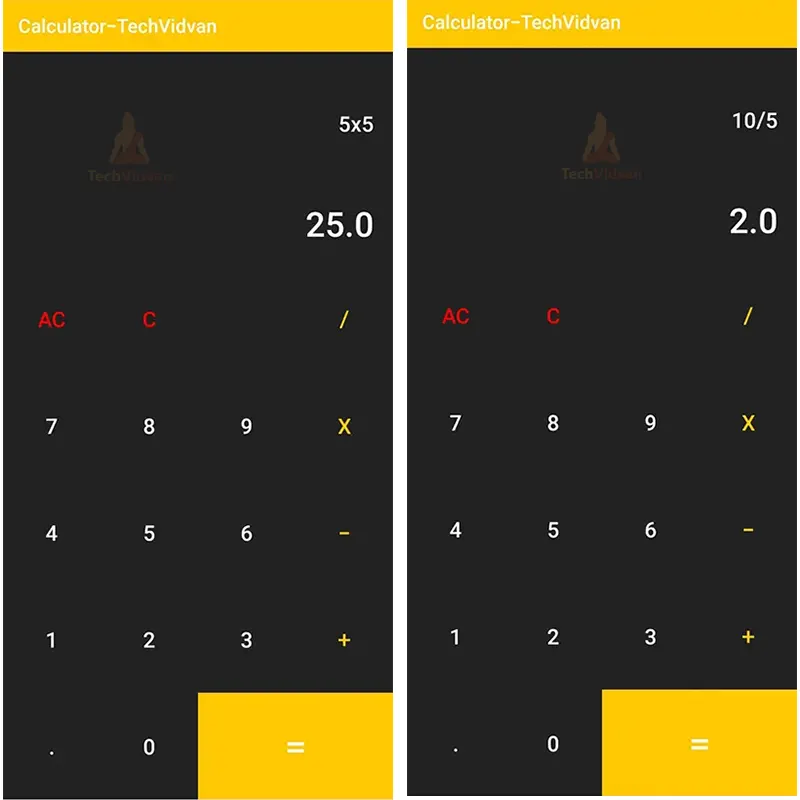
2. Addition & Subtraction Operations:

3. Multiplication & Division Operations:
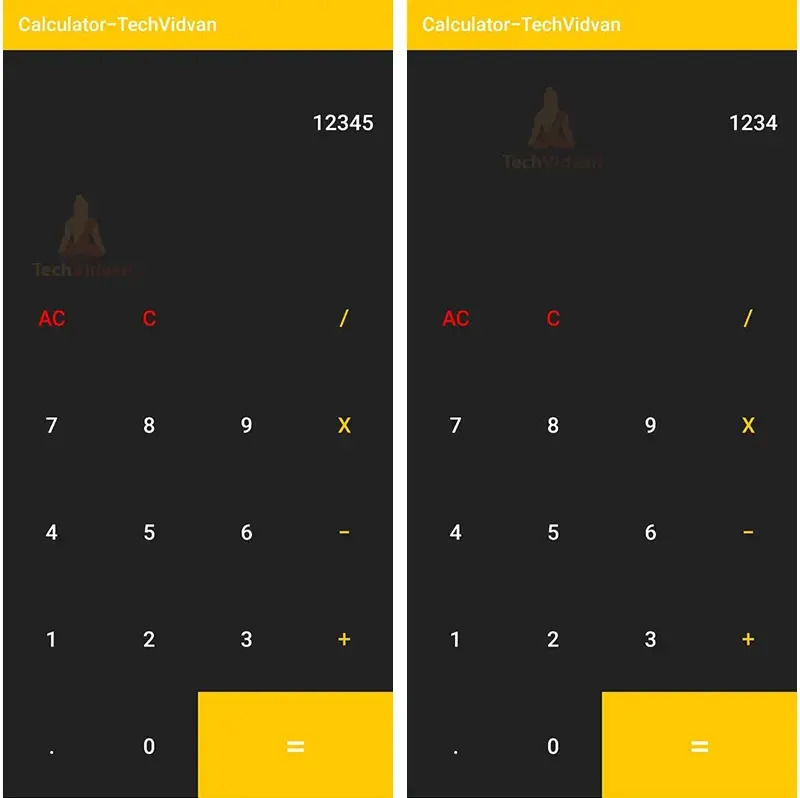
4. Before & After Clear Button Clicked:
5. All Clear Button Clicked:
Summary
So in this project, we learnt how to use Android Studio to develop a simple calculator app. This Android project is suitable for beginners as it will improve your ability to use logic while coding. We hope you enjoyed it, and we are confident that you will like putting it into practice.