Python Image Viewer using Tkinter
Image Viewer App is an application that will display images and have a forward and backward button to go back and forth and view different photos one by one. Let us create an Image Viewer App Project in Python in easy steps.
About Image Viewer App
An Image Viewer App is an application that helps us display images one by one. Here we can go back and forth while viewing the images. The size of these images is random and is displayed accordingly.
Project Details
In this project, we are going to create an Image Viewer App that uses the Tkinter Module. We are also going to use the PIL Module to do operations with the images. We will ensure that a user can use the application to browse through a series of images.
Project Prerequisites
To build this project, we will require Tkinter Module and PIL Module. We will also require some basic knowledge of Python to build this project.
- Tkinter Module – Tkinter Module is used to develop the GUI Window for the project.
- PIL Module – PIL Module will help us do operations with images.
Download Python Image Viewer Code
please download the source code of the Image Viewer App Project from the following link: Image Viewer App in Python Code
Steps to Create Python Image Viewer Project
We will be going through the following steps:
- Importing the Required Modules
- Creating the GUI
- Making a list of images
- Next and Previous Image
Let’s start looking at each step in detail.
1. Importing the Required Modules
from tkinter import *
import tkinter as tk
from PIL import ImageTk, Image
We import these modules to use them to build our project.
2. Creating the GUI
window = Tk()#creating window
window.resizable()#geometry of window
window.title('TechVidvan')#title to window
Label(window,text="Image Viewer App",font=('bold',20)).pack()#label

#creating frame
frame=Frame(window, width=230, height=200, bg='white')
frame.pack()
- Tk() – With the help of the Tk() method, we create the GUI Window which will display our widgets.
- resizable() – We make our window resizable using the resizable() method. This is necessary as we want to incorporate images of every size and our window size changes accordingly.
- title() – This method helps us give a title to the window.
- Label() – A Label is a widget on our window that might display a text. We are using the Label() method to create a label widget on our
- window. This will help us display a text. We can also change the font, size, foreground color, background color etc of this label.
- Frame() – The Frame() method helps us create a frame in our GUI Window. We can specify the height, width , background color, foreground color etc of the frame. We have created this frame to display our images on the frame created.
#creating buttons
Button(window,text='Back',command=Back,bg='light blue').place(x=230,y=40)
Button(window,text='Next',command=Next,bg='light blue').place(x=1000,y=40)
- Button() – Using this function, we created a button on our window. We have created 2 buttons –
1. Back Button- To view the previous image.
2. Next Button – To view the next image.
- pack() – To display the widgets on the window, we have used the pack() method. Pack() is an automated method which displays the widgets without x and y coordinates specification.
- place() – We have used the place() method to display the widgets using the x and y coordinates specifications.
3. Creating Image List:
#opening images
image1=ImageTk.PhotoImage(Image.open("image1.jpeg"))
image2=ImageTk.PhotoImage(Image.open("image2.jpg"))
image3=ImageTk.PhotoImage(Image.open("image3.jpeg"))

#adding images to list
lst=[image1,image2,image3]
i = 0
image_label = Label(frame, image=lst[i])#packing image into the window
image_label.pack()
- open() – Using the open() method, we are going to open the images that we want to add in the list and save it in different variables (image1, image2 and image3).
- We are going to create a list of these variables and using a loop we are going to display it in the frame created.
4. Next and Previous Image:
def Next():
    global i
    i = i + 1
    try:
        image_label.config(image=lst[i])
    except:
        i = -1
        Next()
- This function will be evoked when the Next Button is clicked.
- We create a global variable i.
- When the next button is clicked, variable i gets incremented and the next image gets displayed.
def Back():
    global i
    i = i - 1
    try:
        image_label.config(image=lst[i])
    except:
        i = 0
        Back()
- This function will be evoked when the Back Button is clicked.
- We create a global variable i.
- When the back button is clicked, variable i gets decremented and the previous image gets displayed.
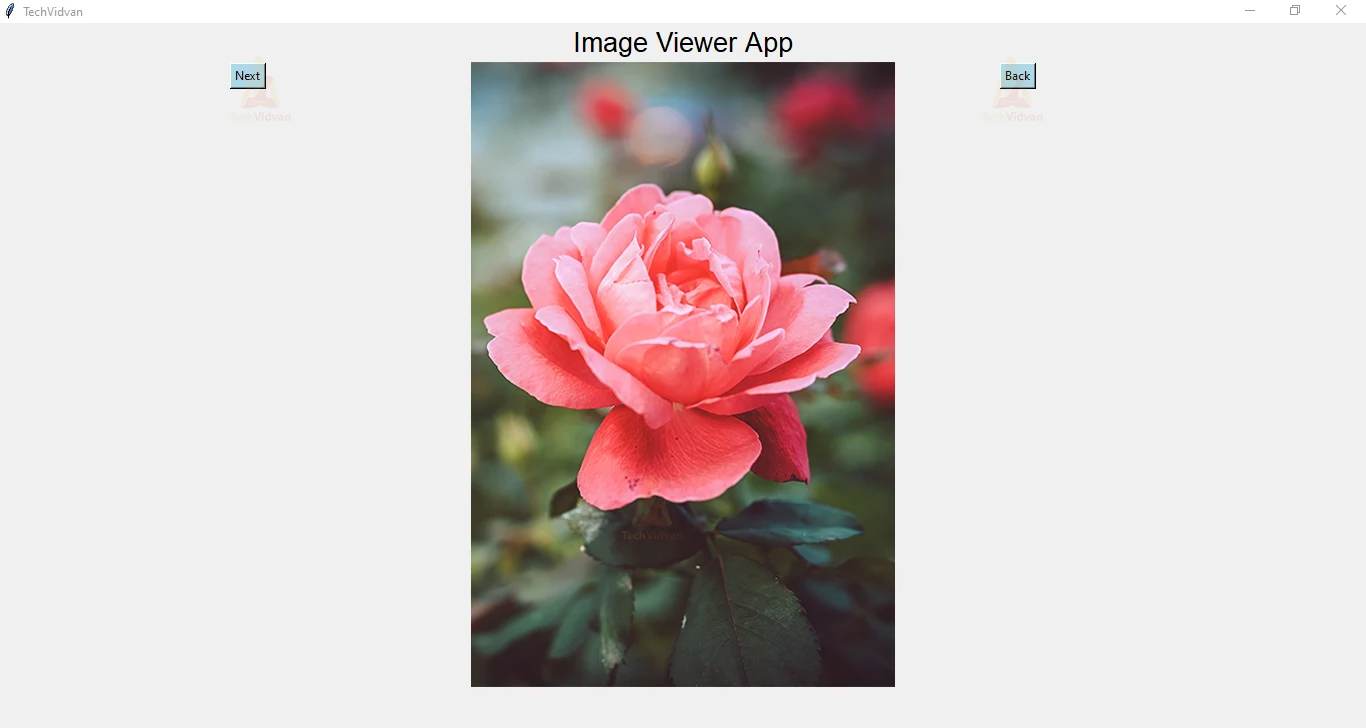
Python Image Viewer Output
Let us look at the output of python image viewer project.
Summary
Hurray! We have successfully created the Image Viewer App using python. We have used two Modules to build this project-
- Tkinter Module
- PIL Module