


Selenium IDE is a popular integrated development environment (IDE) used for testing web applications. It is an open-source tool that automates web browsers and provides a user-friendly interface for recording and playing back tests. Selenium IDE can be used for testing websites on multiple browsers such as Firefox, Chrome, Safari, and Edge. In this article, we will discuss how to install Selenium IDE on your machine.
Selenium IDE Installation
Before we begin with the installation process, let’s have a look at the system requirements for running Selenium IDE.
System Requirements to Install Selenium
- Operating System: Selenium IDE can be installed on Windows, macOS, and Linux operating systems.
- Browser Compatibility: Selenium IDE supports the latest versions of Firefox, Chrome, Safari, and Edge browsers.
- Hardware: The minimum hardware requirements are 1GB of RAM and a 1GHz processor.
Now, let’s proceed with the installation process.
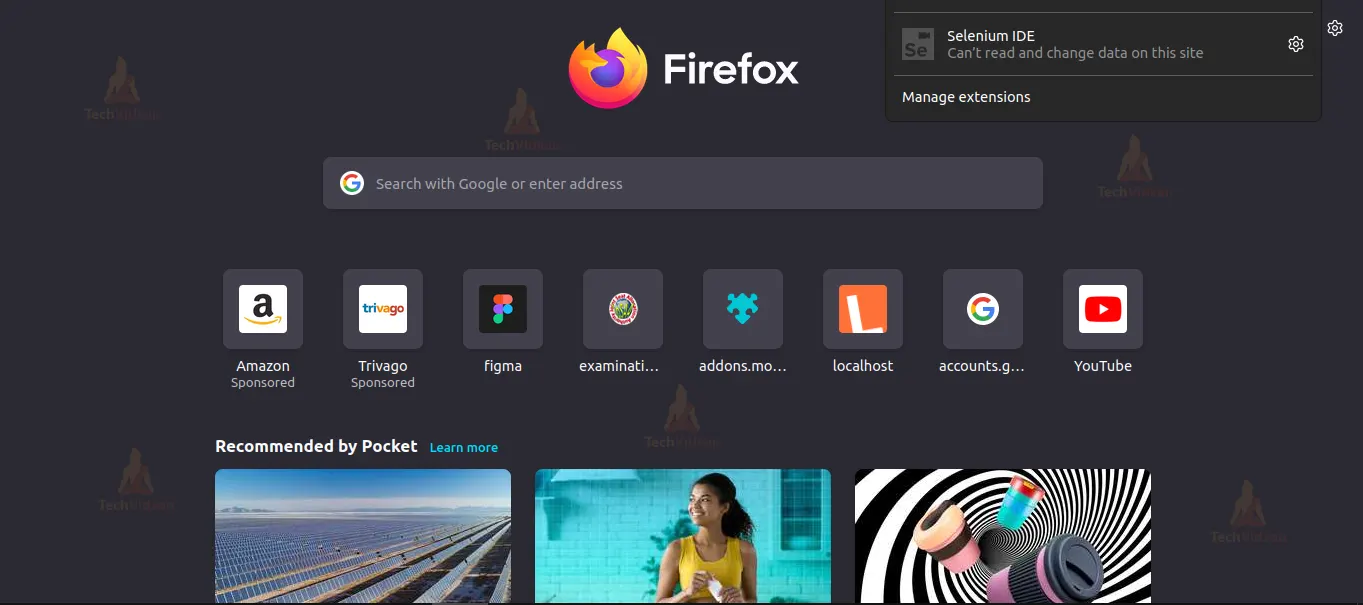
How to Install Selenium IDE on Firefox?
Selenium IDE can be installed as an add-on in Firefox. Follow the below steps to install it:
1. Open the Firefox browser on your machine.
2. Click on the three horizontal lines in the top right corner of the browser.
3. From the drop-down menu, click on “Add-ons”.
4. In the search bar, type “Selenium IDE” (https://addons.mozilla.org/en-US/firefox/addon/selenium-ide/) and hit enter.


5. Click on the “Add to Firefox” button next to the Selenium IDE add-on.
6. Wait for the installation to complete.
7. Once the installation is complete, click on the Selenium IDE icon on the toolbar to launch it.

Selenium IDE Installation on Chrome
Selenium IDE can also be installed as an extension in Chrome. Follow the below steps to install it:
1. Open the Chrome browser on your machine.
2. Click on the three vertical dots in the top right corner of the browser.
3. From the drop-down menu, click on “More Tools” and then “Extensions”.
4. In the search bar, type “Selenium IDE” and hit enter.
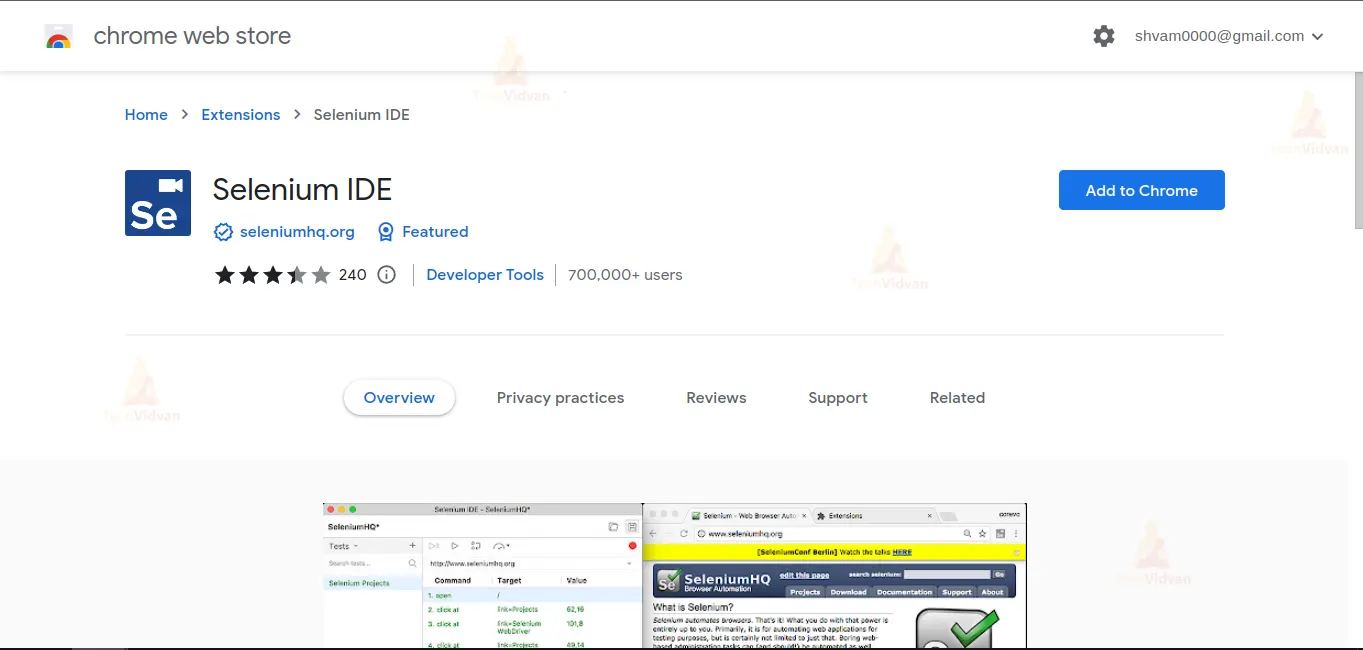

5. Click on the “Add to Chrome” button next to the Selenium IDE extension.
6. Wait for the installation to complete.
7. Once the installation is complete, click on the Selenium IDE icon on the toolbar to launch it.
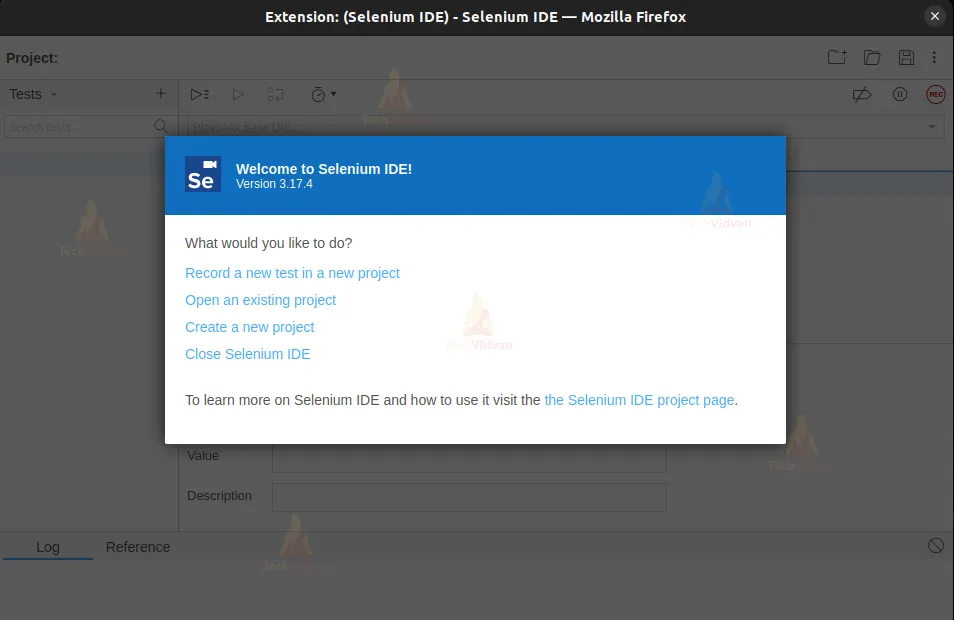
Using Selenium IDE
Once you have installed Selenium IDE, you can start using it to create and run test cases. Selenium IDE provides a user-friendly interface that allows you to record and playback test cases.
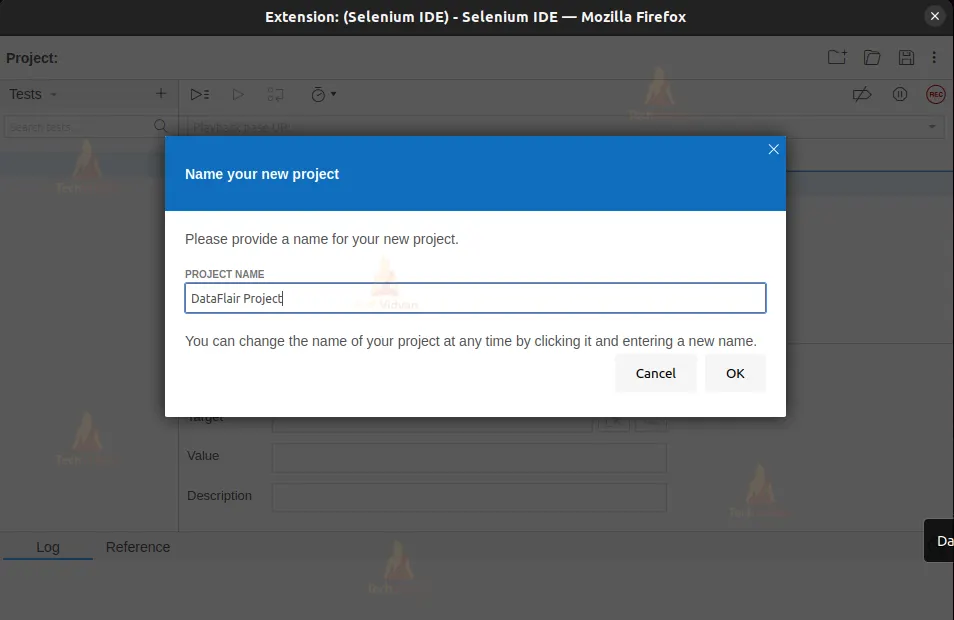
Recording a Test Case
To record a test case in Selenium IDE, follow the below steps:
1. Launch Selenium IDE.
2. Click on the “Record a new test case” button.

3. Enter a name for the test case.
4. Choose the browser and the website you want to test.
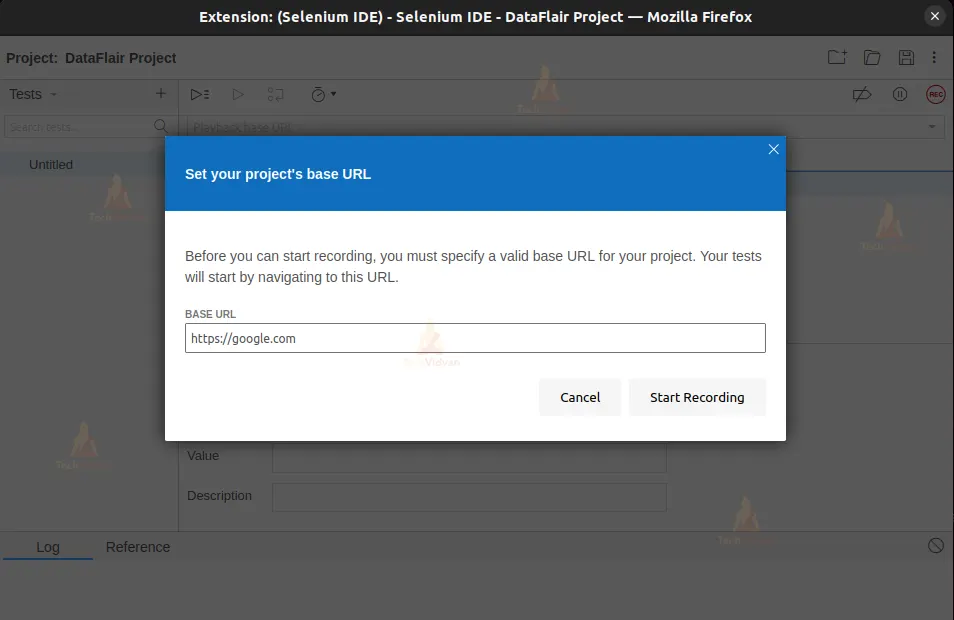
5. Click on the “Start Recording” button.
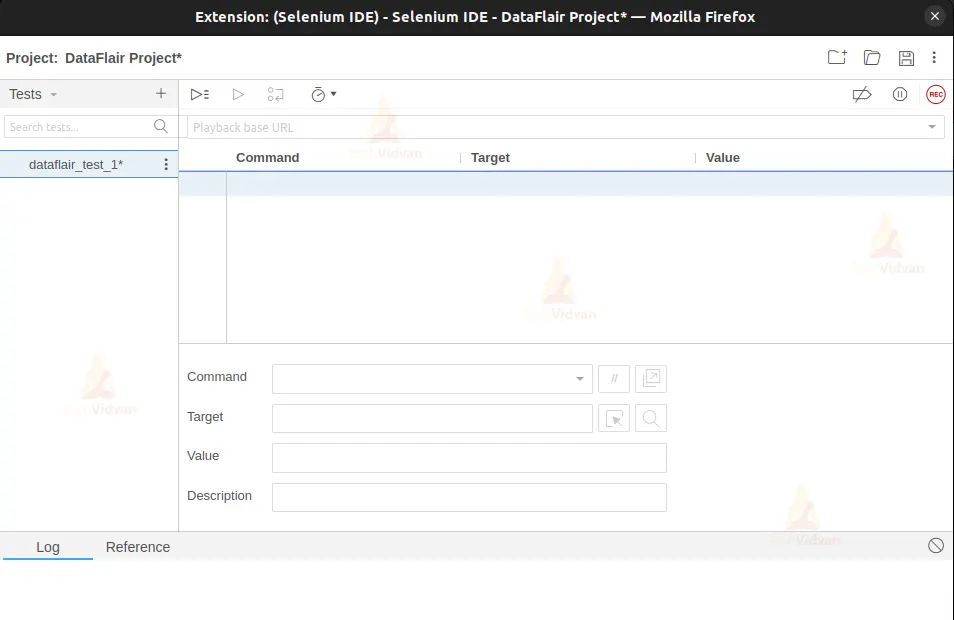
6. Perform the actions you want to test on the website.
7. Click on the “Stop Recording” button.
8. Save the test case.
Playing back a Test Case in Selenium IDE
To play back a test case in Selenium IDE, follow the below steps:
1. Open the test case you want to play back.
2. Click on the “Play current test case” button.
3. Wait for the test case to run.
4. Check the results of the test case.
Selenium IDE also provides various options to customize your test cases such as adding assertions, variables, and loops.
Conclusion
Selenium IDE is a powerful tool that can help you automate your web application testing. It provides a user-friendly interface that allows you to record and playback test cases. Selenium IDE can be installed as an add-on or extension in Firefox, Chrome, Safari, and Edge browsers. Once you have installed Selenium IDE, you can start using it to create and run test cases. With Selenium IDE, you can easily automate your web application testing and improve the quality of your software.