
Sentiment Analysis is a popular field in Machine Learning that involves the identification and extraction of subjective information from text. It is used to determine the emotional tone of a piece of content, whether it is positive, negative, or neutral.
In this project, we will create an iOS app that performs sentiment analysis on user-entered text using SwiftUI and Core ML. The app will allow users to enter a sentence or phrase and determine whether it is positive, negative, or neutral.
About Swift Sentiment Analysis App
The objective of this project is to teach you how to create a Sentiment Analysis iOS app using SwiftUI and Core ML. By the end of this project, you will be able to:
- Create an iOS app that performs Sentiment Analysis using SwiftUI and Core ML.
- Train your own machine learning model using Xcode playground.
- Use the trained model to predict whether a given text is positive, negative, or neutral.
Prerequisites for Sentiment Analysis App using Swift
To follow along with this project, you will need the following:
- Xcode 12 or higher.
- Basic knowledge of SwiftUI and Core ML.
- An Apple Developer account (to deploy the app to a device).
- Dataset for Training the ML Model. It can be downloaded from here.
Download Swift Sentiment Analysis App Project
Please download the source code of the Swift Sentiment Analysis App Project from the following link: Swift Sentiment Analysis App Project Code.
Steps to Create Sentiment Analysis App using Swift
Following are the steps for developing the Swift Sentiment Analysis App Project:
Step 1: Create a Sentiment Analysis model using Xcode playground and dataset.
Step 2: Create a new SwiftUI project in Xcode.
Step 3: Import the ML model into the project
Step 4: Create the app UI and functionality
Step 5: Test the app on a simulator or a physical iOS device.
Step 1: Create a Sentiment Analysis model using Xcode playground and dataset.
a. Open Xcode and select “Create a new Xcode playground.”
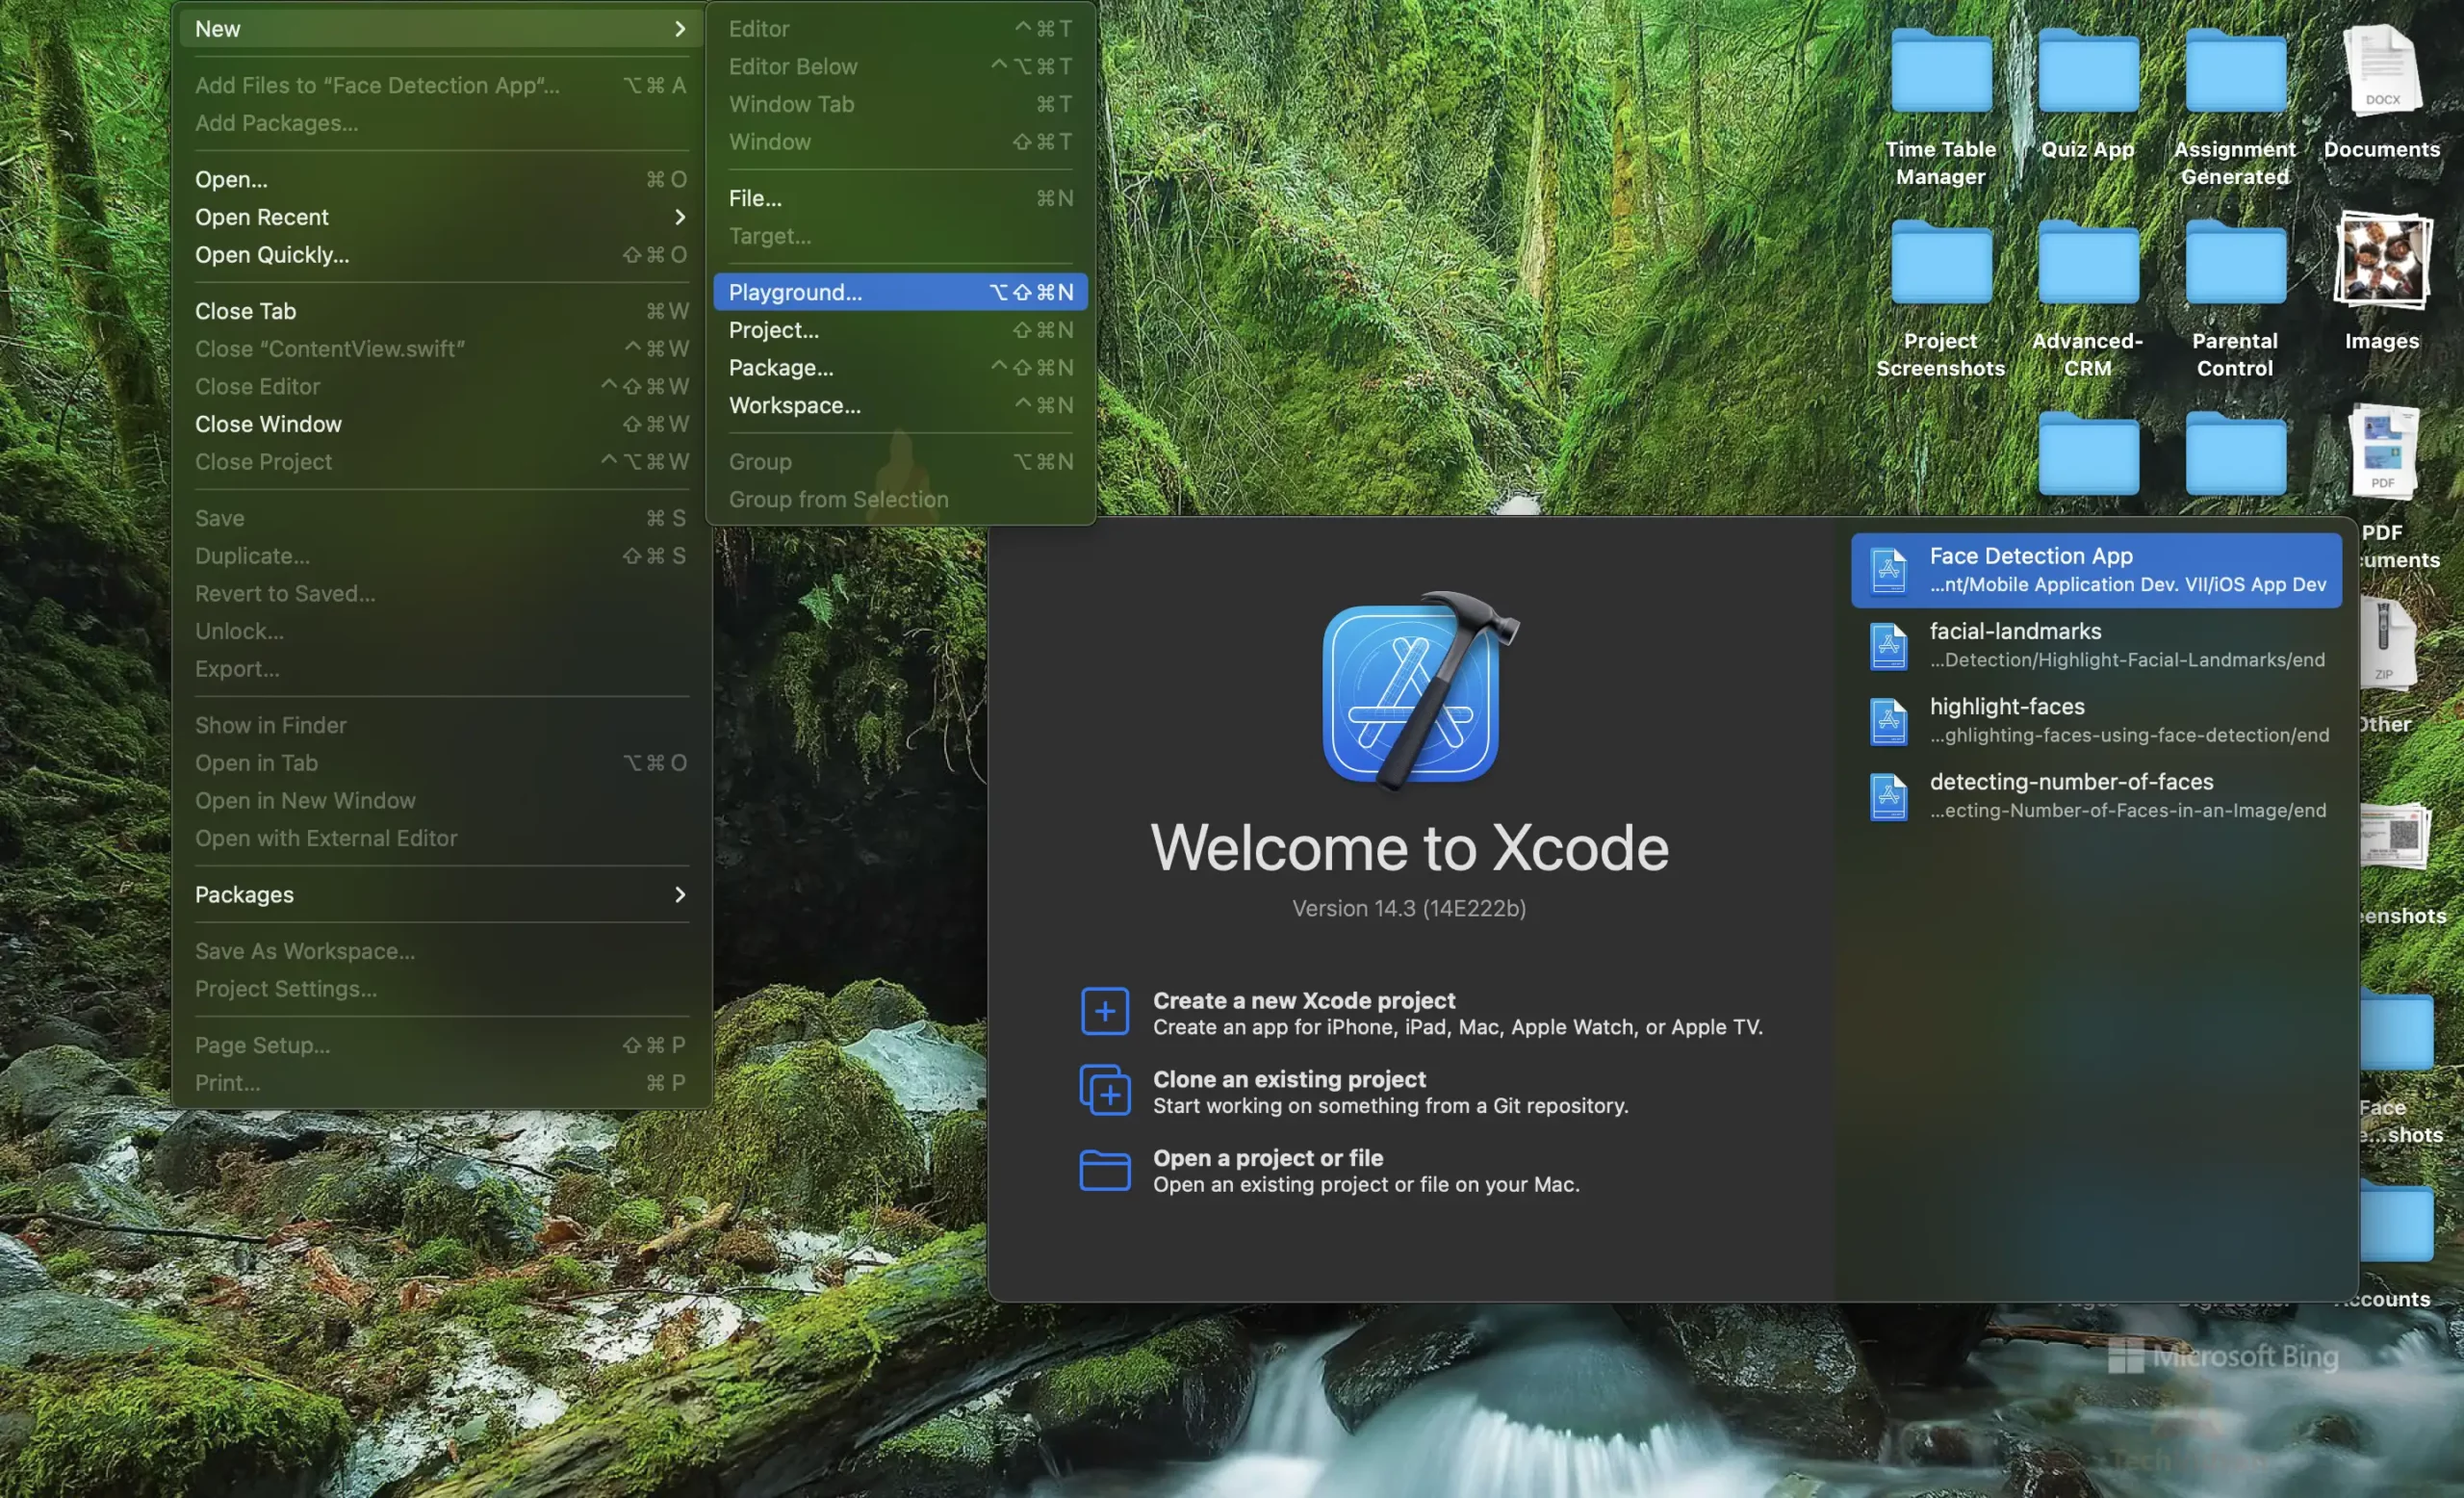
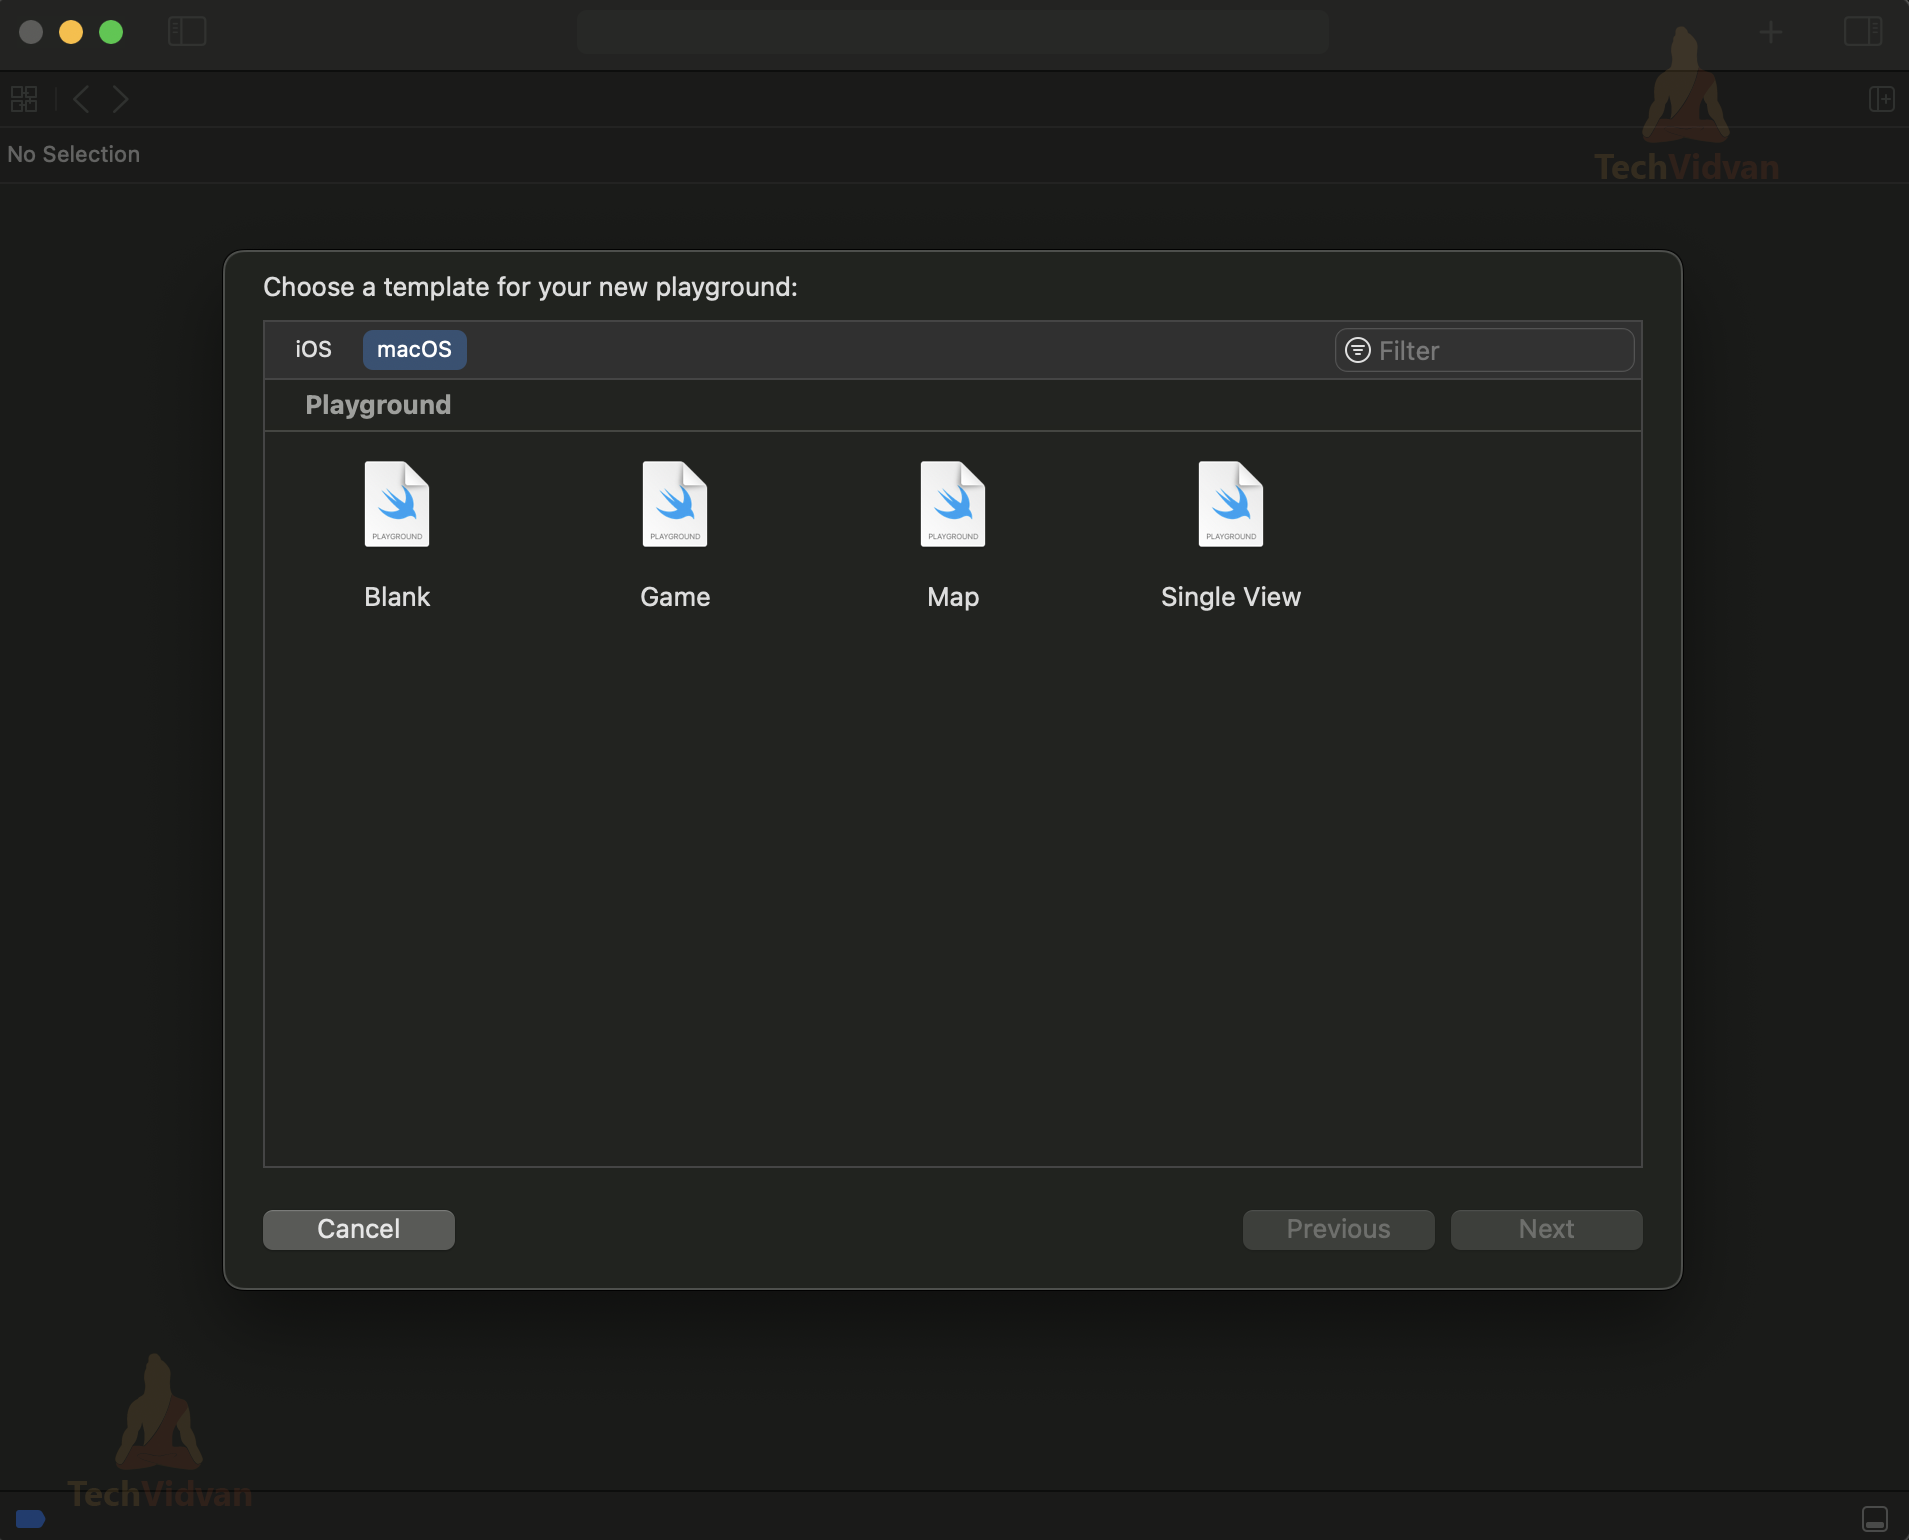
b. Choose a name and a location to save the playground

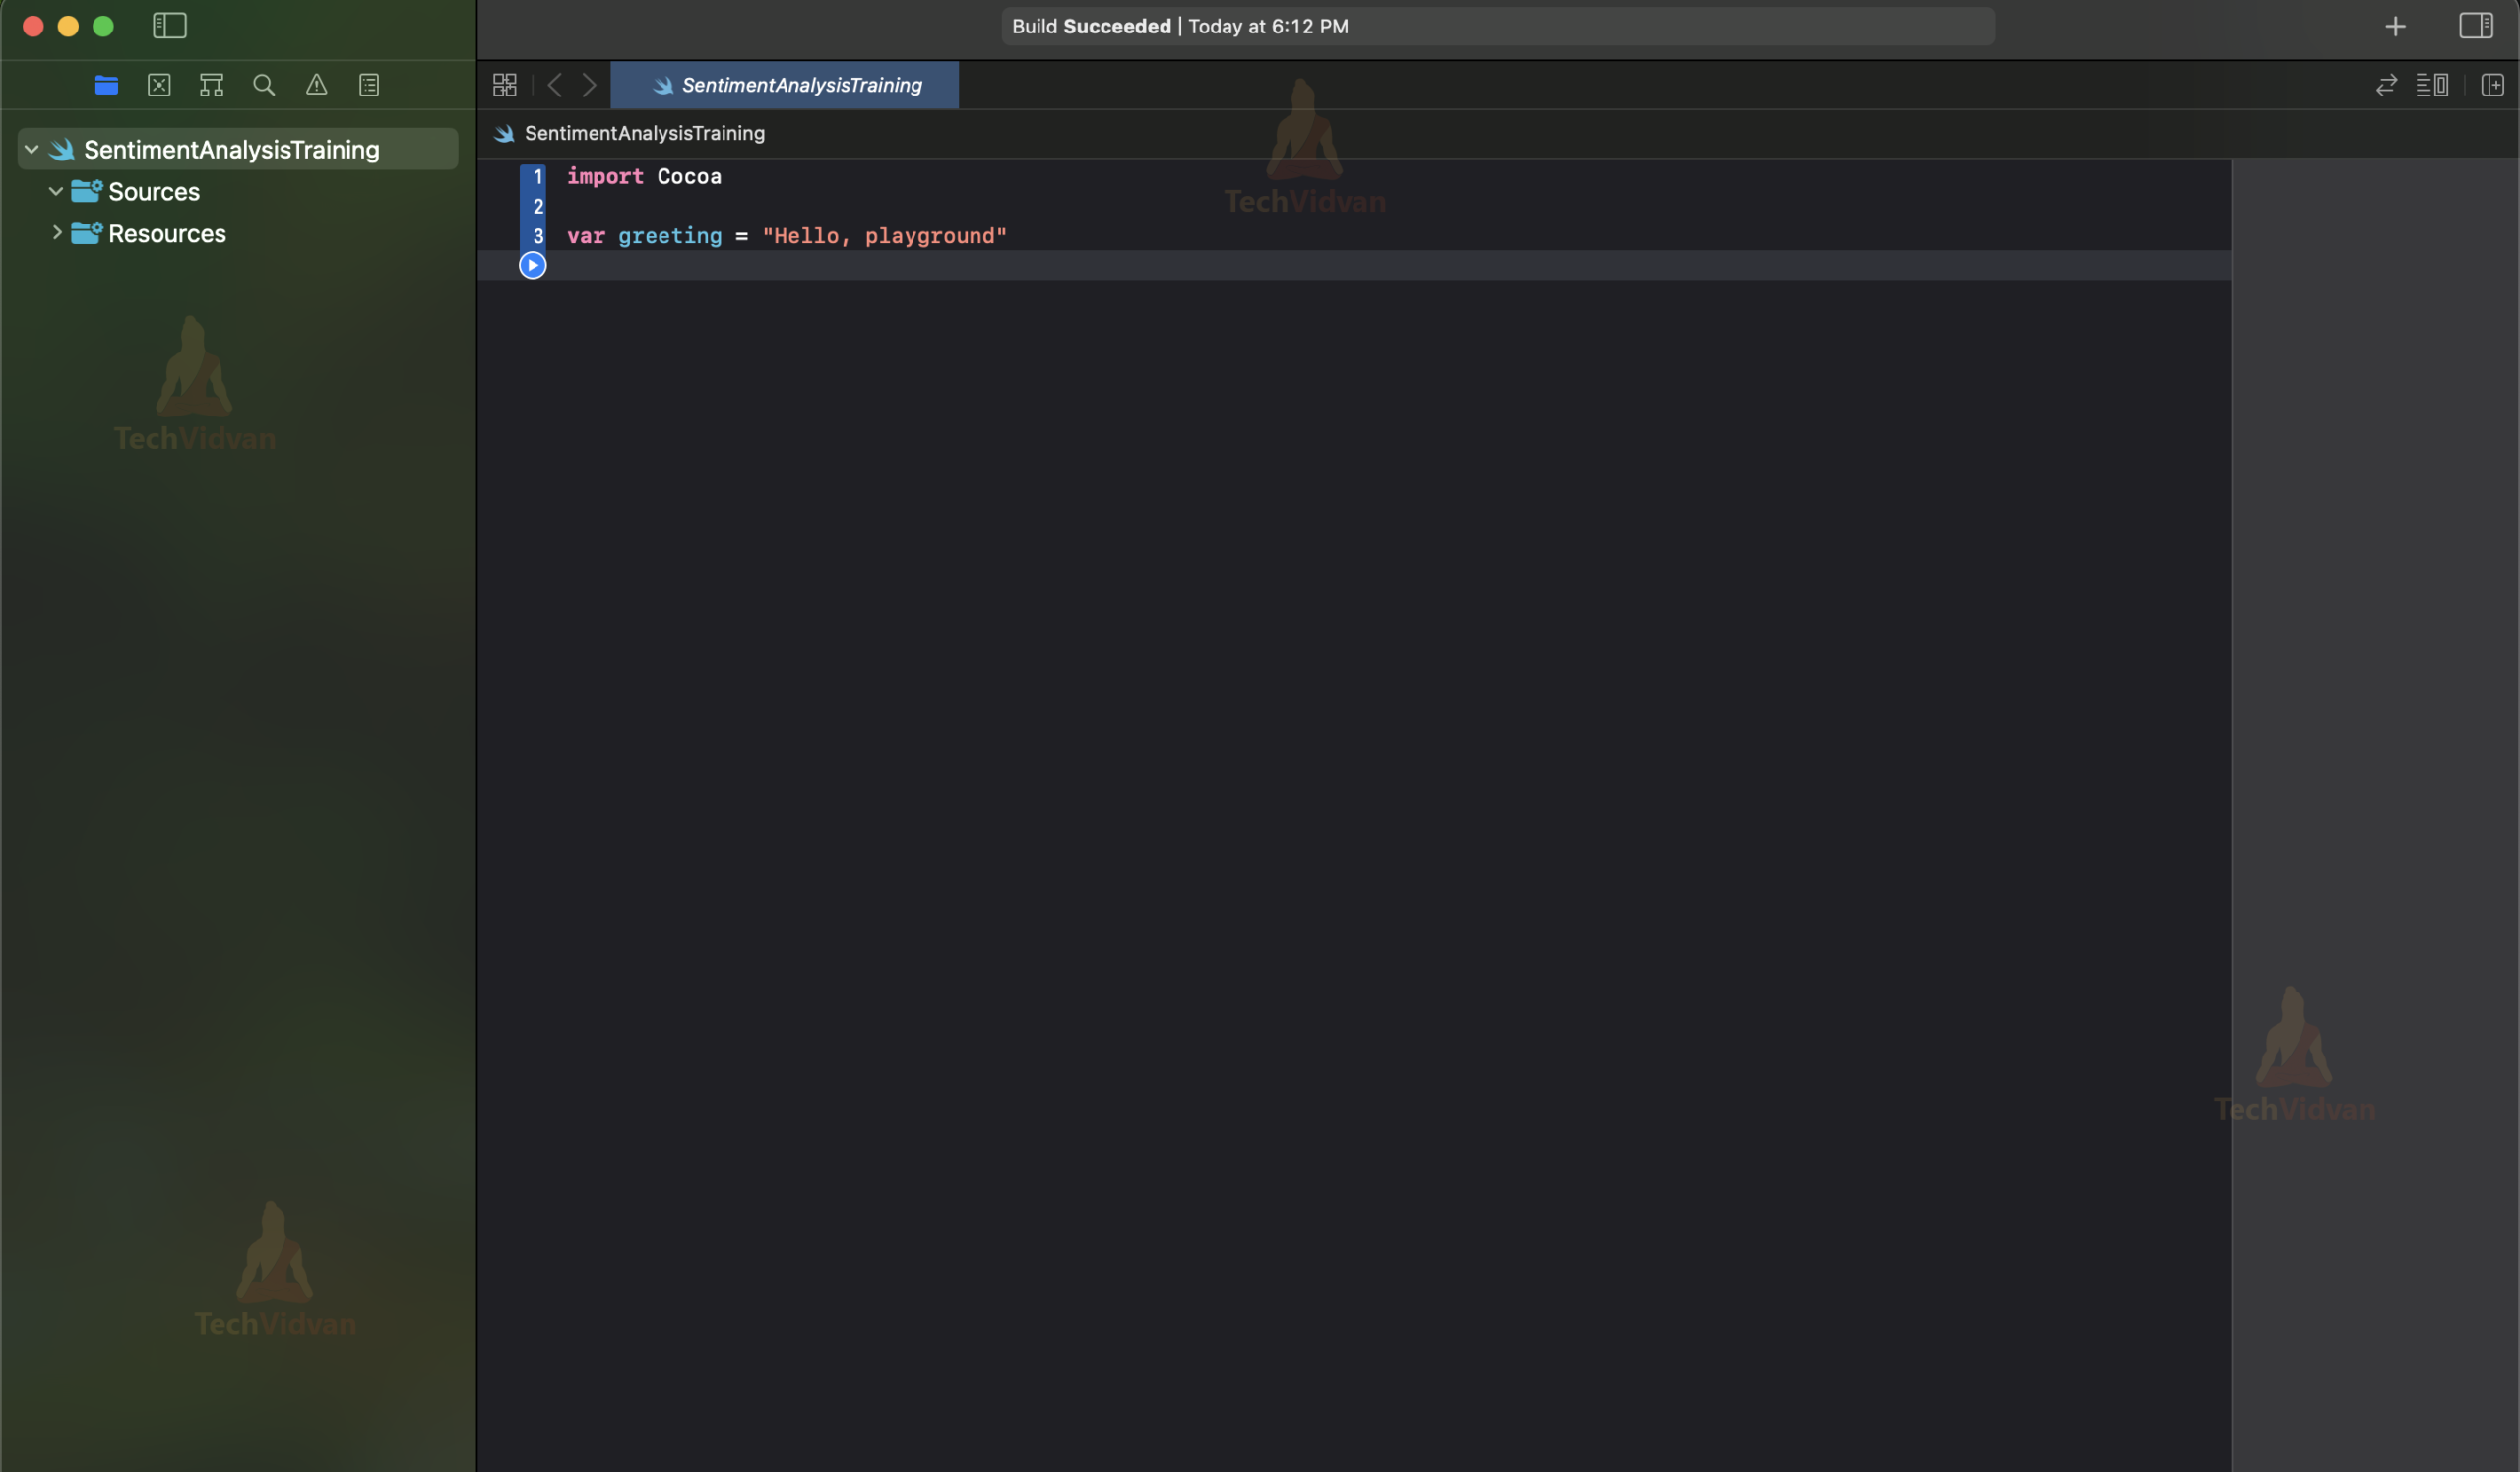
Now you will see something like this
c. In the first cell, import the necessary libraries:
//Importing the required libraries
import Cocoa
import CreateML
import Foundation
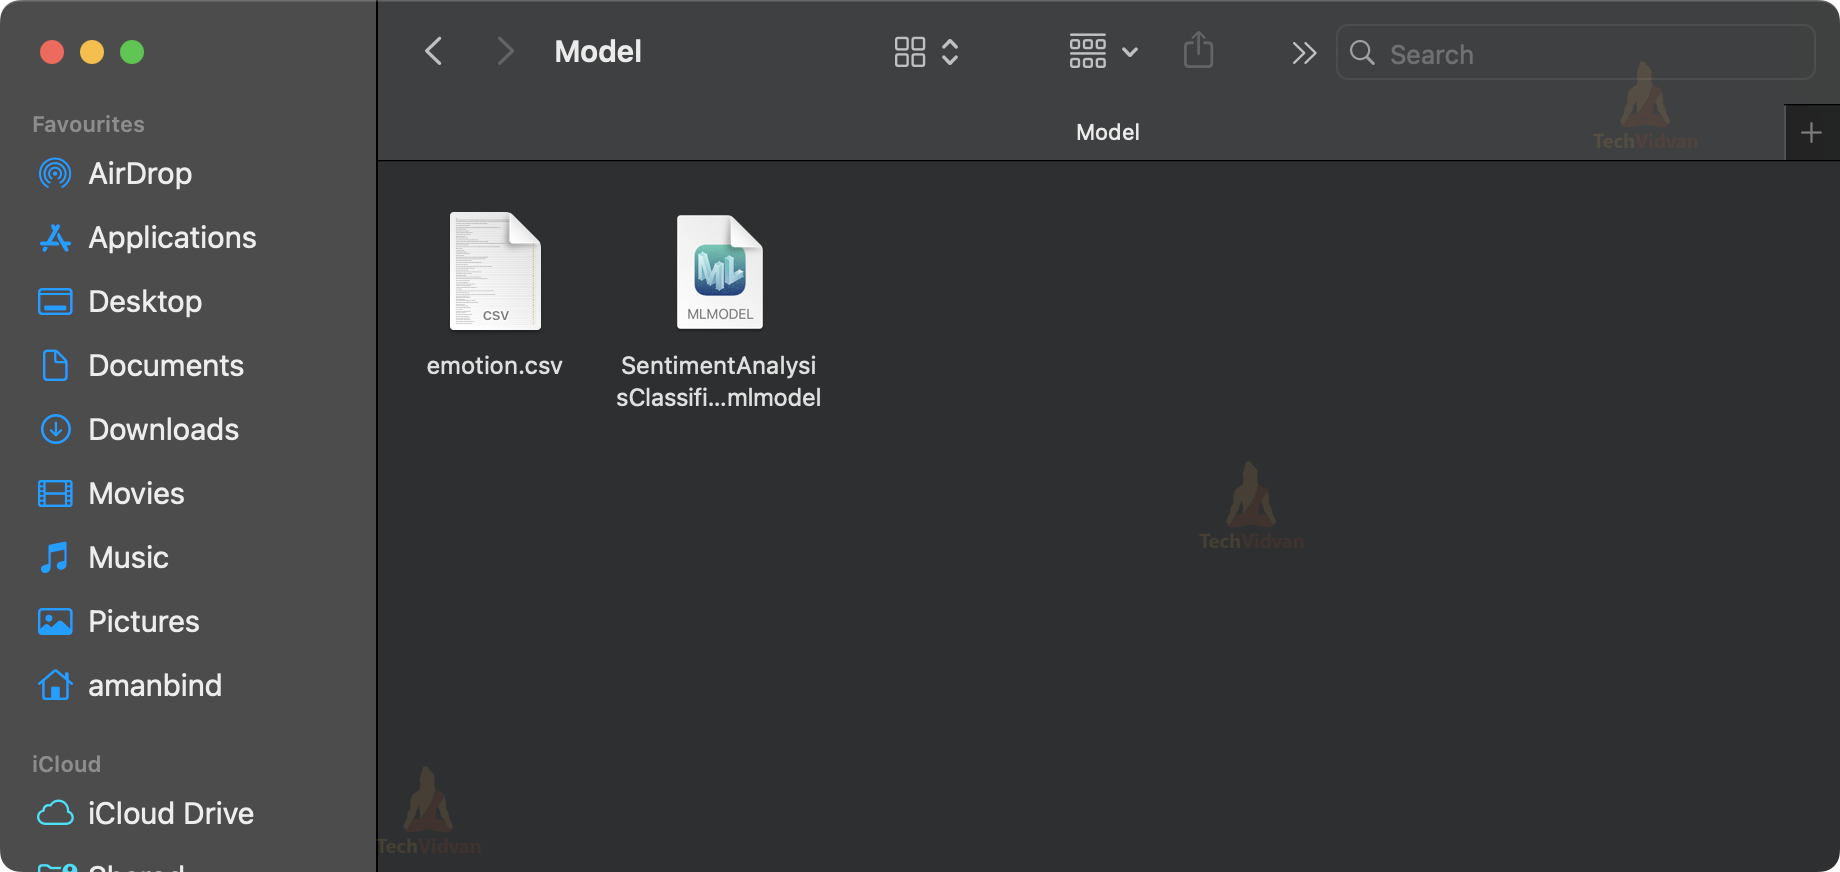
d. Provide the path for the dataset and output model.
// Setting the input and output file paths
let inputFilePath = "/Users/amanbind/Desktop/Model/tweet2.csv"
let outputFilePath = "/Users/amanbind/Desktop/Model/SentimentAnalysisClassifier.mlmodel"
e. Load the data into a DataFrame and split it into training and testing data
// Reading the data from the csv file
let data = try MLDataTable(contentsOf: URL(fileURLWithPath: inputFilePath))


// Splitting the data into training and testing data
let (trainingData, testingData) = data.randomSplit(by: 0.8, seed: 5)
f. In the third cell, create a sentiment analysis model using the data and set the metadata of the model.
// Creating the model
let sentimentClassifier = try MLTextClassifier(trainingData: trainingData, textColumn: "Text", labelColumn: "sentiment")


// Setting the model's metadata
let metadata = MLModelMetadata(author: "TechVidvan", shortDescription: "A model trained to classify the emotion of a sentence", version: "1.0")
g. Testing the accuracy of the trained model
// Testing the model
let evaluationMetrics = sentimentClassifier.evaluation(on: testingData, textColumn: "Text", labelColumn: "sentiment")
let evaluationAccuracy = (1.0 - evaluationMetrics.classificationError) * 100
h. Save the model to your local machine:
// Saving the model
try sentimentClassifier.write(to: URL(fileURLWithPath: outputFilePath), metadata: metadata)
i. Run the playground file. It will train the model and generate the ML model file in the specified folder

The training accuracy of our model after 16 training iterations is 99.93% and our Testing accuracy is 82.0%
Step 2: Create a new SwiftUI project in Xcode.
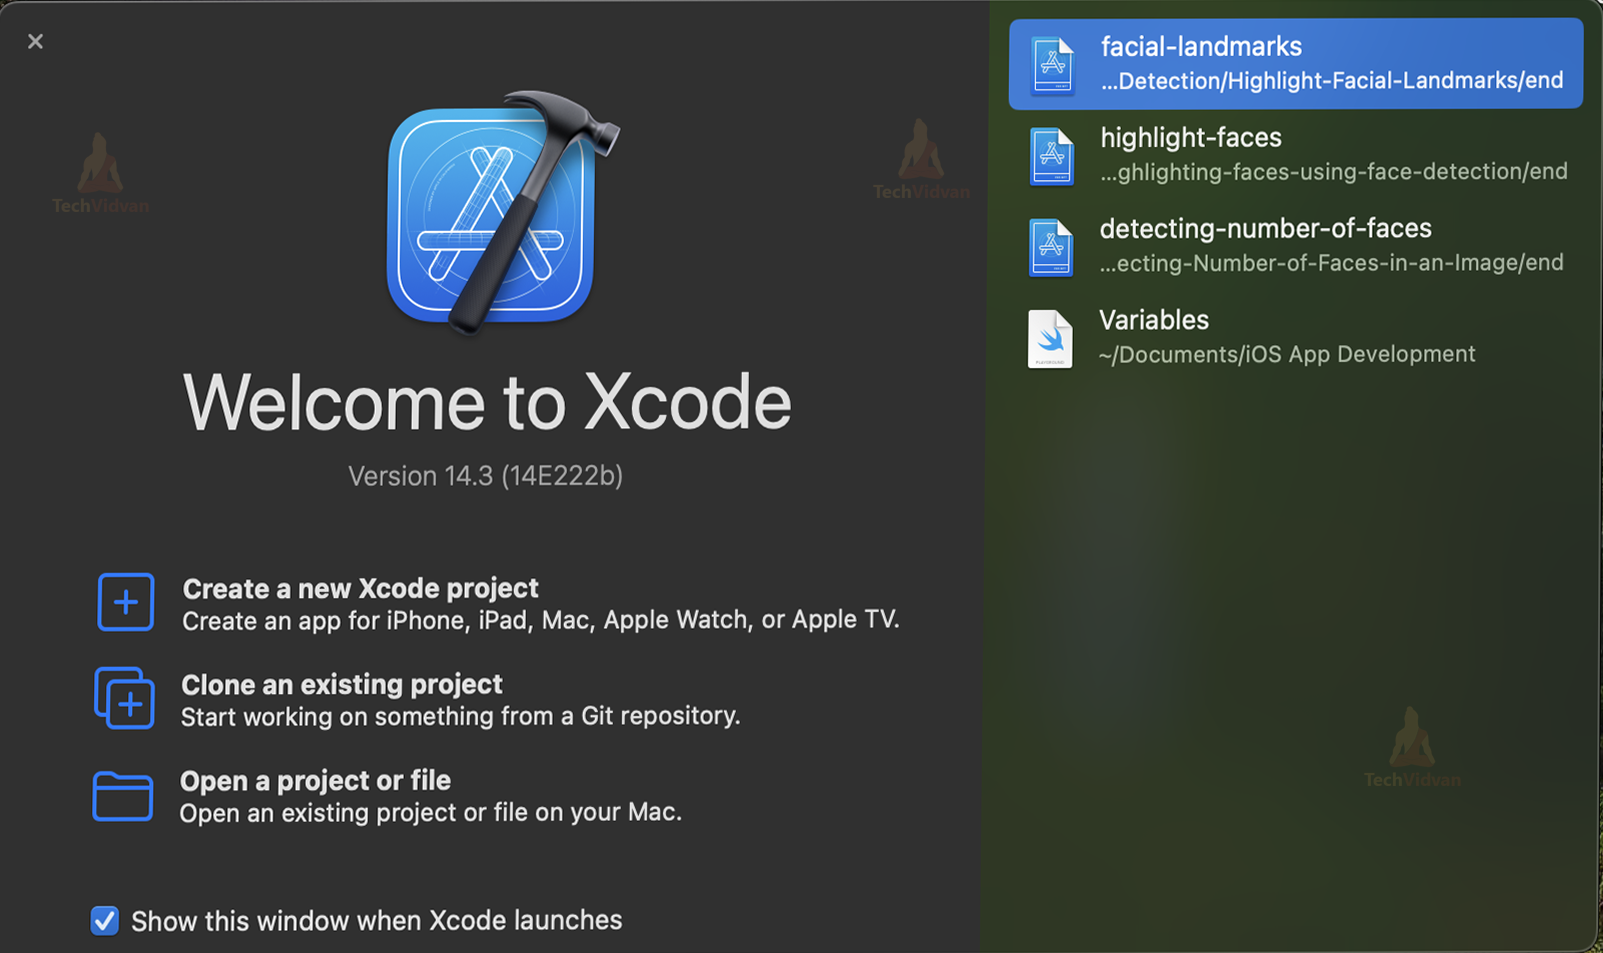
a. Open Xcode and Click on the “Create a new Xcode Project” option.
b. Now select platform as “iOS” and application type as “App”.

c. Now, Enter the name of the app and organization identifier, and select SwiftUI interface for building the UI of the app. Also, select Swift as the language for creating the app.

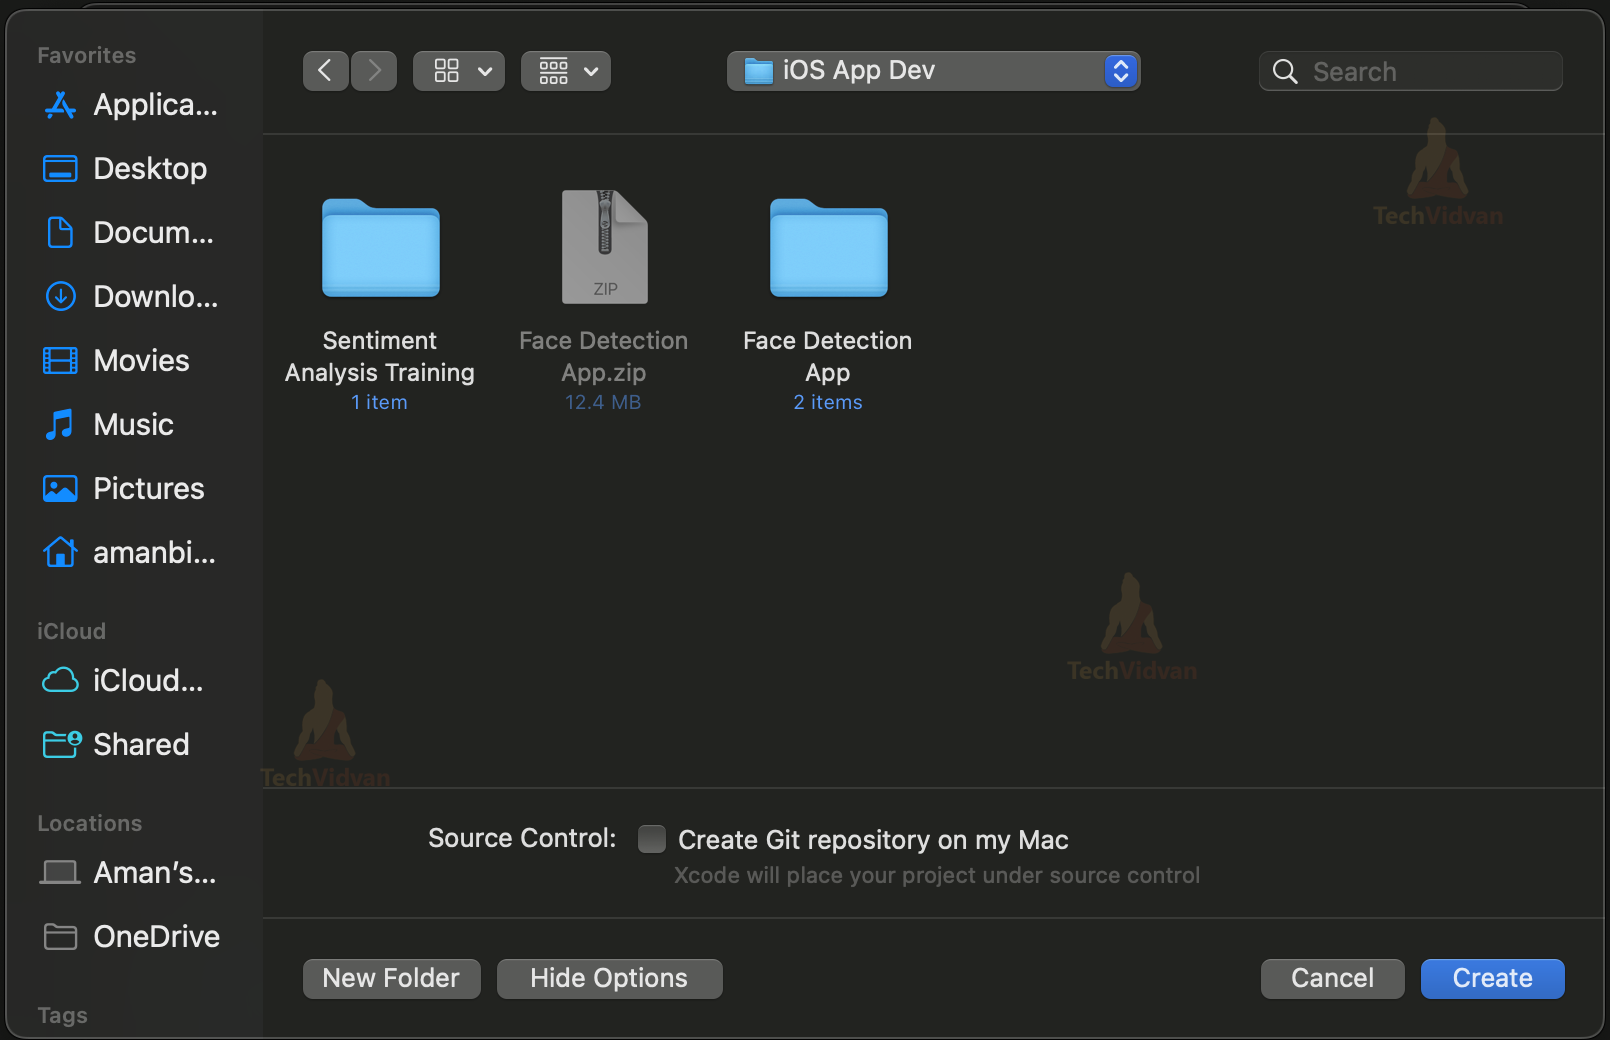
d. Select the folder where you want to save the app and click on Create.
e. Now your project is ready for development, and you will see something like below.

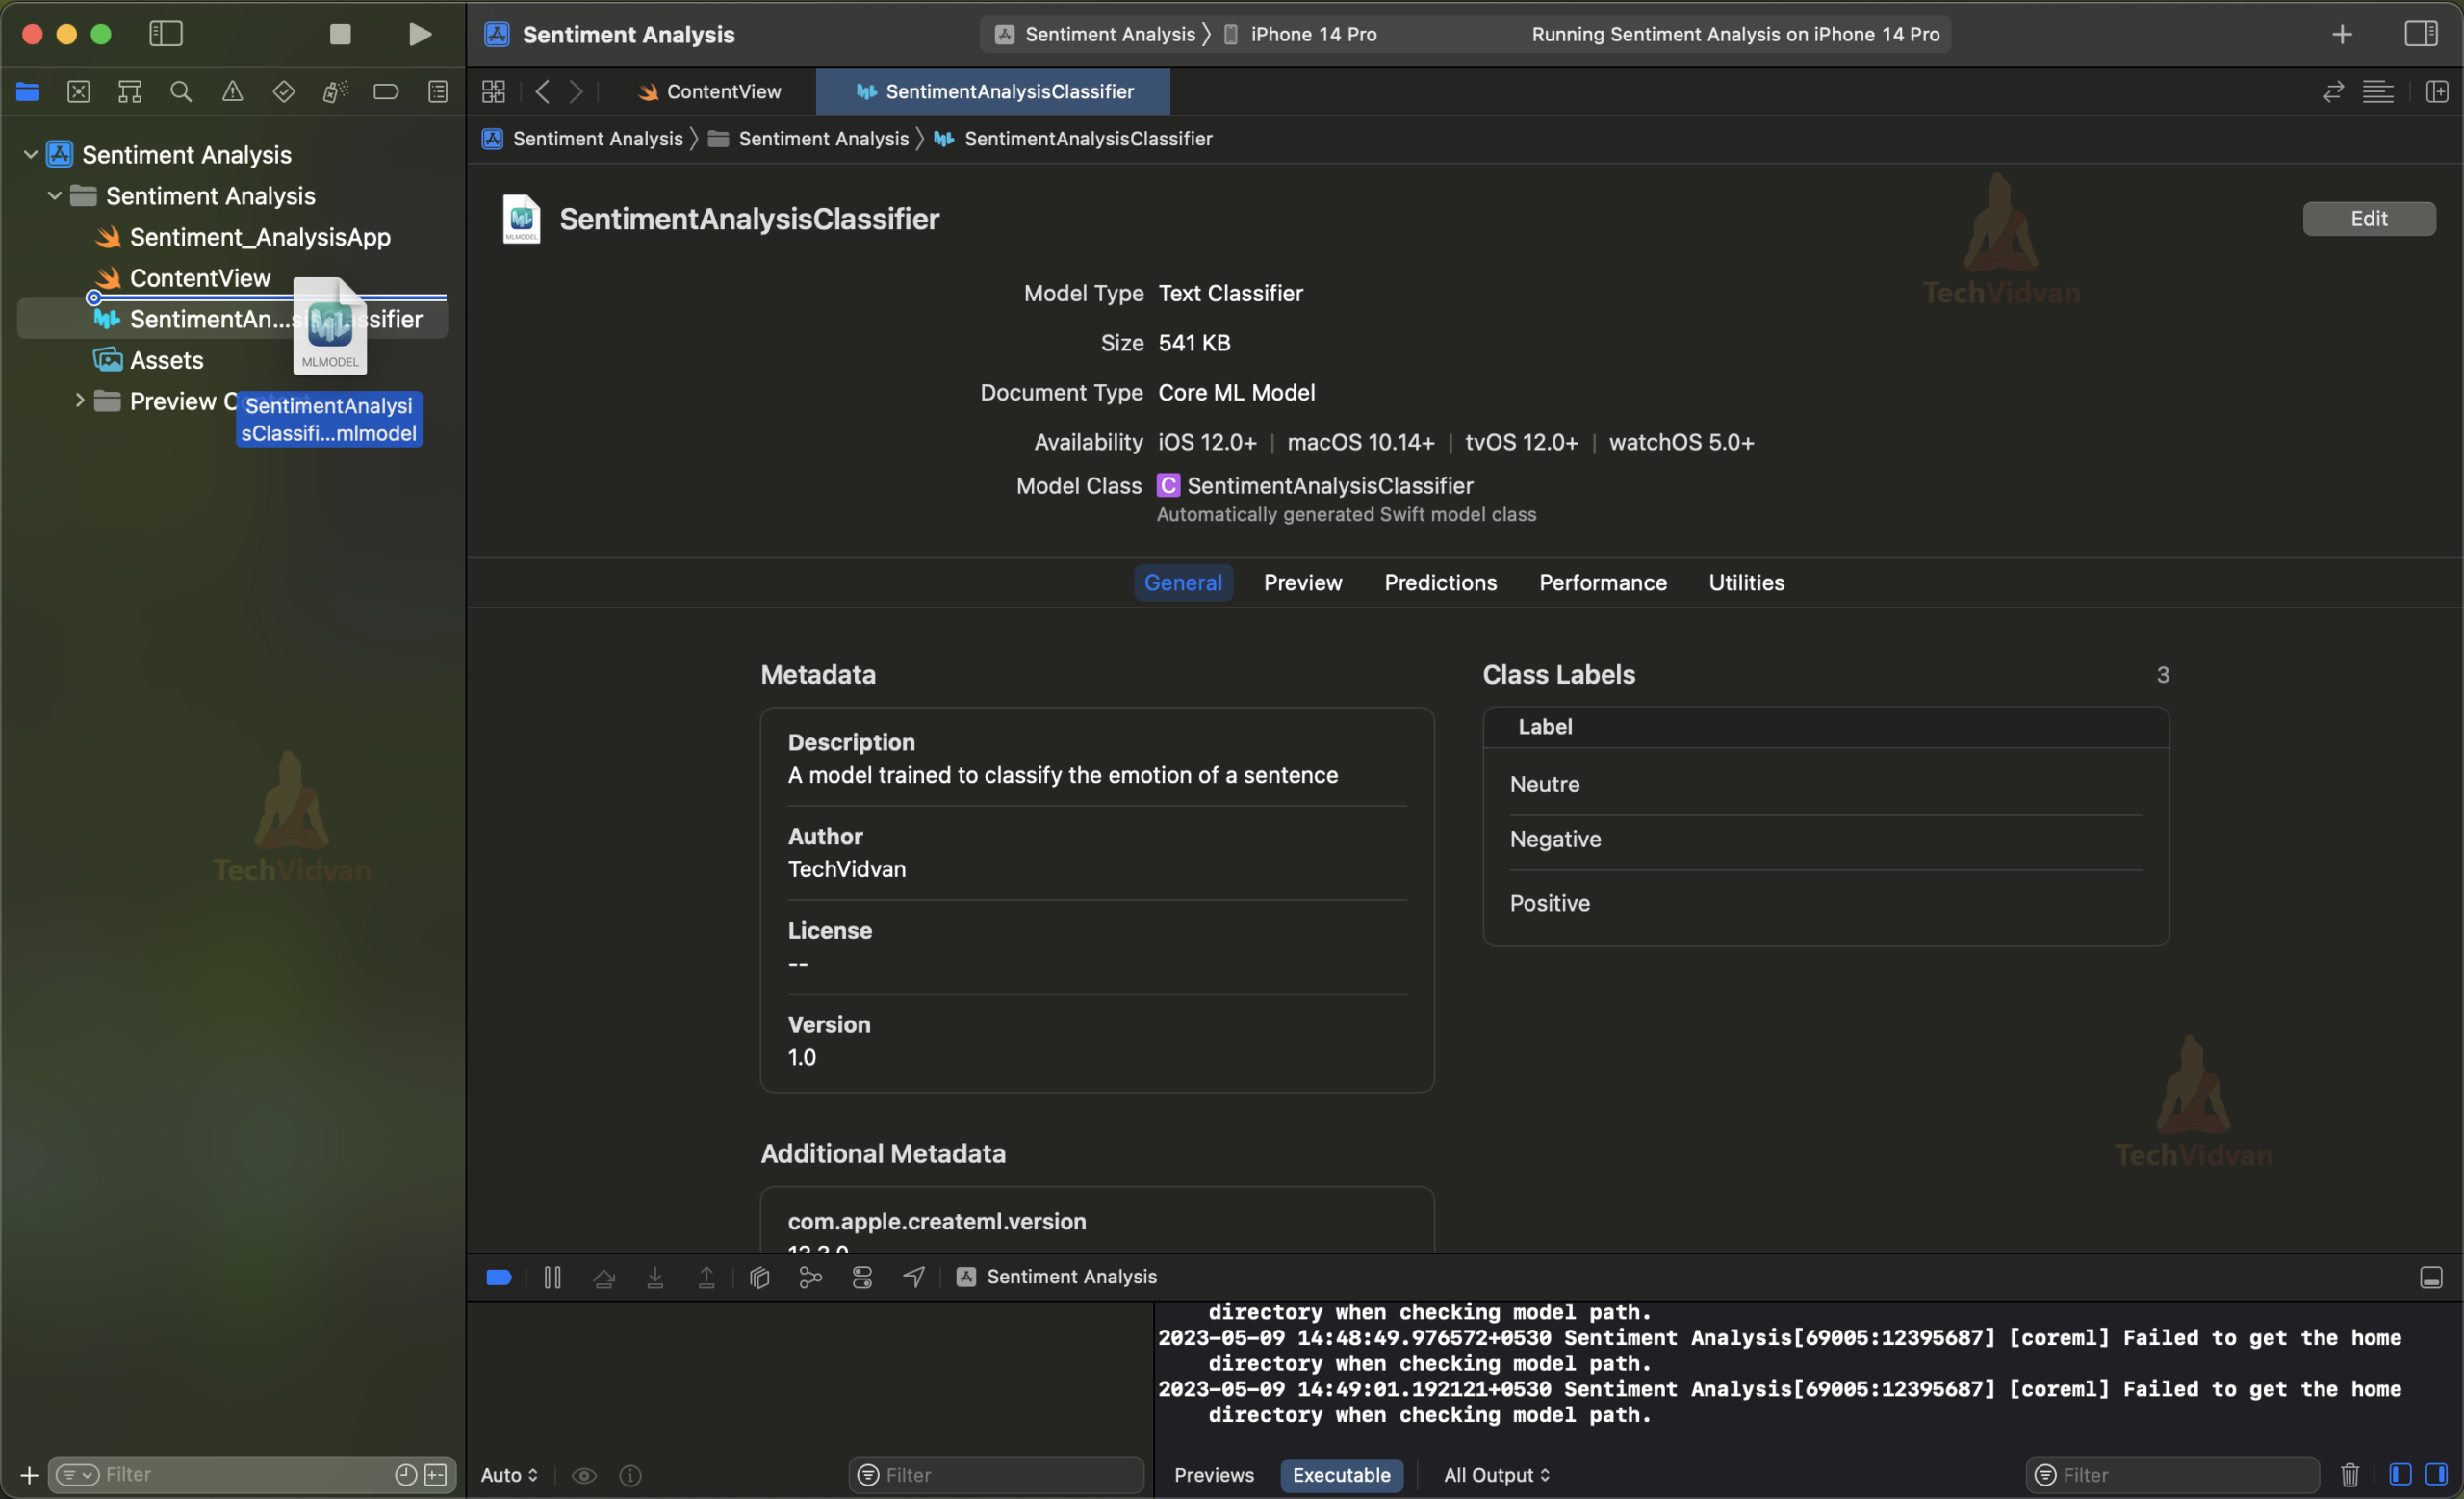
Step 3: Import the ML model into the project
Drag and drop the ML model file into the project navigator in Xcode
Step 4: Create the app UI and functionality
In the project navigator, select ContentView.swift
a. Add the necessary imports and variables: At the top of ContentView.swift, add the following
import SwiftUI
import CoreML
b. Inside the ContentView struct, add two @State variables to store the user-entered text and the sentiment prediction:
@State private var userInput = ""
@State private var sentimentPrediction = ""
c. Create the UI elements: Inside the body of the ContentView struct, create a VStack that contains a Text view, a TextField view, a Button view, and a Text view to display the sentiment prediction:
VStack {
    Text("Sentiment Analysis")
        .font(.largeTitle)
        .fontWeight(.bold)
        .padding(.top, 50)
    Spacer()
    VStack {
        TextField("Enter your text here", text: $userInput)
            .padding()
            .background(Color.white)
            .cornerRadius(10)
            .shadow(radius: 10)
        Button(action: {
            self.analyzeButton()
        }) {
            Text("Analyze")
                .fontWeight(.bold)
                .foregroundColor(.white)
                .padding(.vertical, 10)
                .padding(.horizontal, 30)
                .background(Color.indigo)
                .cornerRadius(50)
        }
        .padding()
        Text(sentimentPrediction)
            .padding()
            .font(Font(UIFont(name: "Arial", size: 100)!))

    }
    .padding(.horizontal, 30)
    .cornerRadius(20)
    .padding()
    Spacer()
}
d. In the Button view, call the analyzeButton() function when the button is tapped:
less
Button(action: {
                    self.analyzeButton()
                }) {
                    Text("Analyze")
                        .fontWeight(.bold)
                        .foregroundColor(.white)
                        .padding(.vertical, 10)
                        .padding(.horizontal, 30)
                        .background(Color.indigo)
                        .cornerRadius(50)
                }
                .padding()
e. Create the analyzeButton() function: Inside the ContentView struct, create the analyzeButton() function that will use the ML model to analyze the user-entered text:
private func analyzeButton() {
        let model = try! SentimentAnalysisClassifier(configuration: MLModelConfiguration())
        let input = SentimentAnalysisClassifierInput(text: userInput)

        guard let output = try? model.prediction(input: input) else {
            return
        }

        sentimentPrediction = output.label
    }
Now the full code will look like this.
import SwiftUI
import CoreML
struct ContentView: View {
    @State private var userInput = ""
    @State private var sentimentPrediction = ""

    var body: some View {
        VStack {
            Text("Sentiment Analysis")
                .font(.largeTitle)
                .fontWeight(.bold)
                .padding(.top, 50)
            Spacer()
            VStack {
                TextField("Enter your text here", text: $userInput)
                    .padding()
                    .background(Color.white)
                    .cornerRadius(10)
                    .shadow(radius: 10)
                Button(action: {
                    self.analyzeButton()
                }) {
                    Text("Analyze")
                        .fontWeight(.bold)
                        .foregroundColor(.white)
                        .padding(.vertical, 10)
                        .padding(.horizontal, 30)
                        .background(Color.indigo)
                        .cornerRadius(50)
                }
                .padding()
                Text(sentimentPrediction)
                    .padding()
                    .font(Font(UIFont(name: "Arial", size: 100)!))

            }
            .padding(.horizontal, 30)
            .cornerRadius(20)
            .padding()
            Spacer()
        }
    }

    private func analyzeButton() {
        let model = try! SentimentAnalysisClassifier(configuration: MLModelConfiguration())
        let input = SentimentAnalysisClassifierInput(text: userInput)

        guard let output = try? model.prediction(input: input) else {
            return
        }


        if output.label == "Positive" {
            sentimentPrediction = "🙂"
        }
        else if output.label == "Negative" {
            sentimentPrediction = "☹️"
        }
        else if output.label == "Neutre" {
            sentimentPrediction = "😐"
        }


    }
}
struct ContentView_Previews: PreviewProvider {
    static var previews: some View {
        ContentView()
    }
}

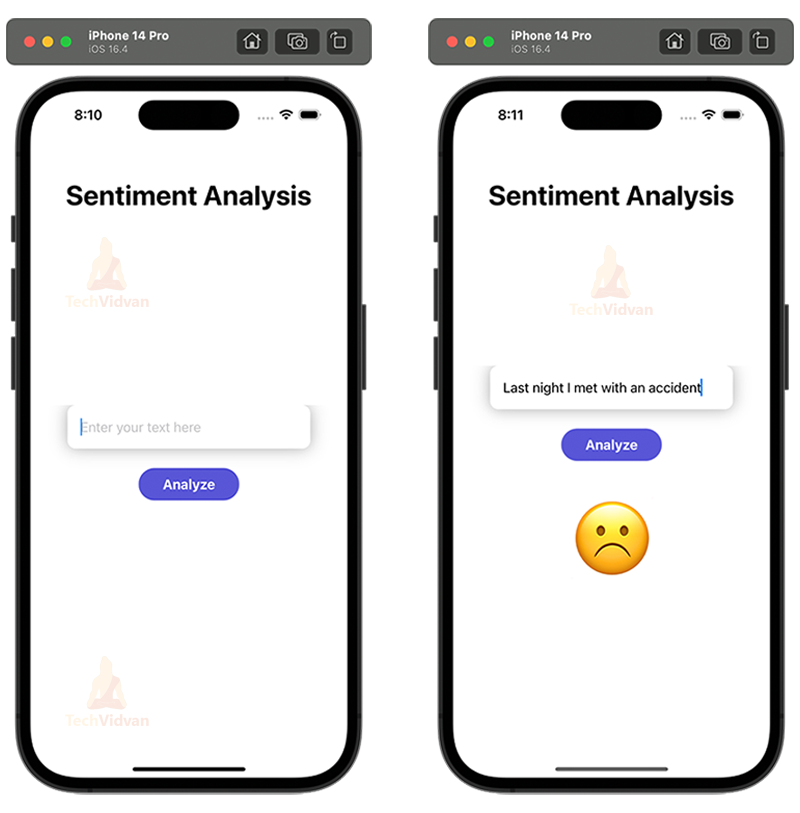
Step 5: Test the app on a simulator or a physical iOS device.


Summary
Congratulations, you have successfully created a Sentiment Analysis iOS app using SwiftUI and Core ML! You have learned how to train a machine learning model using Xcode playground and how to use the model to predict whether a given text is positive or negative. You can now customize the app according to your needs, such as adding more features, improving the user interface, or integrating it with other APIs. Keep exploring the exciting world of Machine Learning and iOS development!