Create First Java Program in Eclipse for Java Programming
In this article, we will learn to develop the first project of the HelloWorld program in Eclipse IDE. If you are a beginner in Java programming and Eclipse IDE, this step-by-step tutorial will help you get familiar with the Eclipse IDE and we will create first Java program in Eclipse.
And then, you will be easily able to build and run your program inside Eclipse IDE.
Prerequisites
You need to have the following two things to build a program in Eclipse IDE:
- JDK(Java Development Kit)
- Eclipse IDE
Downloading Eclipse IDE
Eclipse IDE is the most popular Integrated Development Environment for developing Java applications. This IDE is a robust, feature-rich, easy-to-use, and powerful which is the first choice of almost Java programmers in the world. Eclipse IDE is totally free.
As of now, the latest release of Eclipse is Oxygen (version 4.7), which was released in 2017. Firstly you need to download Eclipse.
You can install Eclipse IDE either by downloading the Eclipse Installer or package (zip file). We would recommend you to download it by the package. Eclipse provides various packages for different development purposes. There are two main packages listed in Eclipse for Java:
- Eclipse IDE for Java EE Developers: For developing Java EE applications(web applications using Servlets & JSP).
- Eclipse IDE for Java Developers: For developing Java SE applications, which is a subset of the Java EE Developer package.
To start downloading the package, click on the link 32-bit or 64-bit, depending upon the bit version of your operating system. You will see the package name like eclipse-jee-2018-09-win32.zip
Now, extract this ZIP file into a directory on your computer. Install the Eclipse IDE. Now let us start building the first project in Eclipse:
Create a Java Project
Step 1: To create a new Java project in Eclipse, go to File > New > Project.
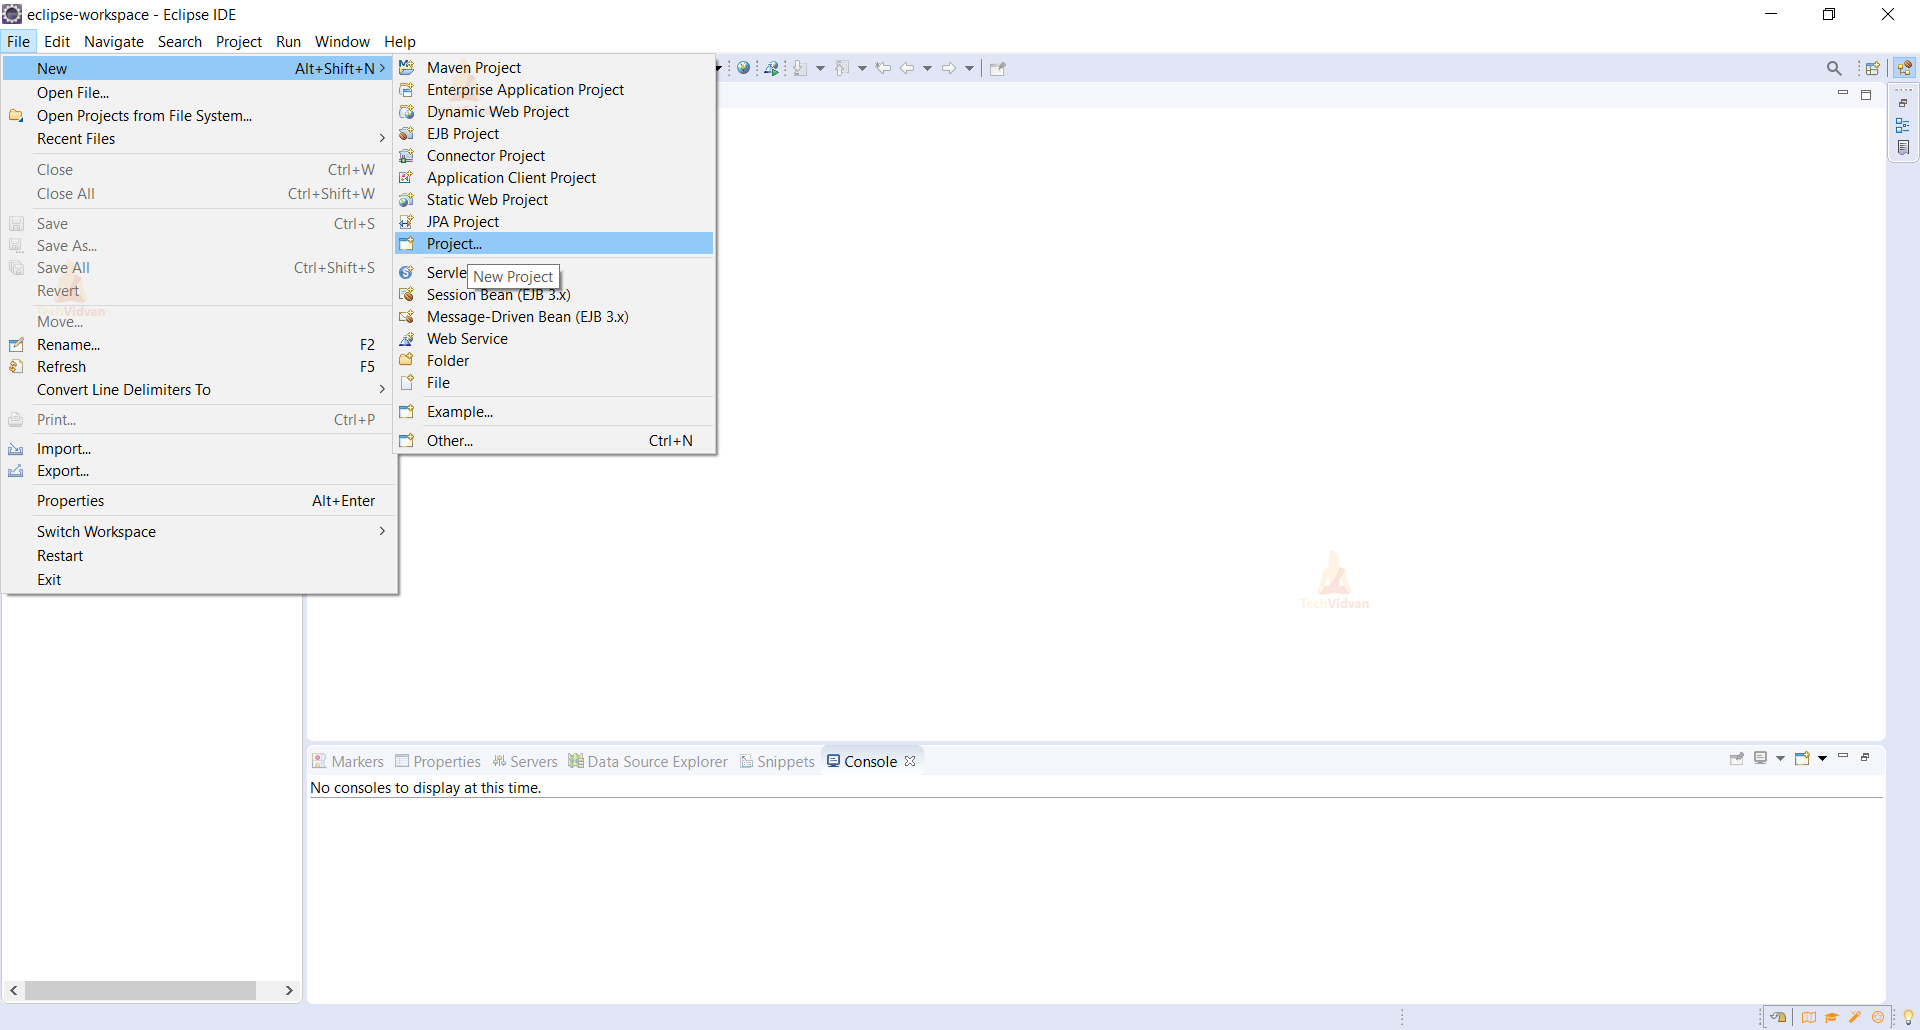
Step 2: The New Java Project wizard dialog appears to let you specify configurations for the project. Select the Java Project option in it.

Step 3: After that, you will see the below screen. Enter the project name as HelloWorld. After that, click the Finish button.

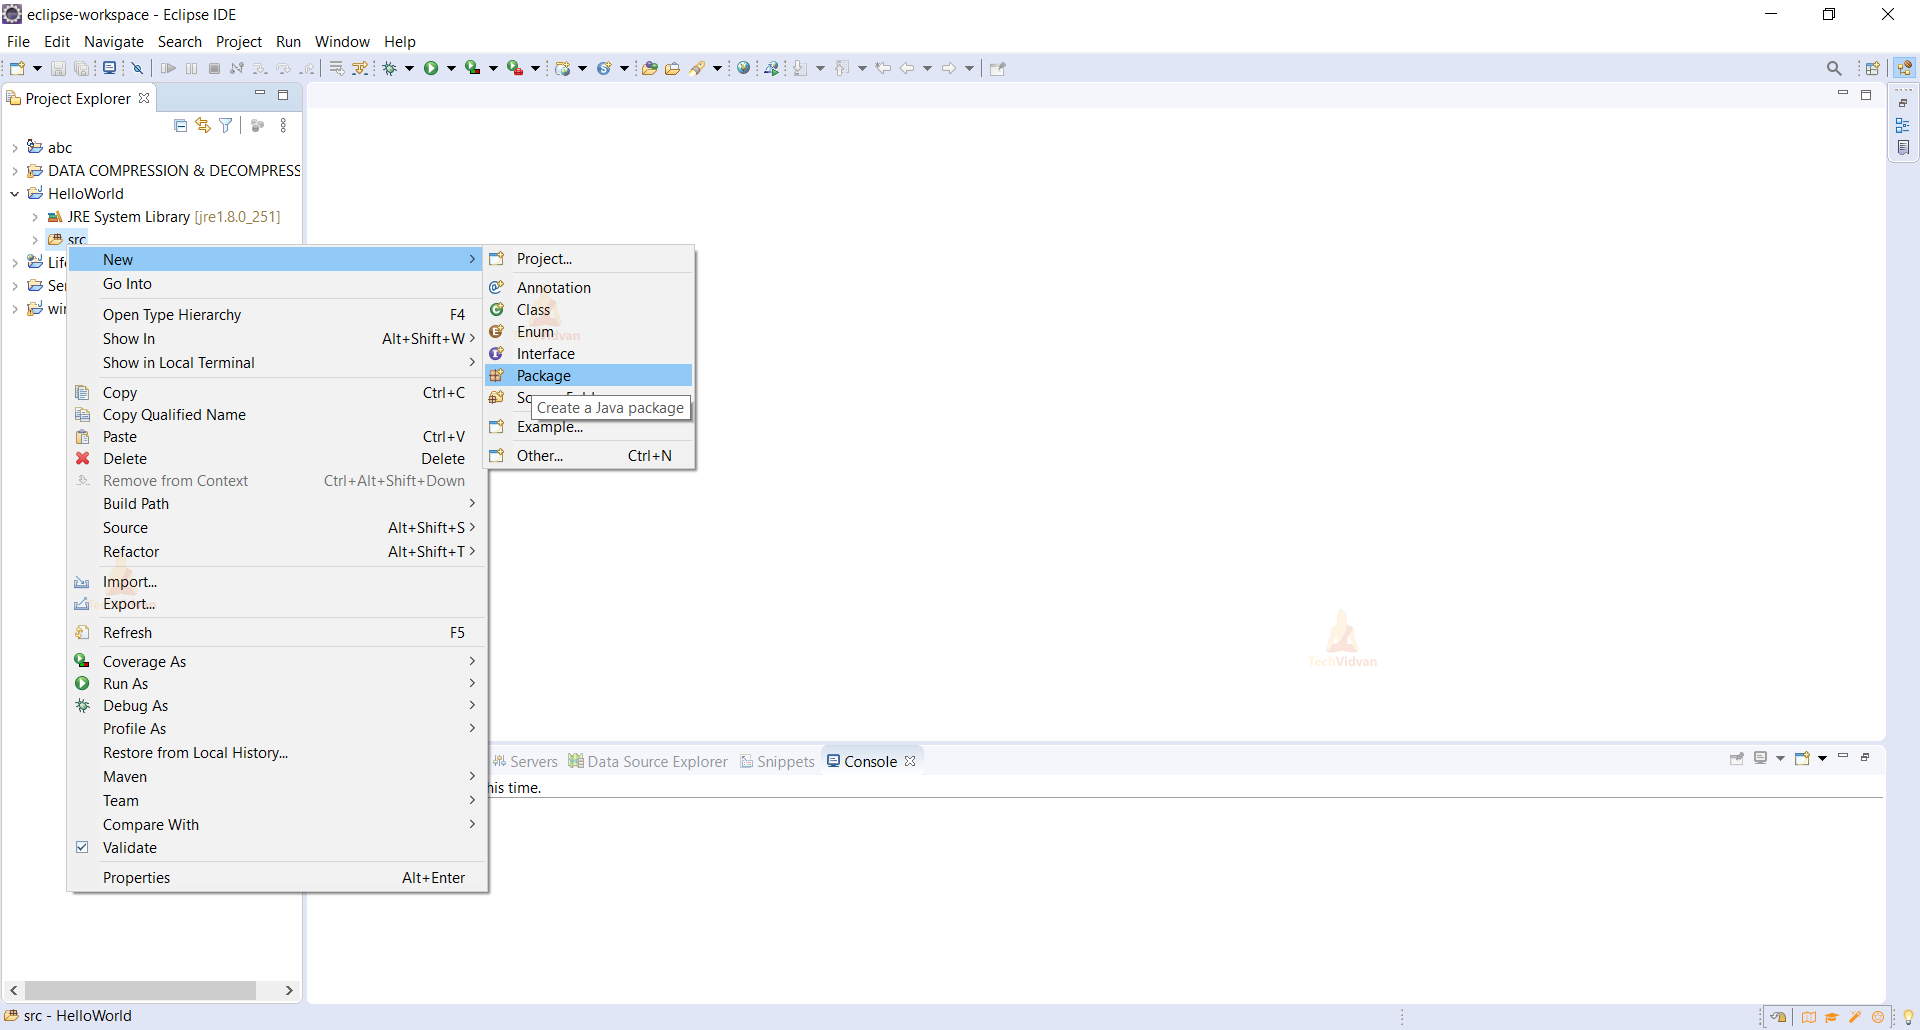
Step 4: It is recommended to create a package for your project. Right-click on the project option, and select New > Package from the context menu like this:
Step 5: In the New Java Package dialog, enter the name of your package. Here I have entered com.techvidvan.helloworldprogram:
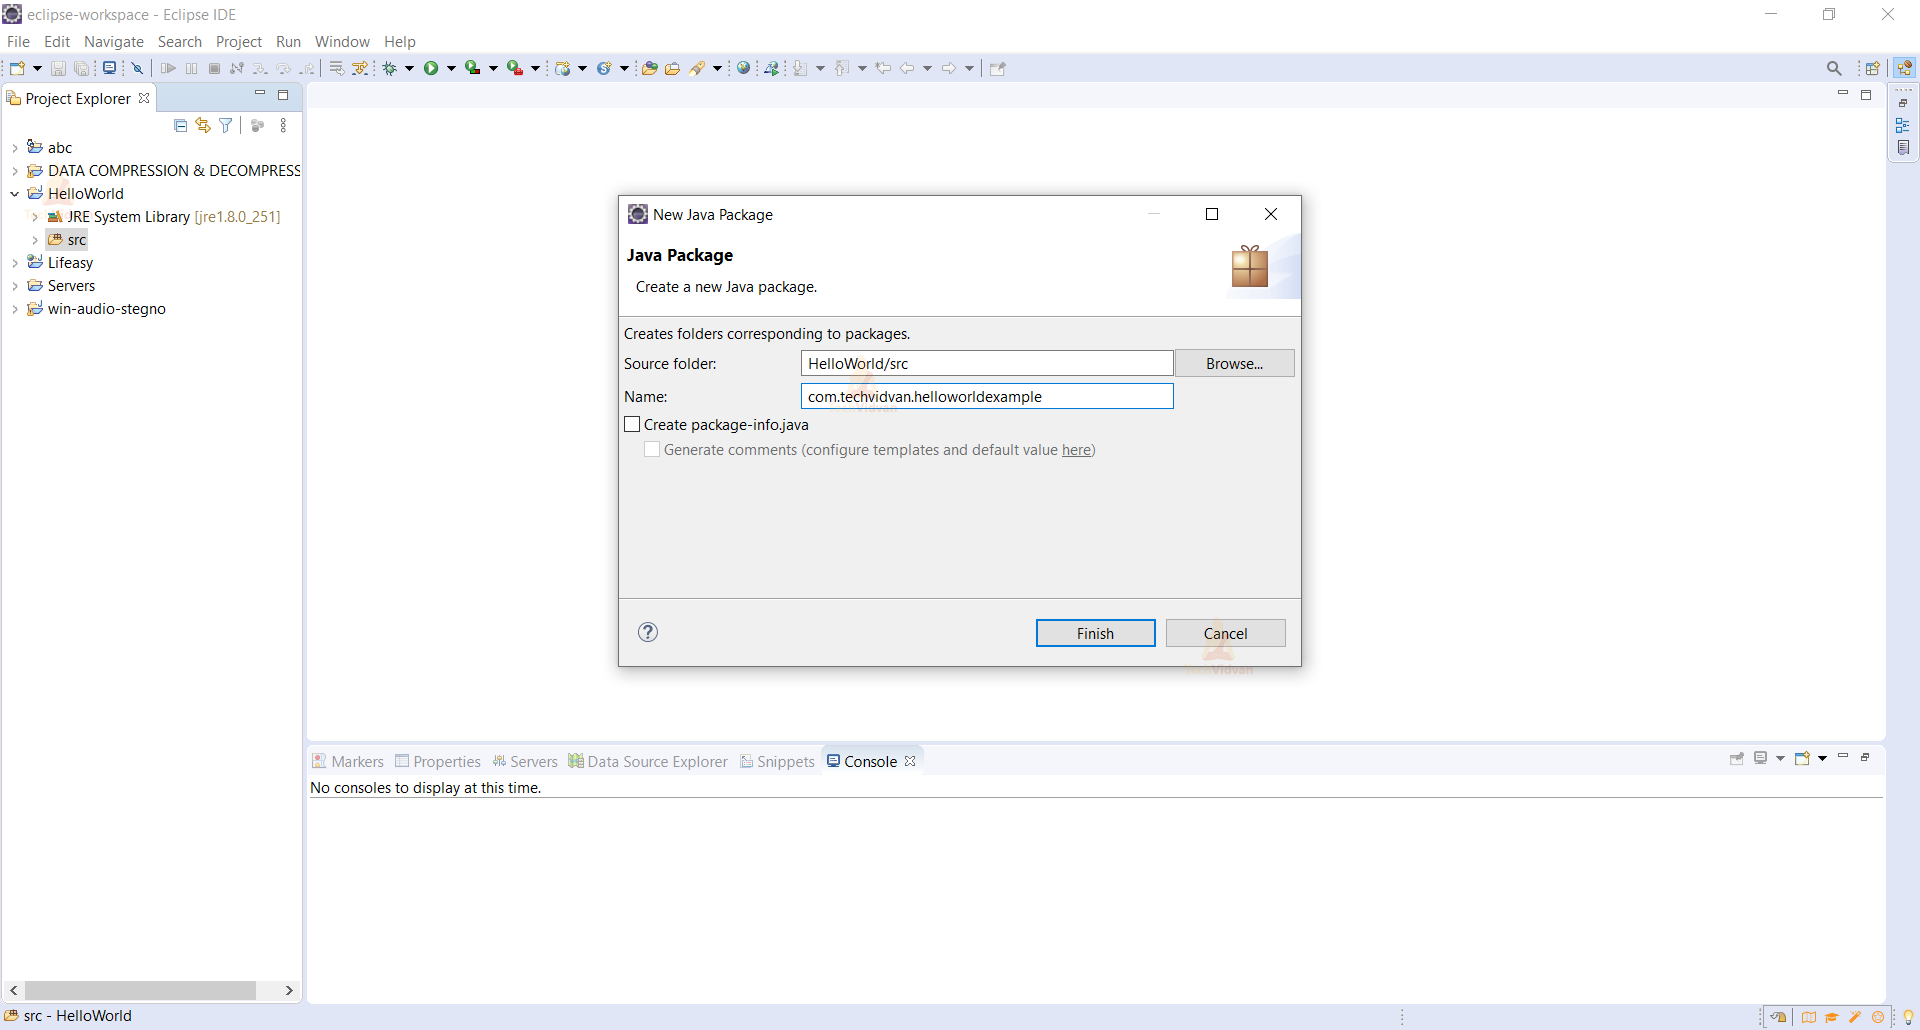
Click the Finish button. You will see a newly created package appears on the left side.
Now, it is time to create a Java class for your hello world application.
Write Your First Java Program
Step 6: To create a new Java class under a specified package, right-click on the package and select New > Class from the context menu:

Step 7: The New Java Class dialog appears, type the name of the class as HelloWorld and choose the option to generate the main() method:
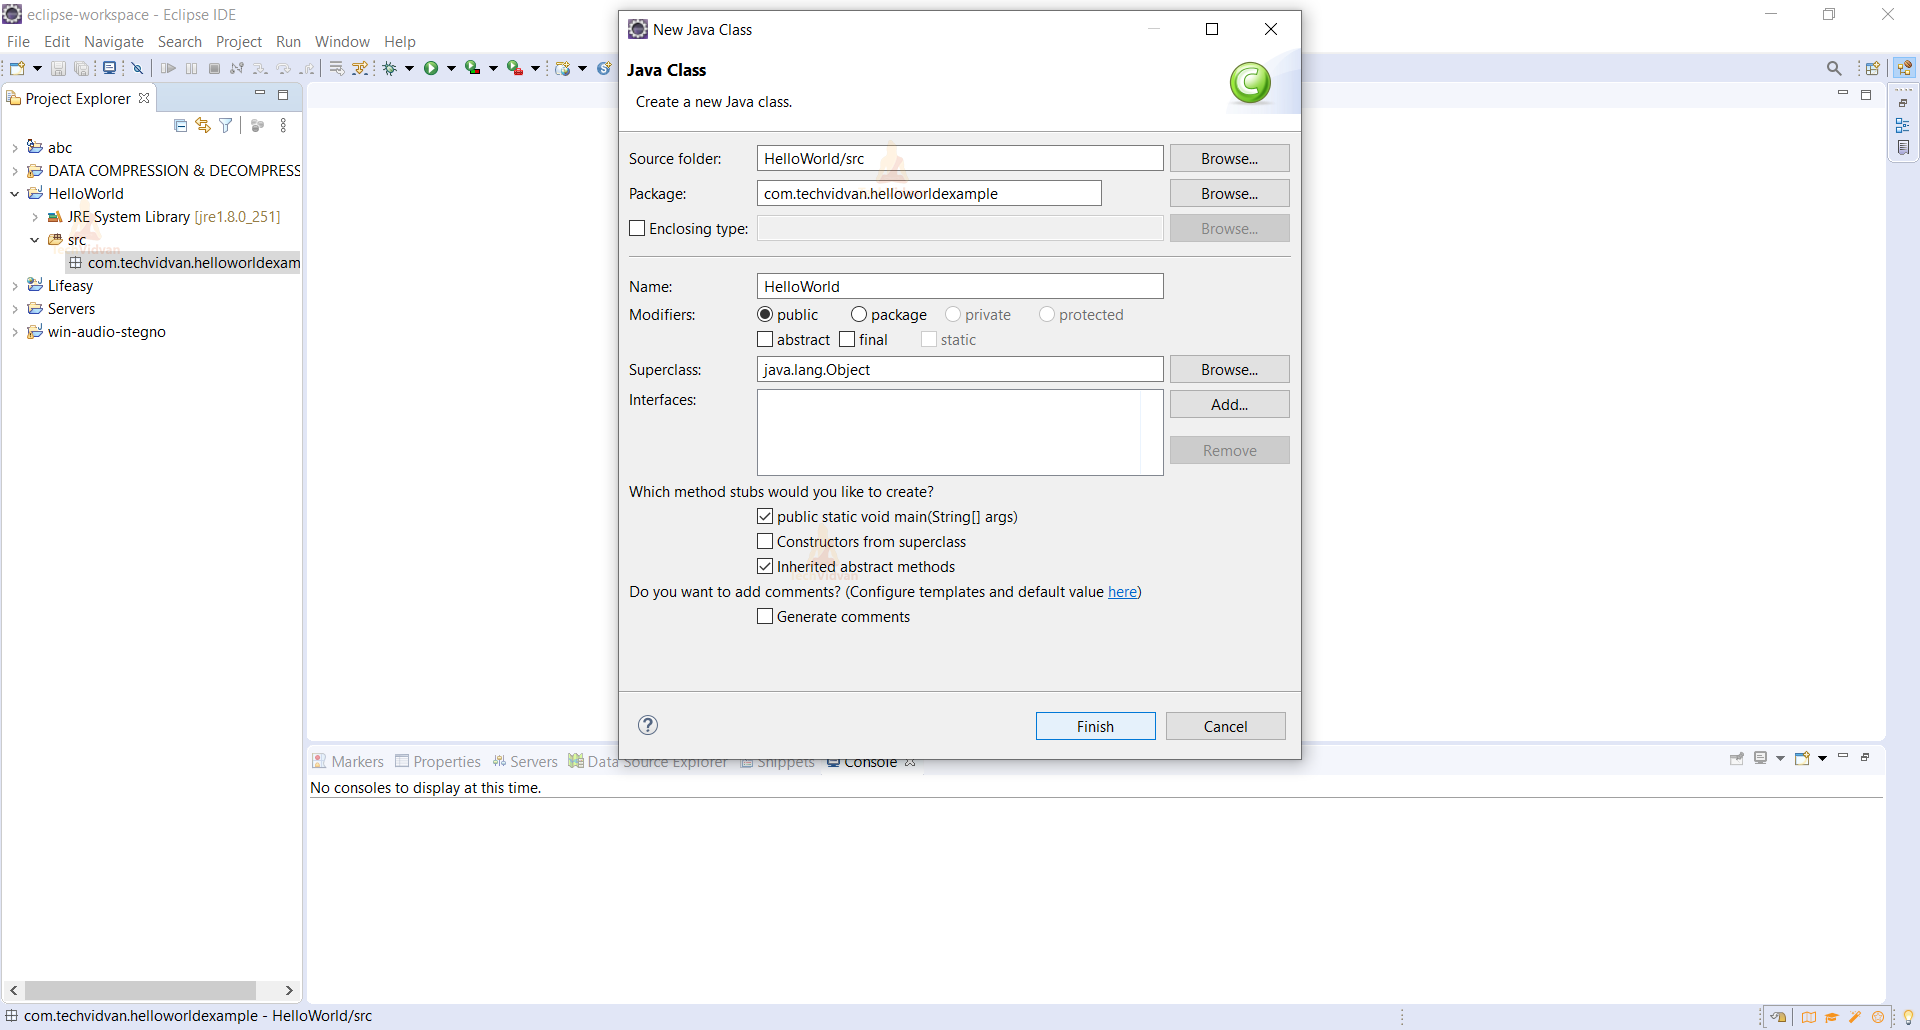
And click Finish. The HelloWorld class is generated.
Write Java Code
Step 8: Edit the generated ‘HelloWorld’ java class as per the following code.
File: HelloWorld.java
package com.techvidvan.helloworldexample;

public class HelloWorld {

  /**
     * @param args
     */
  public static void main(String[] args) {
    System.out.println("Hello World!");
  }

}
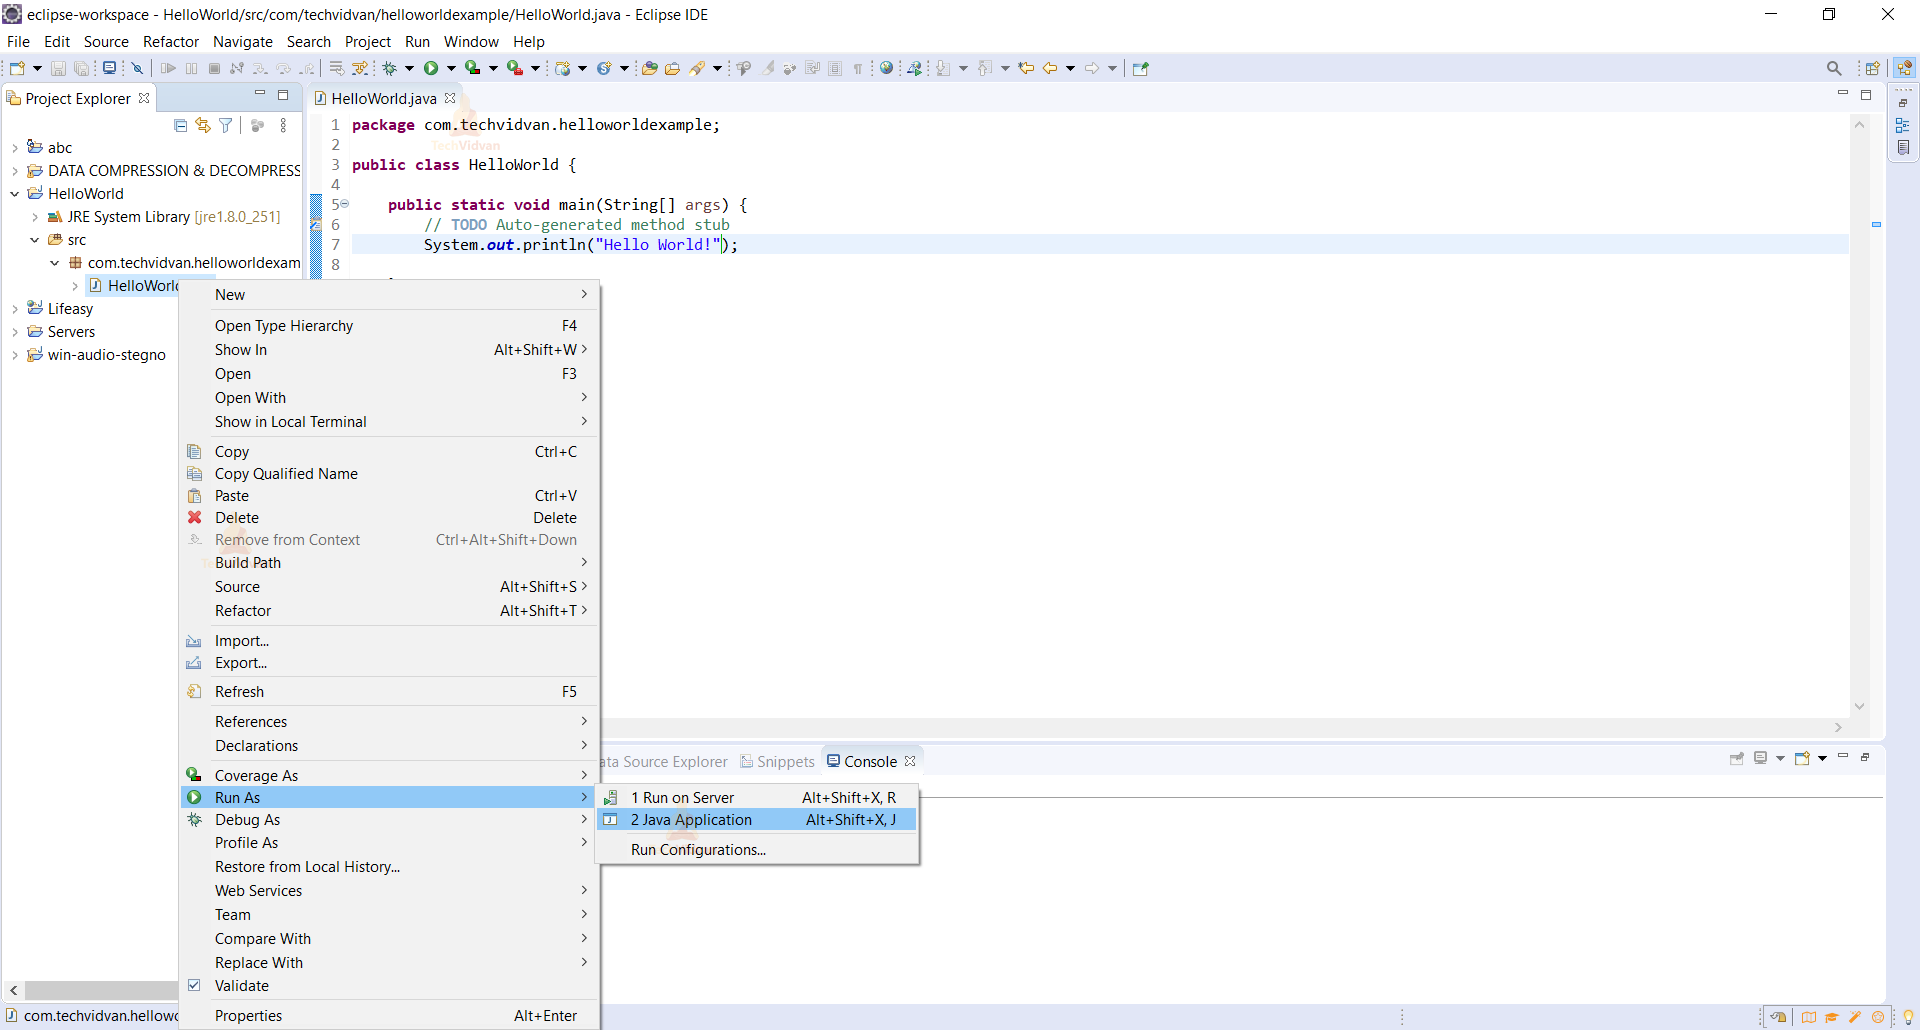
Step 9: Run Your Code
Right-click on ‘HelloWorld.java’ and select from context menu Run As > Java Application.
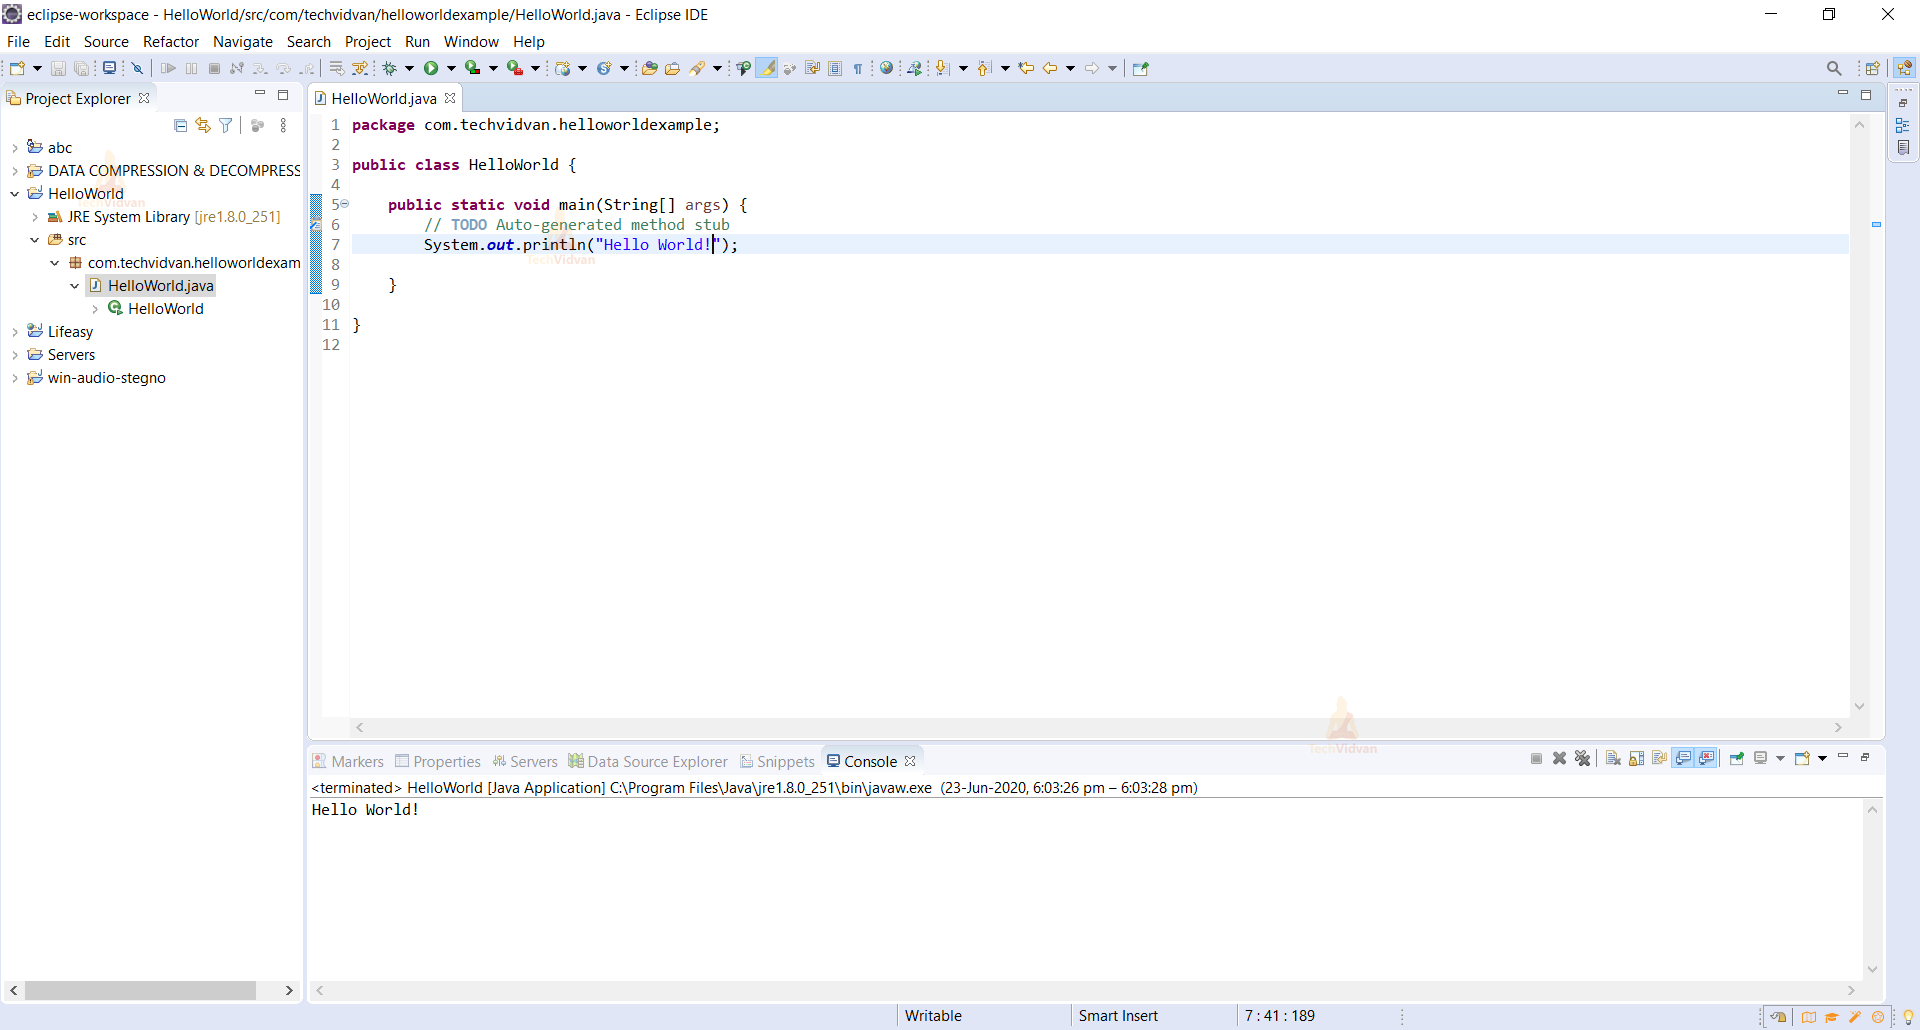
After running the program, you will get the following output:
Conclusion
So, we have come to the end of this article. We created the first java program in Eclipse to create a HelloWorld program. Now, you can start developing your programs and applications in Java in the Eclipse IDE.
Hope you liked the article!!!