Java Installation (Ubuntu and Windows) – A Complete Step-by-Step Guide for Beginners!
We know that Java is the king of all programming languages and it is one of the most widely used programming languages among enterprises and users. It can be used to develop anything ranging from any kind of software to a web-based application.
In this article, we will learn the installation of Java on the Ubuntu and Windows platform. The latest version of Java is Java 13 which Oracle released in 2019.
Java Installation
The Linux team has developed an installer script that automatically downloads and installs Oracle JDK 13.
Java Installation on Ubuntu
Here is a step-by-step and simple process to install the latest version of Java –
Step 1:
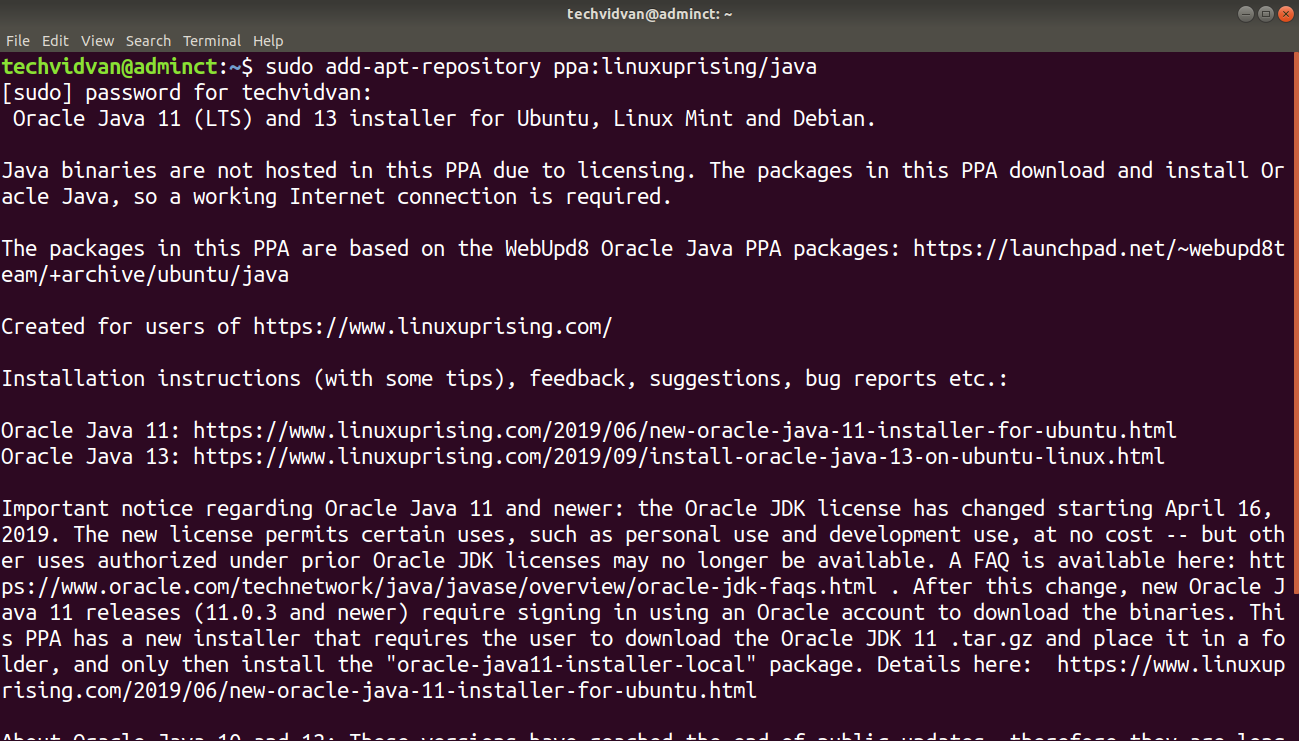
Open the terminal either by searching ‘terminal’ in the menu or just by shortcut Ctrl+Alt+T. When it opens, run commands to add the PPA (Personal Package Archives):
sudo add-apt-repository ppa:linuxuprising/java

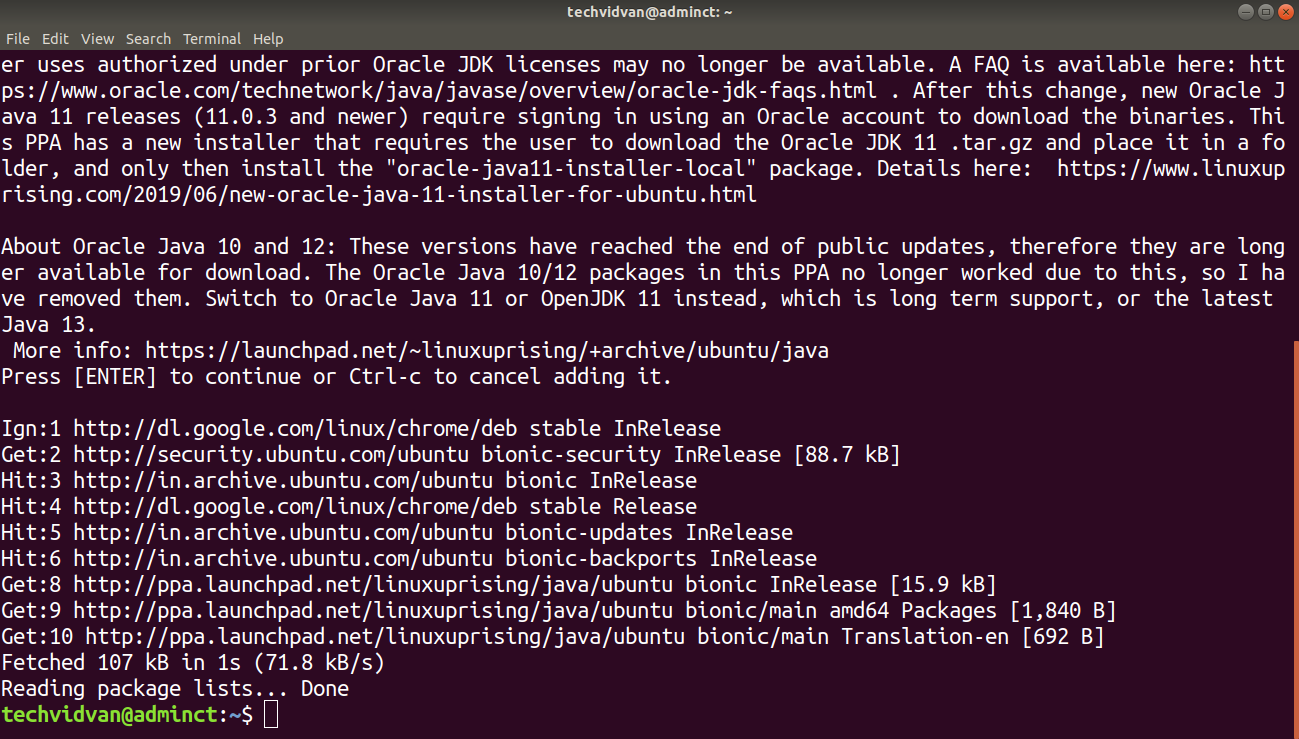
Step 2 :
Now, type your Login password and press ‘Enter’ to continue. The following screen will appear –
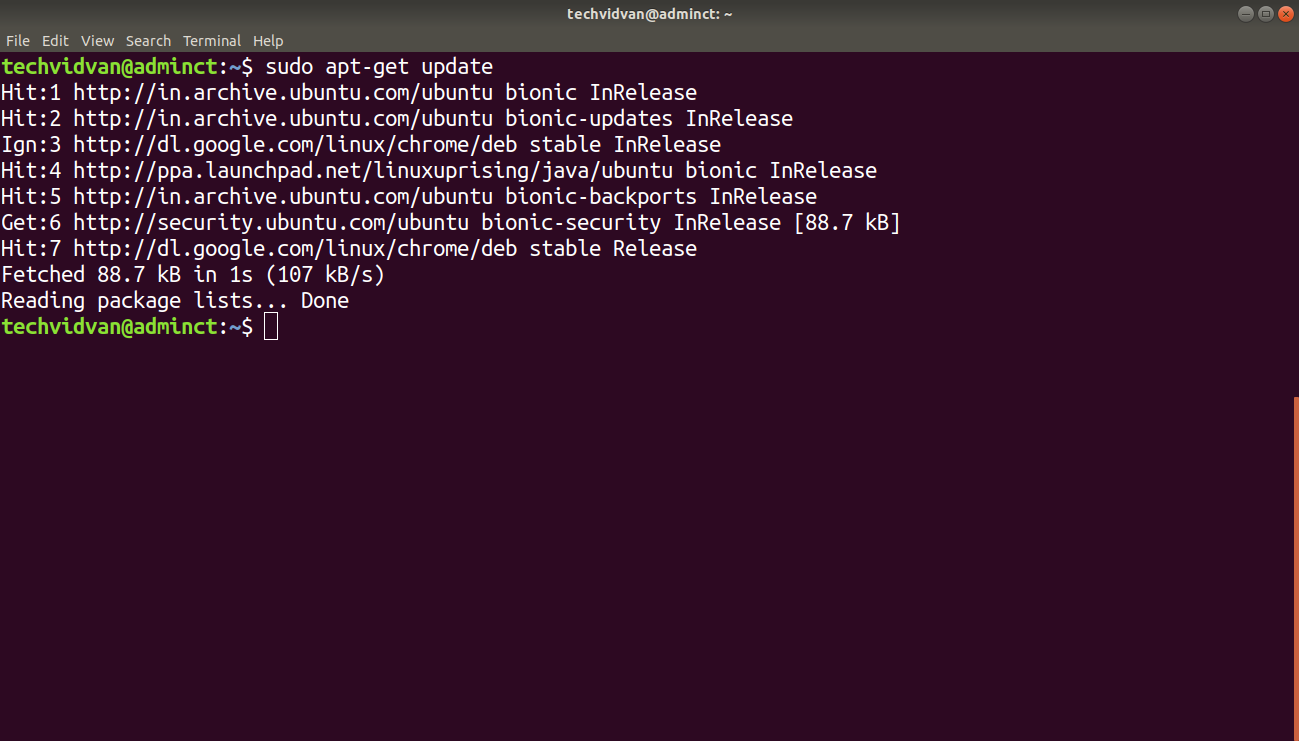
Step 3:
Then check updates and install the script via following 2 commands:
sudo apt-get update
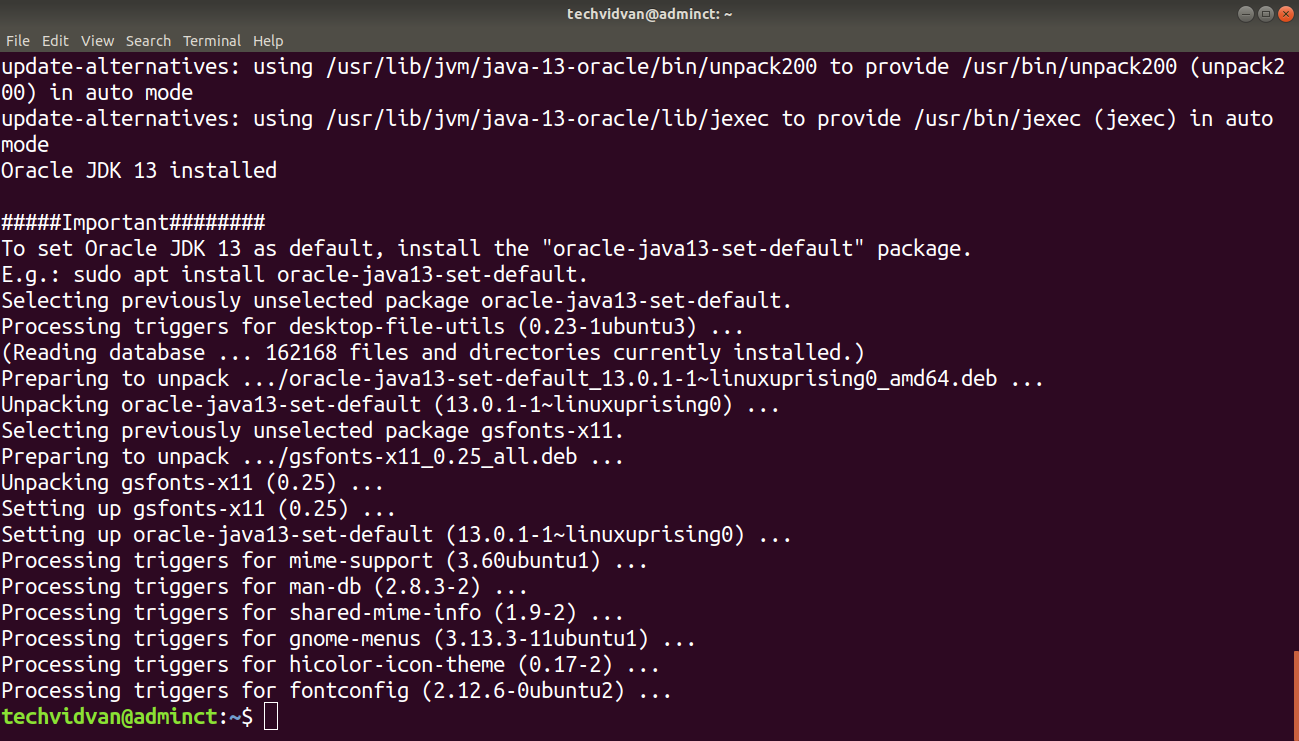
sudo apt-get install oracle-java13-installer

This command will automatically download Java 13 source tarball, installs on 64-bit Ubuntu, and also sets it as default.
Step 4:
After that, it will ask you to accept the license agreement as shown below:

Step 5:
Click ‘Yes’ to continue:

The following screen will appear:
Step 6:
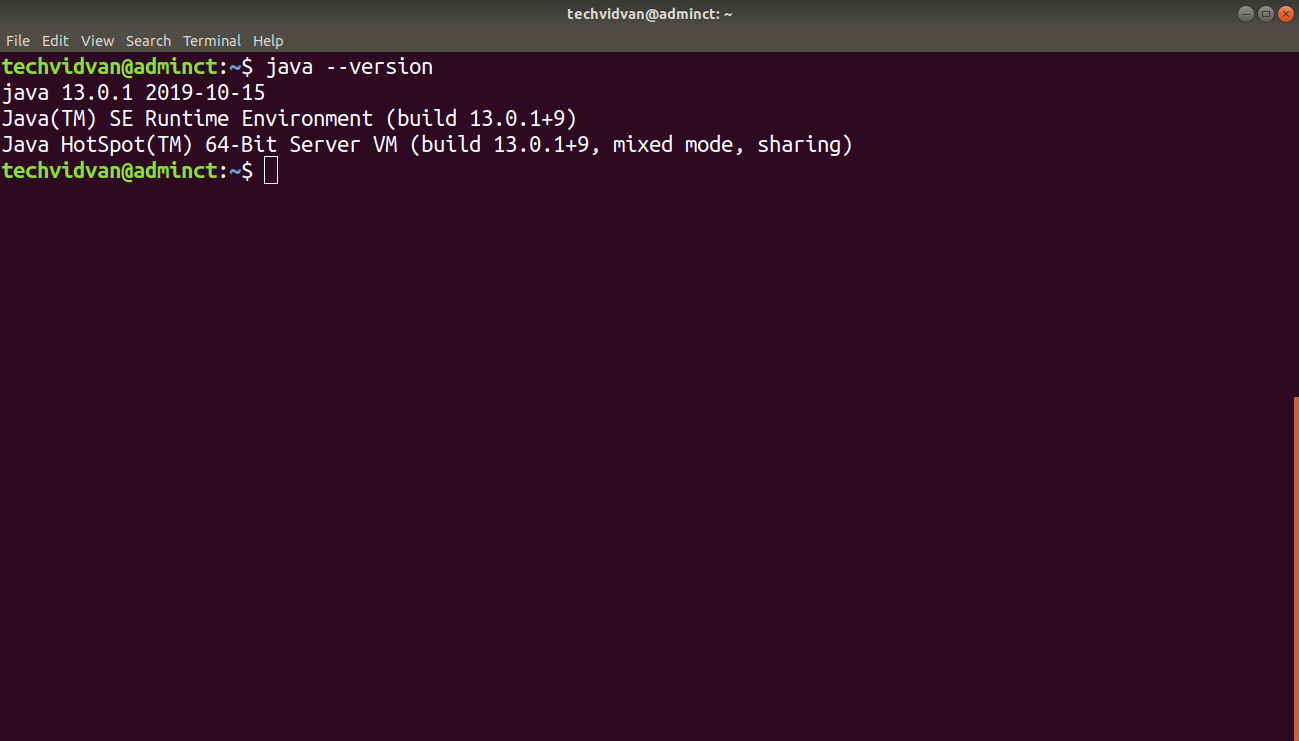
Check the result via the following command:
java –version or java -version
Java Installation on Windows
The following are steps to install Java in Windows platform –
Step 1:
Click on the following site to download Java: http://www.oracle.com/technetwork/java/javase/downloads/index.html.
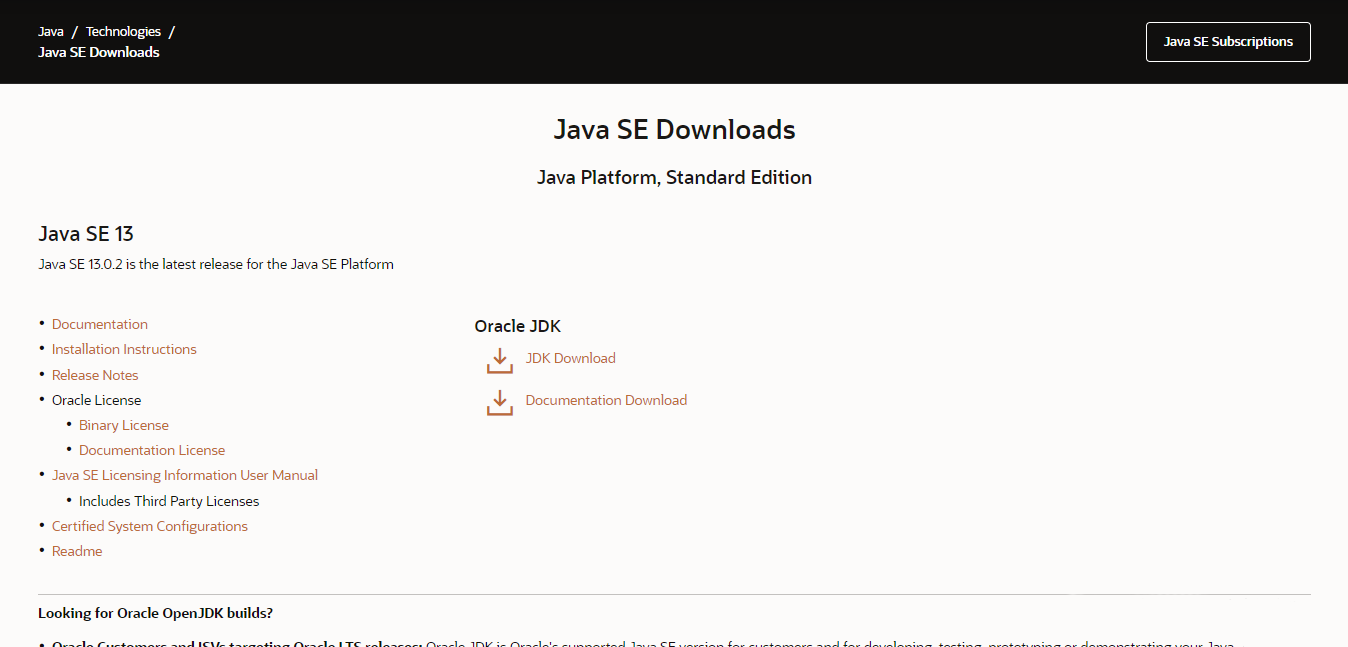
Step 2:
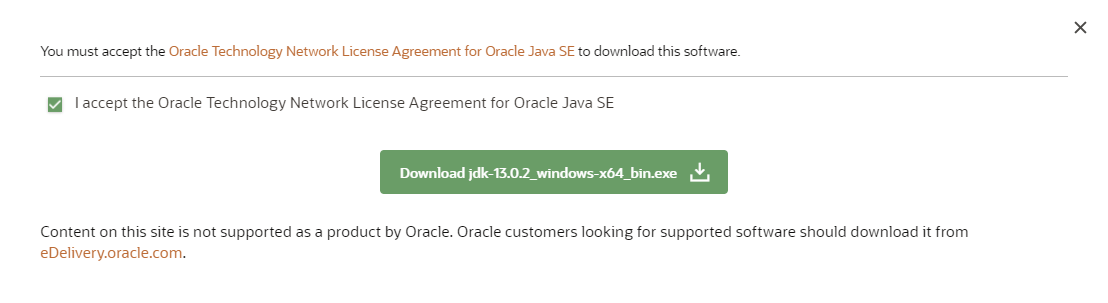
Click on the JDK Download option. After that, check the box of the Accept License Agreement. Download the latest Java JDK for your version (32 or 64 bit) of Java for Windows.
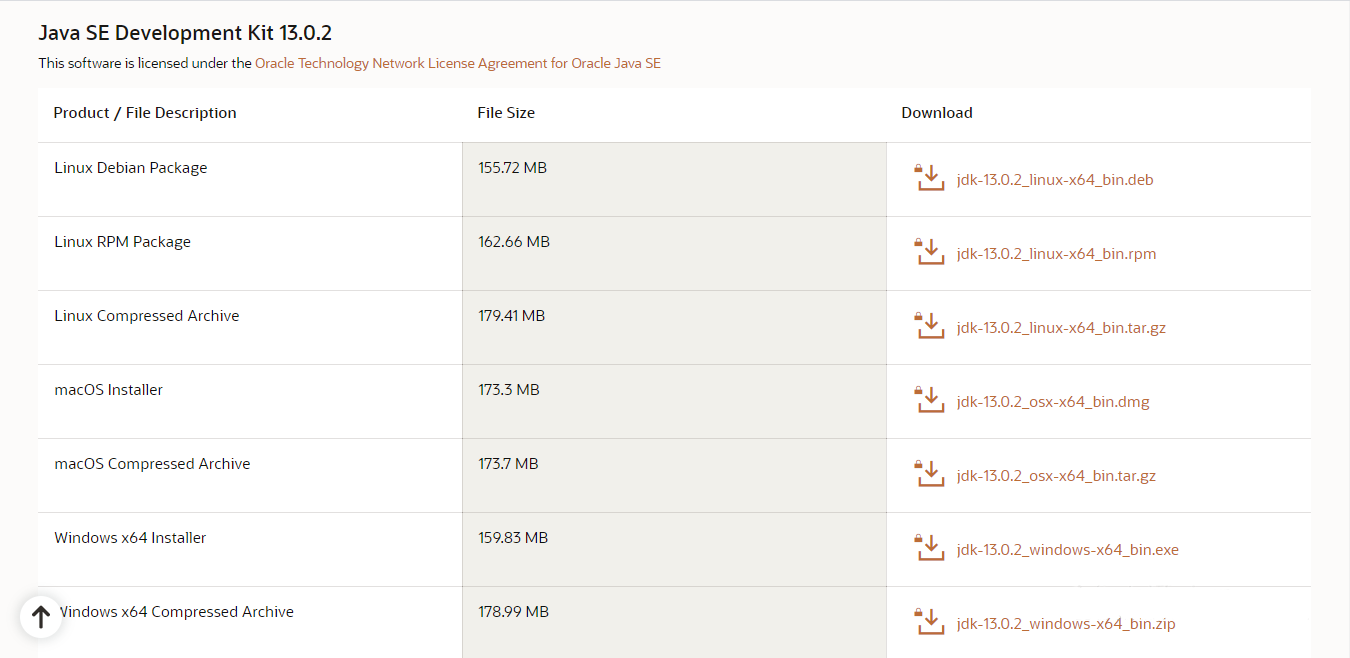
Step 3:
Select the option of Download in Windows x64 Installer. You will see the following screen
Step 4:
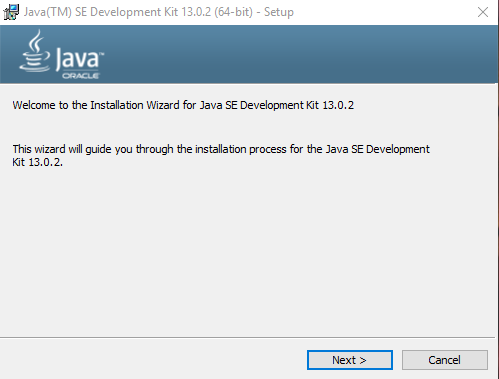
Once the download is complete, run the exe to install JDK on your windows machine. Click Next.
Step 5:
Select the PATH for Java installation and click the Next button.
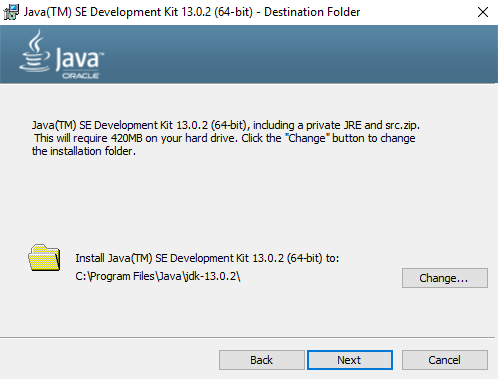
The following screen will appear
Step 6:
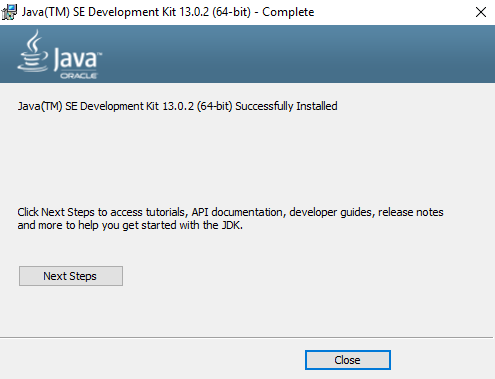
Once the installation is complete click the Close Button:
Setting the Environment Variables in Java: Path and Classpath
The PATH variable gives the location of executable files like javac, java, etc.
It is possible to run a program without specifying the complete PATH, but you will need to give full path of executable file like C:\ProgramFiles\Java\jdk-13.0.1\bin\javac MyClass.java instead of simply writing the file name like javac MyClass.java
The CLASSPATH variable gives the location of the Library Files. Let’s look into the steps to set the PATH and CLASSPATH variables.
Step 1:
Right Click on the My Computer and Select the properties as shown below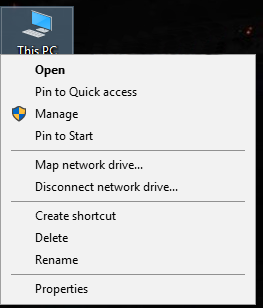
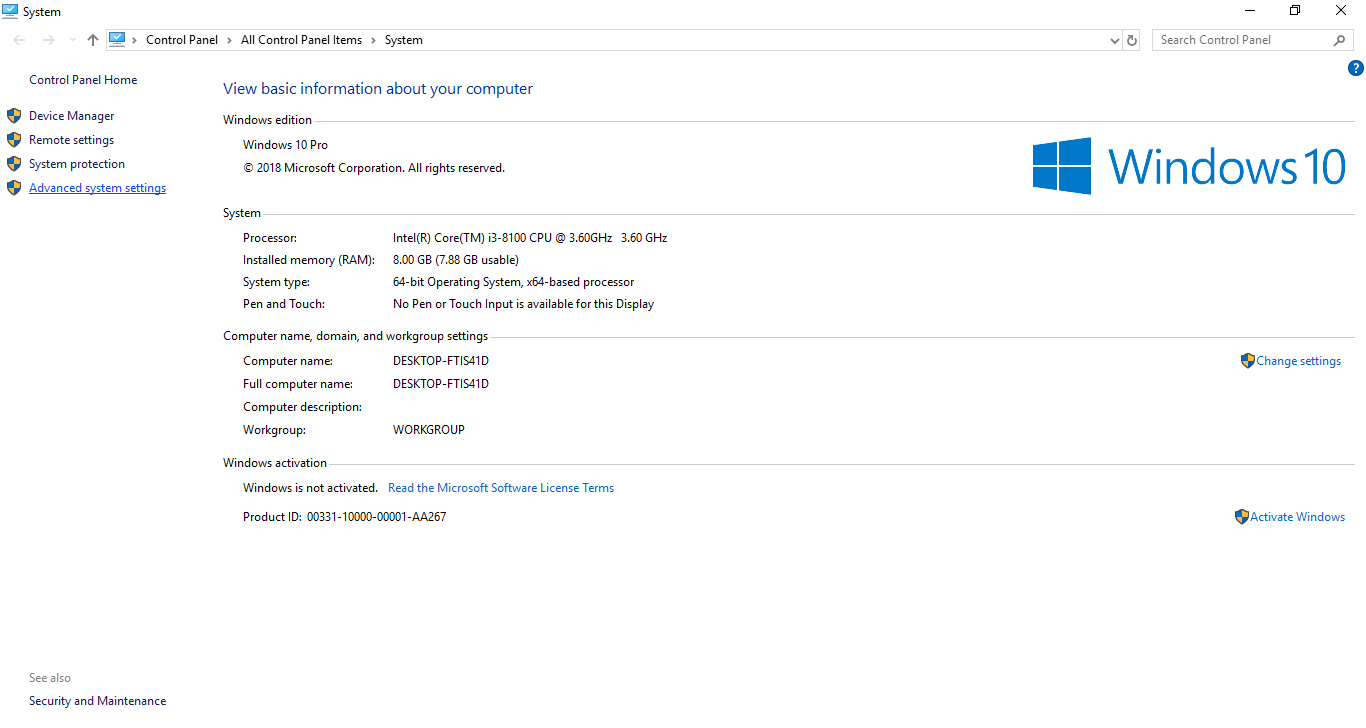
Step 2:
Click on the advanced system settings link.
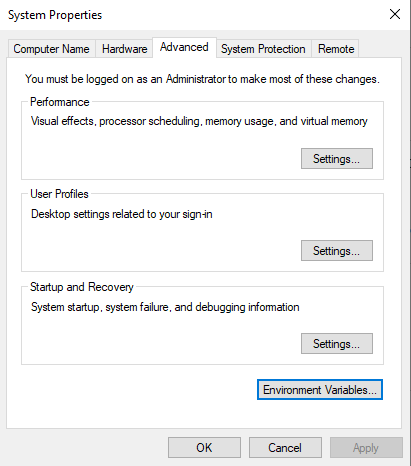
Step 3:
After that, click on the Environment Variables button.
Step 4:
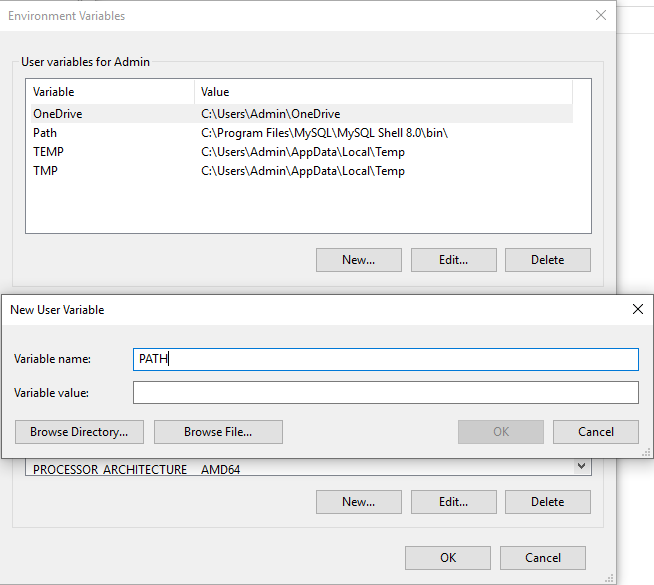
Click the new Button of User variables.
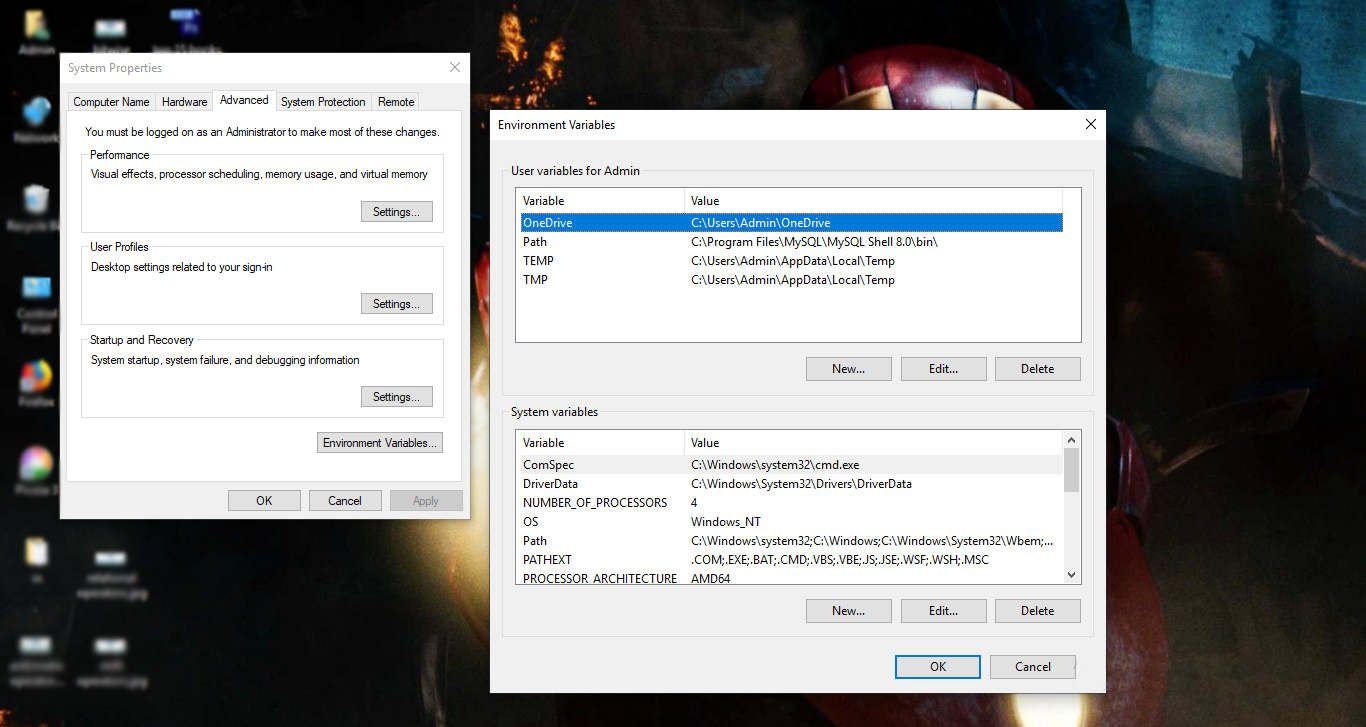
Step 5:
Type PATH in the Variable name textbox:
Step 6:
Copy the path of the bin folder from the JDK folder from the c drive.

Step 7:
Paste Path of bin folder in Variable value textbox and click the OK button.

Note: In case you already have a PATH variable created in your PC, edit the PATH variable to
PATH = <JDK installation directory>\bin;%PATH%;
Here, %PATH% appends the existing path variable to the new value of PATH
Step 8:
Follow a similar process to set CLASSPATH variable.
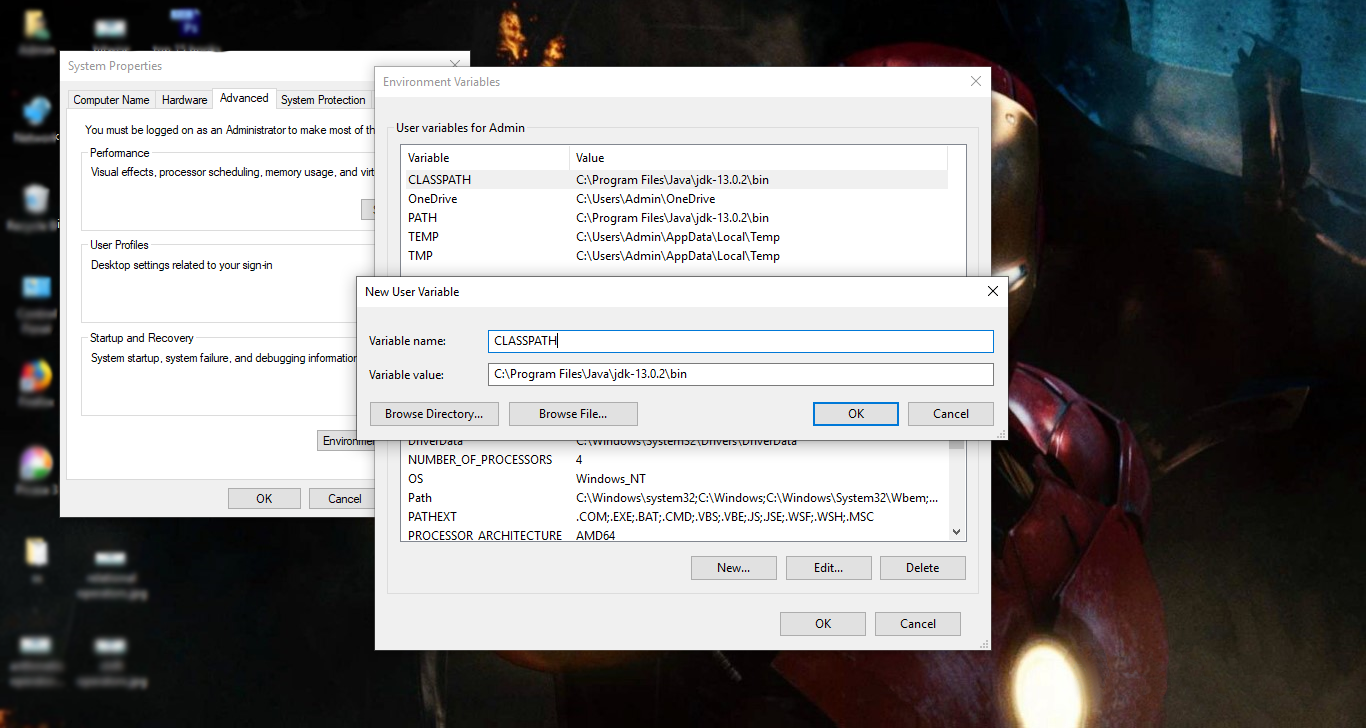
Note: In case your java installation does not work after installation, change classpath to CLASSPATH = <JDK installation directory>\lib\tools.jar;
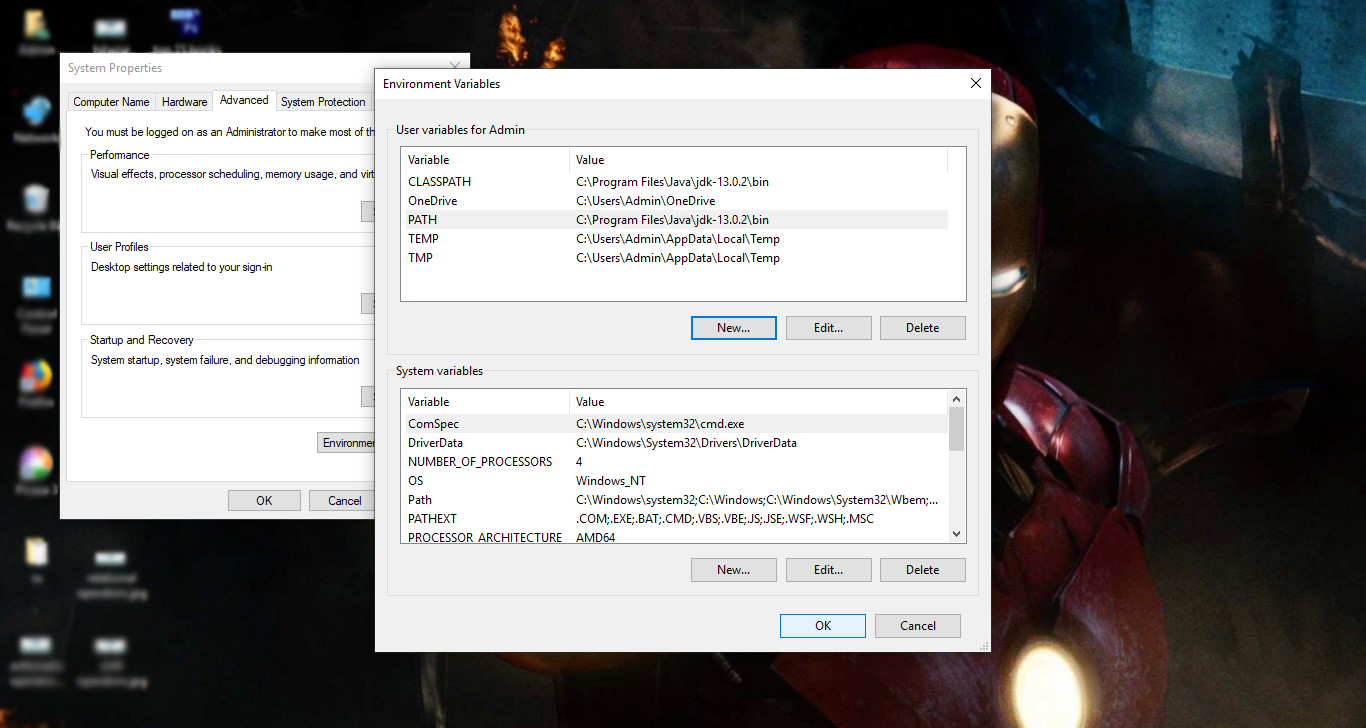
Step 9:
Click on OK button
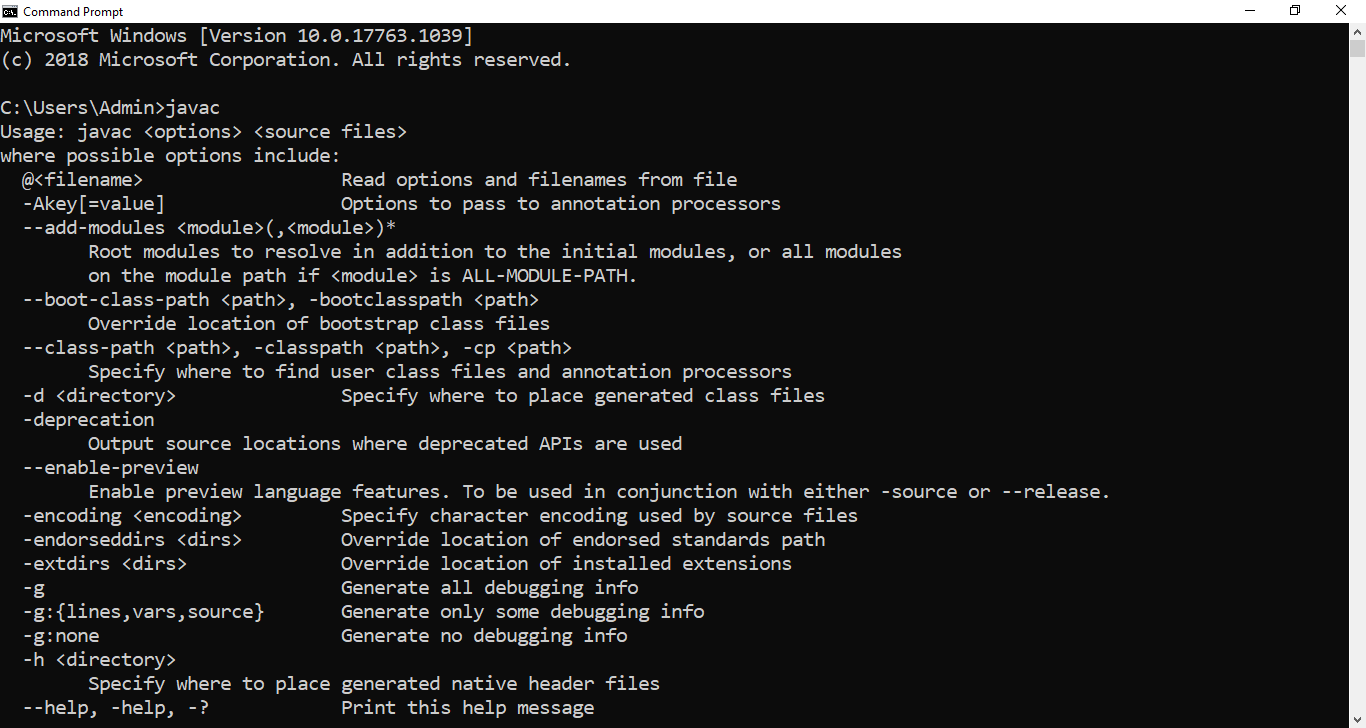
Step 10:
Go to command prompt and type the command: javac. If you see a screen like below, Java is installed.
Summary
Here we come to the end of our article. In this tutorial, we explored a step by step guide on how to install Java on Ubuntu and Windows. This article will surely help to successfully install Java in your Ubuntu as well as the Windows machine.
Thank you for reading our article.
Furthermore, if you have any queries, do let us know through the comment box below.