R Matrix – How to create, name and modify matrices in R?
In this TechVidvan tutorial, you will explore a matrix in R with examples. You will learn to create, modify, and access R matrix components.
A matrix is a two-dimensional, homogeneous data structure in R. This means that it has two dimensions, rows and columns.
A matrix can store data of a single basic type (numeric, logical, character, etc.). Therefore, a matrix can be a combination of two or more vectors.
In this article, we will learn about matrices in R. We will explore the various methods to create matrices and also learn how to access their elements and how to modify them.
We will also look at how to convert vectors into matrices and vice versa. Finally, we will look at how R handles matrix arithmetic.
How to create a matrix in R?
We can create matrics using the matrix() function. The syntax of the matrix() function is:
matrix(data,byrow,nrow,ncol,dimnames)
The arguments in the matrix function are the following:
- data – data contains the elements in the R matrix.
- byrow – byrow is a logical variable. Matrices are by default column-wise. By setting byrow as TRUE, we can arrange the data row-wise in the matrix.
- nrow – defines the number of rows in the R matrix.
- ncol – defines the number of columns in the R matrix.
- dimnames – takes two character arrays as input for row names and column names.
1. Using matrix() Function
Here is an example of creating a matrix with the matrix() function:
Code:
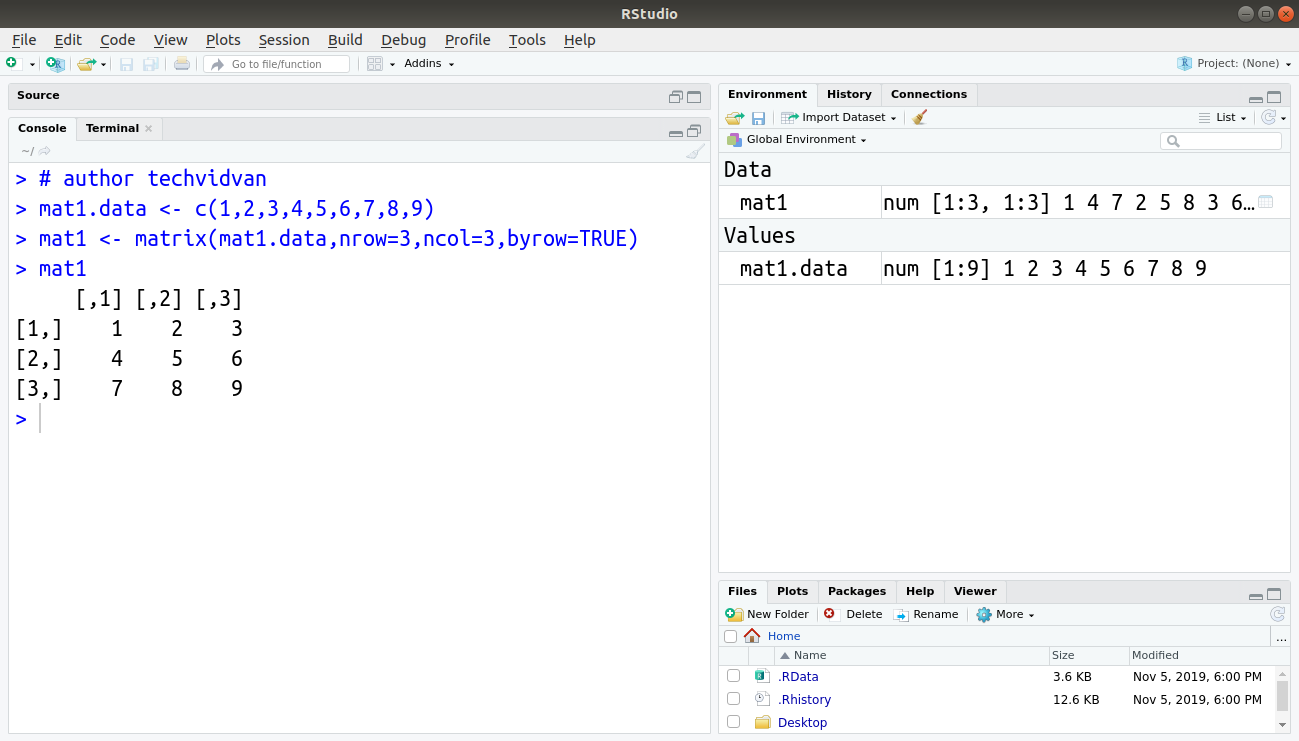
> mat1.data <- c(1,2,3,4,5,6,7,8,9)
> mat1 <- matrix(mat1.data,nrow=3,ncol=3,byrow=TRUE)
> mat1
Output:
Note – It is not necessary to specify both nrow and ncol. Only one of the two is required. R calculated the other based on the length of the data. For example:
Code:
> mat2.data <- c(10,11,12,13,14,15,16,17,18)
> mat2 <- matrix(mat2.data,nrow=3)
> mat2
Output:
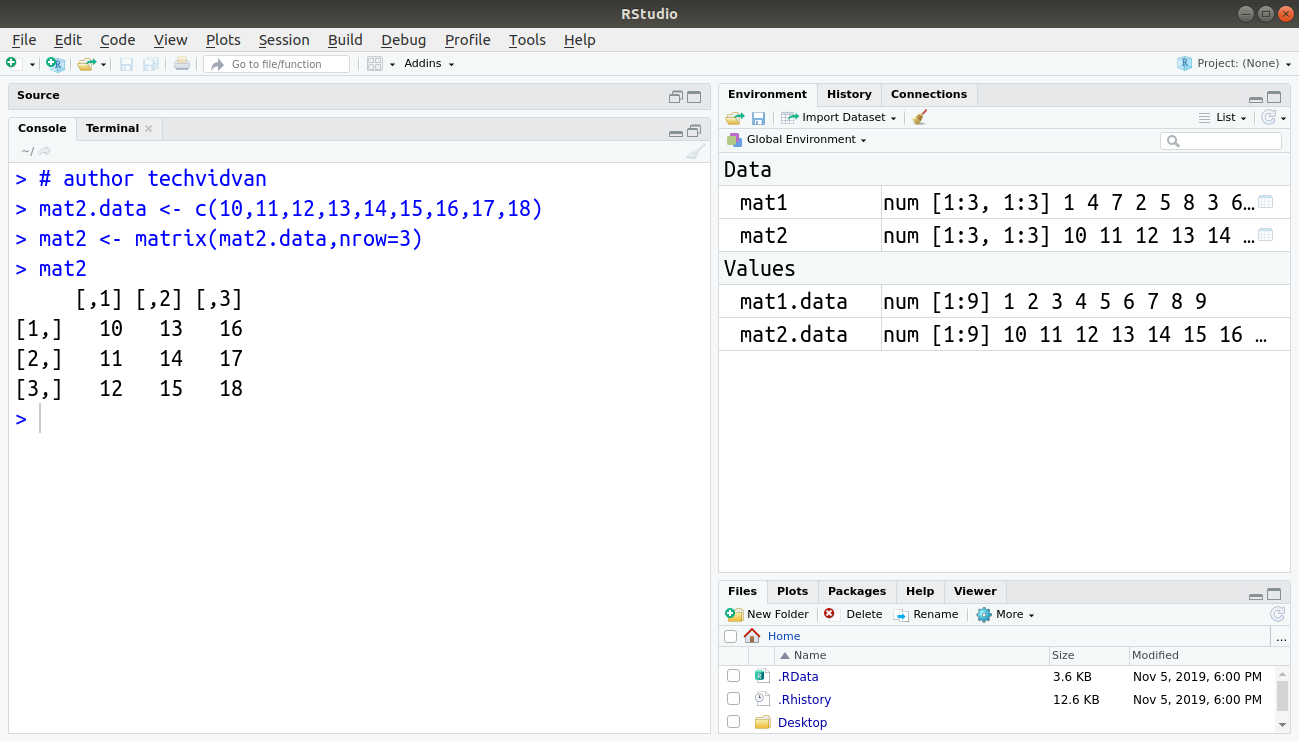
Note- Notice how without the byrow=TRUE argument, the matrix mat2 is column-wise.
2. Using rbind() or cbind() Function
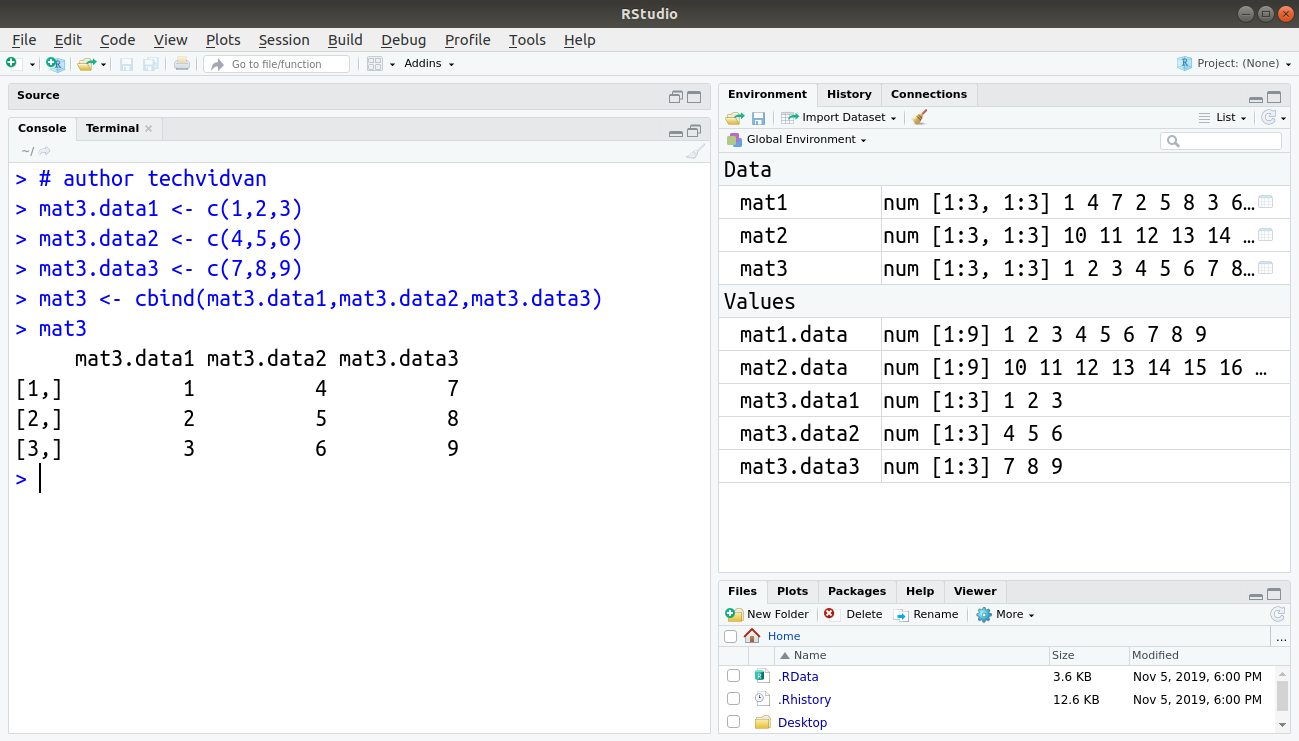
Another way of creating an R matrix is to combine vectors as rows or columns using the rbind() or cbind() functions. For example:
Code:
> mat3.data1 <- c(1,2,3)
> mat3.data2 <- c(4,5,6)
> mat3.data3 <- c(7,8,9)
> mat3 <- cbind(mat3.data1,mat3.data2,mat3.data3)
> mat3
Output:
 Code:
Code:
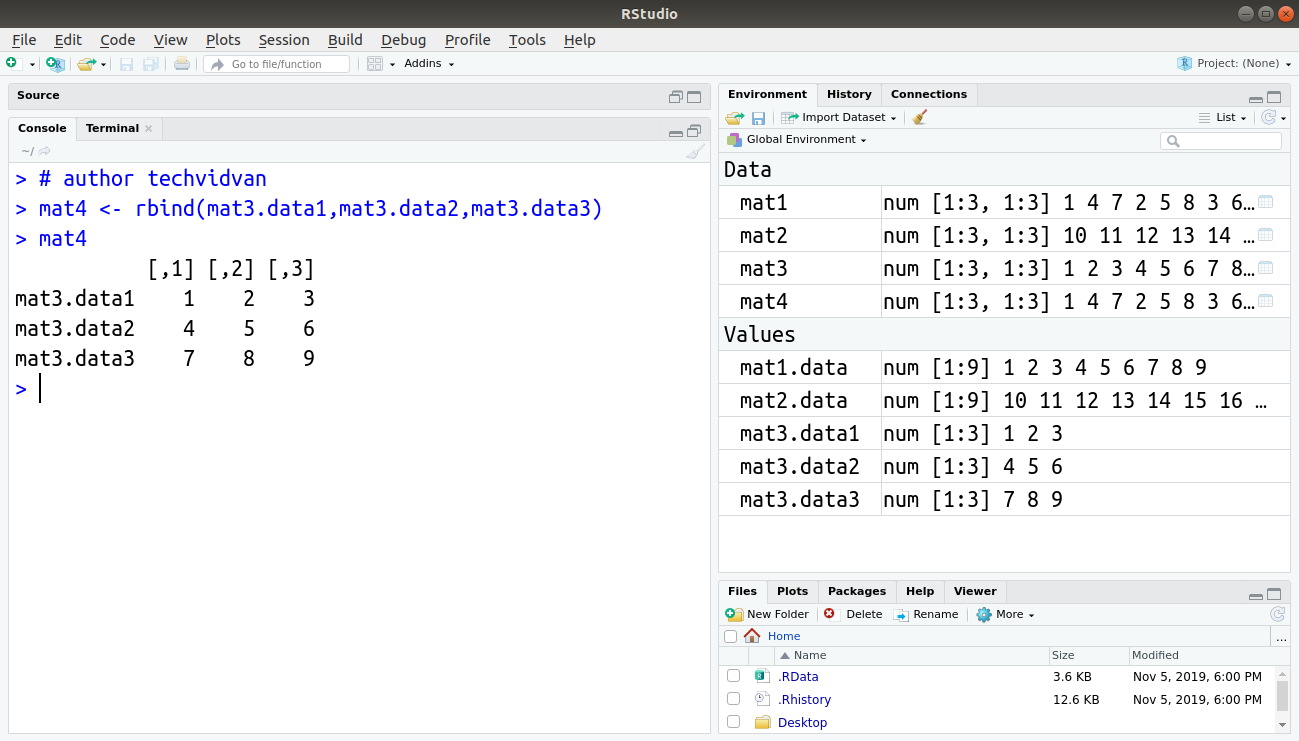
> mat4 <- rbind(mat3.data1,mat3.data2,mat3.data3)
> mat4
Output:
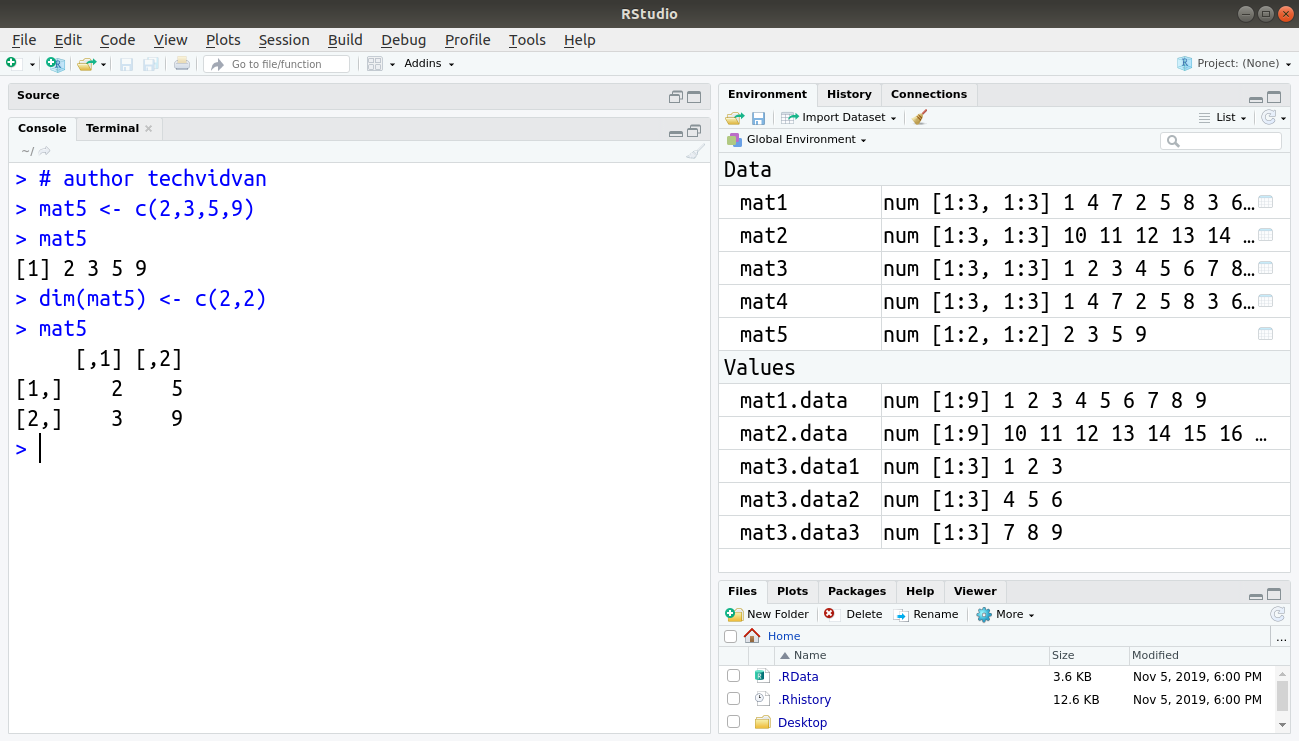
3. Using dim() Function
We can also create an R matrix by changing a vector’s dimensions using the dim() function. For example:
Code:
> mat5 <- c(2,3,5,9)
> mat5
Code:
> dim(mat5) <- c(2,2)
> mat5
Output:
How to name the rows and columns of an R matrix?
It is possible to name the rows and columns of the matrix during creation with the dimnames argument of the matrix() function. For example:
Code:
> rnames <- c("row1","row2","row3")
> cnames <- c("col1","col2","col3")
> named_matrix <- matrix(mat1.data,nrow=3,byrow=TRUE,dimnames=list(rnames,cnames))
> named_matrix
Output:

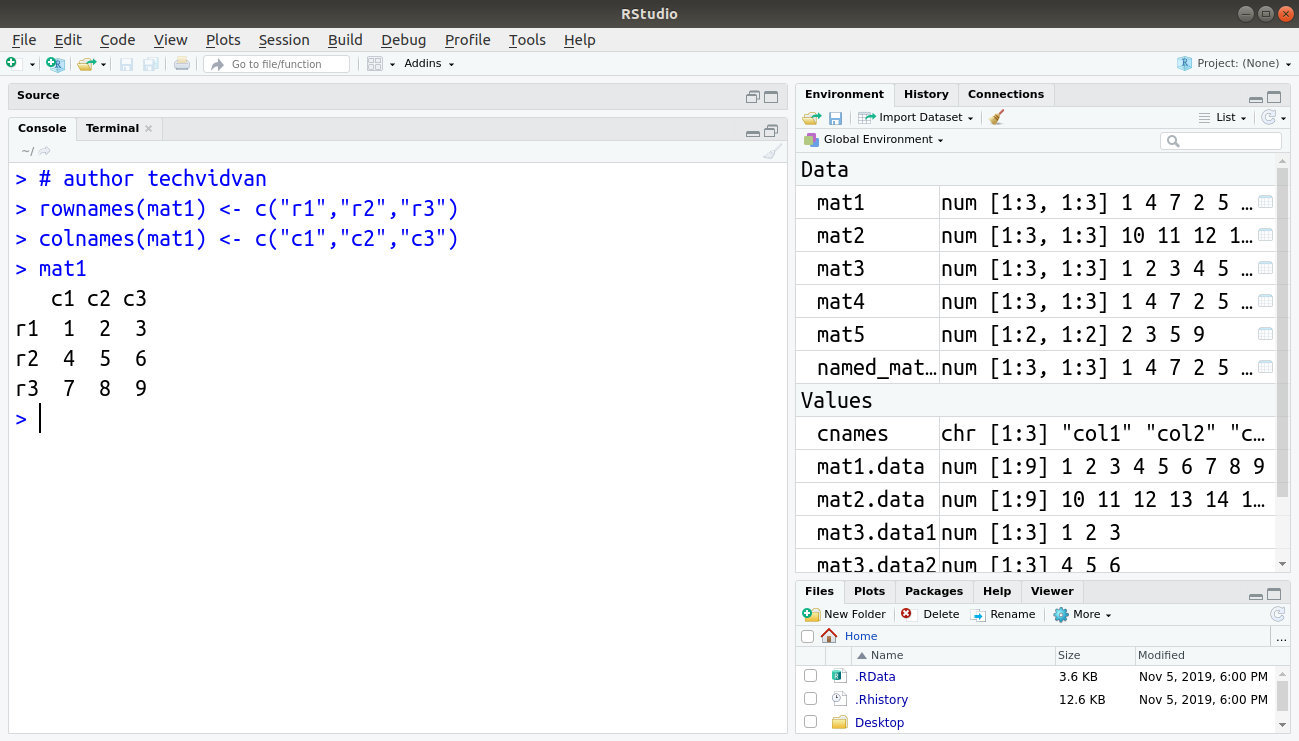
We can also name the rows and columns of an R matrix after its creation by using the rownames() or colnames() functions. For example:
Code:
> rownames(mat1) <- c("r1","r2","r3")
> colnames(mat1) <- c("c1","c2","c3")
> mat1
Output:
How to access individual components of the R matrix?
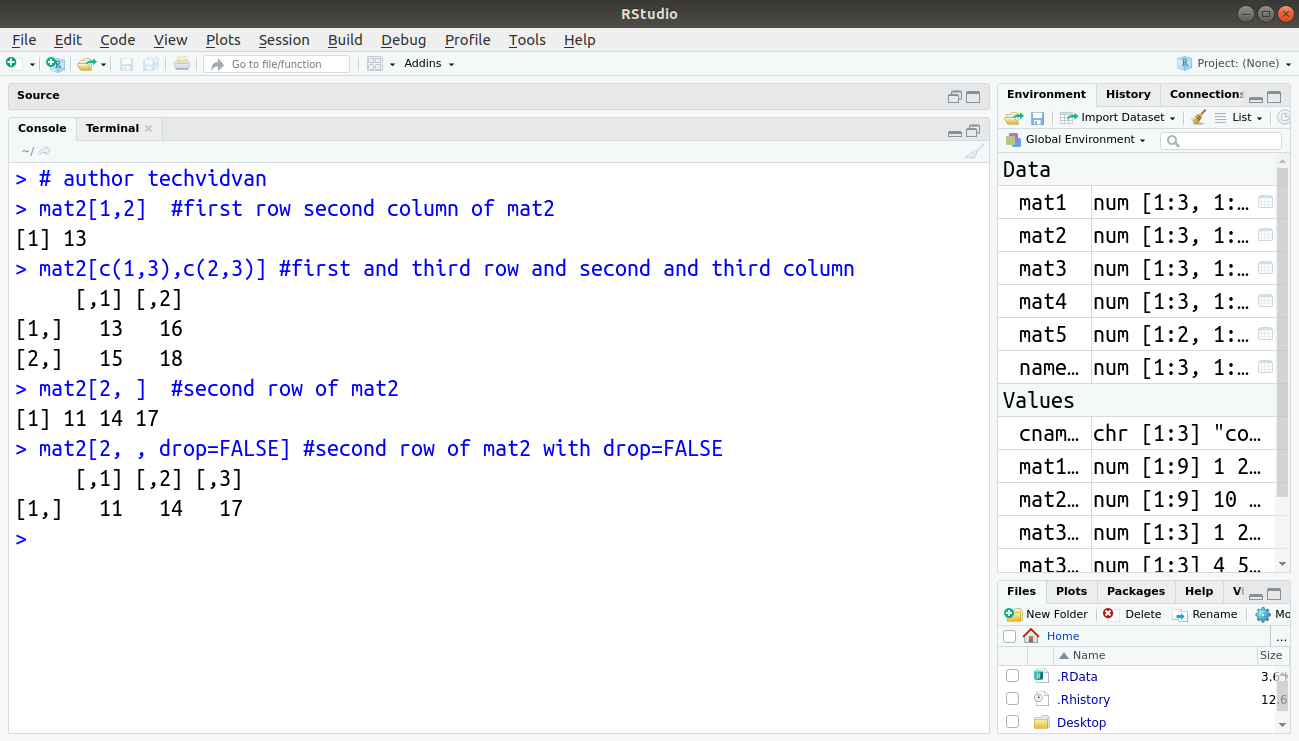
We can access the elements of a matrix named mat using square brackets as mat[row, col], where row and col are the vectors. We can use the vector indexing techniques to index a matrix, similar to vector indexing.
Using integer vectors
We can specify the needed row and column numbers in vectors and use them to index a matrix. If we leave the row or column field blank inside the square brackets, R selects all the rows/columns. We can also use negative integers to exclude rows or columns. If we select a single row or column this way, the result is a vector and not a matrix. We can use the drop=FALSE argument to avoid this behavior.
Code:
> mat2[1,2] #first row second column of mat2
Output:
Code:
> mat2[c(1,3),c(2,3)] #first and third row and second and third column
Output:
[1,] 13 16
[2,] 15 18
Code:
> mat2[2, ] #second row of mat2
Output:
Code:
> mat2[2, , drop=FALSE] #second row of mat2 with drop=FALSE
Output:
[1,] 11 14 17
Code:
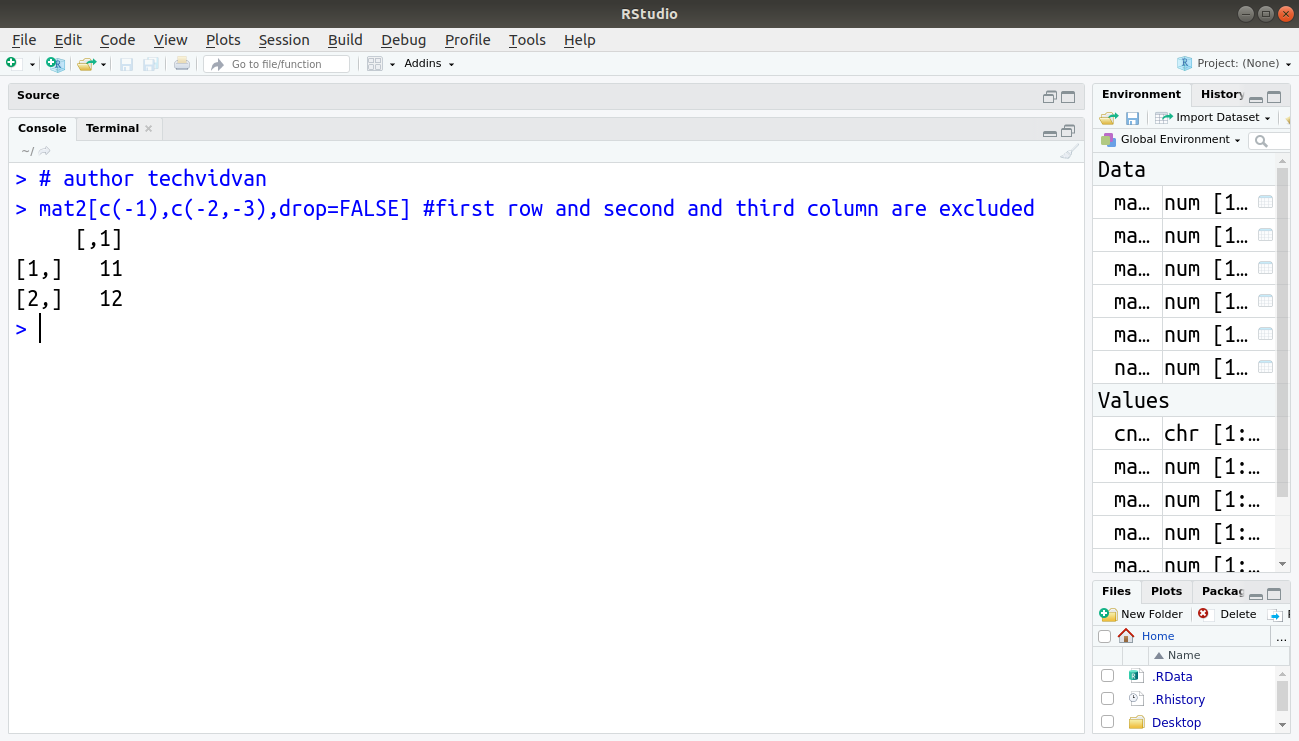
> mat2[c(-1),c(-2,-3),drop=FALSE] #first row and second and third column are excluded
Output:
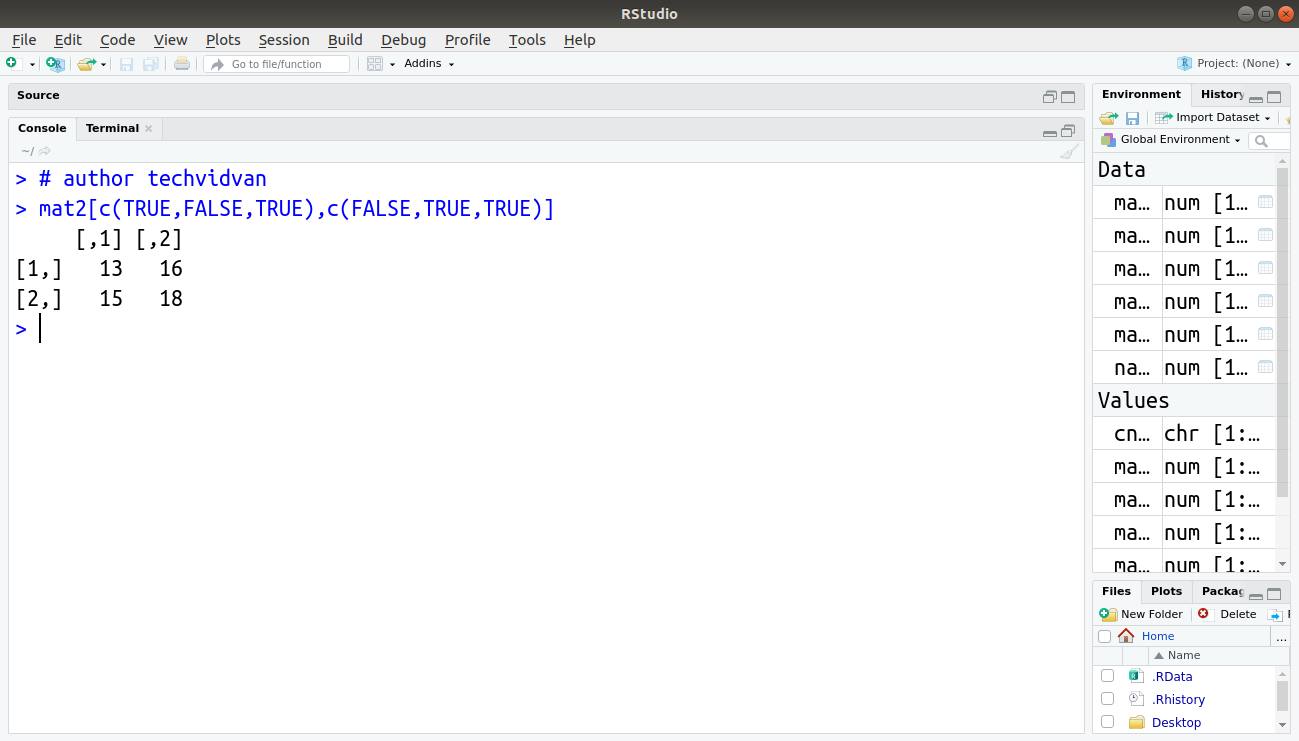
Using logical vectors
We can use logical vectors of the same lengths as the matrix’s dimensions to specify the rows and columns needed. This excludes the row/columns corresponding to FALSE and includes the one corresponding to TRUE.
Code:
> mat2[c(TRUE,FALSE,TRUE),c(FALSE,TRUE,TRUE)]
Output:
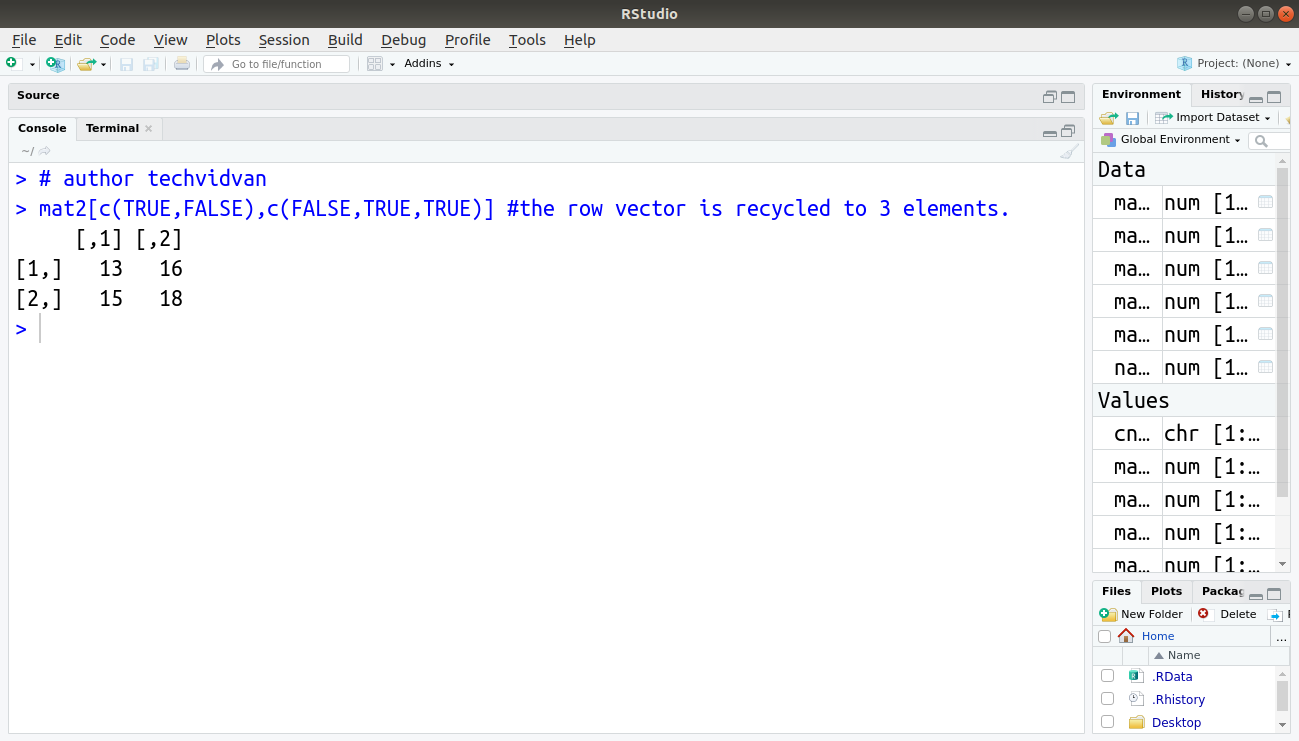
When using logical vectors for indexing, R recycles the vector, if the length of the indexing vector is not equal to the matrix’s dimensions.
Code:
> mat2[c(TRUE,FALSE),c(FALSE,TRUE,TRUE)] #the row vector is recycled to 3 elements.
Output:
Using character vectors
For matrices with named rows and columns, we can use the row and column names to access elements of the R matrix.
Code:
> named_matrix[c("row1","row2"),c("col2","col3")]
Output:

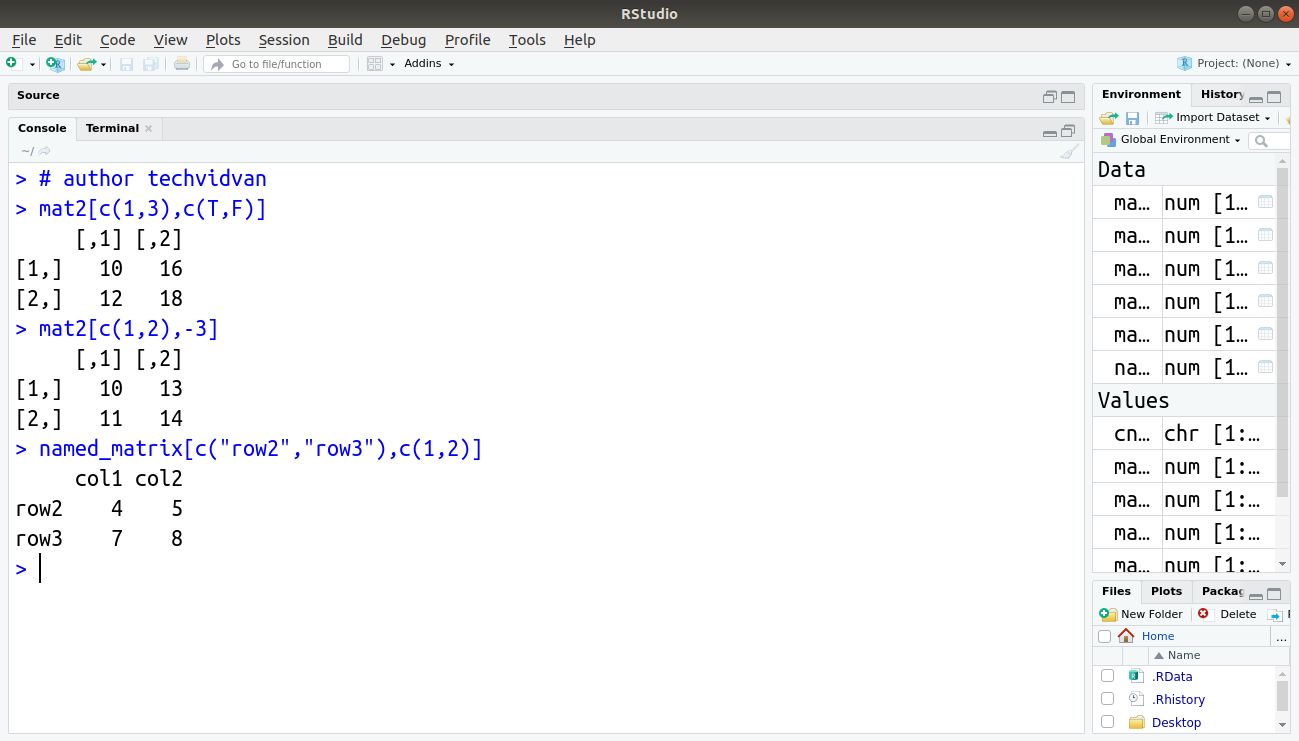
Using combination of indexing
We can also use these indexing techniques in combination with one another as well.
Code:
> mat2[c(1,3),c(T,F)]
Output:
[1,] 10 16
[2,] 12 18
Code:
> mat2[c(1,2),-3]
Output:
[1,] 10 13
[2,] 11 14
Code:
> named_matrix[c("row2","row3"),c(1,2)]
Output:
row2 4 5
row3 7 8
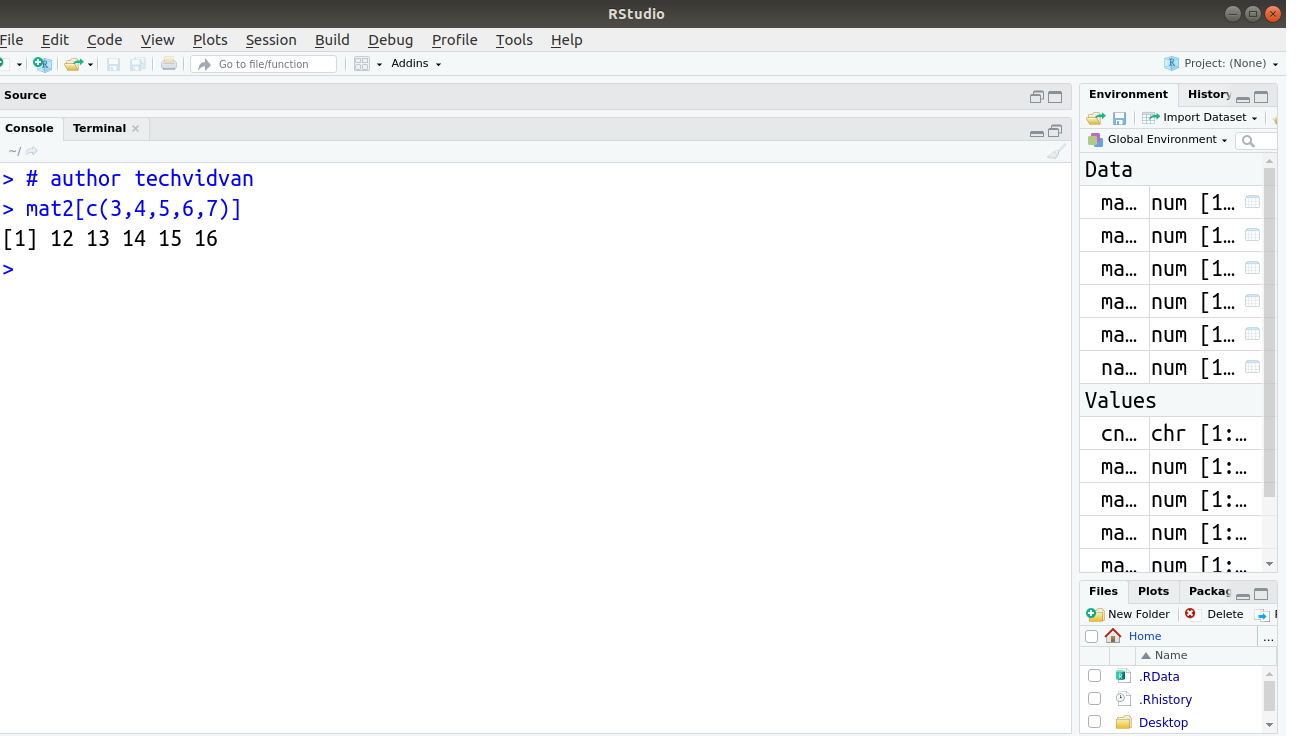
We can index the R matrix with a single vector. When using this technique, the result is a vector formed by stacking the columns of the matrix one after another.
Code:
> mat2[c(3,4,5,6,7)]
Output:
How to modify a matrix in R?
We modify the R matrix by using the various indexing techniques along with the assignment operator.
Code:
> mat2[c(1), ] <- c(1,2,3)
> mat2
Code:
> mat2[mat2%%2!=0] <- 1 #elements not divisible by 2 are relaced with 1
> mat2
Output:

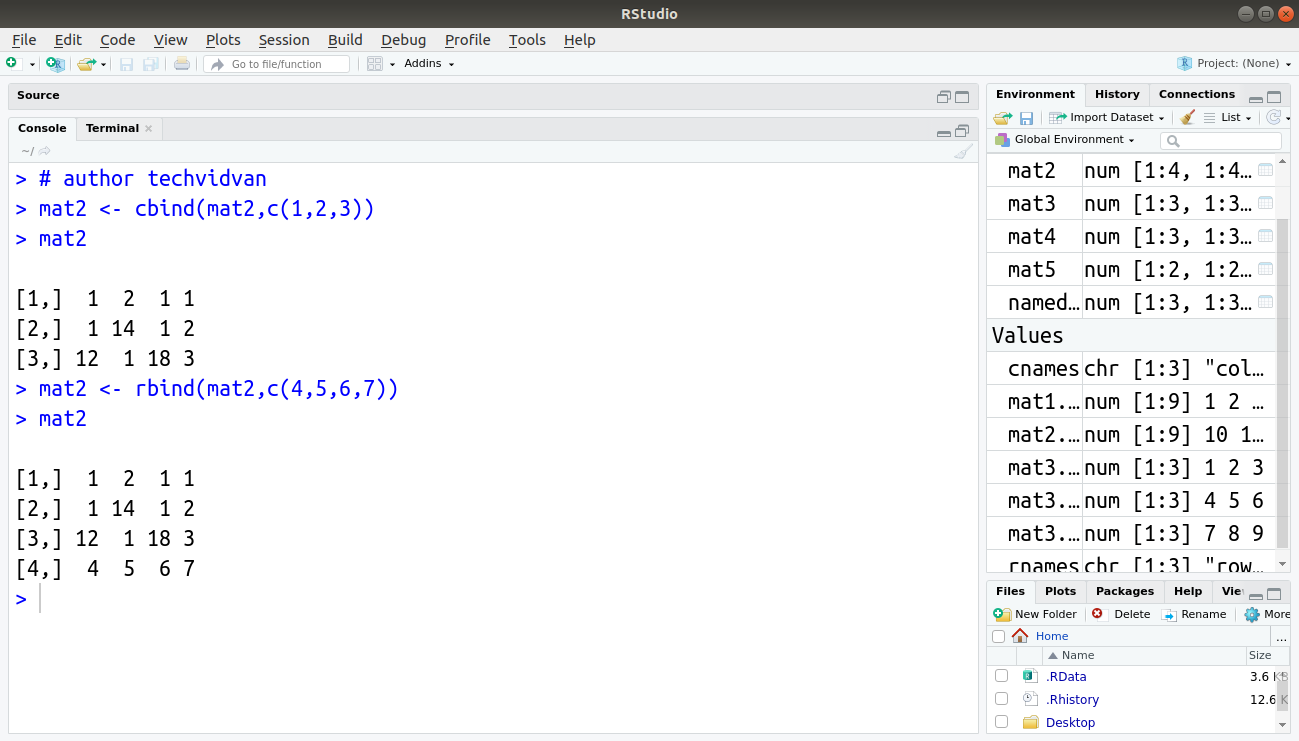
We can add a row or column by storing the new row/column in a vector and using the rbind() or cbind() functions to combine them with the matrix.
Code:
> mat2 <- cbind(mat2,c(1,2,3))
> mat2
Code:
> mat2 <- rbind(mat2,c(4,5,6,7))
> mat2
Output:
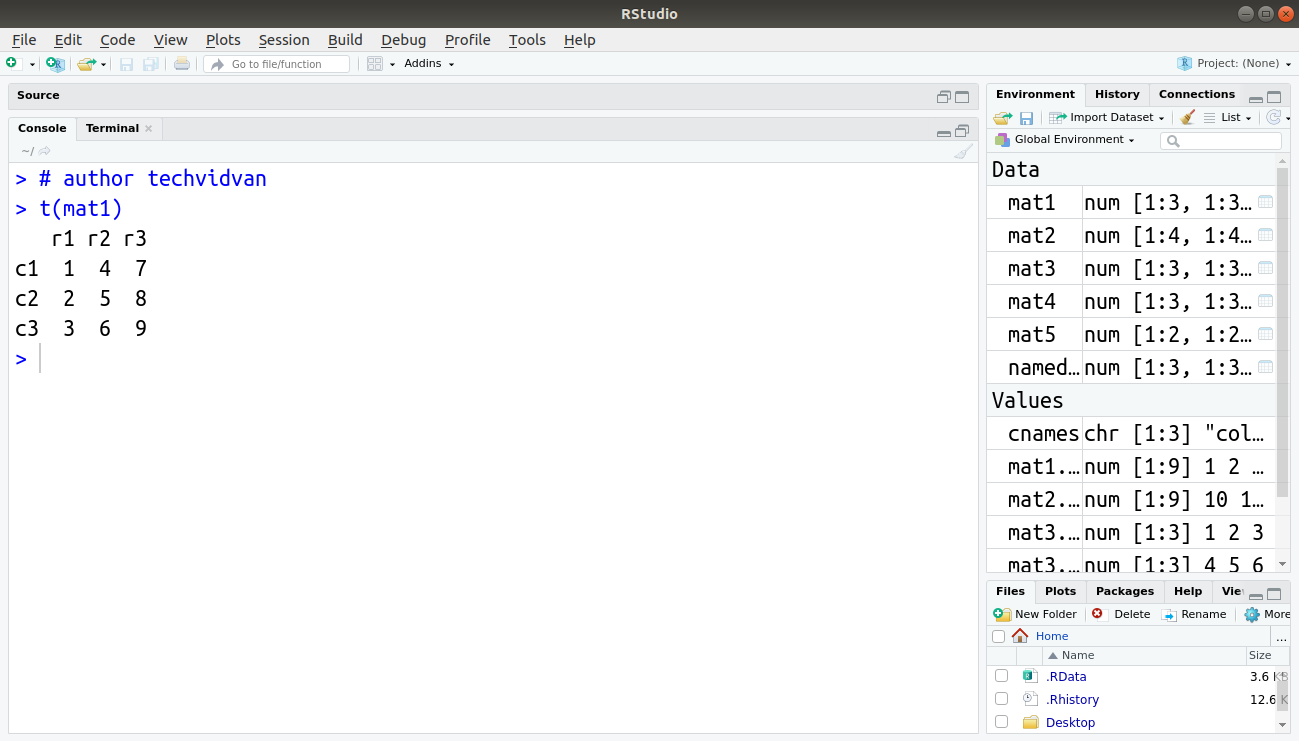
Transposing a matrix is very easy in R. We simply use the t() function.
Code:
> t(mat1)
Output:
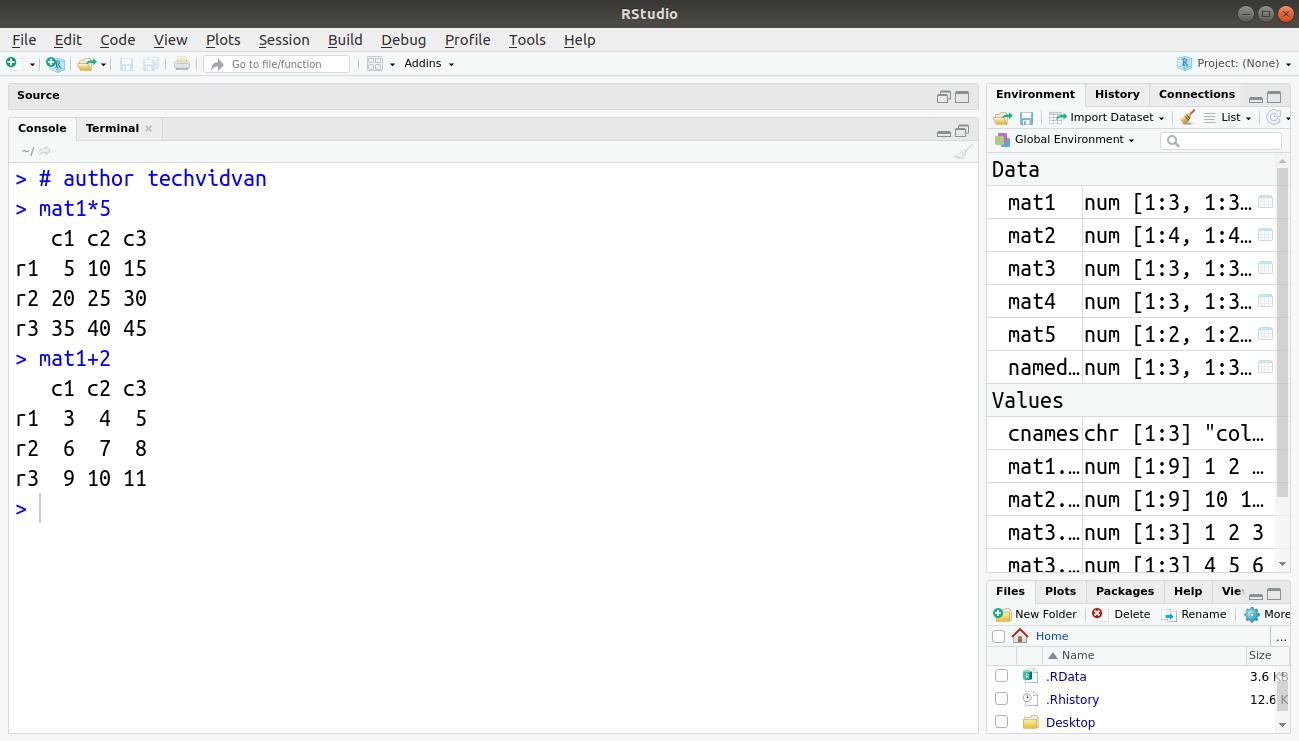
How to perform arithmetic operations in R matrix?
We can use the R operators to perform various arithmetic operations on matrices. The results of these operations are also matrices. We can add, subtract, multiply or divide matrices with constants.
Multiplication:
> mat1*5
Addition:
> mat1+2
Output:
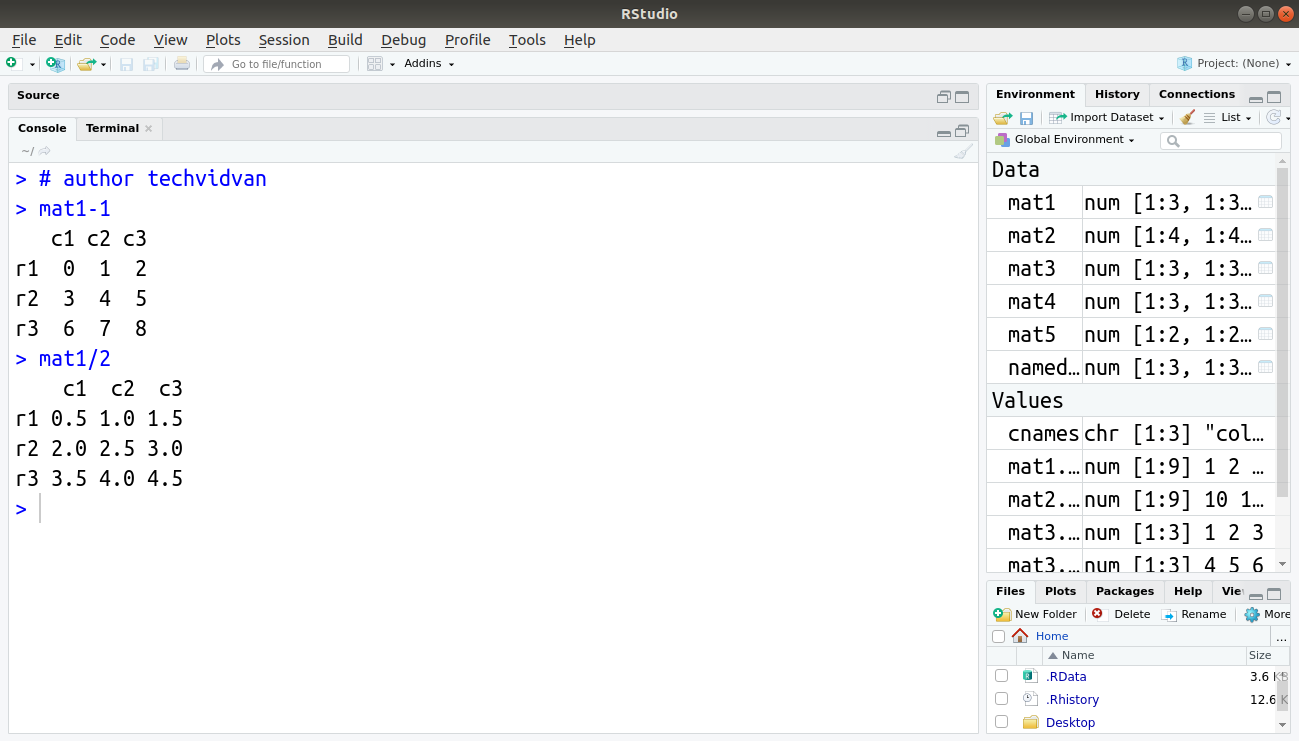
 Subtraction:
> mat1-1
Division:
> mat1/2
Output:
We can also add, subtract, multiply or divide matrices with other matrices within the rules of matrix arithmetic.
Addition of matrices:
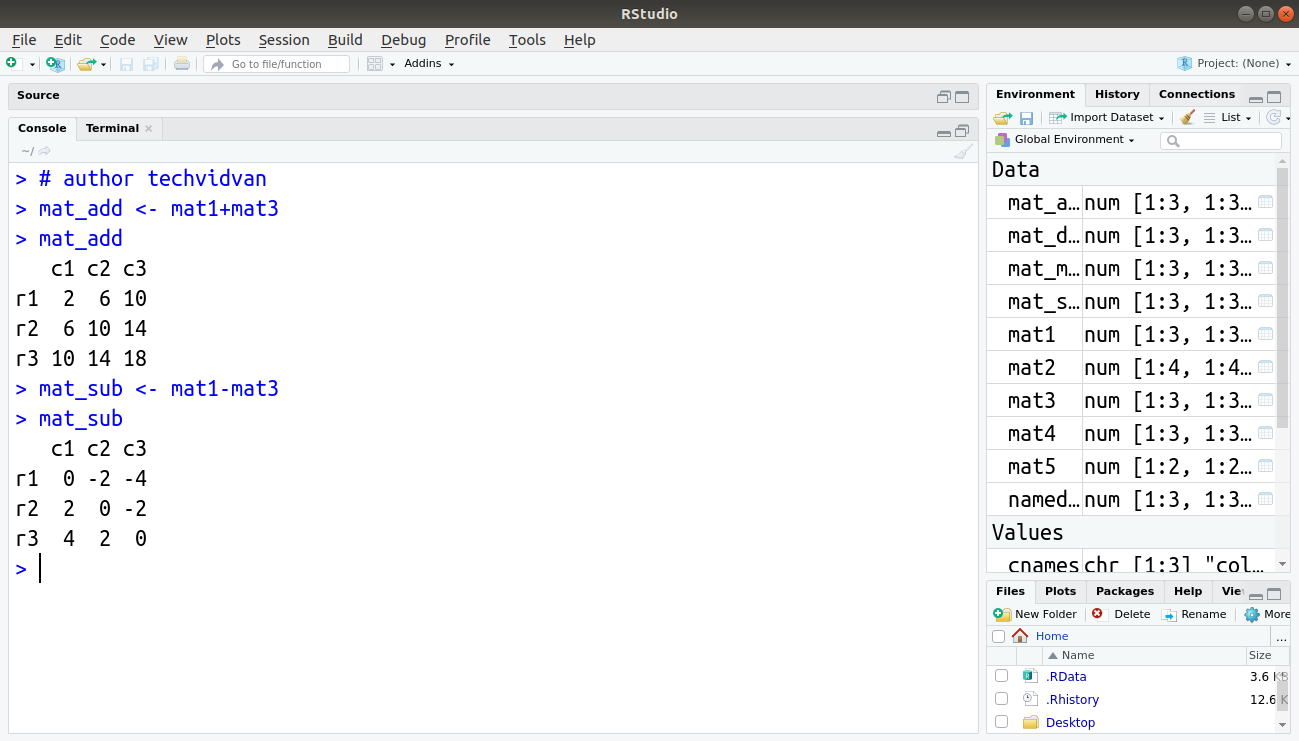
> mat_add <- mat1+mat3
> mat_add
Subtraction of matrices:
> mat_sub <- mat1-mat3
> mat_sub
Output:
Multiplication of matrices:
> mat_mul <- mat1*mat3
> mat_mul
Division of matrices:
> mat_div <- mat1/mat3
> mat_div
Output:

Summary
Matrices are homogeneous data structures in R. They can only store data of a single basic data type.
Matrices are vectors with two-dimensions. If confused with vectors, get a complete understanding of R vector.
In this article, we learned about R matrices and their role in the R programming language.
We learned how to create them and how to name their rows and columns. We also learned how to access their elements and how to modify them. Finally, we learned how basic matrix arithmetic works in R.
We hope that this article clearly explained the basics of matrices in the R programming language to you.
Keep Learning!!