Phone Calls Through Android
In this article, we will proceed with another exciting topic, i.e., placing phone calls through android. It’s quite an essential feature in Android that allows you to communicate with other people.
By reading this article, you will learn how to implement this feature in your applications. We will cover the necessary steps and best practices to ensure seamless integration. So, let’s dive in and explore how to enable phone call functionality in your Android apps.
How to add a calling feature in your Android application?
To add a calling feature to your applications, you need to use the intents. There are two intent actions that you can use. They are ACTION_CALL and ACTION_DIAL.
For, ACTION_CALL you need to follow the below code.
val intentObject = Intent(Intent.ACTION_CALL)
For ACTION_DIAL, you need to follow the below code.
val intentObject = Intent(Intent.ACTION_DIAL)
After you have created the intent, then you need to pass the recipient number as data. So, for this, you can make a URI object. After forming the URI object, just call the data method over the intent. Finally, start the intent to make a call.
//now set the data for the intent as the phoneNumber
intentObject.data = Uri.parse("tel:" + phoneNumber)
startActivity(intentObject)
Calling Scenarios in Android
There are some common scenarios that we all face while we handle a call. They are as follows:
1. Receive a call
2. Place a call
3. Hang up a call
While handling these scenarios, the system uses ConnectionService API and also classes from android.Telecom package. Let’s see each of the scenarios in detail.
Receive a Call in Android
Whenever there is an incoming call, the system checks whether or not the device is attending other calls. We call further classify the scenarios below:
a. Your device is not on any other call.
In this scenario, the app quickly receives the call, and the safe is then informed to the telecom subsystem. The addNewIncomingCall() takes the responsibility to inform the telecom about it.
The telecom subsystem is responsible for creating a connection by using the onCreateIncomingConnection() method.
For displaying the incoming call in the app’s UI, the onShowIncomingCallUi() method is called.
After the user accepts the call the setActive() method is triggered else setDisconnected() method is triggered.
b. If already the device has, an ongoing call
The process of receiving the call is much similar to the above. The only difference here is that the onShowIncomingCallUi() shows two more options to the user. The user gets an option to reject the previous call and accept or keep the previous call on hold and then accept.
Place a Call in Android
Placing calls can be done quickly by the following the below method:
1. By using the default call application.
2. By using intent actions like ACTION_DIAL and ACTION_CALL.
Hang up a Call in Android
While ending a call, the setDisconnected() method is called. After this, the destroy() method is called to release the running resources.
Implementation of Android Event Handling
So, now we will explain how you can apply the above concepts to build your calling application using below steps:
1: Launch your Android Studio.
2: Select Create a New Project.
3: Select Empty Activity and proceed.
4: Enter your application name. In my case, it’s “TechVidvanCall” Next, select Kotlin from the dropdown. For the API level, select API 22 for now.
5: Now, you need first to add the permission, to make phone calls in your Manifest file.
Code:AndroidManifest.xml
<?xml version="1.0" encoding="utf-8"?>
<manifest xmlns:android="http://schemas.android.com/apk/res/android"
    package="com.techvidvan.techvidvancall">

    <!--    Add permission to make a phone call-->
    <uses-permission android:name="android.permission.CALL_PHONE"/>

    <application
        android:allowBackup="true"
        android:icon="@mipmap/ic_launcher"
        android:label="@string/app_name"
        android:roundIcon="@mipmap/ic_launcher_round"
        android:supportsRtl="true"
        android:theme="@style/Theme.TechVidvanCall">
        <activity android:name=".MainActivity">
            <intent-filter>
                <action android:name="android.intent.action.MAIN" />

                <category android:name="android.intent.category.LAUNCHER" />
            </intent-filter>
        </activity>
    </application>

</manifest>
6: Now go to res —> layout —-> and open activity_main.xml. Now here, you need to add one edit text and a button.
Code: activity_main.xml
<?xml version="1.0" encoding="utf-8"?>
<androidx.constraintlayout.widget.ConstraintLayout
    xmlns:android="http://schemas.android.com/apk/res/android"
    xmlns:app="http://schemas.android.com/apk/res-auto"
    xmlns:tools="http://schemas.android.com/tools"
    android:layout_width="match_parent"
    android:layout_height="match_parent"
    android:background="@color/black"
    tools:context=".MainActivity">

    <TextView
        android:id="@+id/title"
        android:layout_width="wrap_content"
        android:layout_height="wrap_content"
        android:text="Tech Vidvan Calling App"
        android:textStyle="bold"
        app:layout_constraintVertical_bias=".08"
        android:textSize="30sp"
        android:textColor="#FF9800"
        app:layout_constraintBottom_toBottomOf="parent"
        app:layout_constraintLeft_toLeftOf="parent"
        app:layout_constraintRight_toRightOf="parent"
        app:layout_constraintTop_toTopOf="parent" />

    <EditText
        android:id="@+id/edit_phone_number"
        android:layout_width="match_parent"
        android:layout_height="wrap_content"
        android:layout_margin="30dp"
        android:hint="Enter Phone Number"
        android:inputType="phone"
        android:background="@color/white"
        android:padding="10dp"
        android:textSize="20sp"
        app:layout_constraintVertical_bias=".3"
        app:layout_constraintBottom_toBottomOf="parent"
        app:layout_constraintLeft_toLeftOf="parent"
        app:layout_constraintRight_toRightOf="parent"
        app:layout_constraintTop_toTopOf="parent"
        />

    <Button
        android:layout_width="wrap_content"
        android:layout_height="wrap_content"
        android:id="@+id/call_button"
        android:onClick="makeCall"
        android:text="Make a call"
        android:backgroundTint="#FF9800"
        android:textColor="@color/black"
        android:textStyle="bold"
        app:layout_constraintVertical_bias=".5"
        app:layout_constraintHorizontal_bias=".8"
        app:layout_constraintBottom_toBottomOf="parent"
        app:layout_constraintLeft_toLeftOf="parent"
        app:layout_constraintRight_toRightOf="parent"
        app:layout_constraintTop_toTopOf="parent"
        />


</androidx.constraintlayout.widget.ConstraintLayout>
Step 7: Now go to your MainActivity.kt file and paste the below code.
Code: MainActivity.kt
package com.techvidvan.techvidvancall

import android.content.Intent
import android.net.Uri
import androidx.appcompat.app.AppCompatActivity
import android.os.Bundle
import android.view.View
import android.widget.EditText

class MainActivity : AppCompatActivity()
{
    //Declaring Edit Text variable
    lateinit var phone_edit_text:EditText

    override fun onCreate(savedInstanceState: Bundle?)
    {
        super.onCreate(savedInstanceState)
        setContentView(R.layout.activity_main)

        //Binding edit text view to the variable
        phone_edit_text = findViewById(R.id.edit_phone_number)
    }

    fun makeCall(view: View)
    {
        //when the user presses the
        //call button
        var phoneNumber = phone_edit_text.text.toString()

        //the we need to make an intent
        val intentObject = Intent(Intent.ACTION_DIAL)
        //now set the data for the intent as the phoneNumber
        intentObject.data = Uri.parse("tel:" + phoneNumber)
        startActivity(intentObject)
    }
}
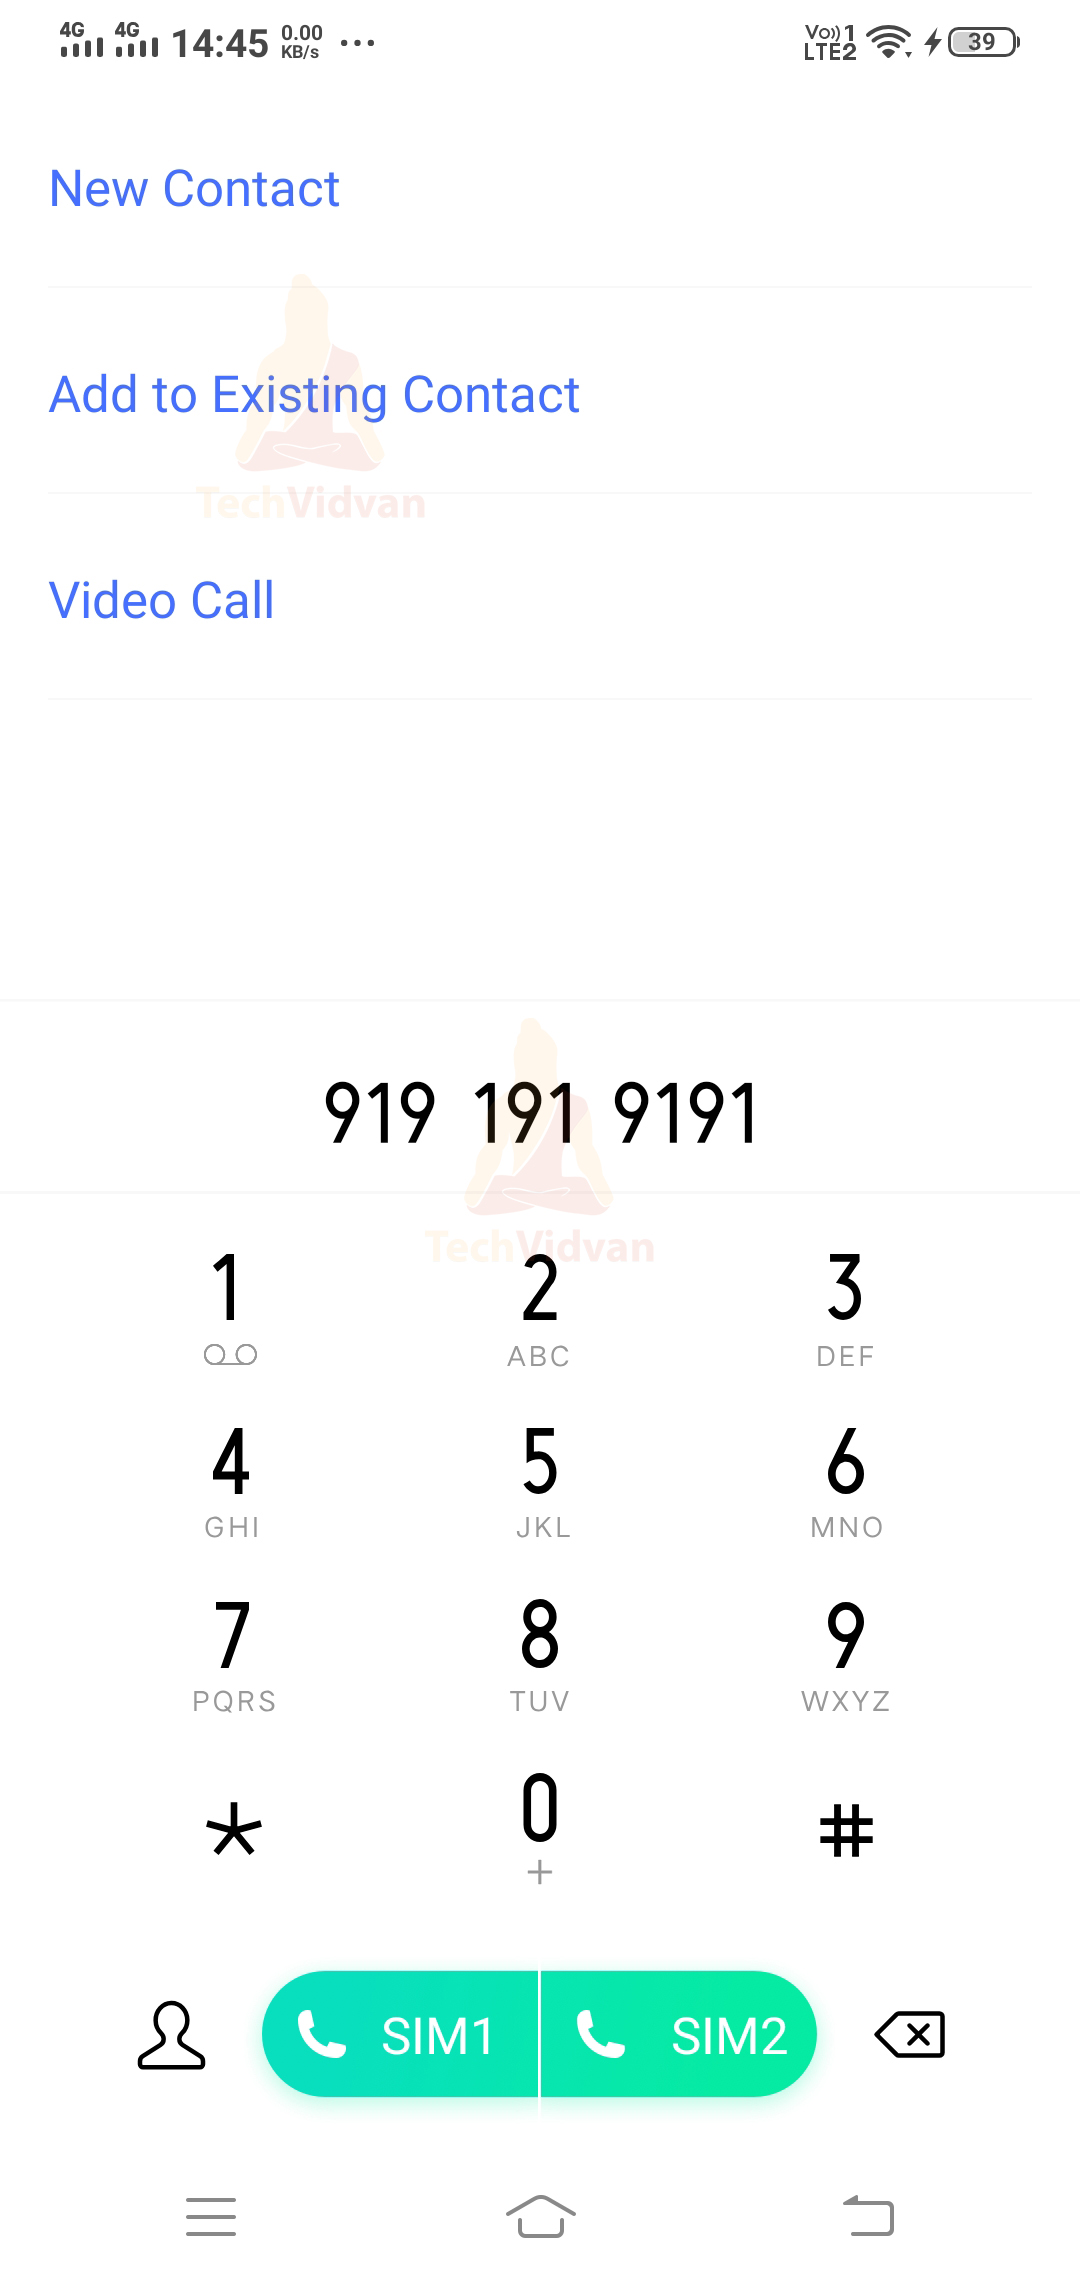
Now run your application. The application would look as follows:

Now just enter the number of the person whom you wish to call.

Now just press the make a call button, and you will be redirected to your phone application.
Summary
Through this article, you understood the various methods using which you can place calls. You saw the common scenarios while attending, placing, and ending a call. After that, you saw a way to create your call application. I hope you enjoyed the article and will indeed proceed to create some good apps.