Setup Eclipse For Android
In this article, we will explore how to set up Eclipse IDE for your Android development needs. Eclipse is a renowned Integrated Development Environment (IDE) widely used by Java developers. In the early days of Android development, Eclipse was the go-to IDE before Android Studio came into prominence.
Although Android Studio has become the preferred choice for many new developers, Eclipse remains a powerful and versatile editor, still heavily utilized by Java developers worldwide. Understanding how to set up Eclipse for Android development is essential for those who prefer or need to use this classic IDE. Let’s dive into the steps to get you started with Android development in Eclipse.
Steps to setup Eclipse on your Android System
Before proceeding with the actual setup, let’s see a few points that you should keep in mind.
- The setup is more or less the same for any Operating System, whether Windows, Linux, or Mac.
- Please ensure that you download the files alongside to avoid later confusion.
- You need to have a Java Development Kit installed on your PC. If not, then please go to this link and install it.
Link: https://www.oracle.com/java/technologies/javase-downloads.html
Now I would like to subdivide the setup of Eclipse into two categories:
- Firstly, we will see the installation of the Eclipse IDE.
- Secondly, we will configure our Eclipse IDE for Android Development.
Installation of Eclipse IDE
Follow the below steps to install Eclipse IDE:
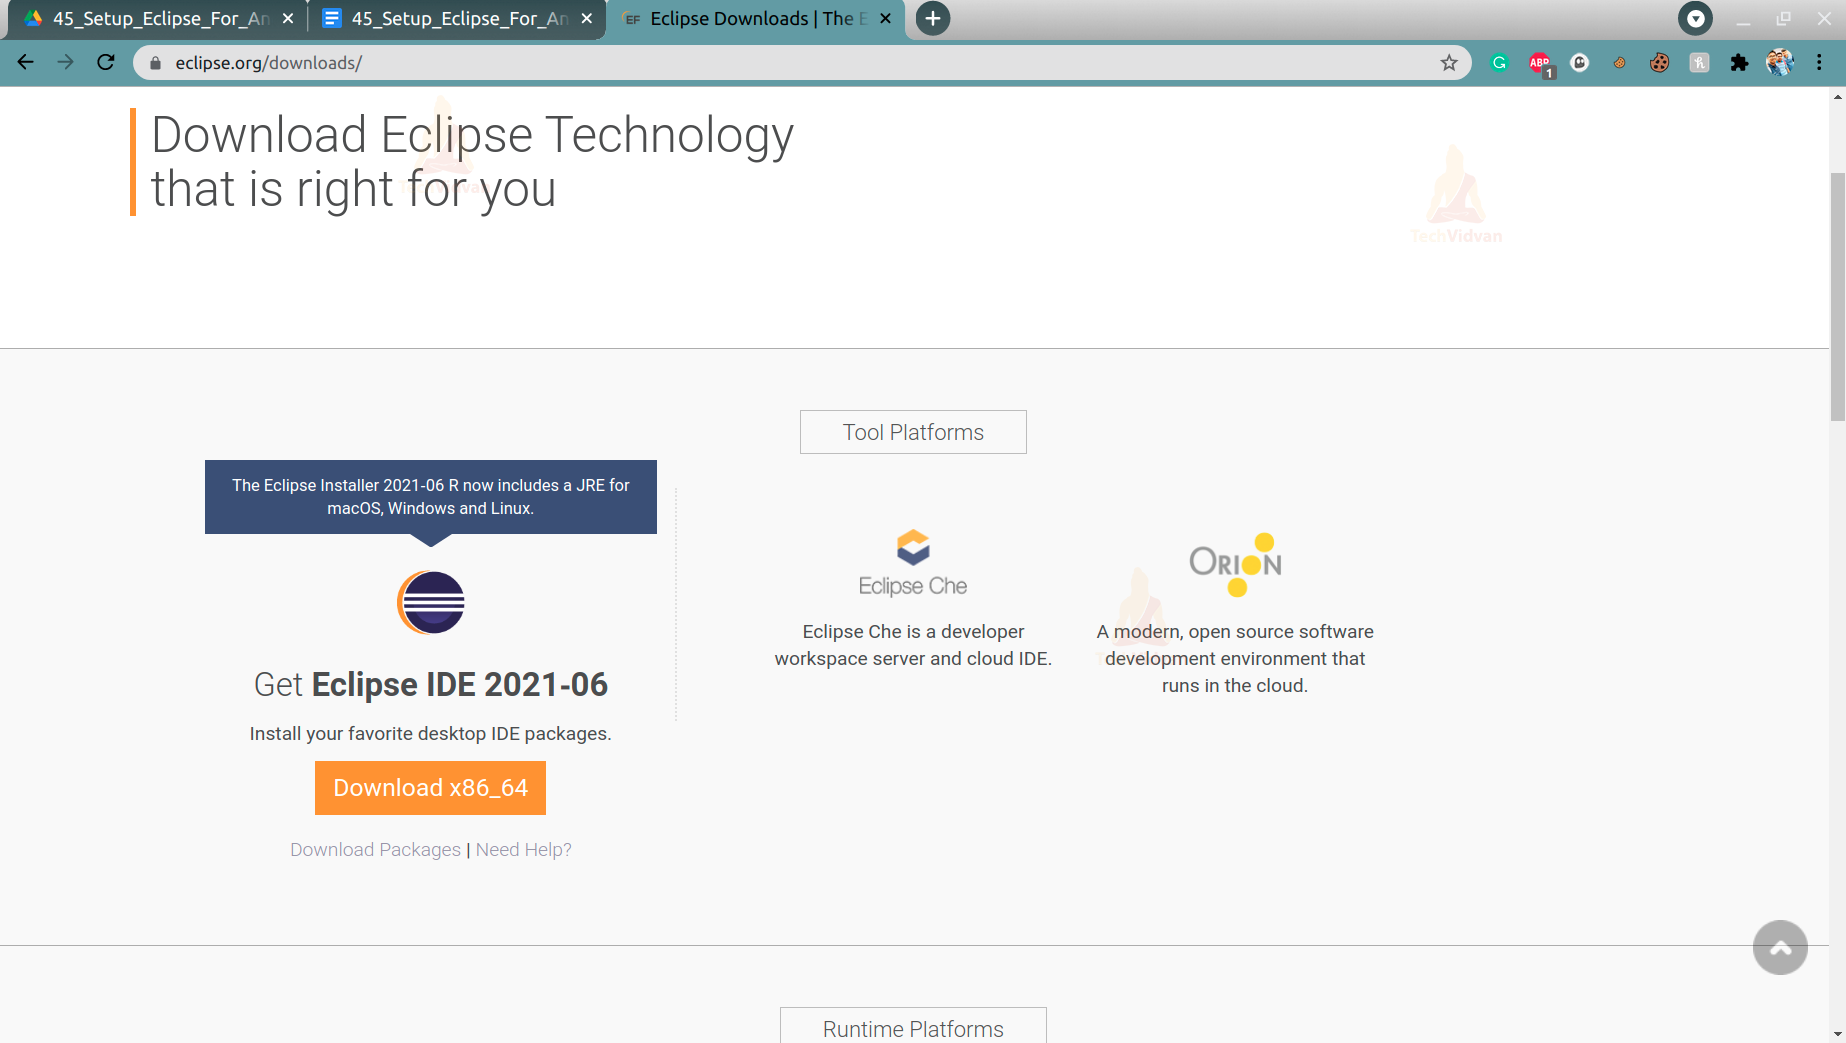
1: Visit the link below and download Eclipse installer for your system(Windows, Mac, or Linux).
2: After your file is successfully downloaded, the Eclipse Installer file is then simply installed.
For Windows users:
- You just need to run the .exe file as administrator and then proceed with the installation.
For Ubuntu/Linux Users:
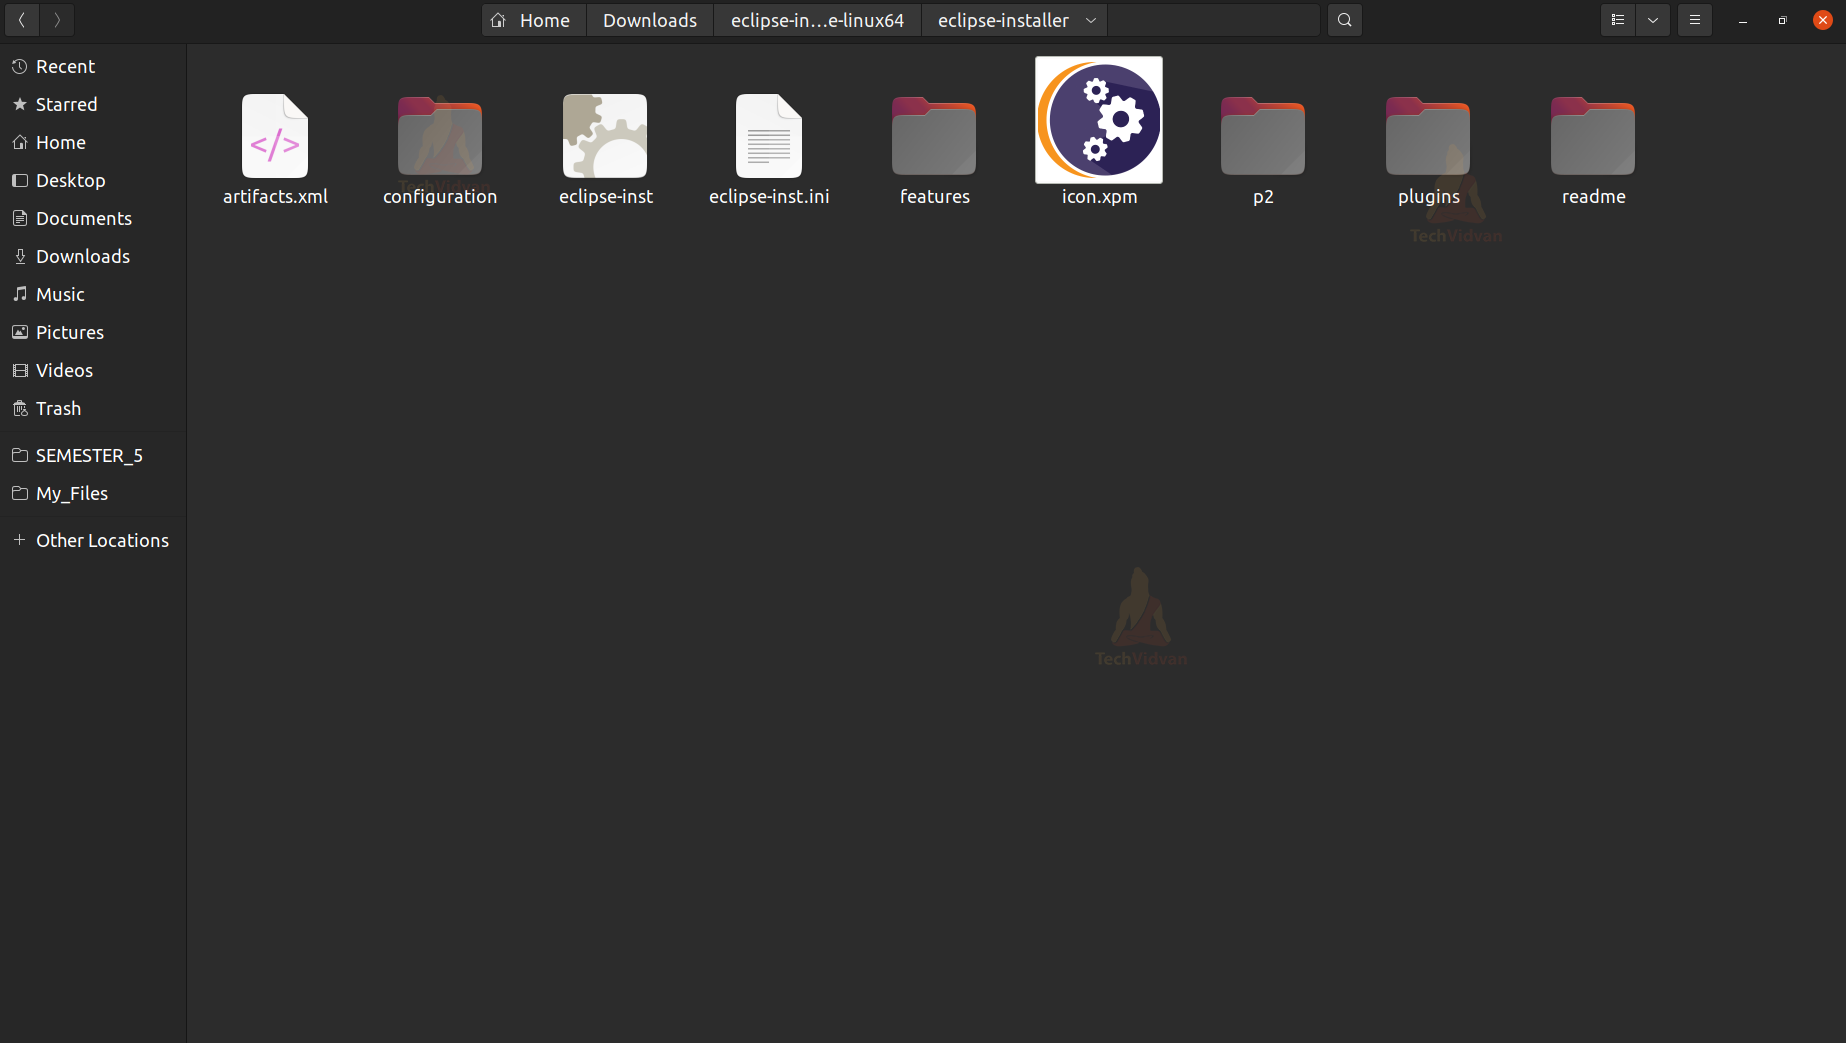
- You can notice a tar.gz file is downloaded.
- Simply Extract the file and open the Eclipse-Installer folder as shown below.
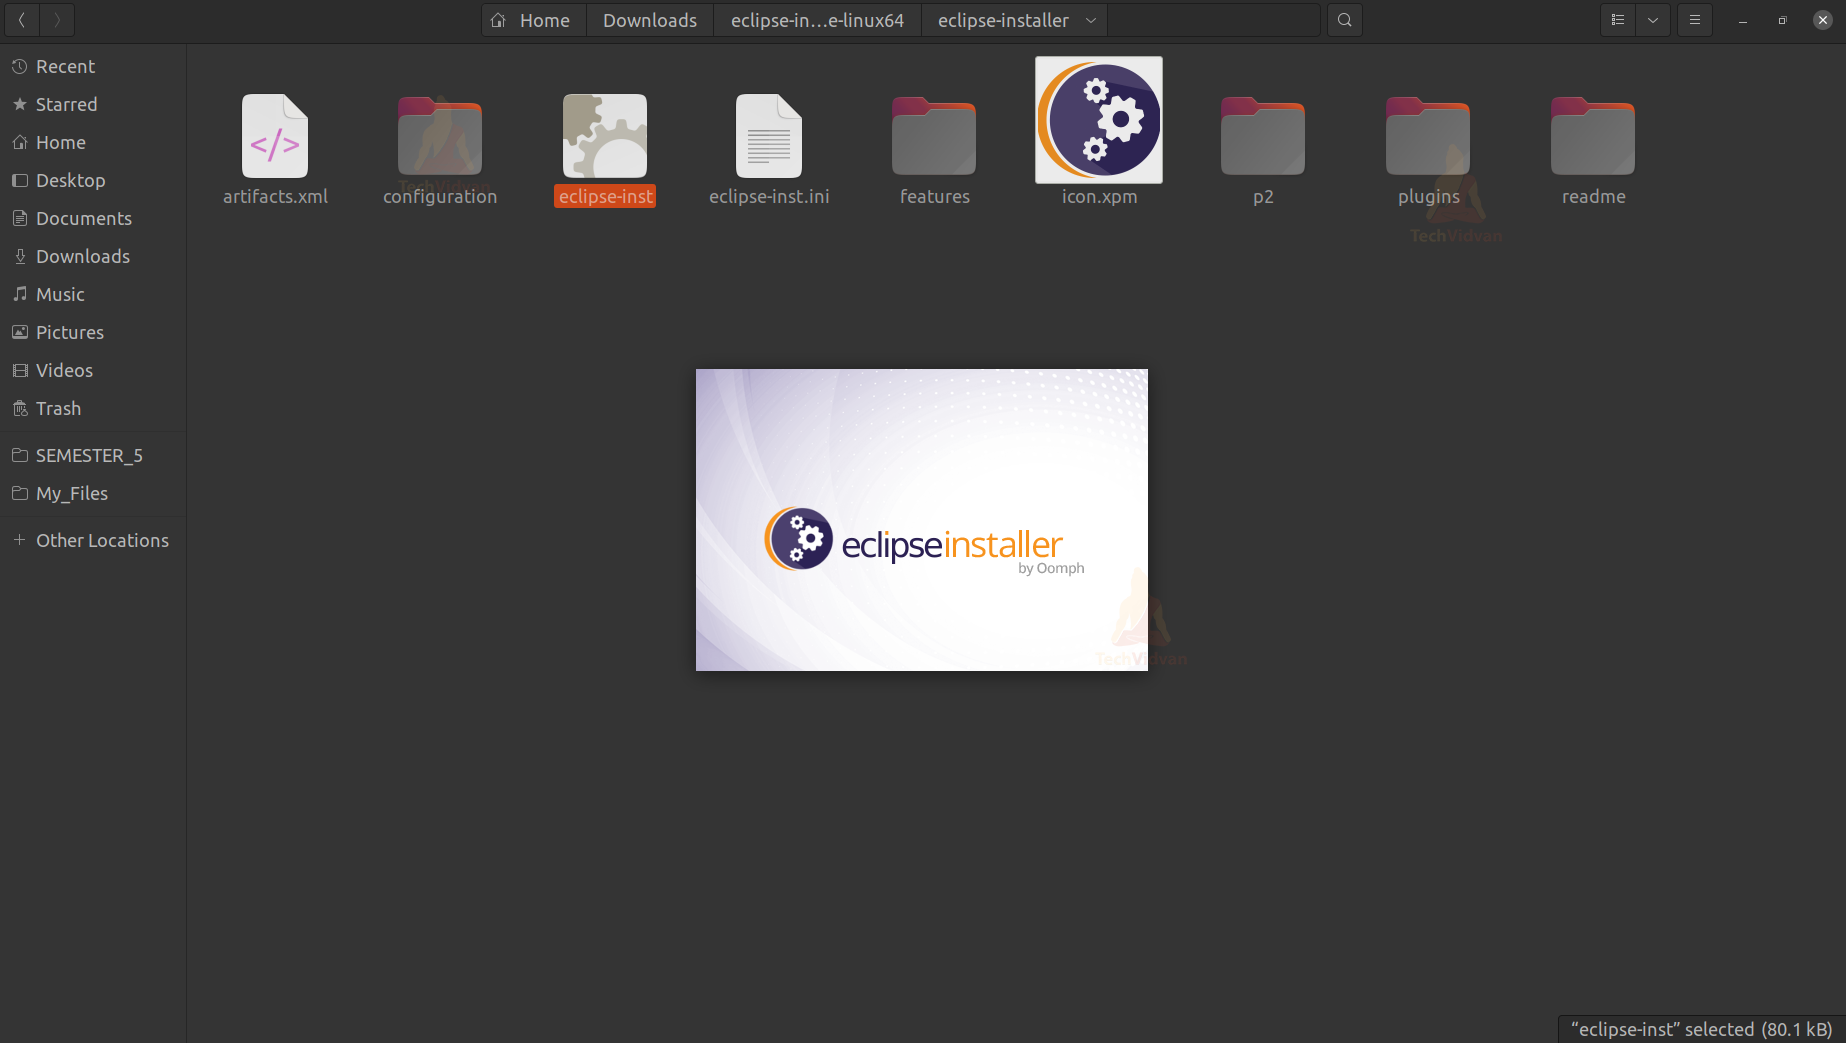
- Now run the eclipse-inst file, which will start the installer for you.
3: Now you can notice that your Eclipse Installation has started.
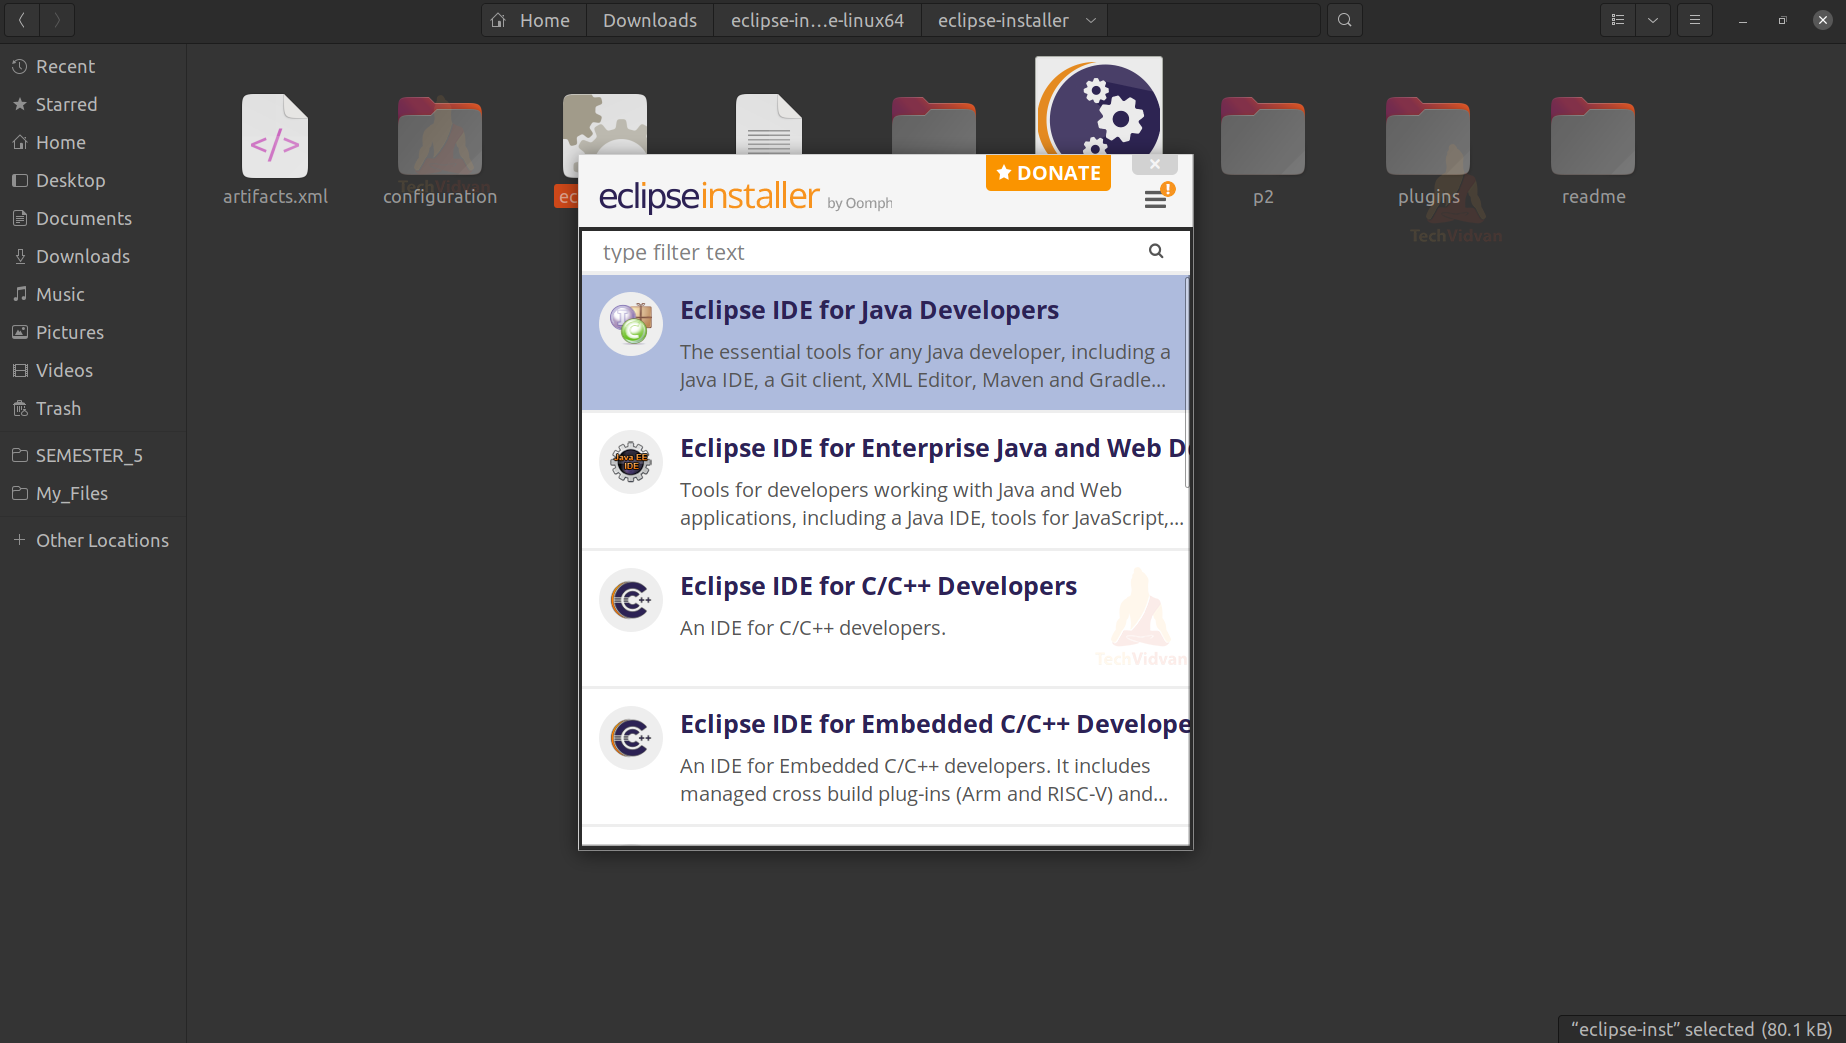
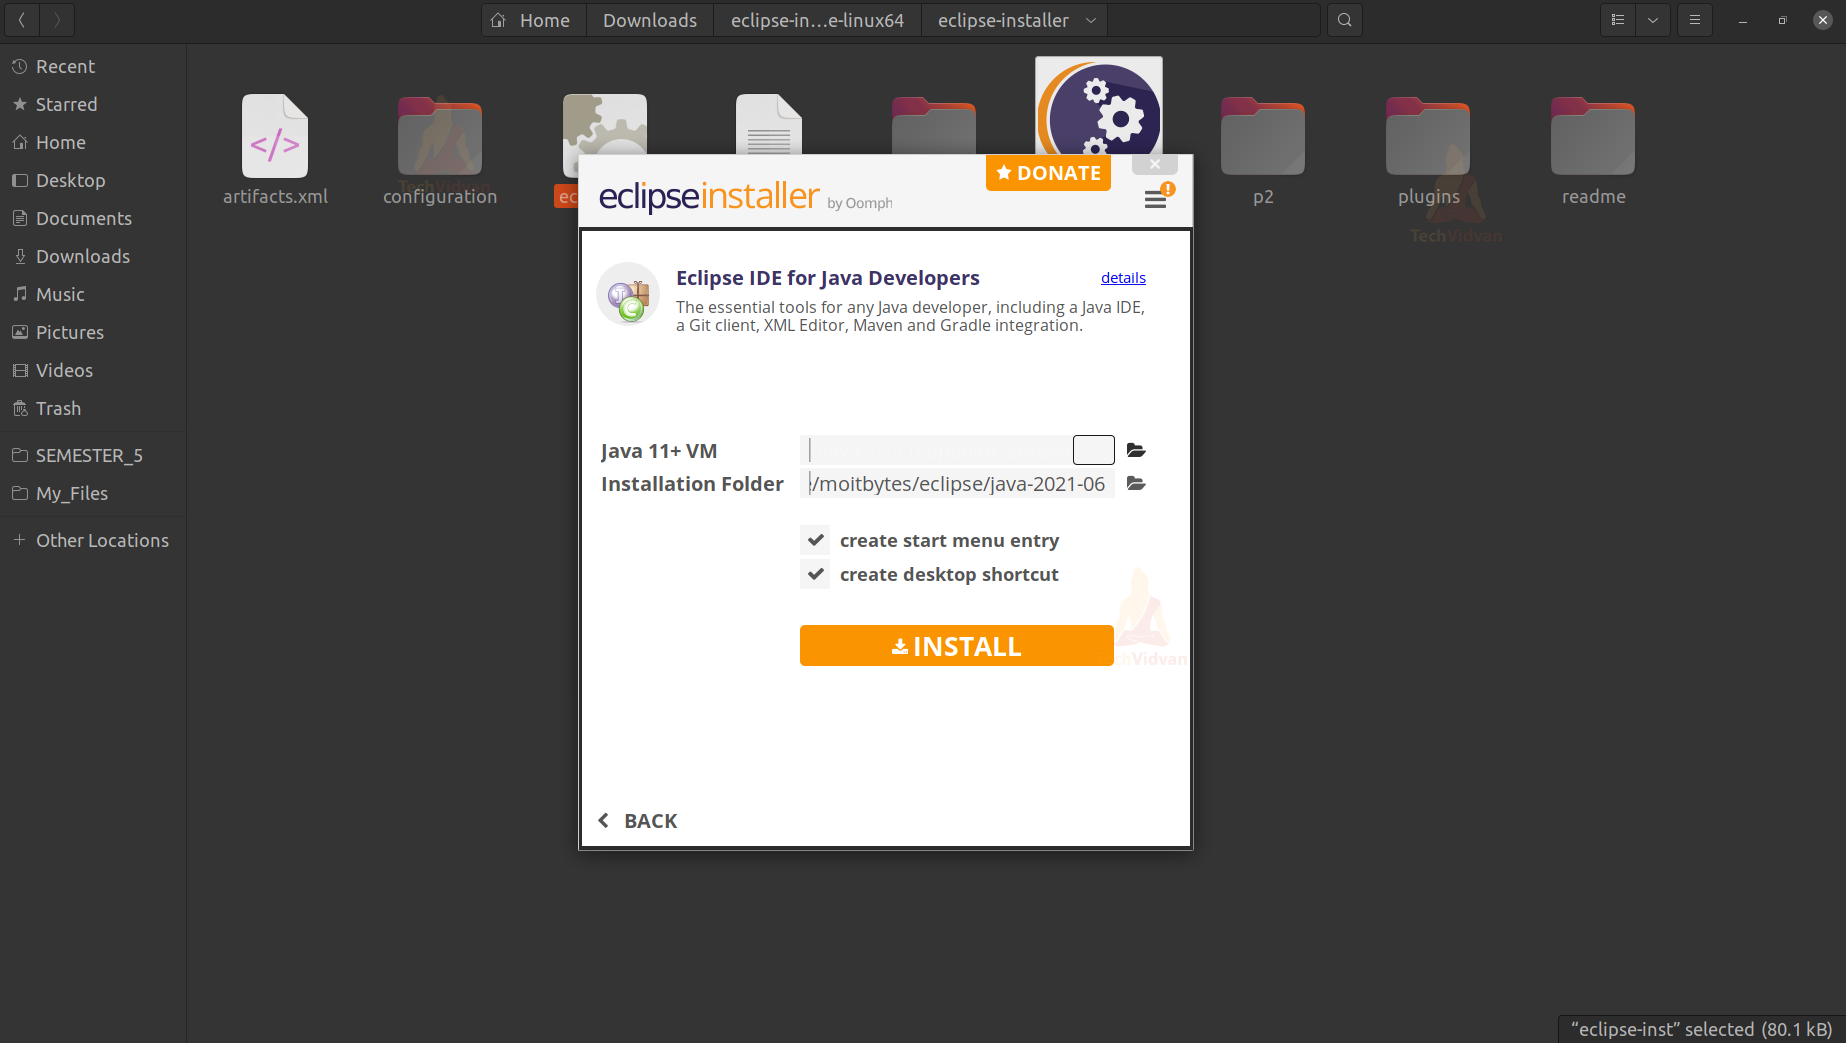
4: After that, you will find a list of options to choose from. Here you need to select Eclipse IDE for Java Developers and continue.
5: Now, Eclipse will confirm the installation path and ask whether to install or not. Just confirm the paths and press on install.
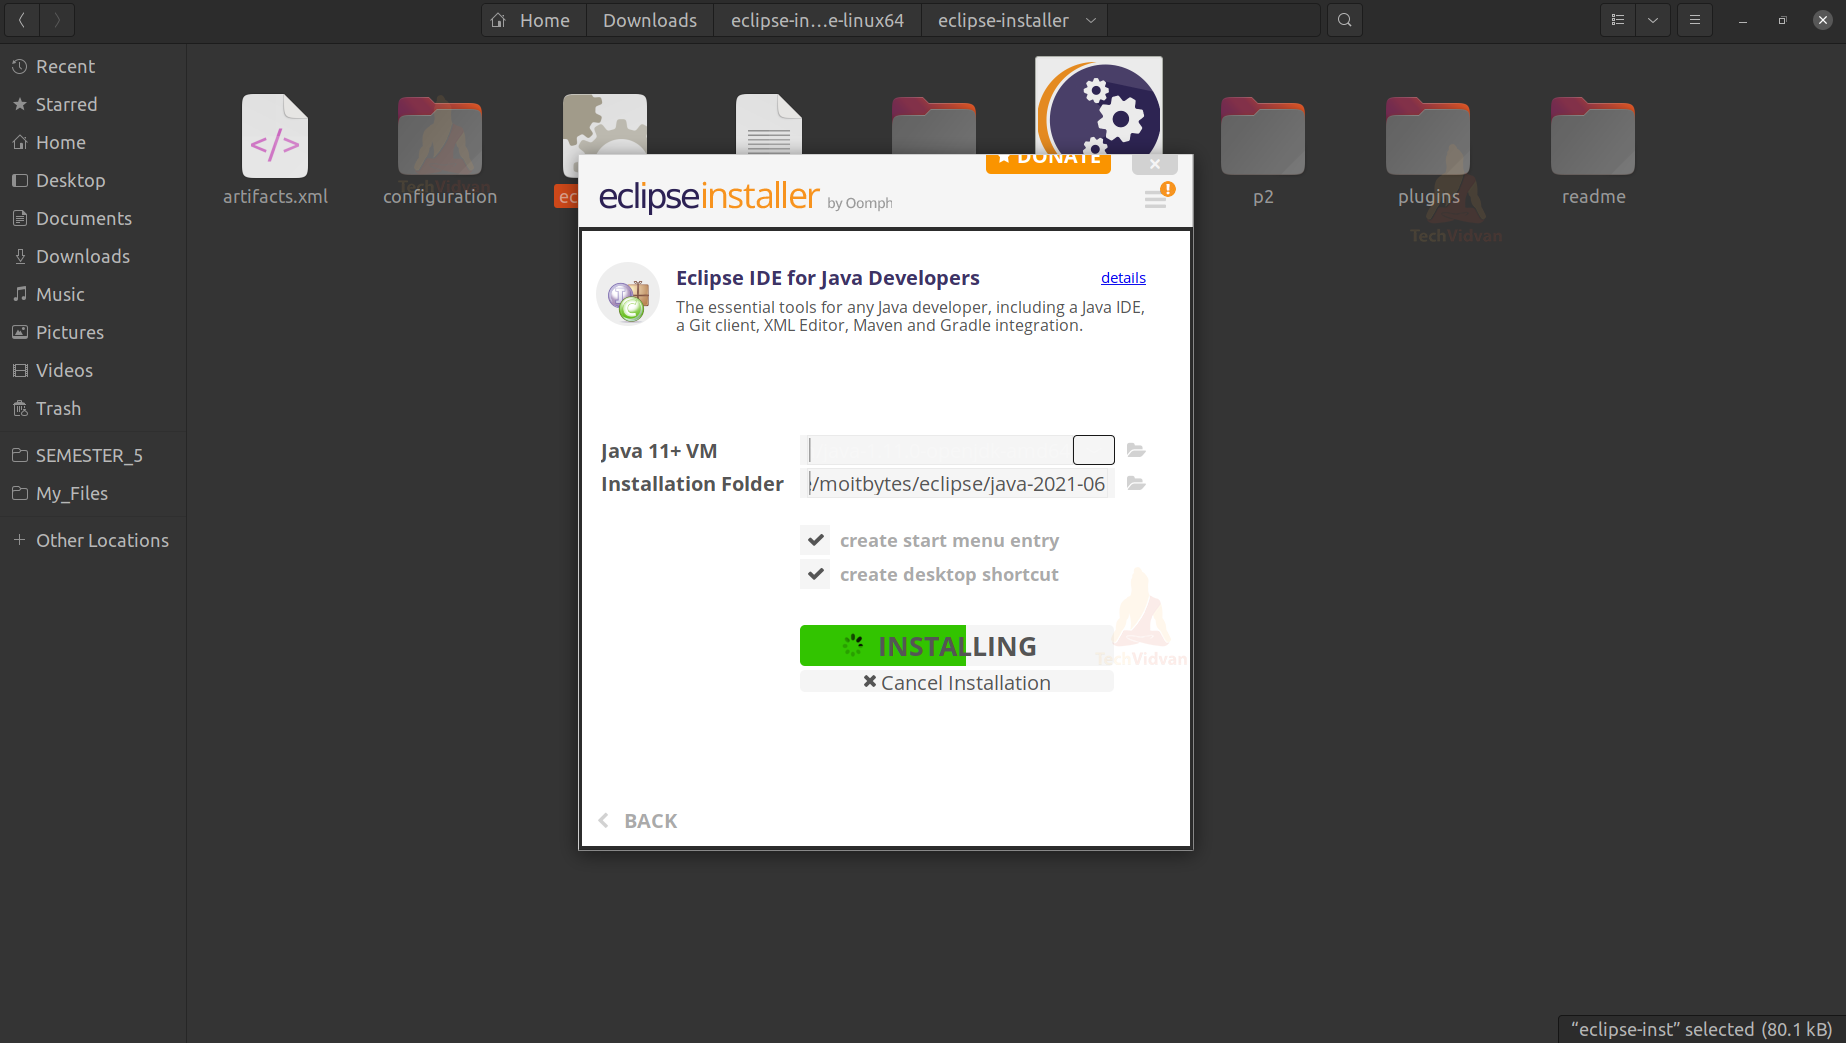
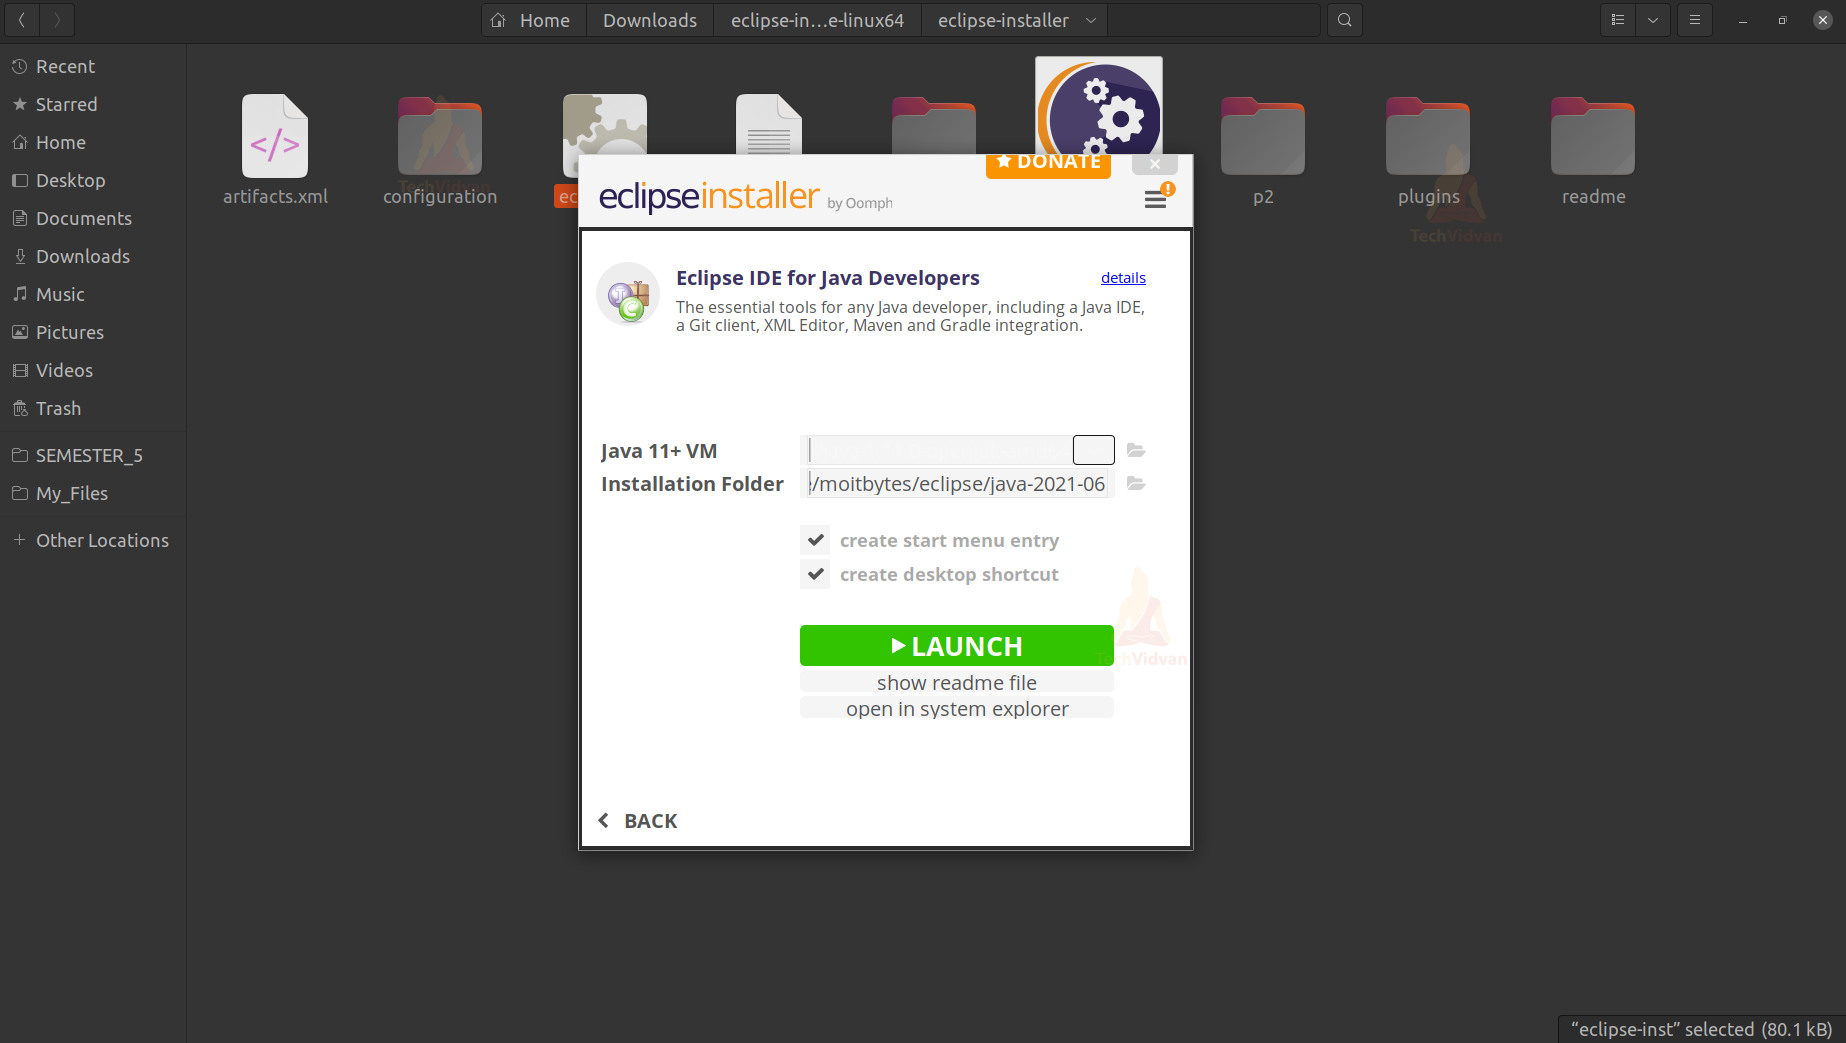
6: After your installation is completed then it gives you an option to launch the IDE. You just need to launch it and then move to the configuration section.
Configuring Eclipse IDE for Android Development
Follow below steps to configure Eclipse IDE for Android Development:
1: When you launch your Eclipse IDE then it prompts you to select your Workplace. The workplace is the directory where you wish to store all your project and other files.
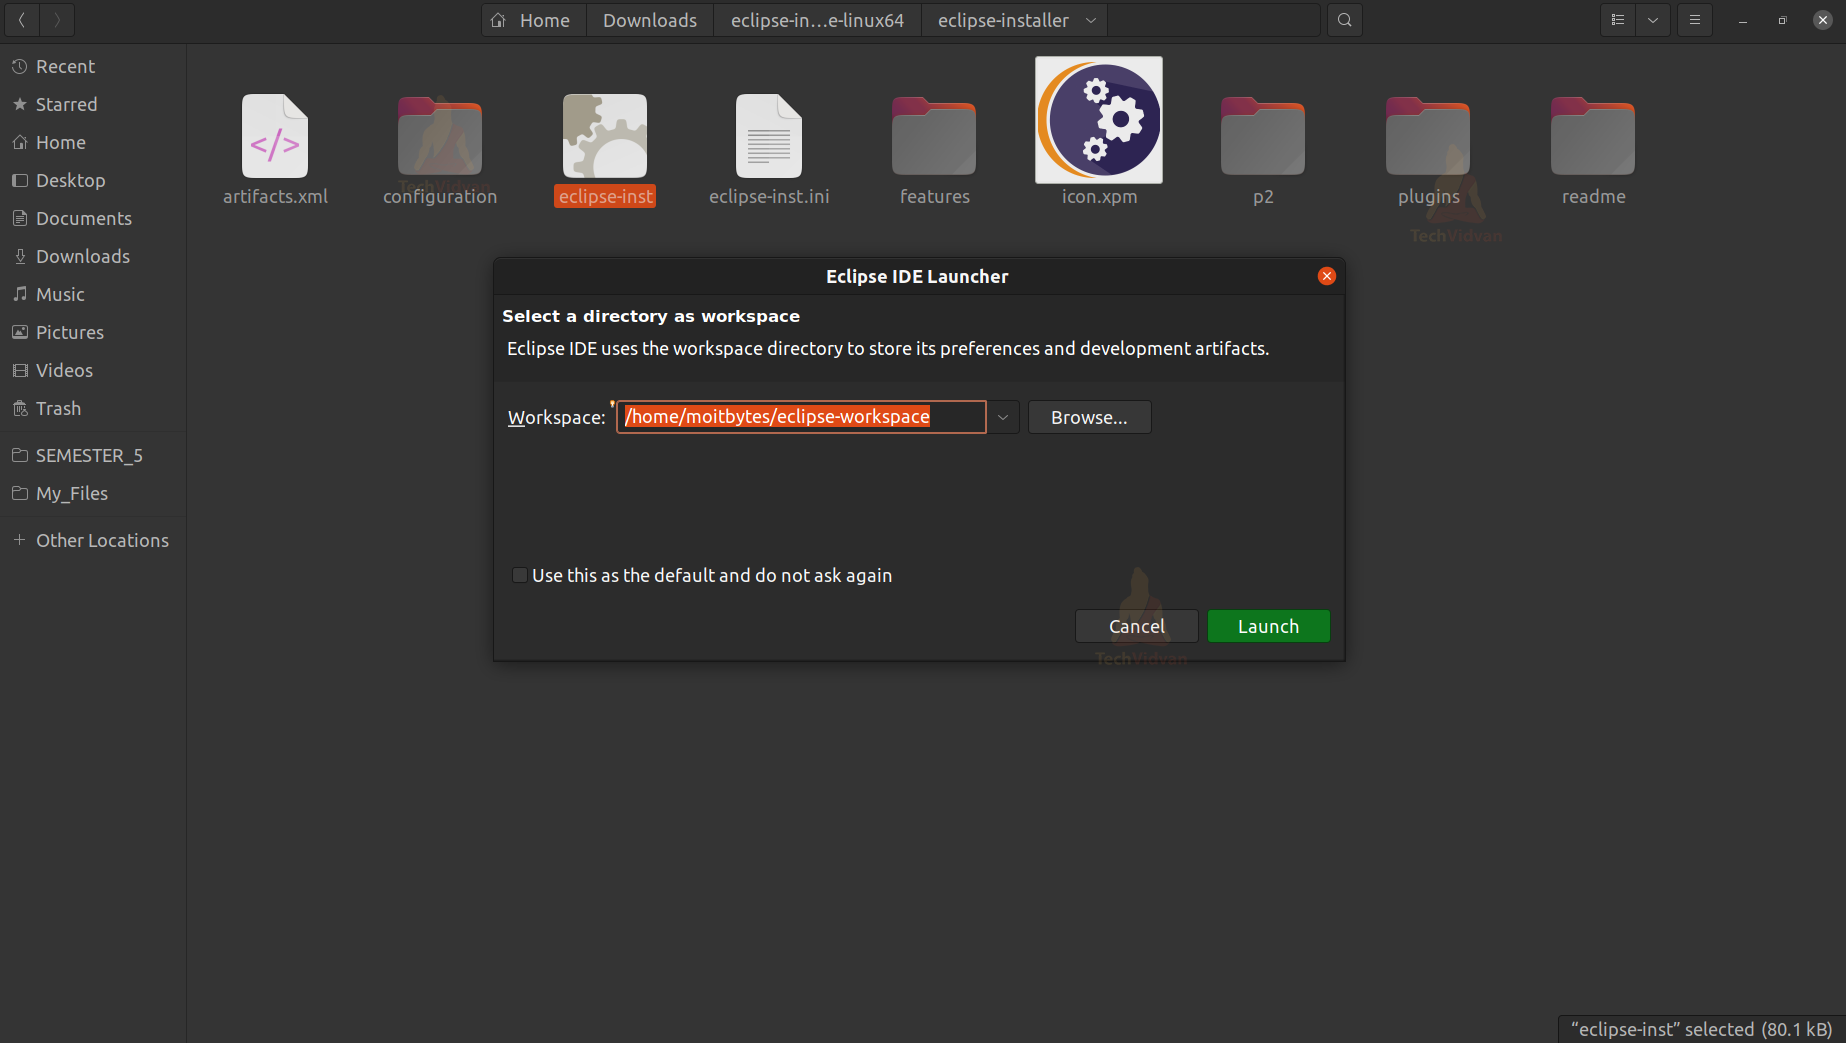
Just select some directory for now and press on Launch.
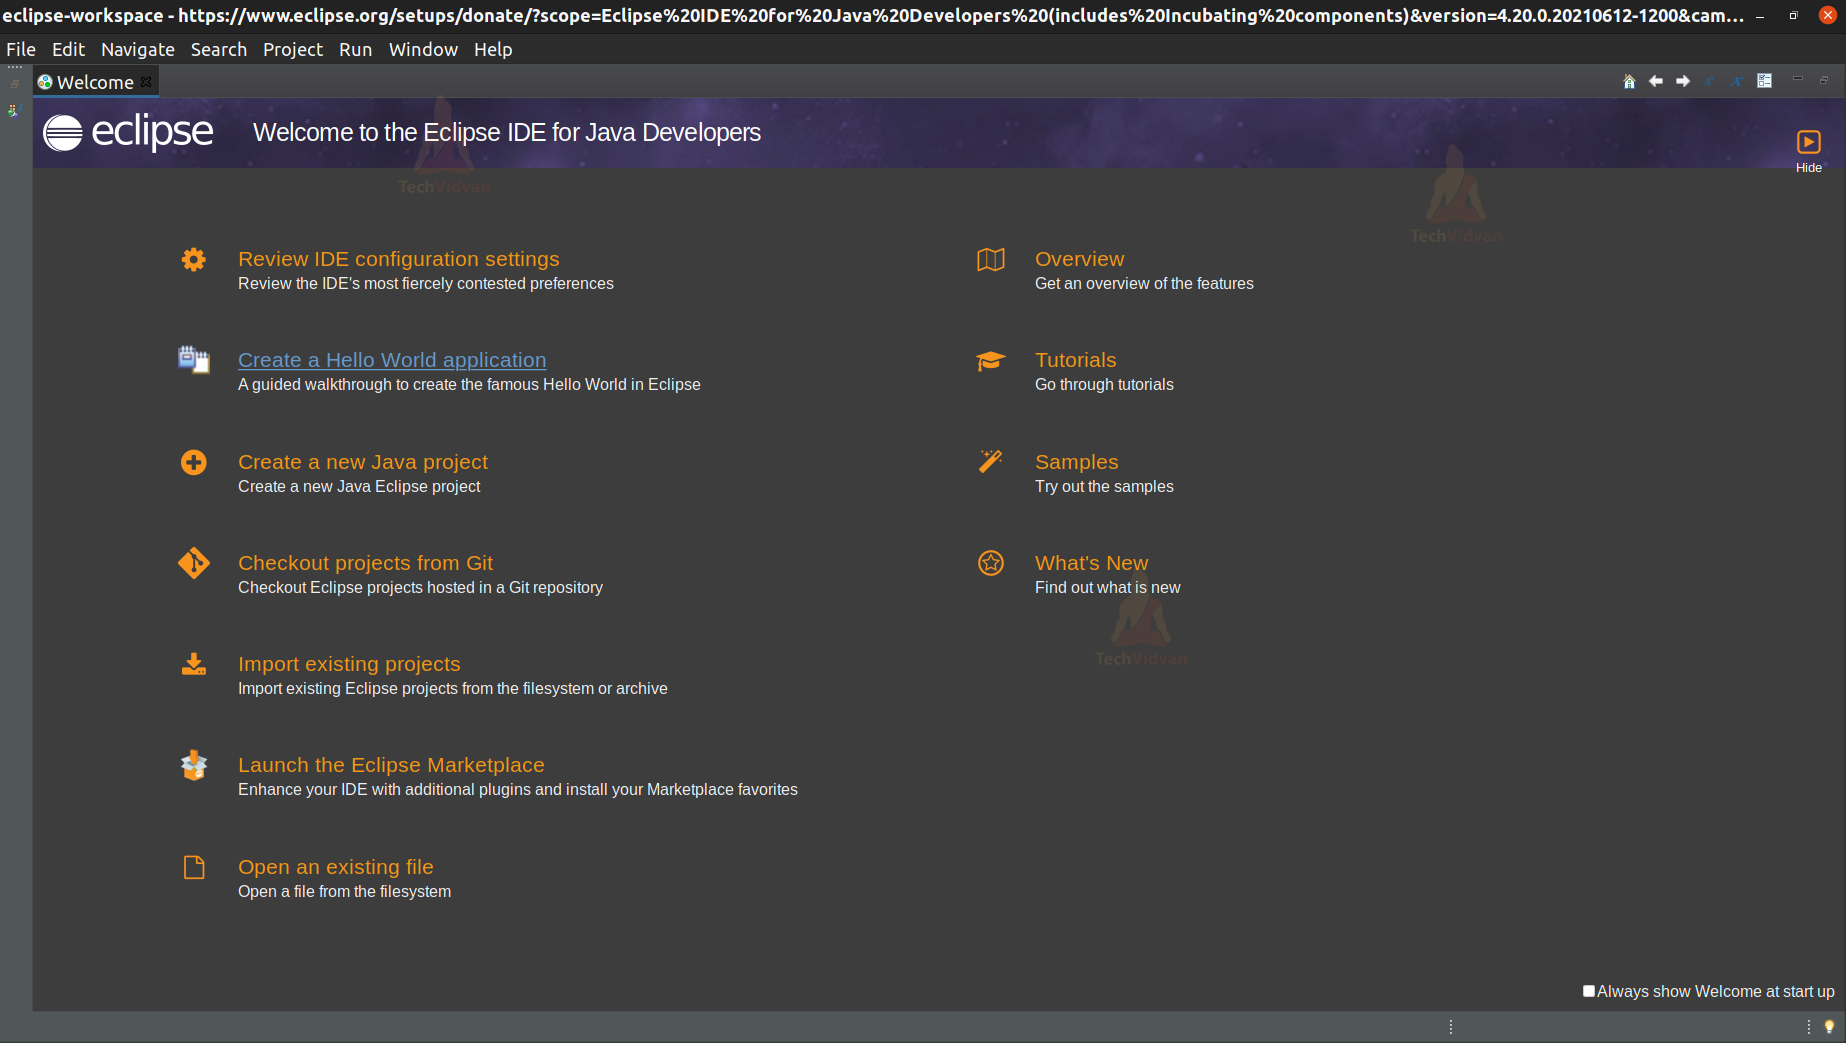
2: After the successful launch of your Eclipse IDE, you will see a Welcome Screen.
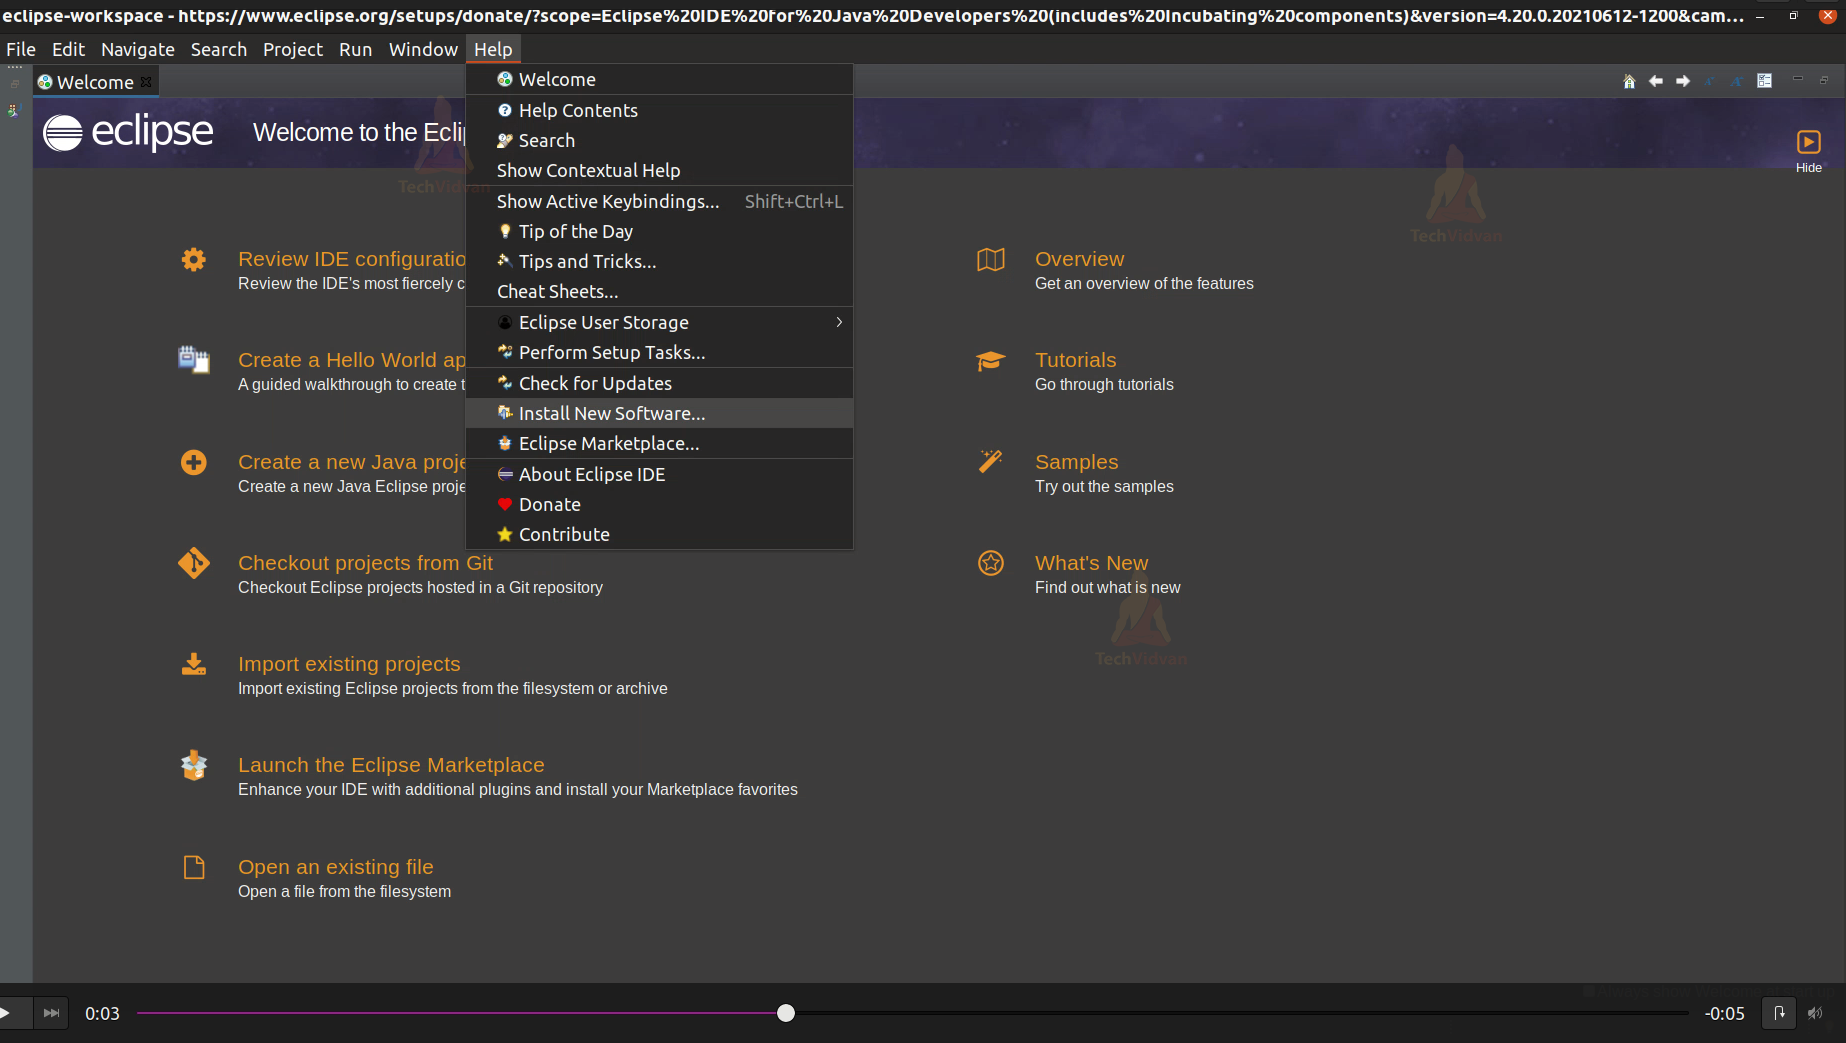
3: Go to Help —> Install New Software.
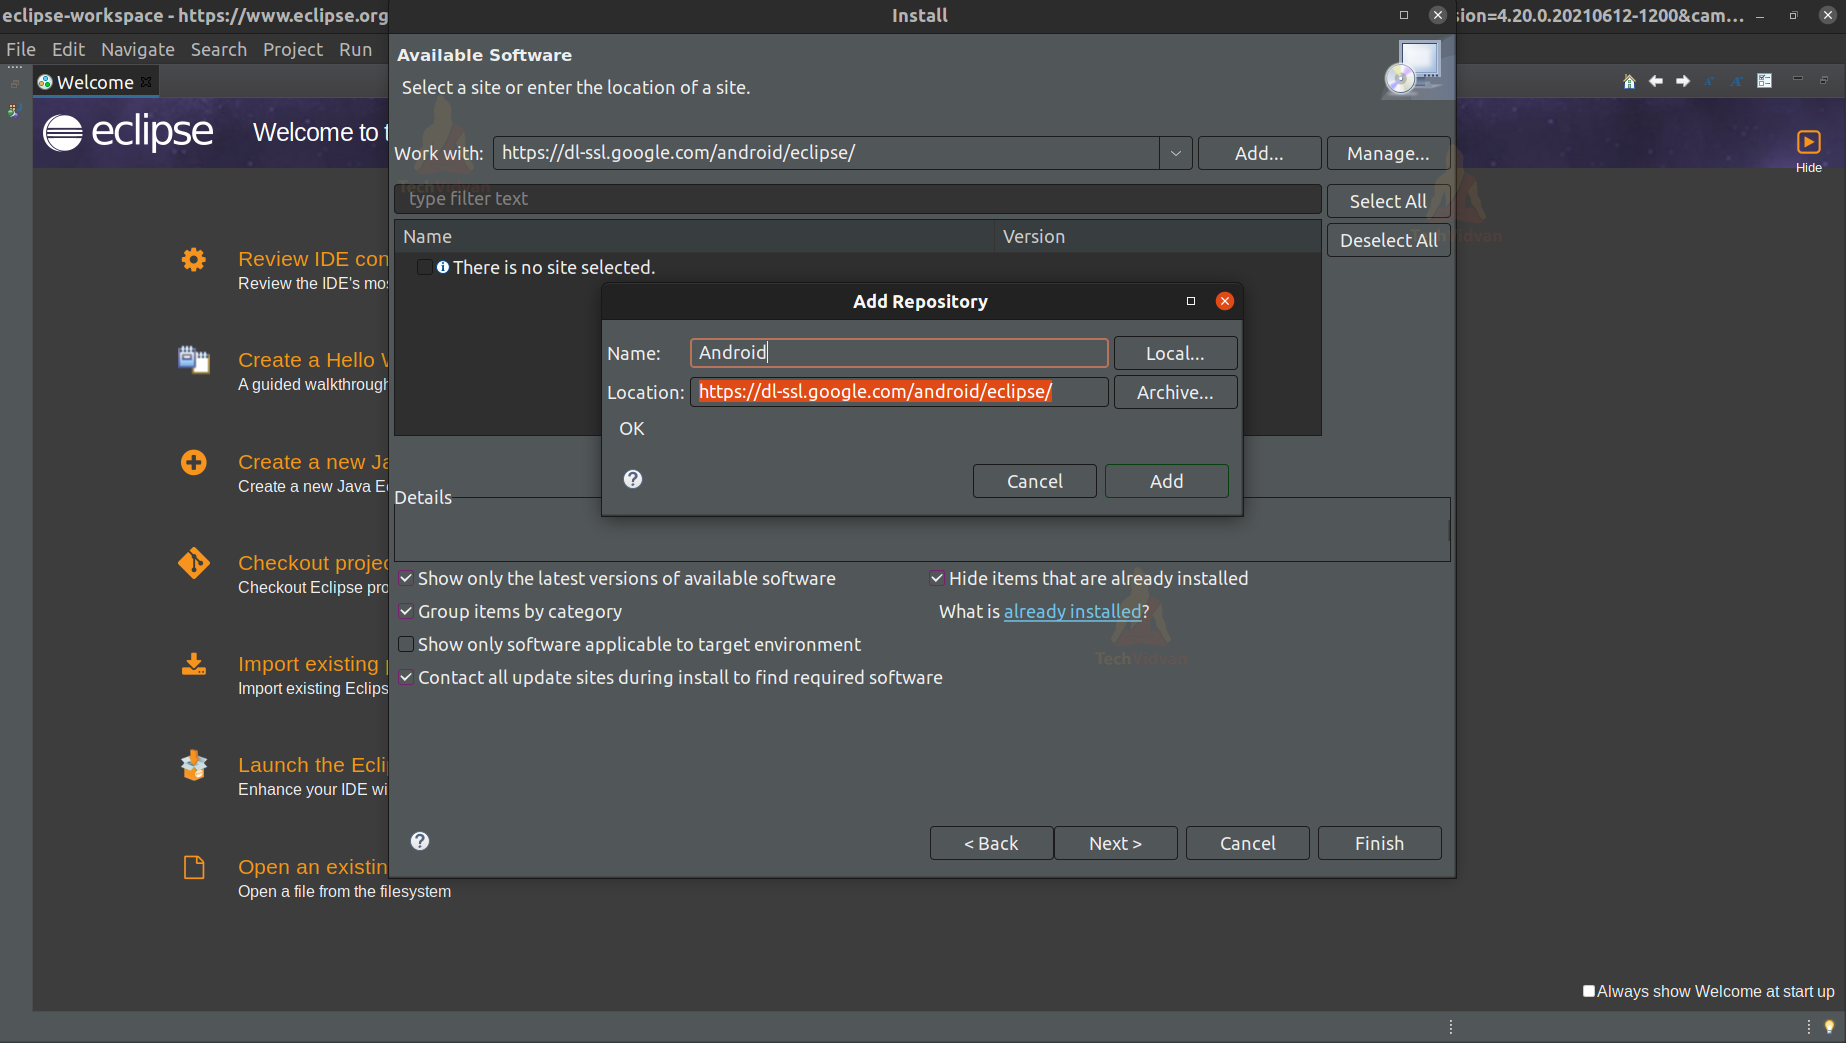
4: Now, you can see a screen prompting you to enter the site name from where you want to install the software.
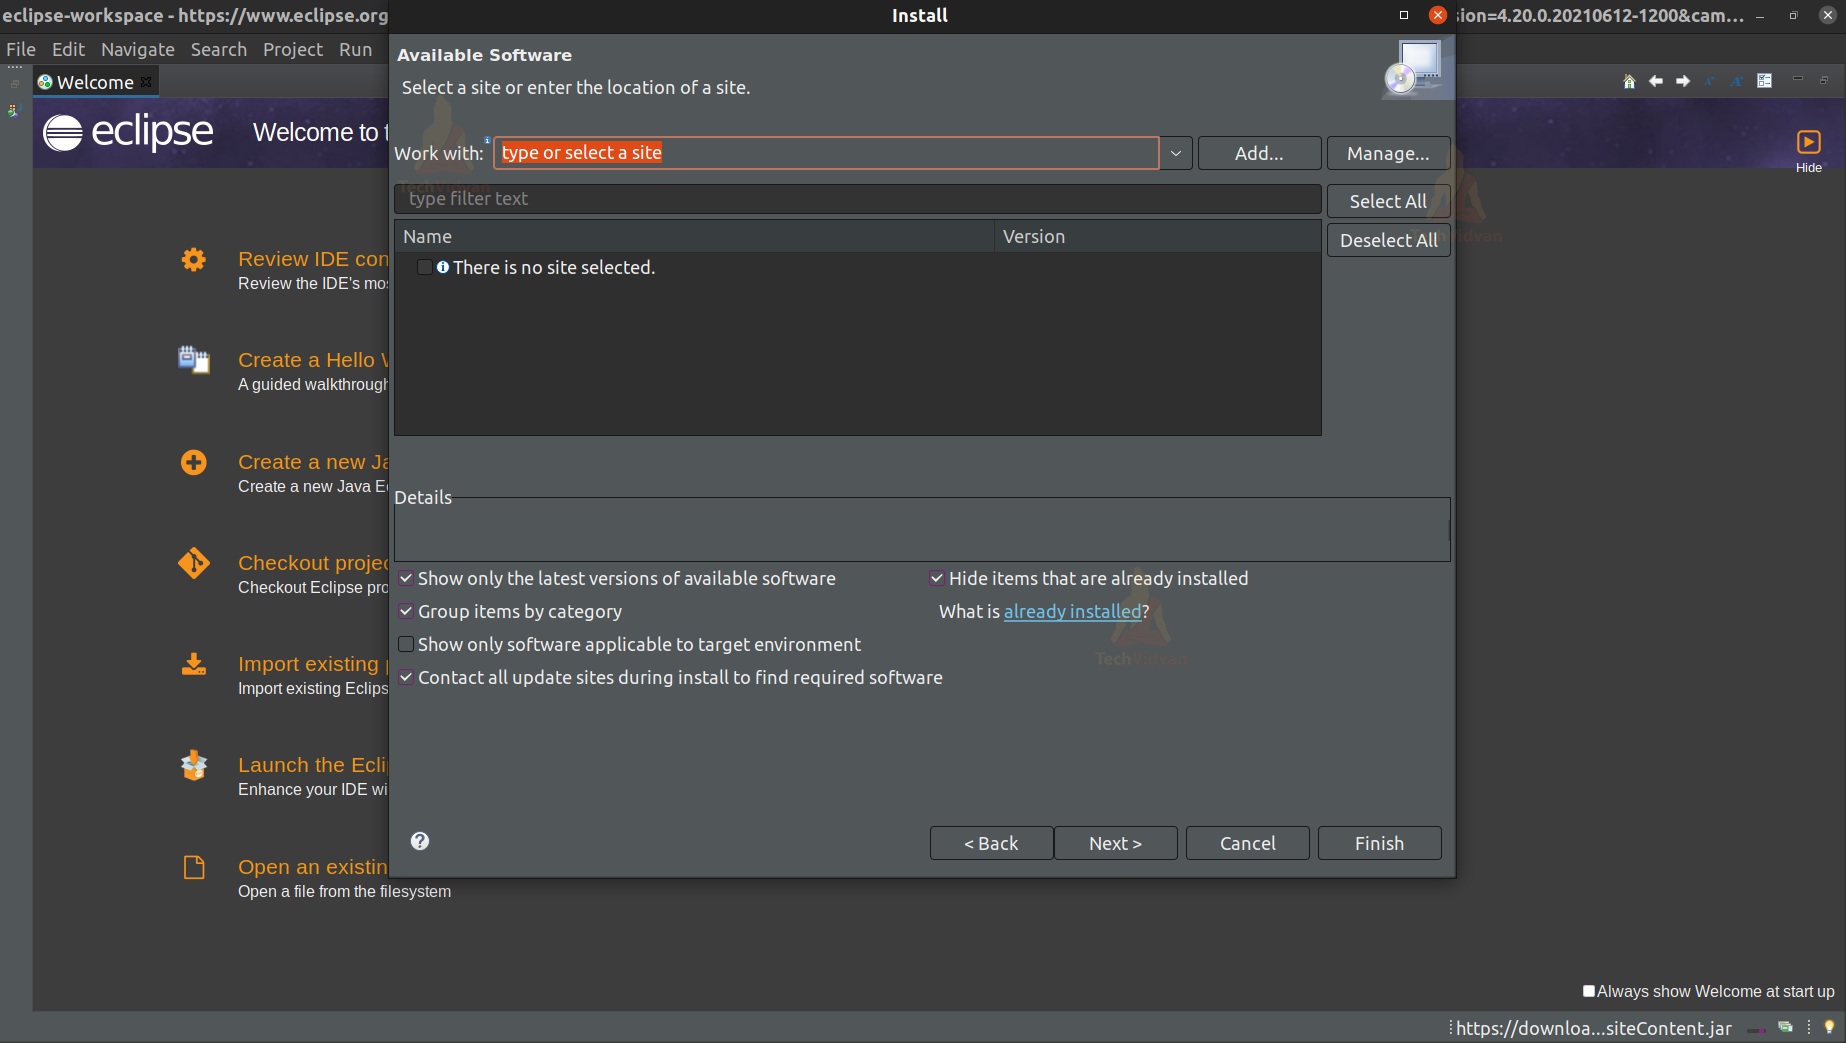
Simply enter the site name in the workplace and click on Add.
5: Now, you can see all the developer tools available in your software tab.
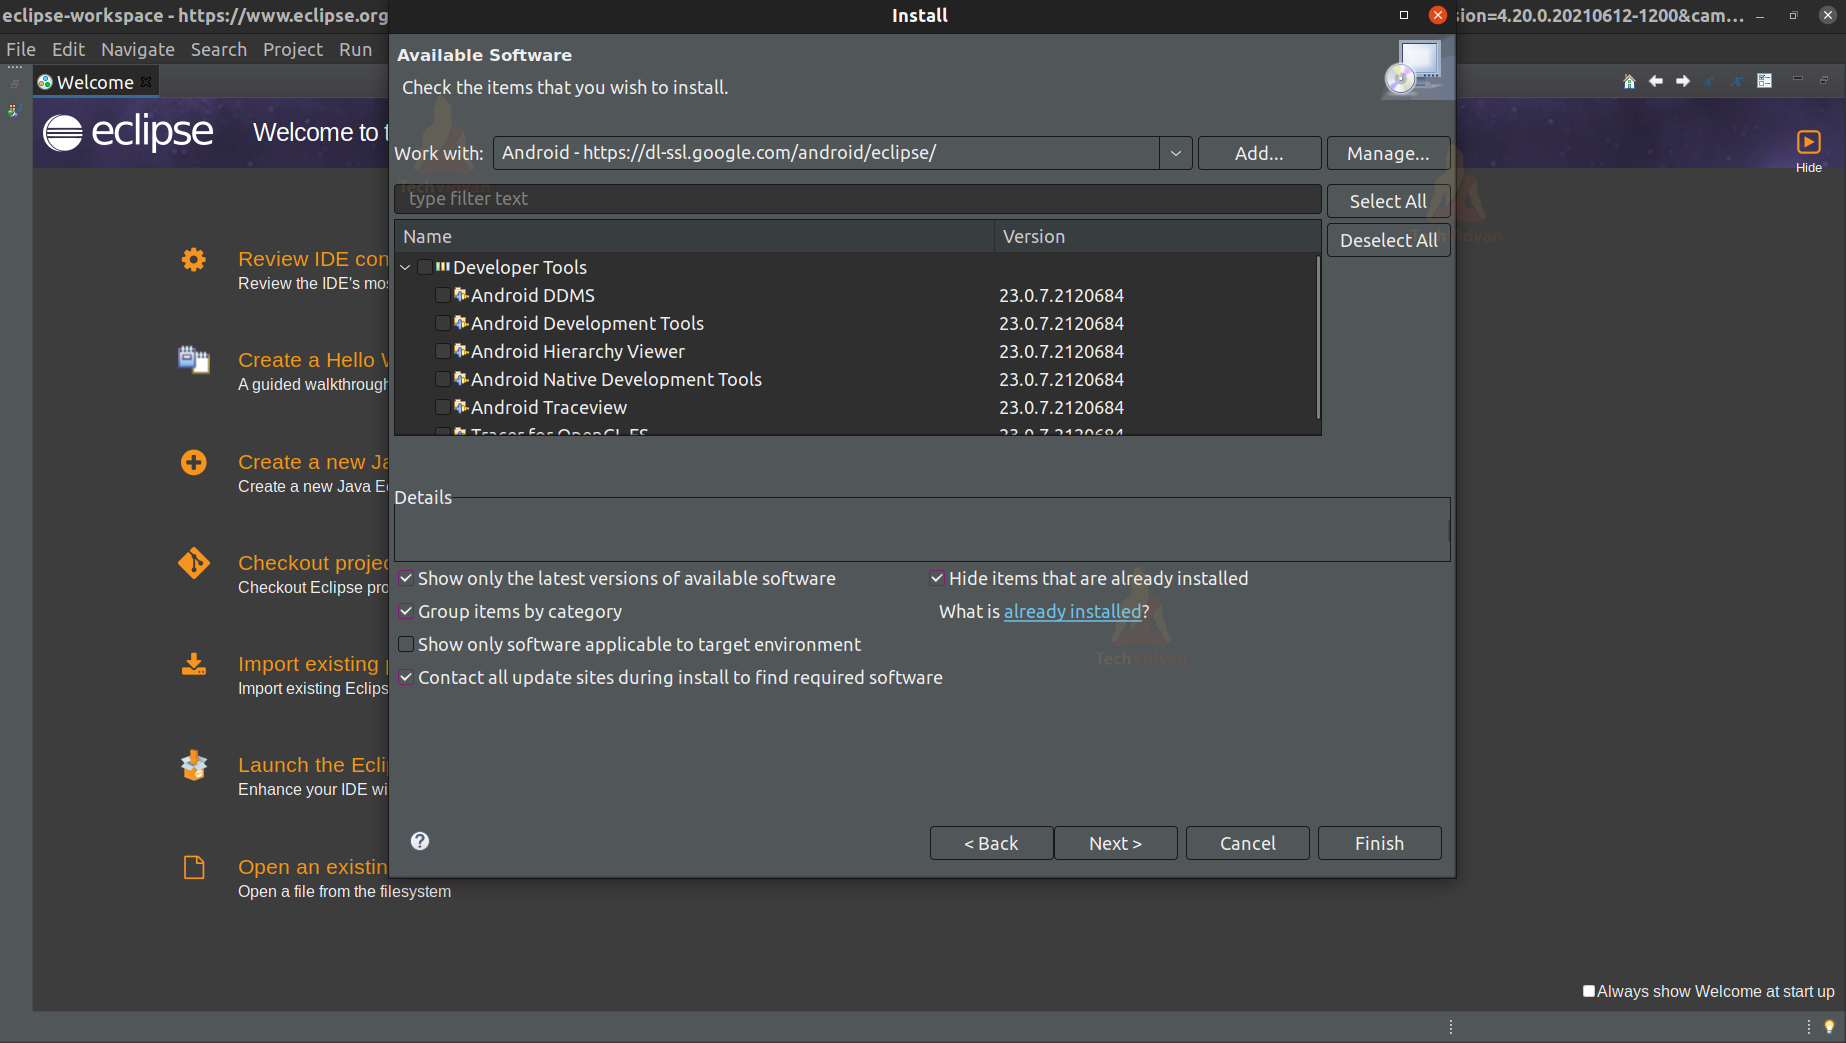
6: Just Select all the developer tools and press Next.
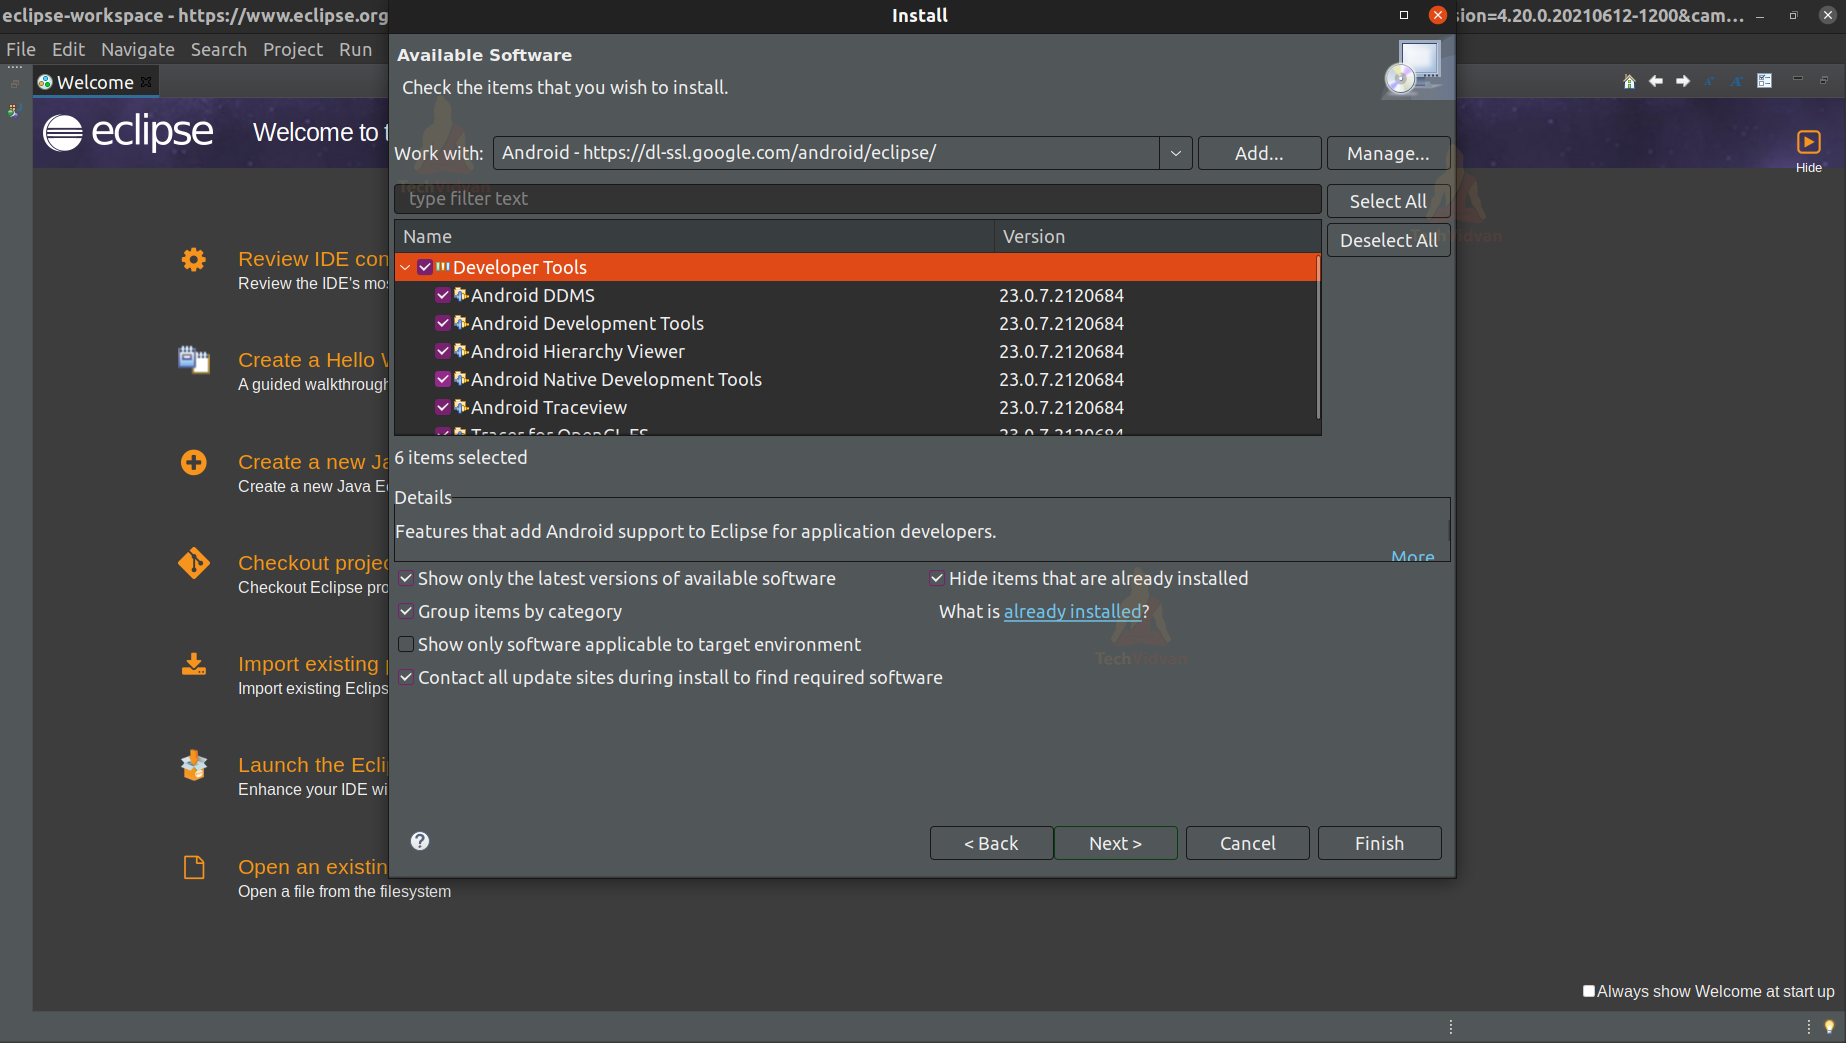
7: After that, it will prompt you to install all those tools. Just press Next, and then let all the tools get downloaded and installed.

8: Now, it may prompt you to accept the License Agreement, accept it and click on Finish.

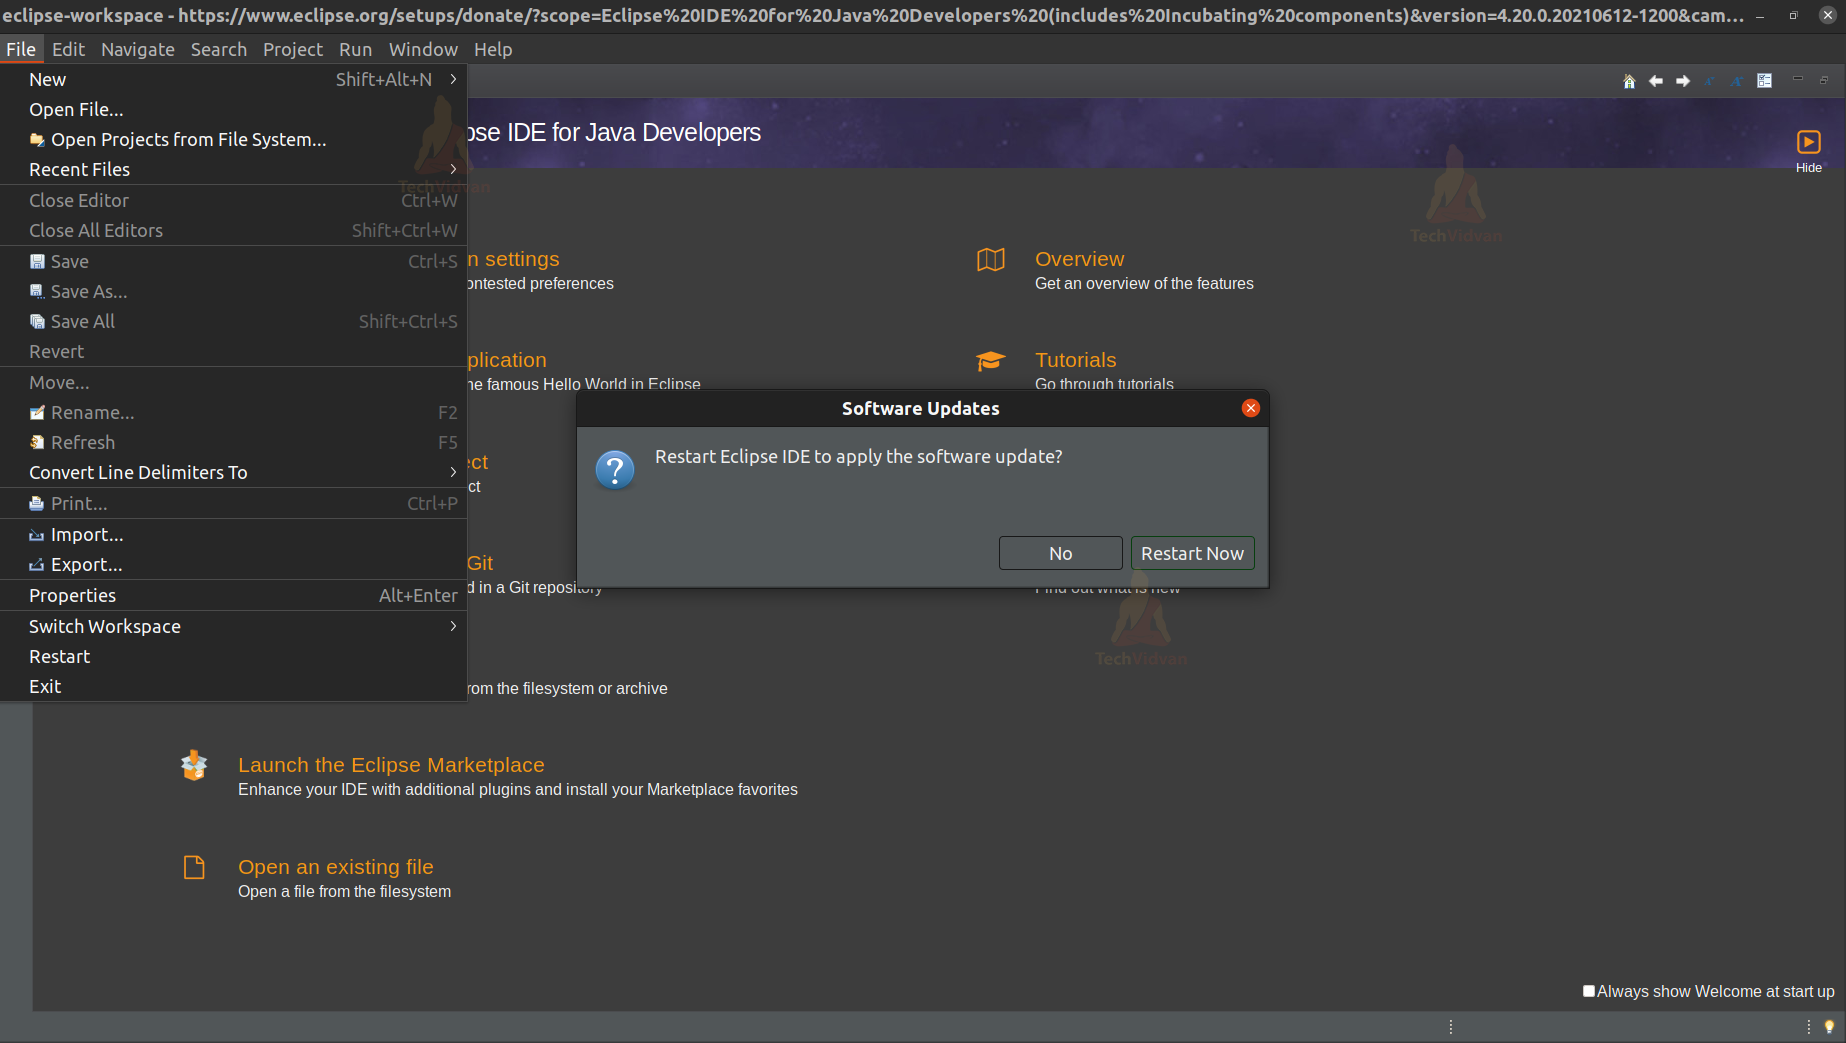
9: Now, you would get an option to restart your IDE. Simply restart it, and that’s it. You are now ready to use Eclipse IDE for your Android Development.
Now just open Preferences to select the path for your Android SDK.

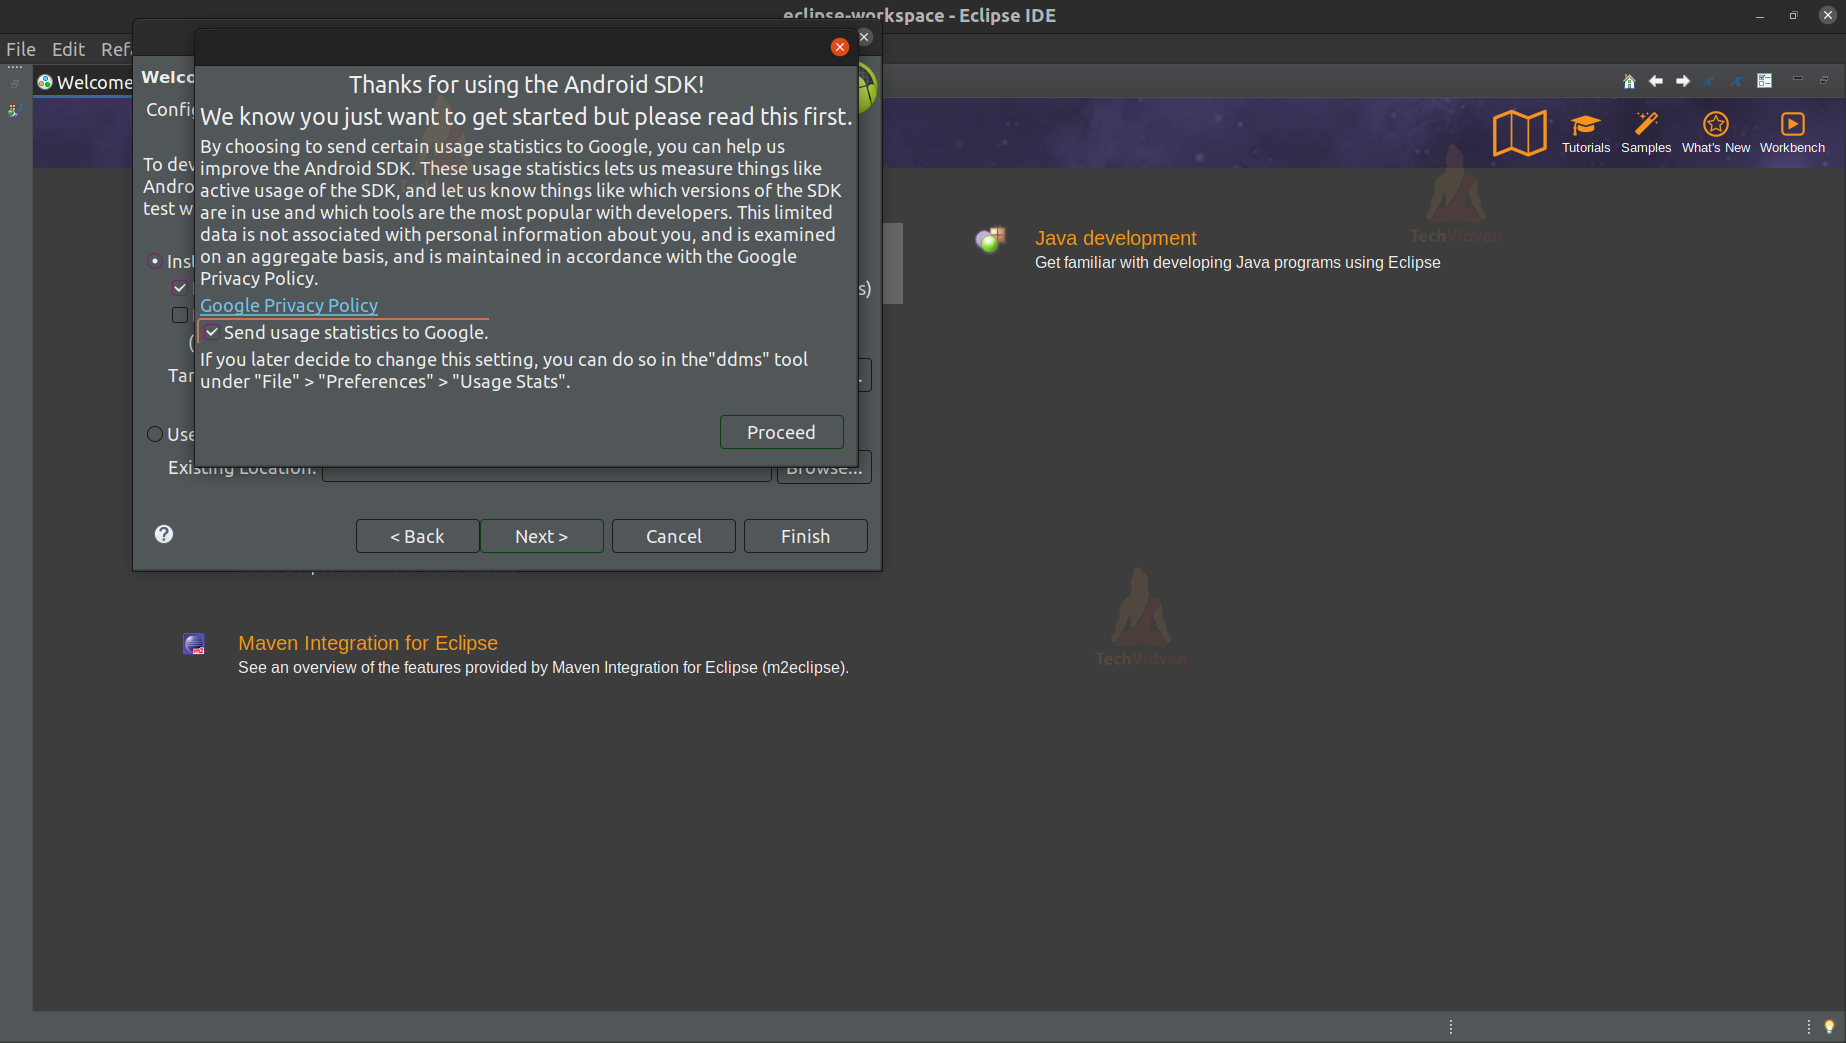
Just click on Finish after selecting the path, and then your Android SDK will install on your IDE, and you are all set to start your development.
Summary
Through this article, you came across a new Integrated Development Environment known as Eclipse IDE. You got to know how this IDE is used for android development. Finally, you saw the step-by-step procedure to install and configure the Eclipse IDE for Android Development.