Android Adapter for Android Developers
I hope you are enjoying the Android development course so far and developing some awesome apps. Today we will see yet another helpful topic known as Android Adapter. As the name “Adapter” itself suggests, that it’s a connection. The connection is between the database and your created views.
Imagine a scenario where you need to flood your view with some data from the database. In such cases, you will use Android Adapter to build the connection.
What is an Android Adapter?
Android Adapter is the connector used to connect the data source or database with our created views. Whatever the data set you have, you can directly reflect that dataset using a specific Adapter View. In Android, we have several types of Adapter Views: List View, Grid View, Spinners, Recycler View, etc.
If data is added, updated, or deleted in the database, the same is reflected in the adapter view. The Android Adapter behaved like a bridge allowing the data to flow from the data source to the Adapter views.
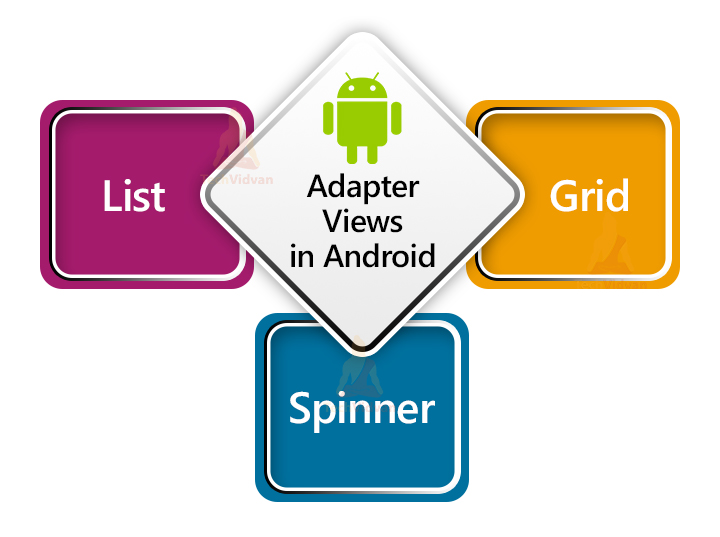
Adapter Views in Android
An Adapter View is used to display the data flowing through the adapter. It can be in the form of a list, grid, or spinner. Android Adapter extends the properties from the default Adapter View class for the specific view. You can Adapter View to display a large amount of data efficiently and smoothly on your user interface.
Adapter Views provides you with many features like adding, deleting and updating the items in the view. It also allows you to apply the Context Menu to each of those items. You can even reload the changes in the Adapter View without even reloading the activity.
As discussed above, the adapter usually displays the data in three formats. Those are: List, Grid, and Spinner.
Let’s see each of the Adapter Views in detail:
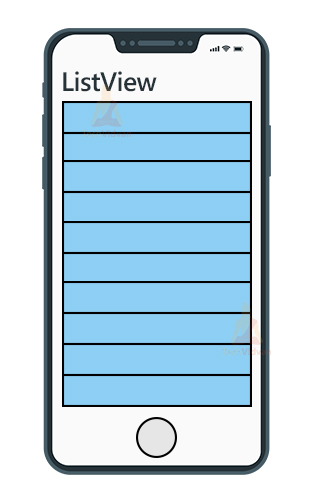
1. List View – List View displays the data items in a list where each item occupies the whole horizontal row. Finally, you get a vertical scrollable set of items in your interface. Below is a demonstration of ListView.
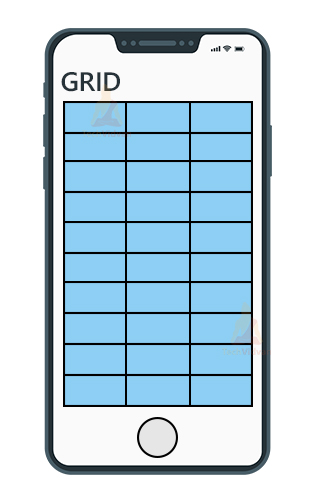
2. Grid View – Grid View is used to display the items in the form of a grid. You can select here how many things you wish to have in each horizontal row. The same pattern replicates over the following rows. The Grid View more or less resembles a 2-D tabular form and is vertically scrollable.
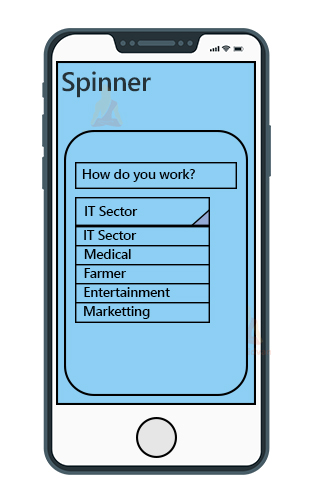
3. Spinner – Spinner in Android is nothing but a dropdown option. You can select one item from the available items in the spinner.
Difference between a ListView and a Spinner
ListView and Spinner seem to be quite the same but have tremendous differences in their use. Let’s see some of the critical differences between a ListView and a Spinner.
| ListView | Spinner |
| ListView is used to display data items in the form of a list. | Spinner is used to displaying the data items in the form of options. |
| You can scroll through the list and can select multiple items. | You get a dropdown with some available data items out of which you can select only one. |
| To create a ListView we use the <ListView /> tag in the XML designing. | To create a Spinner, you need to use the <Spinner /> tag in your XML code. |
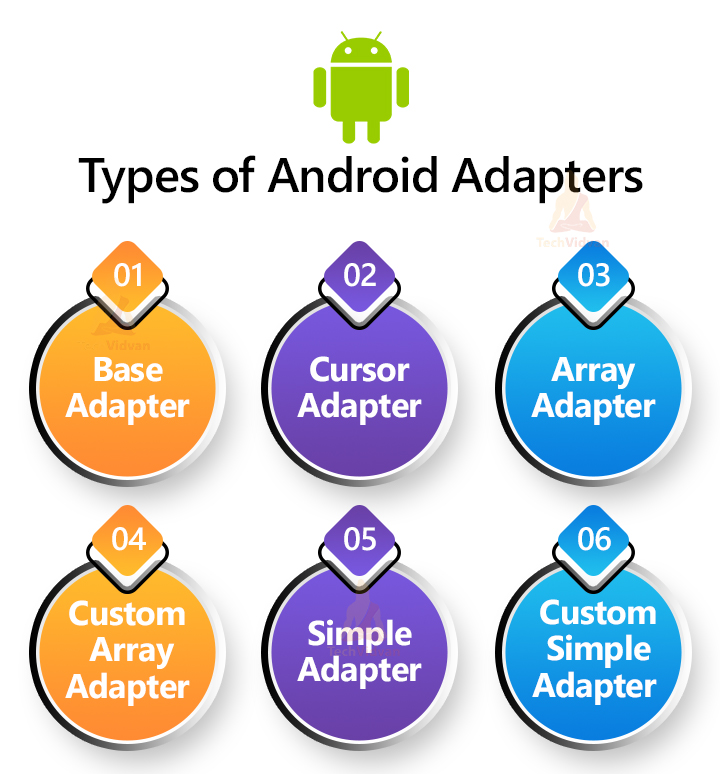
Types of Android Adapters
There are around six types of Android Adapters that are available to us. We can use these adapters based on our needs.
You can use these Android Adapters to connect from the data source and load that data in your UI element.
- BaseAdapter – BaseAdapter is the parent adapter of all the available adapters. It provides the basic framework and methods that other adapters inherit or extend.
- CursorAdapter – Using the CursorAdapter, you bind the data values quite quickly and efficiently.It efficiently handles data retrieved from a database query, ensuring smooth and responsive updates as the underlying data changes.This adapter is particularly useful for displaying data from SQLite databases.
- ArrayAdapter – ArrayAdapter is used to transfer the data in the form of an array and then use that array to insert data into the view. This adapter simplifies binding data from arrays to UI components.
- Custom ArrayAdapter – Custom Array Adapter allows you to customize the type of the array based on your needs. You can even use Modal classes to create your custom ArrayAdapter.
- SimpleAdapter – SimpleAdapter is designed to map static data stored in XML resources to views. It uses a SimpleAdapter.ViewBinder to bind data from a map or other data structure to specific views within a layout. This adapter is useful for displaying predefined or static datasets in a straightforward manner.
- Custom SimpleAdapter – Custom SimpleAdapter extends SimpleAdapter by allowing more control over how data items are displayed. You can create custom layouts and bind data dynamically, providing greater flexibility in how items are presented and interacted with in the user interface.
Now let’s see the implementation of each Adapter using Code Snippets.
1. BaseAdapter
The BaseAdapter is the parent adapter, and another adapter extends properties from the BaseAdapter. To customize your adapter, you first need to extend the BaseAdapter.
Below is an example of how you can extend the BaseAdapter in your created Adapter.
Code:
abstract class MyAdapter : BaseAdapter
2. CursorAdapter
The CursorAdapter helps you to execute SQLite queries to fetch the data from the database. Below is an example of how you can create your CursorAdapter.
Code:
abstract class CursorAdapter : BaseAdapter, Filterable, ThemedSpinnerAdapter

//bindView() method
abstract fun bindView(
    view: View!,
    context: Context!,
    cursor: Cursor!
): Unit

//changeCursor() method
open fun changeCursor(cursor: Cursor!): Unit

//convertToString() method
open fun convertToString(cursor: Cursor!): CharSequence!

//getCount() method
open fun getCount(): Int

//getCursor() method
open fun getCursor(): Cursor!

//getItem() method
open fun getItem(position: Int): Any!
3. ArrayAdapter
The ArrayAdapter is used whenever the data is flowing in the form of ArrayList. Each data item present in the ArrayList would carry a data type. The type may be based on some default classes like Integer or Double, or String.
Using the ArrayAdapter, we can add data items to ListView, GridView, RecyclerView, and Spinner.
Code:
open class ArrayAdapter<T : Any!> : BaseAdapter, Filterable, ThemedSpinnerAdapter
There are various constructors for ArrayAdapter that are shown below.
- ArrayAdapter(context: Context, resource: Int)
- ArrayAdapter(context: Context, resource: Int, textViewResourceId: Int)
- ArrayAdapter(context: Context, resource: Int, myObjects: Array<T>)
- ArrayAdapter(context: Context, resource: Int, textViewResourceId: Int, myObjects: Array<T>)
- ArrayAdapter(context: Context, resource: Int, objects: MutableList<T>)
- ArrayAdapter(context: Context, resource: Int, textViewResourceId: Int, myObjects: MutableList<T>)
4. Custom ArrayAdapter
When you create your Modal class as a datatype for the ArrayList, then you require Custom ArrayAdapter. Using the custom ArrayAdapter, you can create a custom list or grid items and put data accordingly.
Code:
abstract class MyCustomAdapter<T : Any!> : ArrayAdapter, BaseAdapter, Filterable, ThemedSpinnerAdapter
5. SimpleAdapter
A SimpleAdapter is used to display static data coming from XML. You don’t need to worry about the data getting changed dynamically.
Code:
open class SimpleAdapter : BaseAdapter, Filterable, ThemedSpinnerAdapter
The constructor of SimpleAdapter is as follows:
SimpleAdapter(
context: Context!,
data: MutableList<out MutableMap<String!, *>!>!,
resource: Int,
from: Array<String!>!,
to: IntArray!)
Some of the methods of SimpleAdapter are shown below:
//getCount() method
open fun getCount(): Int
//getDropDownView() method
open fun getDropDownView(
position: Int,
convertView: View!,
parent: ViewGroup!
): View!
6. Custom SimpleAdapter
Using the custom SimpleAdapter, you can display static data in a customized list item. You can have many fields in one list item and can customize it using a layout design.
Code:
abstract class MySimpleAdapter : SimpleAdapter, BaseAdapter, Filterable, ThemedSpinnerAdapter
Methods involved in Android Adapters
Now, let’s talk about a few of the commonly associated methods of Android Adapters and see what they do.
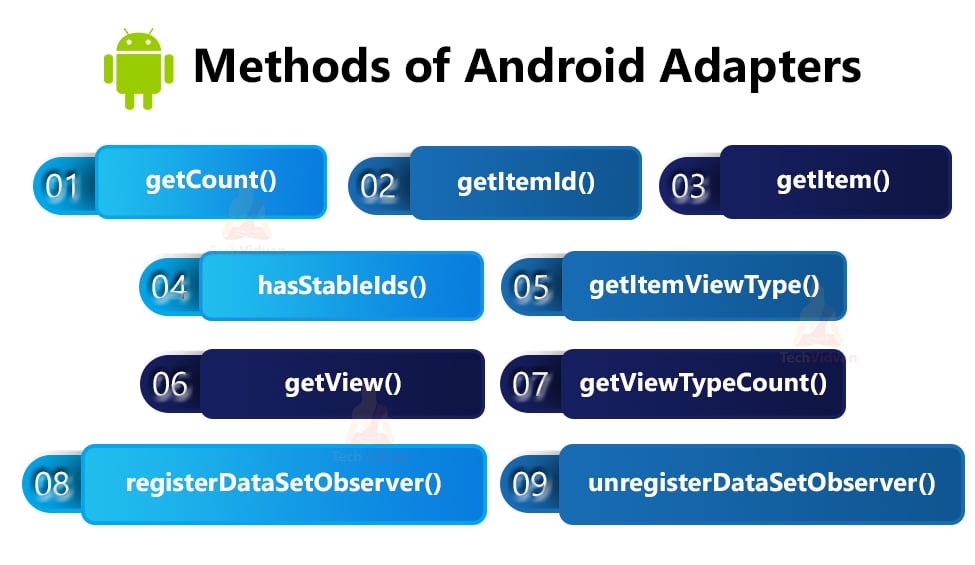
1. getCount() – It is used to know the number of items present in the data set allowing the adapter to manage the size of the data set efficiently. It’s crucial for rendering views based on the number of data items available.
2. hasStableIds() – This method indicates whether the adapter has stable IDs for each data item, meaning the ID for a particular item will not change as long as the item remains in the data set. Stable IDs are essential for optimizing view recycling and maintaining consistency in data representation.
3. getItem() – It retrieves the data item located at the specified position in the data set. This method is used to access the actual data object associated with a particular position, which can then be used to bind data to views.
4. getItemId() – It’s similar to getItem, but this method gives you the data item based on its id and not on position.This ID can be used to identify specific items, especially when managing selections or interactions within the list.
5. getViewTypeCount() – It is used to know the number of views you have created to display the data items. It helps in optimizing view recycling by allowing the adapter to manage multiple types of views within the same list.
6. getItemViewType() – It is used to know the views we created using the getView() method. This method is useful for determining which layout to use for rendering the item, especially when the adapter supports multiple view types.
7. getView() – This method provides the view for a data item at a given position, allowing the adapter to populate the view with data. It is called by the adapter to create or reuse views for displaying data items, ensuring efficient rendering.
8. registerDataSetObserver() – When you use this method, you attach an observer to the data set and notify any changes in the data set. It ensures that the UI is updated in response to data modifications, maintaining synchronization between data and views.
9. unregisterDataSetObserver() – it is used to detach the observer from the data set. In other words, you actually won’t be notified if data sets get changed. It is used to clean up observers when they are no longer needed, preventing unnecessary updates or memory leaks.
Implementation of Android Adapter in Android
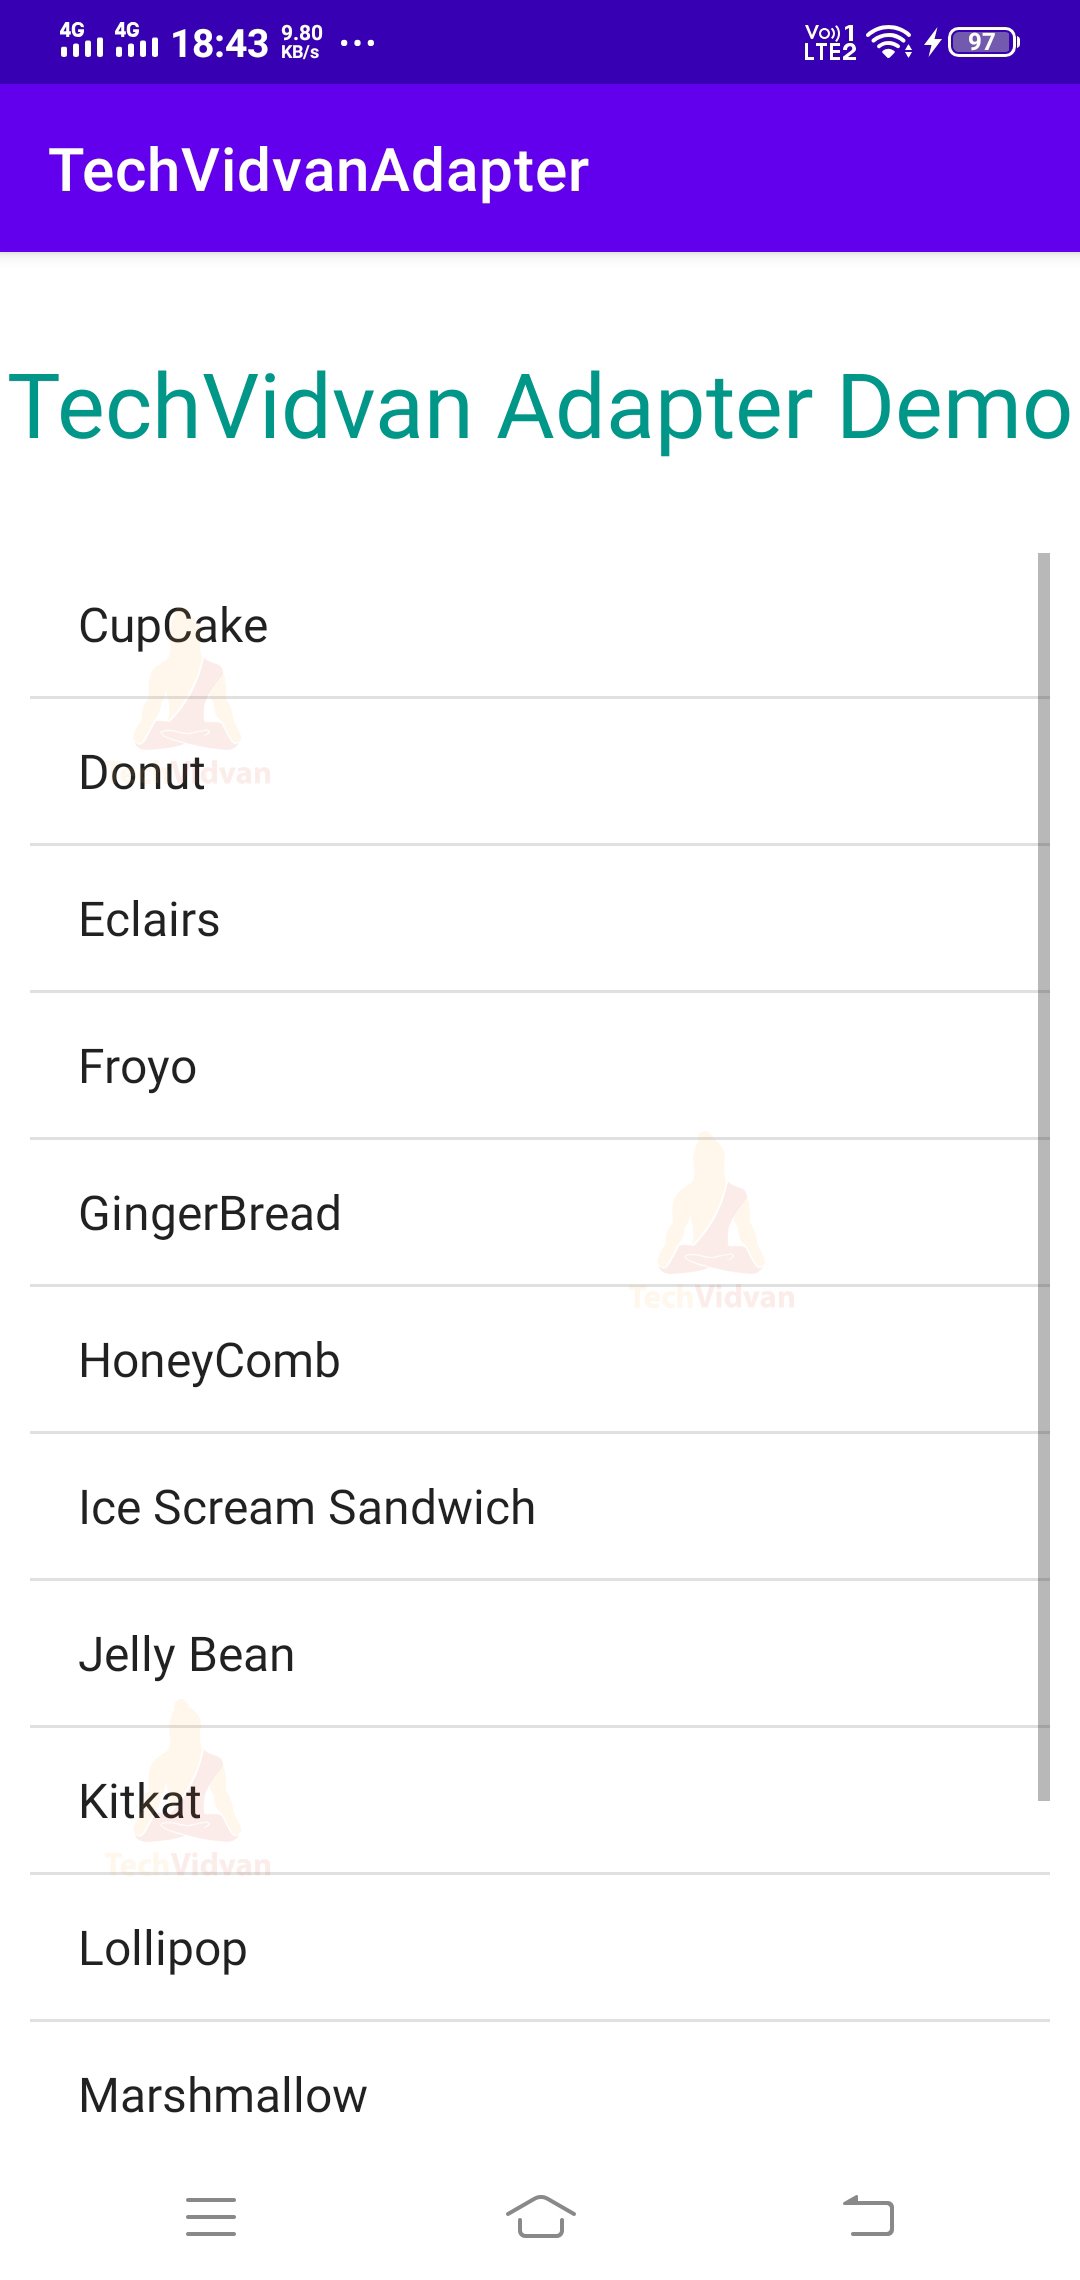
I hope you are clear with Android Adapter, and now we will see a simple application implementing the Android Adapter. So what we’re going to do is we will take a ListView and display the data items on the ListView using the Android Adapter.
Below are the steps you need to follow to implement Android Adapter.
1: Open your Android Studio and click on Create New Project.
2: Select Empty Activity and name your Project as “TechVidvanAdapter.” Now select API level 22, i.e., Android Lollipop, and proceed.
3: Now, you need to open your activity_main.xml file and paste the below code there.
Code: activity_main.xml
<?xml version="1.0" encoding="utf-8"?>
<LinearLayout xmlns:android="http://schemas.android.com/apk/res/android"
    xmlns:tools="http://schemas.android.com/tools"
    android:layout_width="match_parent"
    android:layout_height="match_parent"
    android:orientation="vertical"
    tools:context=".MainActivity">

    <TextView
        android:id="@+id/title"
        android:layout_width="match_parent"
        android:layout_height="wrap_content"
        android:text="TechVidvan Adapter Demo"
        android:textSize="30sp"
        android:gravity="center"
        android:layout_marginTop="30dp"
        android:textColor="#009688"
        />

    <ListView
        android:layout_width="match_parent"
        android:layout_height="wrap_content"
        android:layout_marginTop="20dp"
        android:padding="10dp"
        android:id="@+id/list_view"
        />


</LinearLayout>
4: Now, in your Main Activity, you need to use the ArrayAdapter and display the items from the ArrayList to ListView.
Code: MainActivity.kt
package com.techvidvan.techvidvanadapter

import androidx.appcompat.app.AppCompatActivity
import android.os.Bundle
import android.widget.ArrayAdapter
import android.widget.ListView

class MainActivity : AppCompatActivity()
{
    //declaring variables
    lateinit var arrayAdapter: ArrayAdapter<*>
    lateinit var mListView: ListView

    override fun onCreate(savedInstanceState: Bundle?)
    {
        super.onCreate(savedInstanceState)
        setContentView(R.layout.activity_main)

        //creating the data items in the form of an array
        val version_list = arrayOf(
            "CupCake", "Donut", "Eclairs", "Froyo", "GingerBread", "HoneyComb",
            "IceCreamSandwich", "JellyBean", "Kitkat", "Lollipop", "Marshmallow",
            "Nougat", "Oreo", "Pie"
        )

        // binding the list view with our variable
        mListView = findViewById(R.id.list_view)

        //creating the array adapter object
        arrayAdapter = ArrayAdapter(this,
            android.R.layout.simple_list_item_1, version_list)

        //setting the adapter to our list view
        mListView.adapter = arrayAdapter
    }
}
Now in your Android Studio, at the top right, you will find a run button. Use it and run your Android Adapter application.
Summary
So from this article, you got to know a beneficial topic called Android Adapters. You saw the use of adapters and their types. Later on, you saw the methods that are involved in the Android Adapter. Finally, you saw the implementation of the concepts through an application shadowing data items in the form of a list.