Drag and Drop in Android
In this article, we will go ahead with Android Drag and Drop feature. Android Drag and Drop feature allows you to drag a piece of information or data from one view to another view.
You must have seen apps like a gallery or To-Do list. In those apps, you get a feature to reorder your content. You can reorder the task with higher priority at the top. You can shift your completed job to another view and leave the unaccomplished tasks in the same view.
These all things are possible because of the Drag and Drop feature. In this article, we will try to understand each aspect of Android Drag and Drop in detail.
Android Drag and Drop
Whenever we make a gesture of dragging over the data, then the drag event listener gets triggered. It prompts the application that a drag event has started. Corresponding to this drag event, we have a drag callback method. This drag callback method specifies the task.
Corresponding to this drag event, we have a drag callback method that specifies the tasks to be performed during the drag action. This method enables the application to manage the data being dragged and determine the appropriate actions.
When the dragging gesture stops, the drag event concludes, leading to the drop event. The drop event finalizes the action, specifying where the dragged data should be placed.
Features of Drag and Drop in Android
Let’s list out few features of Android Drag and Drop:
1. Transfer Data: Using the Drag and drop feature, you can move information or data from one view to another. This is useful in applications where you need to organize or reassign data dynamically, such as transferring files between folders.
2. Reorder List: You can reorder a given list according to your needs. This is particularly helpful in applications like task managers or to-do lists, where you need to prioritize tasks by dragging them to different positions within the list.
3. Easy Deleting: You can delete items from a list using the drag and drop events. Simply drag an item to a designated delete area or trash icon to remove it from the list, enhancing the user experience by making deletion intuitive and straightforward.
4. Building Applications: You can build colour mixing applications where users drag colors to a mixing area to create new colors. This feature can be used in creative applications, allowing users to interactively blend and experiment with different hues.
5. Building Games: You can event-build games using the drag and drop feature. For example, puzzle games where pieces need to be dragged to specific locations or interactive educational games where objects are matched or sorted by dragging.
Components of Android Drag and Drop
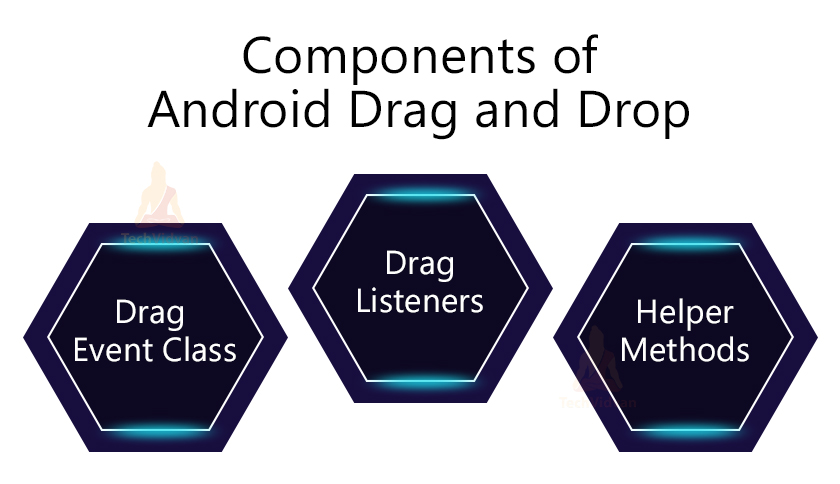
Three main components are used to implement the Android Drag and Drop feature in your android project. Those three components are as follows:
- Drag Event Class
- Drag Listeners
- Helper Methods
Let’s see each of them in detail.
1. Android Drag Event Class
The Drag Event Class is responsible for handling all such drag actions. This class provides essential methods, objects, and constants needed to support and control the dragging process. For instance, it offers callbacks that respond to different phases of the drag event, such as when the drag starts, during the drag, and when the drag ends. By leveraging these features, developers can create interactive and responsive drag-and-drop experiences within their applications.
2. Android Drag Listeners
Whenever a view encounters a drag event, it either calls the onDragEvent() callback method or implements the View.onDragListener() method. While calling the listener, the application passes the DragEvent object.
The UI elements or views you have defined in your layout can either have a listener or callback method or even both.
These listeners help the application respond to all drag events, and the callback method consists of the function that is supposed to perform.
3. Android Helper Methods
The helper methods help us to implement various functionalities with the drag and drop event. For example, suppose you need to transfer the information of the route along with the data. In other words, if you wish to show the source and destination for data that was dragged.
The data which moves need to have two things:
- ClipData, and
- ClipData.Item
The description of the data(or metadata) is stored in the Clip Description object. The clip description object resides in the Clip Data. If you don’t want to pass any description and the data, you can leave the field as NULL.
In some scenarios, you may be required to show a shadow of the dragged path. It helps to identify that here the data was moved on. For this case, you can use the DragShadowBuilder on your view element.
Stages of Android Drag and Drop
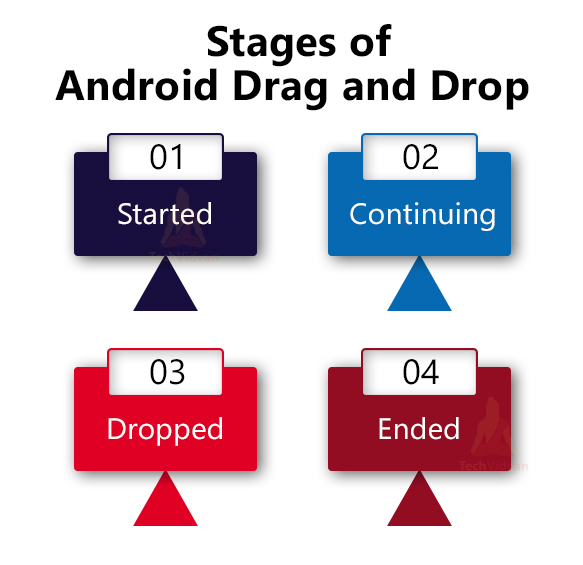
There are generally four stages through which any Drag and Drop feature in Android goes through. Let’s see each of them in detail.
1. Started
Whenever the user tries to drag some element from one view to another, the first method is startDrag(). The startDrag() method is triggered as soon as the user starts dragging. It takes three parameters whenever invoked.
Those three parameters are the actual data, its metadata, and the callback method.
To get the hang of the path through which the data is travelling, the application creates a drag shadow.
After the startDrag() event has been invoked, then the drag event listener is triggered. It indicates that a drag event has occurred recently. The system uses the ACTION_DRAG_STARTED to signal that the process has started. If the system wants to receive other drag events, then it needs to return from the drag event listener; otherwise false.
2. Continuing
The continuing state is achieved after the event listener returns true, indicating that the drag operation is still ongoing. During this phase, you have the opportunity to provide visual feedback by altering the appearance of the view. For example, you might highlight the drop target or change the cursor to give users a clear indication of where they are dragging the data. This helps improve user experience by making the interaction more intuitive and visually engaging.
3. Dropped
The dropped state is achieved as soon as the user drops the data item he was dragging. In such scenarios, the listener linked to the view receives an action as ACTION_DROP.
Here the point which you should keep in mind is as follows. If the user drops the data in the target view(the view registered to receive the data), only the ACTION_DROP works. Otherwise, the data resides in the root view itself.
4. Ended
The ended state is reached once the drag operation is complete, either after the data has been dropped or if the drag is canceled. The event listener receives an ACTION_DRAG_ENDED action, indicating the conclusion of the drag event.The point to note is that the ACTION_DRAG_ENDED works even if the data does not release in the target view.It’s crucial for performing any final cleanup or updating the state of the application after the drag operation, ensuring that resources are released and the interface reflects the final state of the drag action.
Drag Event actions
To handle the states of the Drag event, the system applies some actions to the drag event object. Six different actions are sent to the drag event object. Each action behaves as a constant and has an integral value in them.
| Action | Description |
| ACTION_DRAG_STARTED | The drag started action indicates the system about the start of a drag and drop process. |
| ACTION_DRAG_ENTERED | The drag entered action indicates that the pointer of the drag has started shifting the data from the boundary of the view. |
| ACTION_DRAG_LOCATION | It indicates the current position of the data item within the boundary of the view. |
| ACTION_DRAG_EXITED | The drag indicates that the data item has moved out of the boundary of the view. |
| ACTION_DROP | The drop action indicates to the system that the user has released the data item. |
| ACTION_DRAG_ENDED | The drag ended action indicates to the drag event listener that the drag and drop events are completed. |
Methods involved in Drag Events
Several methods are present in the DragEvent class. These methods help us during the drag and drop process. Some of the most commonly used methods are as follows:
| Method Name | Description |
| getAction() | It returns the integral value of the action that the event is undergoing. |
| getClipData() | It returns the ClipData object that was sent to the startDrag() method. |
| getClipDescription() | It returns the metadata of the data item that is dragged. |
| getResult() | It returns either true or false based on the result of the drag and drop process. |
| getX() | It returns the floating-point value of the x coordinate of the data item. |
| getY() | It returns the floating-point value of the y coordinate of the data item. |
| toString() | It is used to represent the DragEvent object in the form of a string. |
Drag Event Listeners and CallBack methods
A view can listen or respond to drag events by two methods. Those two methods are as follows.
1. Using Listener Methods: For responding to the drag event, the view can implement the onDragListener() method. The onDragListener() method returns true whenever there is a drag event.
2. Using CallBack methods: You can implement the onDragEvent() callback method to respond to drag events.
You can use either of them or even both to respond to the drag events. The application needs to pass the DragEvent object to both methods. Suppose you include both ways at the same time. In such a scenario, the first listener is called, and then the callback method is implemented.
The Drag Shadow in Android
Whenever the user shifts data from one view to another, then there is some movement. To describe that movement or to display that path, we use the concept of drag shadow.
The Drag Shadow helps to showcase the path through which the data was dragged. To do so, you can use the DragShadowBuilder class. The class has a few methods and constructors which you can use to implement Drag Shadow.
Implementation of Android Drag and Drop
I hope you understood what is meant by drag and drop in Android. Now, it’s time for us to look at how we can implement the learnt concepts through an app.
In this implementation, we will try to build an app with a recycler view, and the items of the recycler view would be draggable. You can drag the items to change their order.
Below are the steps you need to follow to implement the above.
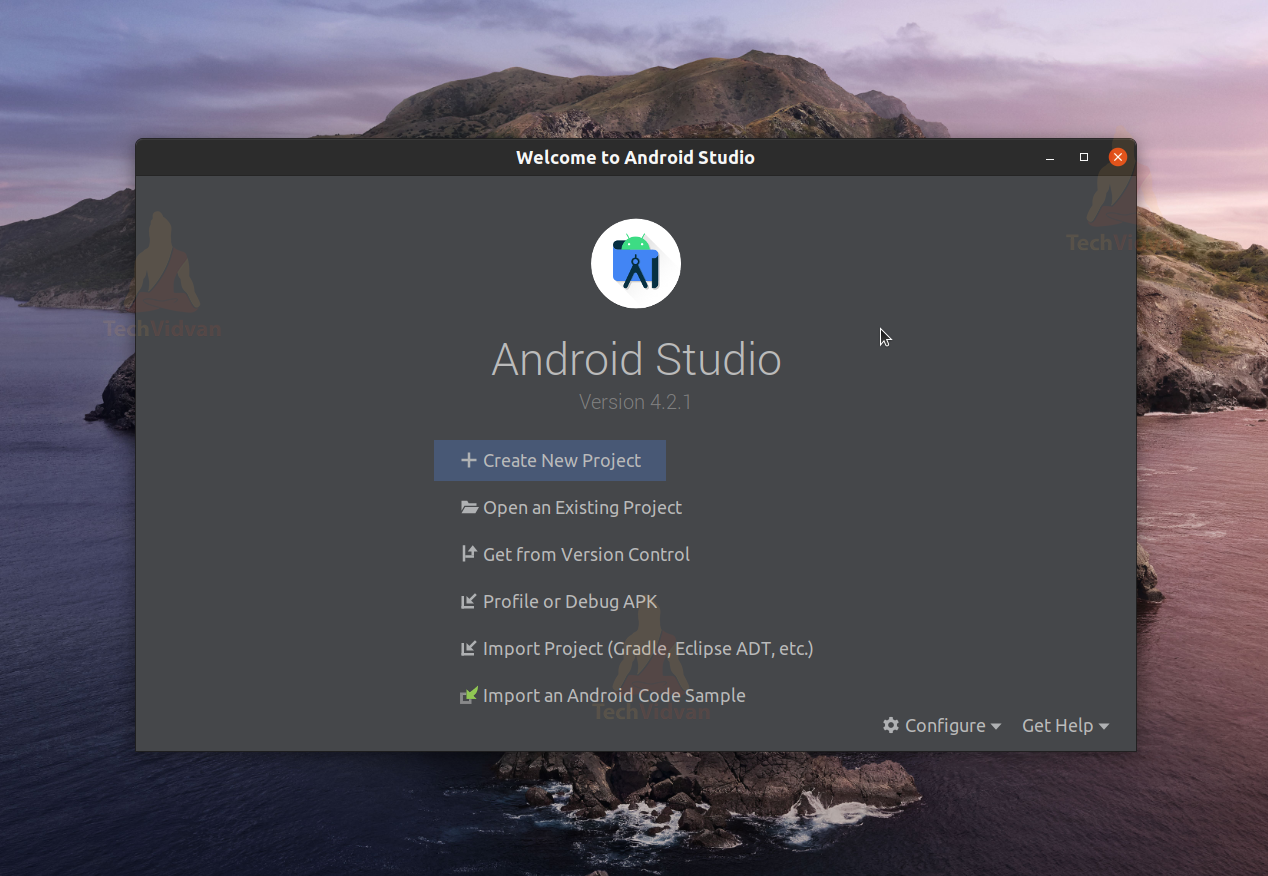
1: Open Android Studio and click on Create New Project.
2: Select an Empty Activity and proceed.

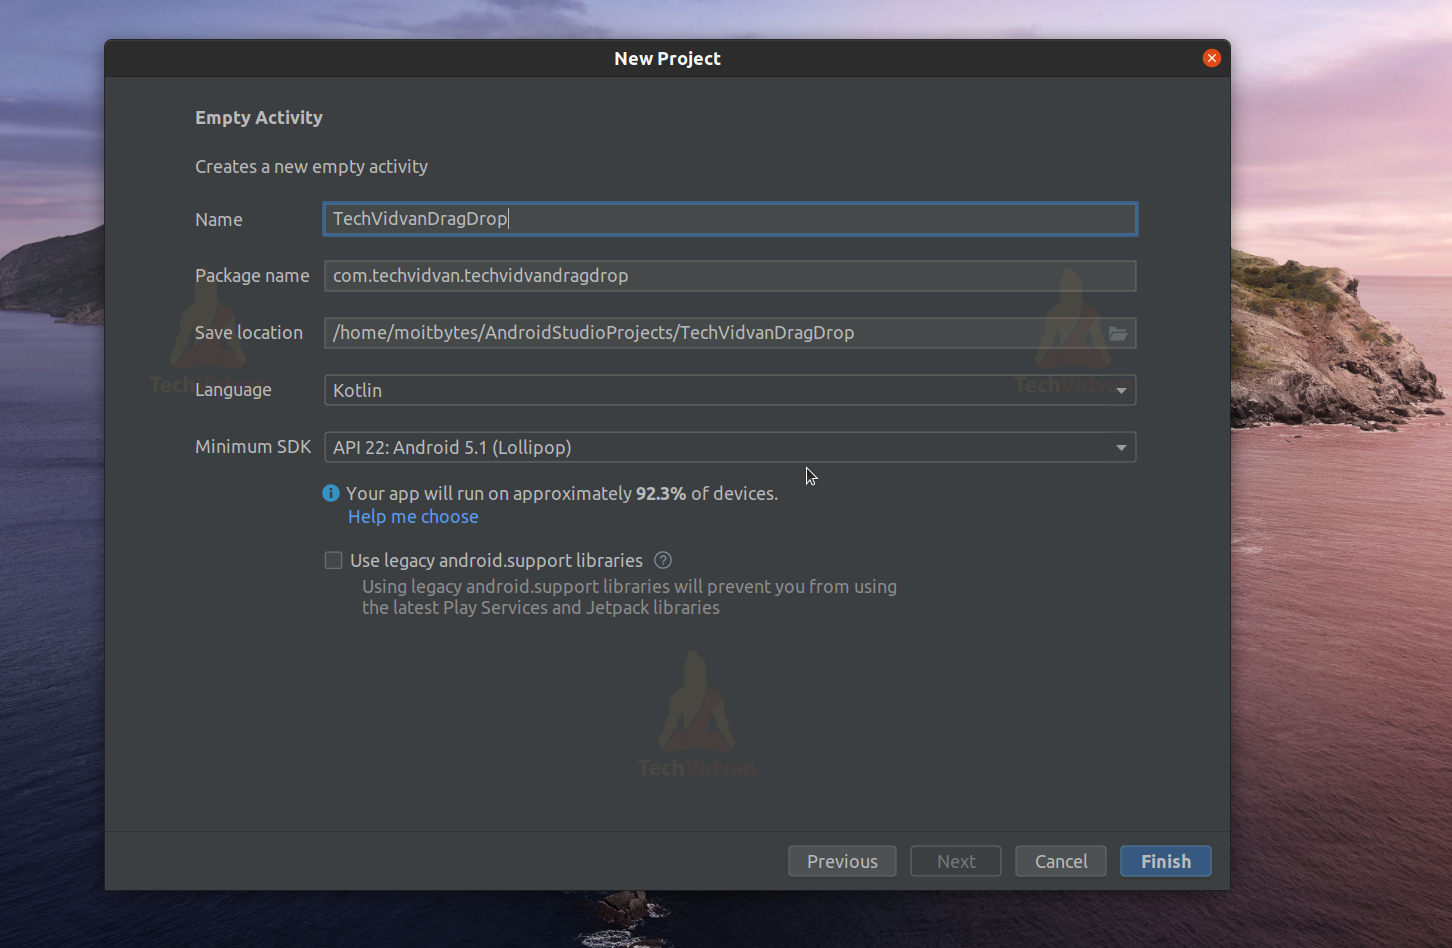
3: Enter your application name. In my case, it’s “TechVidvanDragDrop.” Next, select Kotlin from the dropdown. For the API level, select API 22 for now.
Step 4: Now, open your app-level Gradle file and add the material dependency for your project.
You can copy-paste the below code in your Gradle file under the dependencies section.
Code:
implementation ‘com.google.android.material:material:1.2.1’
Step 5: Now, you need to create three interfaces in your project. Namely,
- ItemDragListener
- ItemTouchAdapter
- ItemTouchHolder
Each of them has its own code, which you may discover below.
Code: ItemDragListener.kt
package com.techvidvan.techvidvandragdrop

import androidx.recyclerview.widget.RecyclerView

interface ItemDragListener
{
    fun onStartDrag(viewHolder: RecyclerView.ViewHolder?)
}
The Code for ItemTouchAdapter.kt
package com.techvidvan.techvidvandragdrop

interface ItemTouchAdapter
{
    fun onItemMove(source:Int, destination:Int):Boolean
    fun onItemRelease(position:Int)
}
Code: ItemTouchHolder.kt
package com.techvidvan.techvidvandragdrop

interface ItemTouchHolder
{
    fun onItemSelected()
    fun onItemClear()
}
Step 6: Now, you need to create two classes. One is the callback class, and the other is the Adapter Class.
You can find the codes for both of them below.
Code: ItemTouchcallback.kt
package com.techvidvan.techvidvandragdrop

import android.graphics.Canvas
import androidx.recyclerview.widget.GridLayoutManager
import androidx.recyclerview.widget.ItemTouchHelper
import androidx.recyclerview.widget.RecyclerView

class ItemTouchCallback(private val adapter:ItemTouchAdapter):ItemTouchHelper.Callback()
{
    companion object
    {
        const val FULL = 1.0f
    }

    override fun isLongPressDragEnabled(): Boolean
    {
        return true
    }

    override fun isItemViewSwipeEnabled(): Boolean
    {
        return true
    }
    override fun getMovementFlags(
        recyclerView: RecyclerView,
        viewHolder: RecyclerView.ViewHolder
    ): Int
    {
        return if(recyclerView.layoutManager is GridLayoutManager)
        {
            //if the layout is in the form of grid
            //then you can move in all the four directions
            val drag_flags = ItemTouchHelper.UP or ItemTouchHelper.DOWN or
                    ItemTouchHelper.RIGHT or ItemTouchHelper.LEFT

            val swipe_flags = 0
            //allowing the movements by passing the flags
            makeMovementFlags(drag_flags, swipe_flags)

        }
        else
        {
            //if the layout is not grid then
            //only two possible directions you can go
            //that is up or down
            val drag_flags = ItemTouchHelper.UP or ItemTouchHelper.DOWN

            val swipe_flags = ItemTouchHelper.START or ItemTouchHelper.END
            //allowing the movements by passing the flags
            makeMovementFlags(drag_flags, swipe_flags)
        }
    }

    override fun onMove(
        recyclerView: RecyclerView,
        viewHolder: RecyclerView.ViewHolder,
        target: RecyclerView.ViewHolder
    ): Boolean
    {
        if(viewHolder.itemViewType != target.itemViewType)
        {
            return false
        }
        //providing the source and destination
        //to the adapter
        adapter.onItemMove(viewHolder.adapterPosition, target.adapterPosition)
        return true
    }

    override fun onSwiped(viewHolder: RecyclerView.ViewHolder, direction: Int)
    {
        //returning the position of the data
        //when its released
        adapter.onItemRelease(viewHolder.adapterPosition)
    }

    override fun onChildDraw(
        c: Canvas,
        recyclerView: RecyclerView,
        viewHolder: RecyclerView.ViewHolder,
        dX: Float,
        dY: Float,
        actionState: Int,
        isCurrentlyActive: Boolean
    )
    {
        if(actionState == ItemTouchHelper.ACTION_STATE_SWIPE)
        {
            //describing how the view should respond to drag
            val alpha = FULL - Math.abs(dX) / viewHolder.itemView.width.toFloat()
            viewHolder.itemView.alpha = alpha
            viewHolder.itemView.translationX = dX
        }
        else
        super.onChildDraw(c, recyclerView, viewHolder, dX, dY, actionState, isCurrentlyActive)
    }

    override fun clearView(recyclerView: RecyclerView, viewHolder: RecyclerView.ViewHolder) {
        super.clearView(recyclerView, viewHolder)
        //setting back to original state
        viewHolder.itemView.alpha = FULL
        if(viewHolder is ItemTouchHolder)
        {
            val itemViewHolder = viewHolder as ItemTouchHolder
            itemViewHolder.onItemClear()
        }
    }

    override fun onSelectedChanged(viewHolder: RecyclerView.ViewHolder?, actionState: Int)
    {
        //checking is the movement is there or it is idle
        if(actionState != ItemTouchHelper.ACTION_STATE_IDLE)
        {
            if(viewHolder is ItemTouchHolder)
            {
                val itemViewHolder = viewHolder as ItemTouchHolder
                itemViewHolder.onItemClear()
            }
        }
        super.onSelectedChanged(viewHolder, actionState)
    }
}
Code: MyRecyclerAdapter.kt
package com.techvidvan.techvidvandragdrop

import android.annotation.SuppressLint
import android.content.Context
import android.view.LayoutInflater
import android.view.View
import android.view.ViewGroup
import android.widget.TextView
import androidx.cardview.widget.CardView
import androidx.recyclerview.widget.RecyclerView
import java.util.*

class MyRecyclerAdapter(var context: Context,
var stringList:MutableList<String?>,
var listener:ItemDragListener):RecyclerView.Adapter<MyRecyclerAdapter.myViewHolder>(),
    ItemTouchAdapter
{
    inner class myViewHolder(itemView:View):RecyclerView.ViewHolder(itemView)
    {
        //binding our UI components
        var card_view:CardView
        var crd_number:TextView
        var crd_title:TextView
        init {
            card_view = itemView.findViewById(R.id.card_view)
            crd_number = itemView.findViewById(R.id.crd_number)
            crd_title = itemView.findViewById(R.id.crd_title)
        }

    }

    override fun onCreateViewHolder(parent: ViewGroup, viewType: Int): myViewHolder
    {
        //binding our layout to each item of recycler view
        return myViewHolder(LayoutInflater.from(context).inflate(
            R.layout.each_car_layout, parent, false
        ))
    }

    @SuppressLint("SetTextI18n")
    override fun onBindViewHolder(holder: myViewHolder, position: Int)
    {
        //setting the title and card number
        holder.crd_title.text = stringList[position]
        holder.crd_number.text = ""+(position+1)

        //if we long click on the card
        //the drag event starts
        holder.card_view.setOnLongClickListener {
            listener.onStartDrag(holder)
            false
        }

    }

    override fun getItemCount(): Int
    {
        //returning the size of the list
        return stringList.size;

    }

    override fun onItemMove(source: Int, destination: Int):Boolean
    {
        //swapping the items that was just dragged
        //if 1st card was dragged to 3rd card
        //then their positions will change in the list
        Collections.swap(stringList, source, destination)
        notifyItemMoved(source, destination)
        return true
    }

    override fun onItemRelease(position: Int)
    {
        //removing the item from the list
        stringList.removeAt(position)
        notifyItemRemoved(position)
    }

}
Step 7: Now, you need to design your layouts. Go to res —> layout and select activity_main.xml, and paste the below code.
Code: activity_main.xml
<?xml version="1.0" encoding="utf-8"?>
<LinearLayout
    xmlns:android="http://schemas.android.com/apk/res/android"
    xmlns:app="http://schemas.android.com/apk/res-auto"
    xmlns:tools="http://schemas.android.com/tools"
    android:layout_width="match_parent"
    android:layout_height="match_parent"
    android:orientation="vertical"
    android:background="@color/black"
    tools:context=".MainActivity">

    <TextView
        android:layout_width="match_parent"
        android:layout_height="wrap_content"
        android:text="TechVidvan Drag and Drop"
        android:textColor="#FF9800"
        android:textSize="25sp"
        android:gravity="center"
        android:padding="10dp"
        android:textStyle="bold"
        android:textAllCaps="false"
        />

    <androidx.recyclerview.widget.RecyclerView
        android:id="@+id/recyler_view"
        android:layout_width="match_parent"
        android:layout_height="match_parent"
        />

</LinearLayout>
Code: each_car_layout.xml
<?xml version="1.0" encoding="utf-8"?>
<androidx.cardview.widget.CardView
    android:id="@+id/card_view"
    xmlns:android="http://schemas.android.com/apk/res/android"
    android:layout_width="match_parent"
    android:layout_height="wrap_content"
    xmlns:app="http://schemas.android.com/apk/res-auto"
    android:background="@color/white"
    app:cardCornerRadius="20dp"
    android:layout_margin="5dp">
    <LinearLayout
        android:layout_width="match_parent"
        android:layout_height="wrap_content"
        android:orientation="vertical"
        android:background="@color/white"
        android:padding="5dp">
        <TextView
            android:id="@+id/crd_number"
            android:layout_width="match_parent"
            android:layout_height="wrap_content"
            android:text="1"
            android:gravity="center"
            android:textSize="30sp"
            android:textColor="@color/black"
            android:textStyle="bold"
            android:padding="10dp"
            />
        <androidx.cardview.widget.CardView
            android:layout_width="match_parent"
            android:layout_height="wrap_content"
            app:cardCornerRadius="20dp"
            android:layout_margin="5dp">

            <TextView
                android:id="@+id/crd_title"
                android:layout_width="match_parent"
                android:layout_height="wrap_content"
                android:text="your_title"
                android:gravity="center"
                android:layout_gravity="center"
                android:textSize="20sp"
                android:textColor="@color/white"
                android:padding="5dp"

                android:background="#FF9800"
                />
        </androidx.cardview.widget.CardView>


    </LinearLayout>

</androidx.cardview.widget.CardView>
Step 8: Now, you need to paste the below code in your MainActivity.kt file for the last step.
Code: MainActivity.kt
package com.techvidvan.techvidvandragdrop

import androidx.appcompat.app.AppCompatActivity
import android.os.Bundle
import androidx.recyclerview.widget.GridLayoutManager
import androidx.recyclerview.widget.ItemTouchHelper
import androidx.recyclerview.widget.RecyclerView
import java.util.*
import kotlin.collections.ArrayList

class MainActivity : AppCompatActivity()
{
    lateinit var recycler_view:RecyclerView
    var itemtouchHelper:ItemTouchHelper?=null
    override fun onCreate(savedInstanceState: Bundle?)
    {
        super.onCreate(savedInstanceState)
        setContentView(R.layout.activity_main)
        //Initializing the views
        init()
        //generating the list
        generateList()
    }

    private fun generateList()
    {
        //adding data to the list
        //that will appear in recycler view
        val my_list:MutableList<String?> = ArrayList()
        my_list.addAll(Arrays.asList(
            "one", "two", "three", "four", "five", "six", "seven", "eight", "nine", "ten"
        ))

        val adapter = MyRecyclerAdapter(this, my_list, object:ItemDragListener{
            override fun onStartDrag(viewHolder: RecyclerView.ViewHolder?) {
                itemtouchHelper!!.startDrag(viewHolder!!)
            }
        } )
        //setting up the adapter to our recycler view
        recycler_view.adapter = adapter

        //attaching our helper classes to the recycler view
        val callback = ItemTouchCallback(adapter)
        itemtouchHelper = ItemTouchHelper(callback)
        itemtouchHelper!!.attachToRecyclerView(recycler_view)
    }

    private fun init()
    {
        //binding recycler view to our variable
        recycler_view = findViewById(R.id.recyler_view)
        //fixing the size
        recycler_view.setHasFixedSize(true)

        //providing grid layout to our recycler view
        val layout_manager = GridLayoutManager(this, 2)
        recycler_view.layoutManager = layout_manager

    }
}
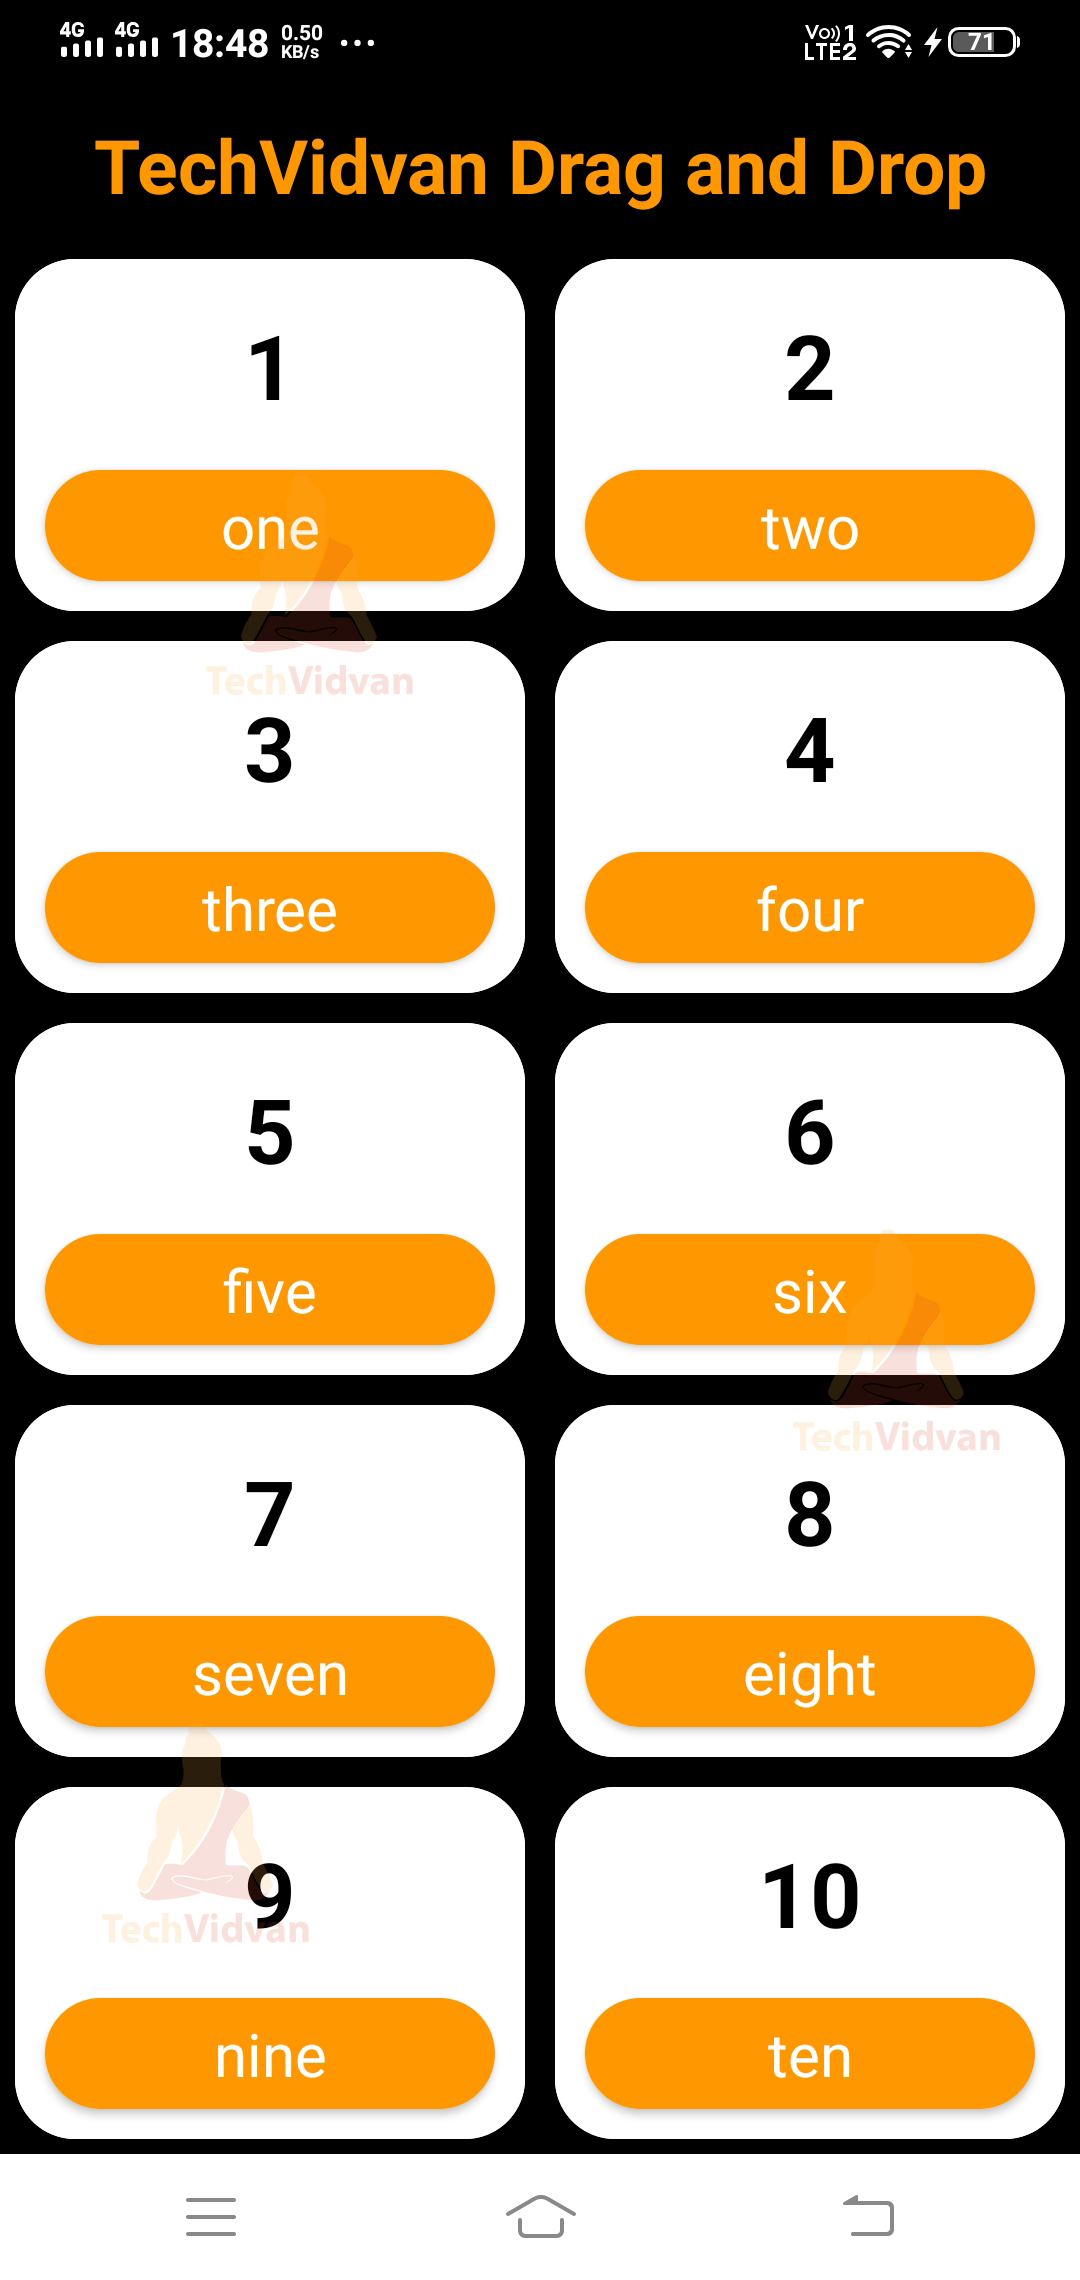
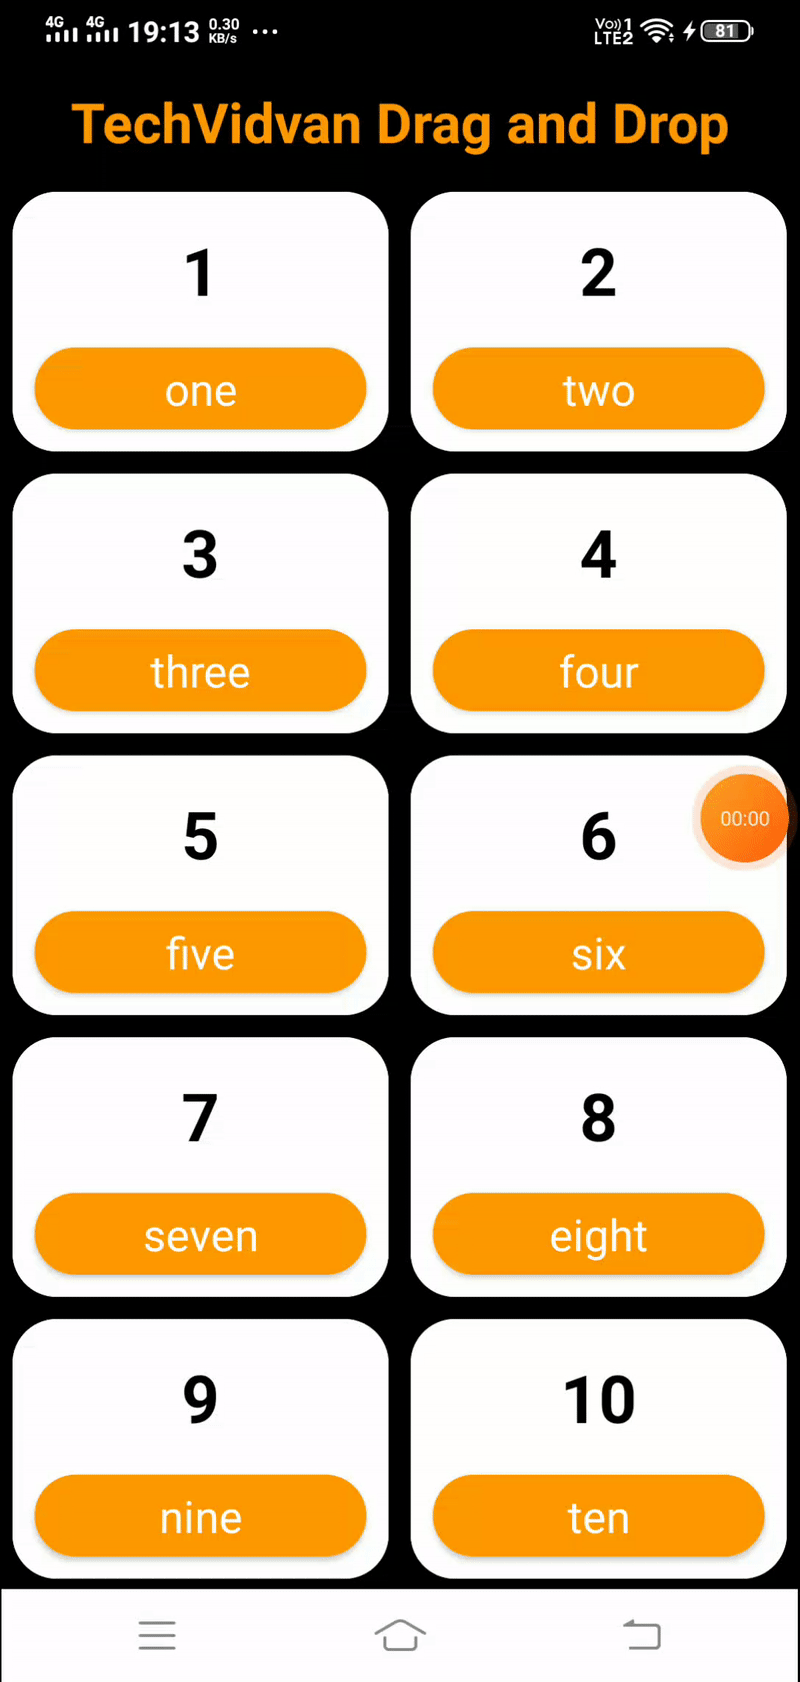
Now after following all the above steps, you are ready to test your ap[plication.
Your application would look as follows:
App Screenshot:
Summary
Through this article, you understood what drag and drop in android is. You came across its uses and applications. Further in the article, you got to know the several components of the Android Drag and Drop. Moving to the end, you even understood the various stages through which the process goes through. Finally, you saw an implementation of all the concepts by developing an application.