Android Event Handling
In this article, we will proceed with event handling in android. Events are the actions that take place whenever the user interacts with the UI components. Suppose, for instance, a user pressed a button, and your device flashlight got turned on.
Did you ever think about how these actions are performed? The answer is through event handling. From this article, we will try to cover all the essential aspects of event handling.
What is Event Handling in Android?
Events are a way to check user’s interactions and collect data from them. Many times, you see in your user interface elements like buttons, edit texts, radio buttons, etc.
What happens when we touch them or press them? Our interactions with the user interface generate some actions. These actions are nothing but an event.
Suppose, for example, whenever you press the call button in your dialer application, a call is made.
So, event handling, in turn, means handling these interactions and performing a specific task in return. You must address all the possible events in your application. It shouldn’t be the case that the user pressed a button, and the application didn’t do anything in return.
To understand how you can perform event handling, you need to know the following.
- Event Listeners
- Android Event Handlers
- Event Listener Registration
Let’s see each of them in detail.
What are Event Listeners in Android?
Event Listener is an interface present in the View Class. You have a single callback method for each event. This method gets triggered when the view bound with an event comes into the user’s interaction.
Below are some of the essential event listeners:
| Event Listeners | Description |
| onClick() | The onClick() listener is invoked when the user presses or clicks on an element. |
| onLongClick() | The onLongClick() listener is triggered when the user long presses an element. |
| onFocusChange() | The onFocusChange() method is invoked when an element comes in focus or goes out of focus. |
| onKey() | The onKey() method is triggered when a user presses or releases a key from his keyboard. |
| onTouch() | The onTouch() method is triggered whenever an element is touched or simply tapped. |
| onMenuItemClick() | The onMenuItemClick() method is triggered whenever the user clicks on any object in the menu list. |
| onCreateContextMenu() | The onCreateContextMenu() method is triggered whenever the menu is successfully built in the context or activity. |
What are Event Handlers in Android?
These are the methods that have the specified action that is required to be performed. Usually, these methods are present in the event listener call-back method. It is used to define the task that has to be completed. Event listeners, when called trigger event handlers.
Some of the commonly used event handlers are as follows:
| Event Handler | Description |
| onKeyUp() | The onKeyUp() event handler is invoked to handle all the keypress events. |
| onKeyDown() | The onKeyDown() event handler is triggered whenever the user releases a particular key on the keyboard. |
| onTouchEvent() | The onTouchEvent() event handler is invoked whenever a touch event occurs. |
| onTrackballEvent() | Whenever a trackball event occurs then onTrackballEvent() is triggered. |
| onFocusChange() | The onFocusChange() event handler is triggered whenever an element focuses or goes out of focus. |
Event Listener Registration in Android
Event listener registration is the process of mapping the event listener with the respective event handler. This is a crucial step as the event can only be triggered when the listener is called.
Whenever the event occurs, then the handler should perform the task. Therefore, both need to be synced properly.
Event Listener Registration is done in three ways that are described as follows:
1. First, you can directly register the event listeners using the activity’s XML file. For example, in buttons, we can now provide the onClick attribute to register the event listener.
2. You can register the event listener by writing it in an Activity class that extends properties from the Listener Class.
3. The last method is by dynamically setting the listener on the element. For example, you can see beloow
Code Example:
//you can register onClick() event
//in the following manner
your_button.setOnClickListener {

//you can specify the task to be performed here.
            Toast.makeText(this@MainActivity, "Your Button Pressed", Toast.LENGTH_LONG).show()
        }
Touch Mode
Usually, you can find many ways to interact with your application. It may be through buttons, screen, gestures, hardware or even volume buttons. By Touch mode, we mean to give access to the application to respond to the touch events.
One pervasive example is your screenshots. Whenever you wish to take a screenshot, you use your three fingers to drag on the screen. Another ubiquitous example is your image zooming. You can double-tap or use your two fingers to zoom in on the image.
To check whether your application responds to touch events or not, you can call the isInTouchMode().
Focus Mode
Focus is a basic mode for any application. This mode shows which element is currently in focus. It helps the user to take care of the interactions he makes.
One typical example is when the user inputs data in the EditText element, then it gets highlighted.
To check whether an element is focusable or not, you can call the isFocusable() method. You can even alter the element focus by changing the value in the setFocusable() method. You can call the isFocusableInTouchMode() to know whether or not the element is focusable in touch mode.
Implementation of Android Event Handling
So, after gathering a little knowledge about event handling, we are ready to see a demo. In this demo, you will see how you can handle onClick() and onLongClick() events. For this task, you can use buttons in the layout and then register the events to them.
Below are the simple but crucial steps which you need to follow to build the application.
1: Launch your Android Studio.
2: Select Create a New Project.
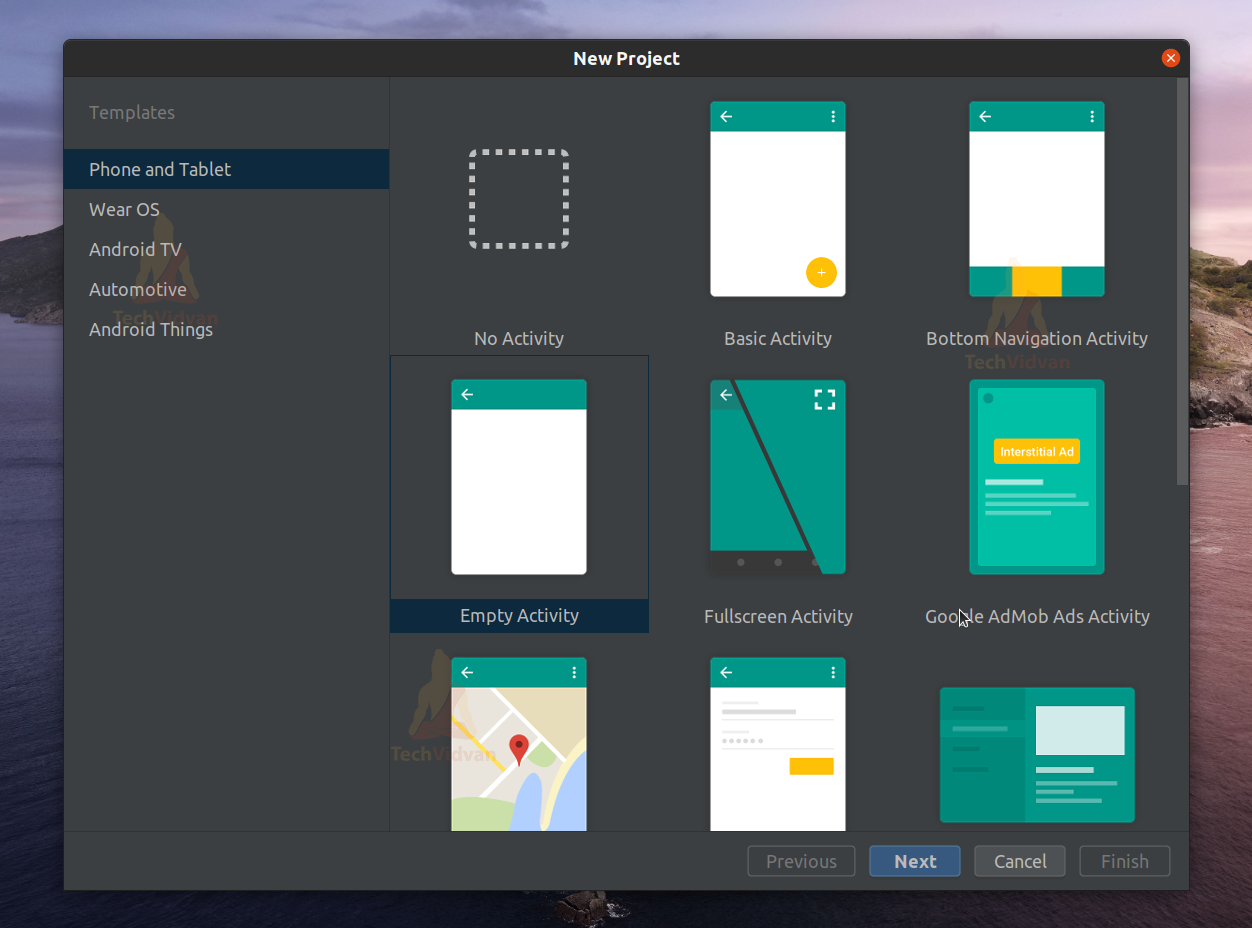
3: Select Empty Activity and proceed.
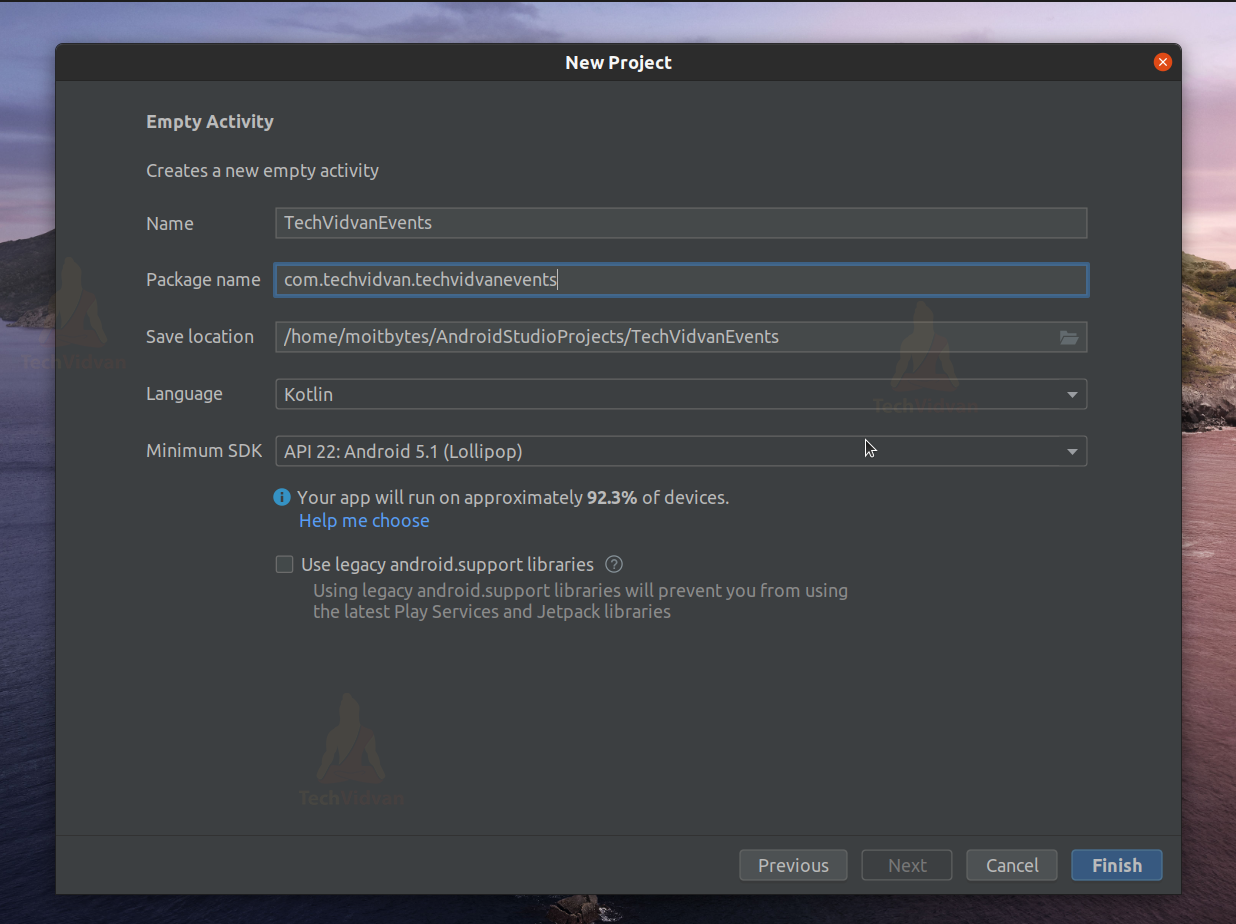
4: Enter your application name. In my case, it’s “TechVidvanEvents.” Next, select Kotlin from the dropdown. For the API level, select API 22 for now.
5: Now go to res —> layout —-> and open activity_main.xml. Now here, you need to add two buttons. You can paste the below code in your activity_main.xml file.
Code: activity_main.xml
<?xml version="1.0" encoding="utf-8"?>
<androidx.constraintlayout.widget.ConstraintLayout
    xmlns:android="http://schemas.android.com/apk/res/android"
    xmlns:app="http://schemas.android.com/apk/res-auto"
    xmlns:tools="http://schemas.android.com/tools"
    android:layout_width="match_parent"
    android:layout_height="match_parent"
    tools:context=".MainActivity">

    <TextView
        android:id="@+id/title"
        android:layout_width="wrap_content"
        android:layout_height="wrap_content"
        android:text="TechVidvan"
        android:textColor="#4CAF50"
        android:textSize="40sp"
        app:layout_constraintVertical_bias=".07"
        app:layout_constraintBottom_toBottomOf="parent"
        app:layout_constraintLeft_toLeftOf="parent"
        app:layout_constraintRight_toRightOf="parent"
        app:layout_constraintTop_toTopOf="parent" />

    <Button
        android:id="@+id/button_1"
        android:layout_width="wrap_content"
        android:layout_height="wrap_content"
        android:text="Press Me"
        app:layout_constraintVertical_bias=".15"
        app:layout_constraintBottom_toBottomOf="parent"
        app:layout_constraintEnd_toEndOf="parent"
        app:layout_constraintStart_toStartOf="parent"
        app:layout_constraintTop_toBottomOf="@+id/title" />

    <Button
        android:id="@+id/button_2"
        android:layout_width="wrap_content"
        android:layout_height="wrap_content"
        android:text="Long Press Me"
        app:layout_constraintVertical_bias=".15"
        app:layout_constraintBottom_toBottomOf="parent"
        app:layout_constraintEnd_toEndOf="parent"
        app:layout_constraintStart_toStartOf="parent"
        app:layout_constraintTop_toBottomOf="@+id/button_1" />

</androidx.constraintlayout.widget.ConstraintLayout>
6: After editing your XML file, you need to register event listeners in your Main Activity file. Paste the below code in your Main Activity file.
Code: MainActivity.kt
package com.techvidvan.techvidvanevents

import android.os.Bundle
import android.widget.Button
import android.widget.Toast
import androidx.appcompat.app.AppCompatActivity

class MainActivity : AppCompatActivity()
{
    //Declaring variables for both the buttons
    lateinit var press_button:Button
    lateinit var long_press_button:Button

    override fun onCreate(savedInstanceState: Bundle?)
    {
        super.onCreate(savedInstanceState)
        setContentView(R.layout.activity_main)

        //binding the varibale with our
        //buttons in layout
        press_button = findViewById(R.id.button_1)
        long_press_button = findViewById(R.id.button_2)

        //registering event listener with our buttons

        press_button.setOnClickListener {
            Toast.makeText(this@MainActivity, "Button 1 Pressed", Toast.LENGTH_LONG).show()
        }


        long_press_button.setOnLongClickListener {
            Toast.makeText(this@MainActivity, "Button 2 Pressed Long", Toast.LENGTH_LONG).show()
            //return true when button is long pressed
            true
        }
    }
}
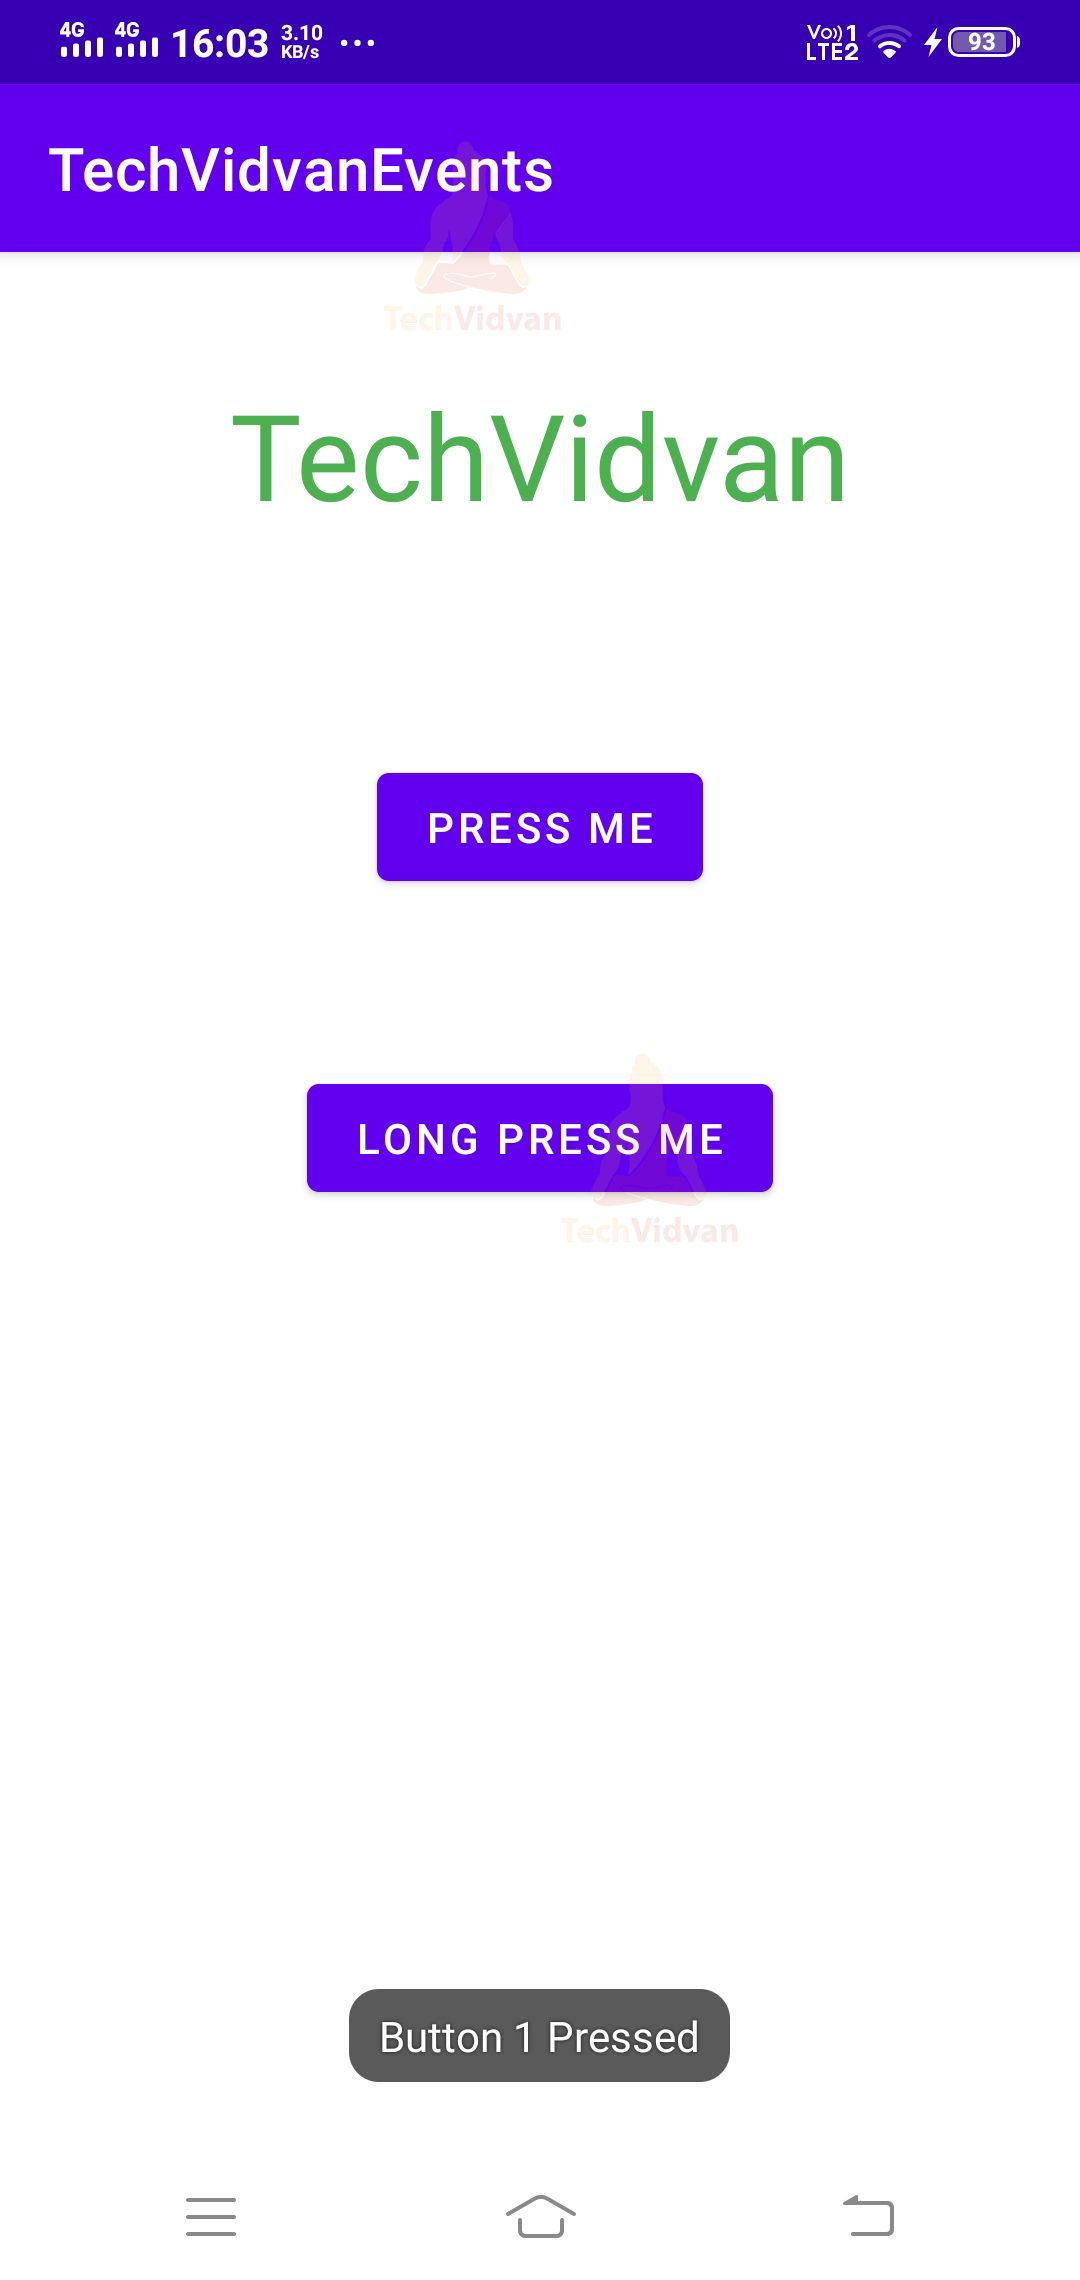
So after your application is built successfully, you can check it. The application would look like below.
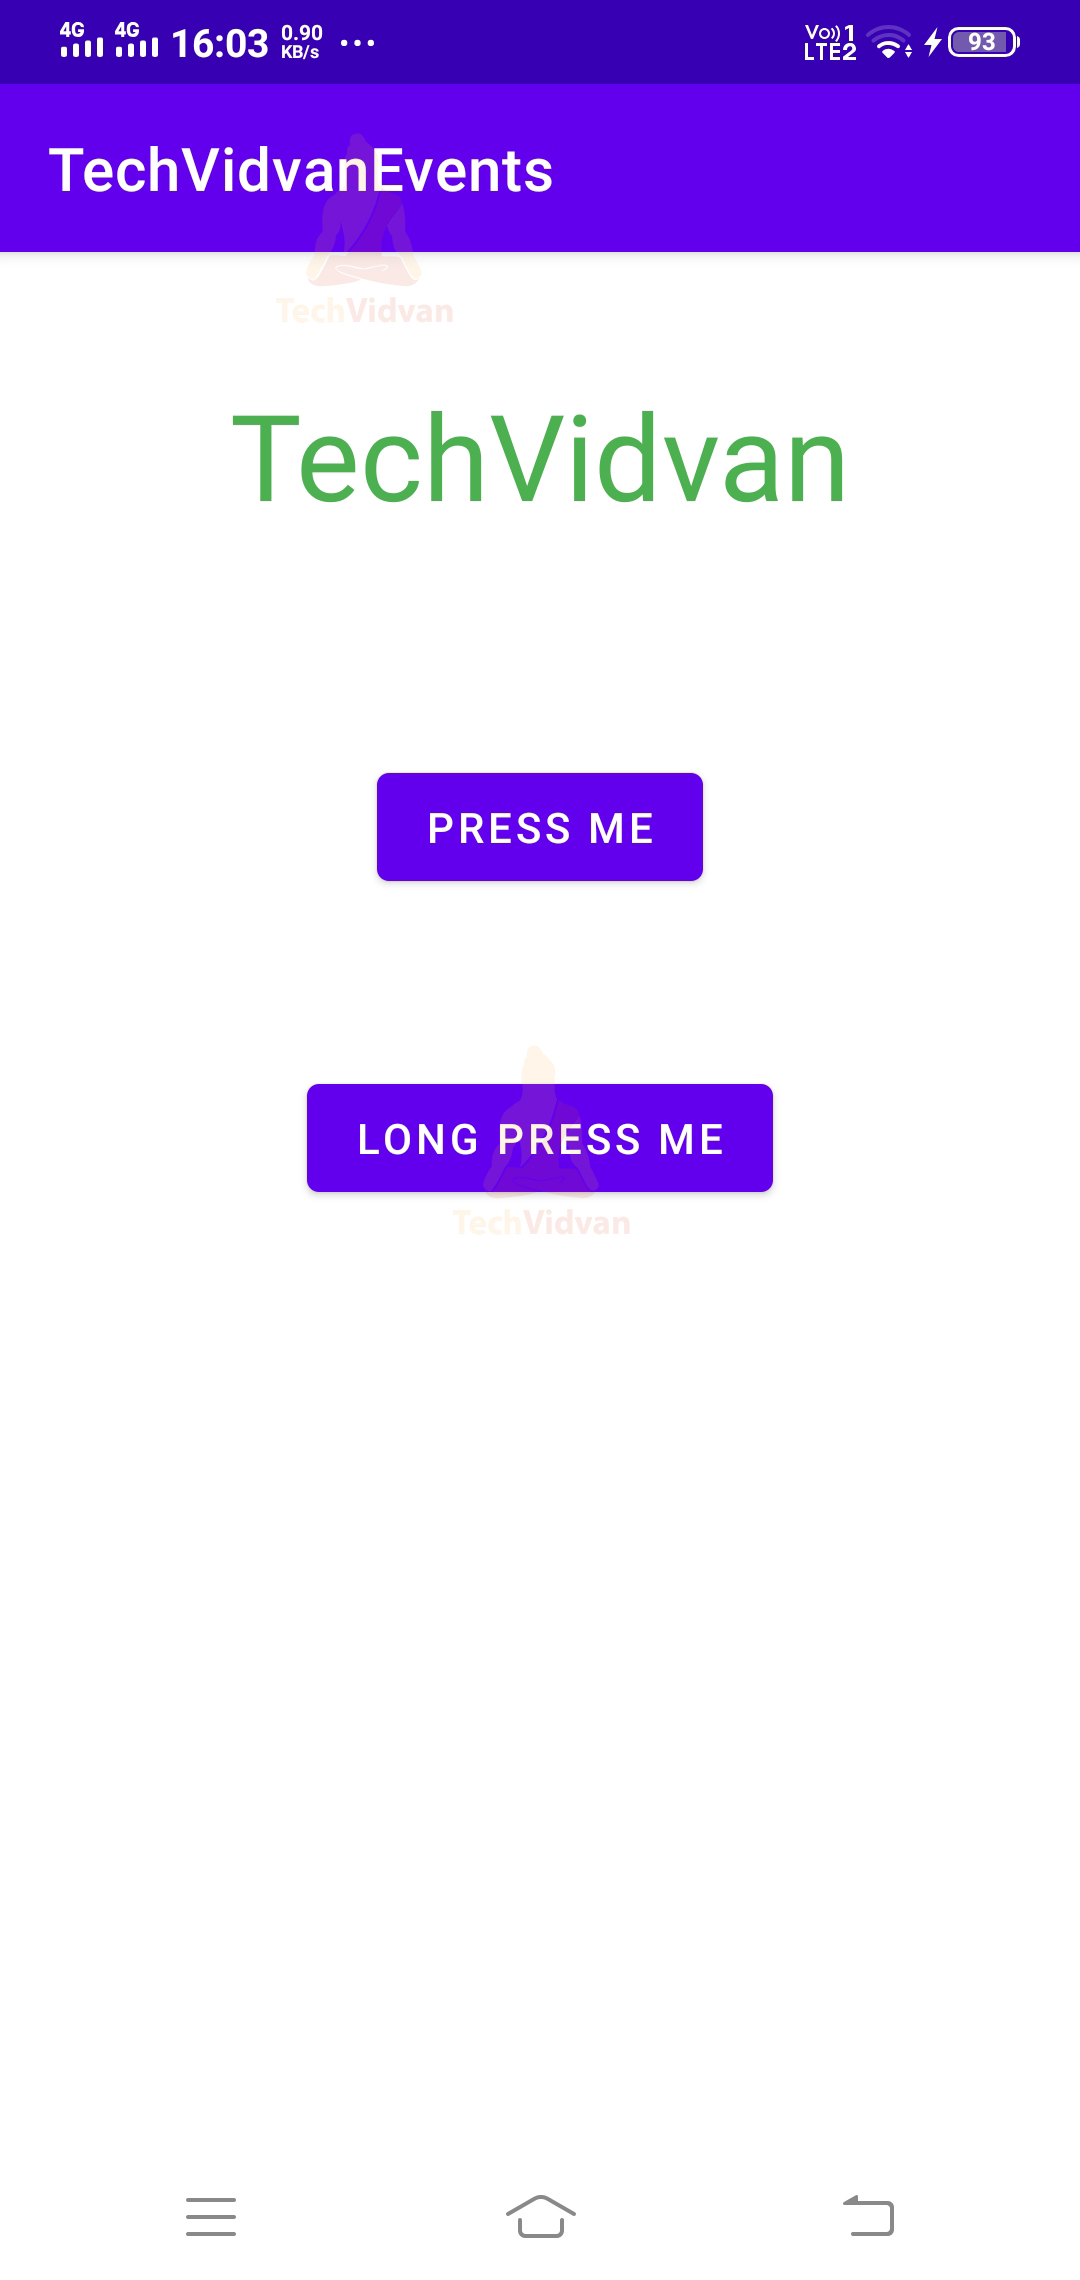
When you press the “Press me button,” you get a Toast saying Button 1 Pressed.
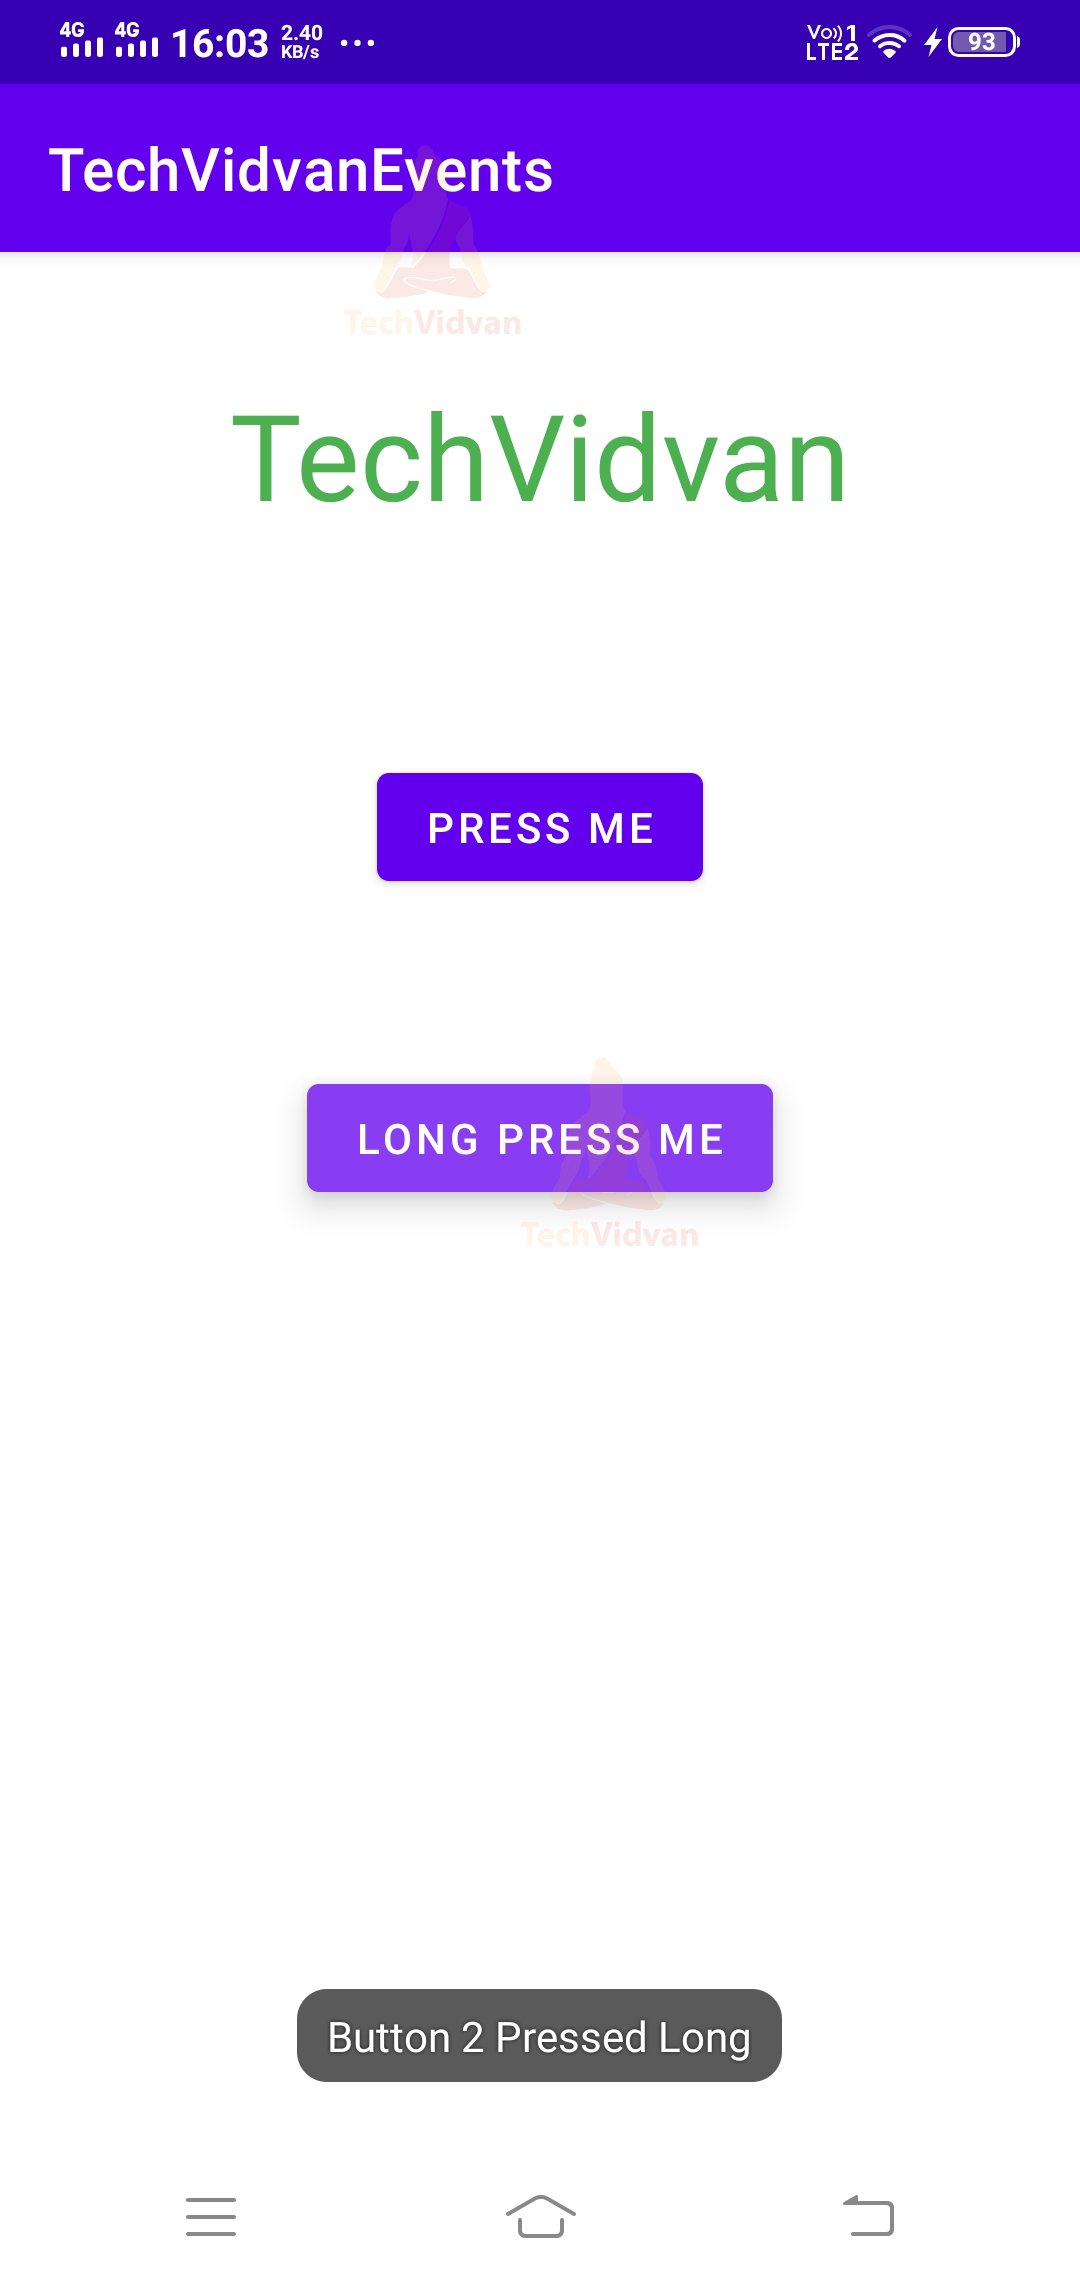
Whereas, when you press the “Long press Me button,” you get a Toast message saying that Button 2 Long Pressed.
Summary
Through this article, you understood what an event is in android and when do they occur. Then, you saw several types of event listeners and also the event handlers.
Moving forth, you came across how you can register an event listener. Finally, you saw an app demo to implement the concepts.