Android Facebook Integration
In this article, we will show you how you can allow Facebook integration in your apps. Imagine allowing users to access your application effortlessly by logging in through their Facebook account. With the widespread adoption of Facebook, Google, and Phone sign-ins, these features have become a staple for modern apps, offering simplicity and enhanced security.
Integrating Facebook not only streamlines the login process but also enhances user engagement by leveraging familiar and trusted platforms. So, get ready to elevate your app’s user experience as we dive into the essential steps for integrating Facebook into your application. Let’s get started!
Implementation of Facebook Integration in your app
Step 1: First of all, use the link to access the Facebook developer’s site.
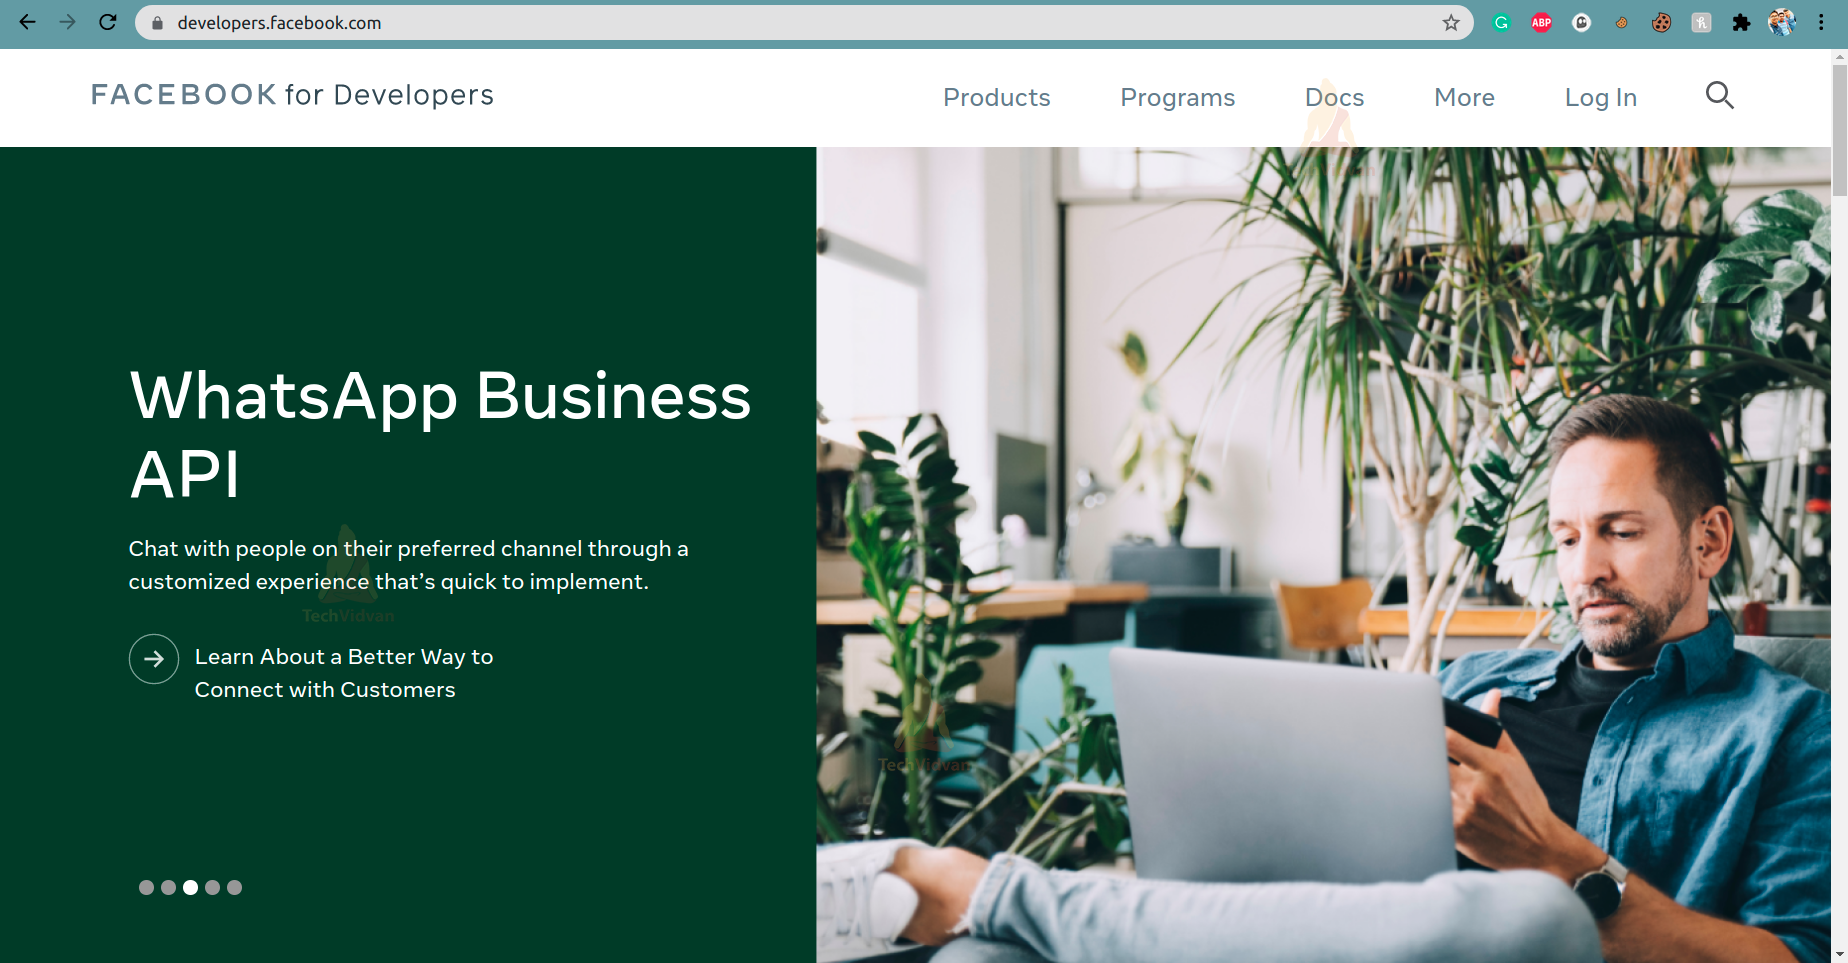
You can see a screen like above, and you just need to click on Login.
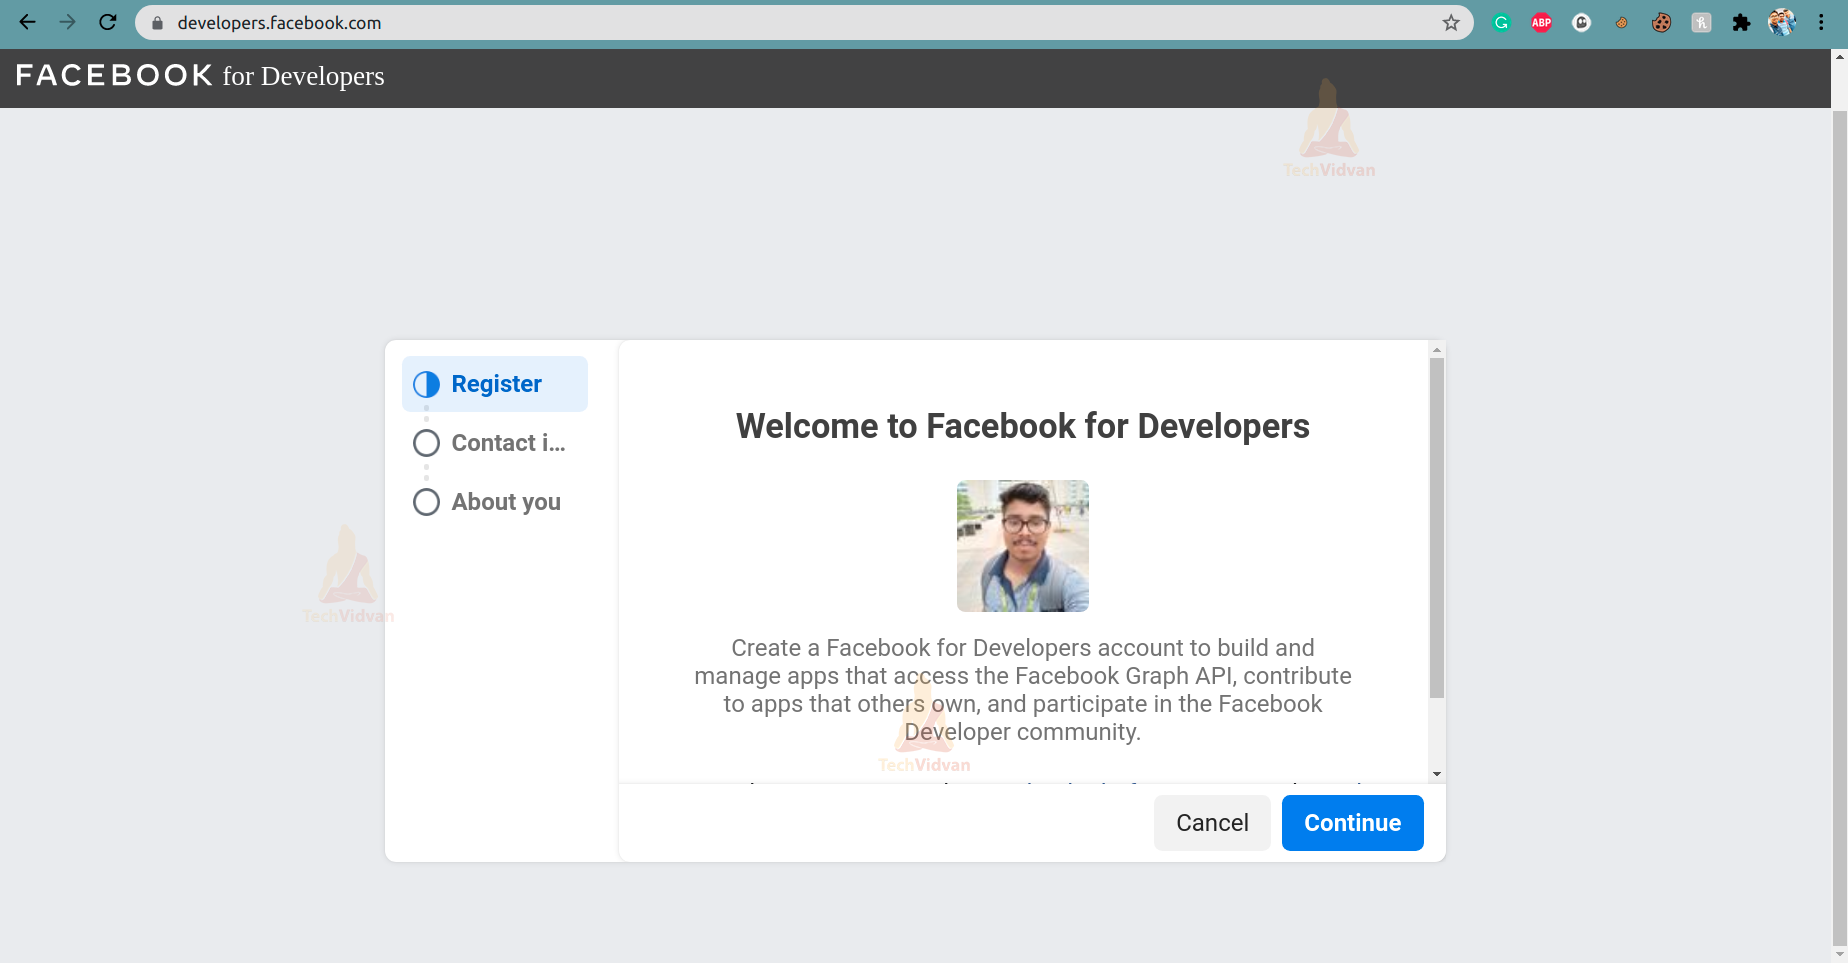
Step 2: After clicking the login button, you need to log in with your Facebook account. Now, you will be redirected to a page to create your developer account. Fill in all the asked details asked and then click on create.
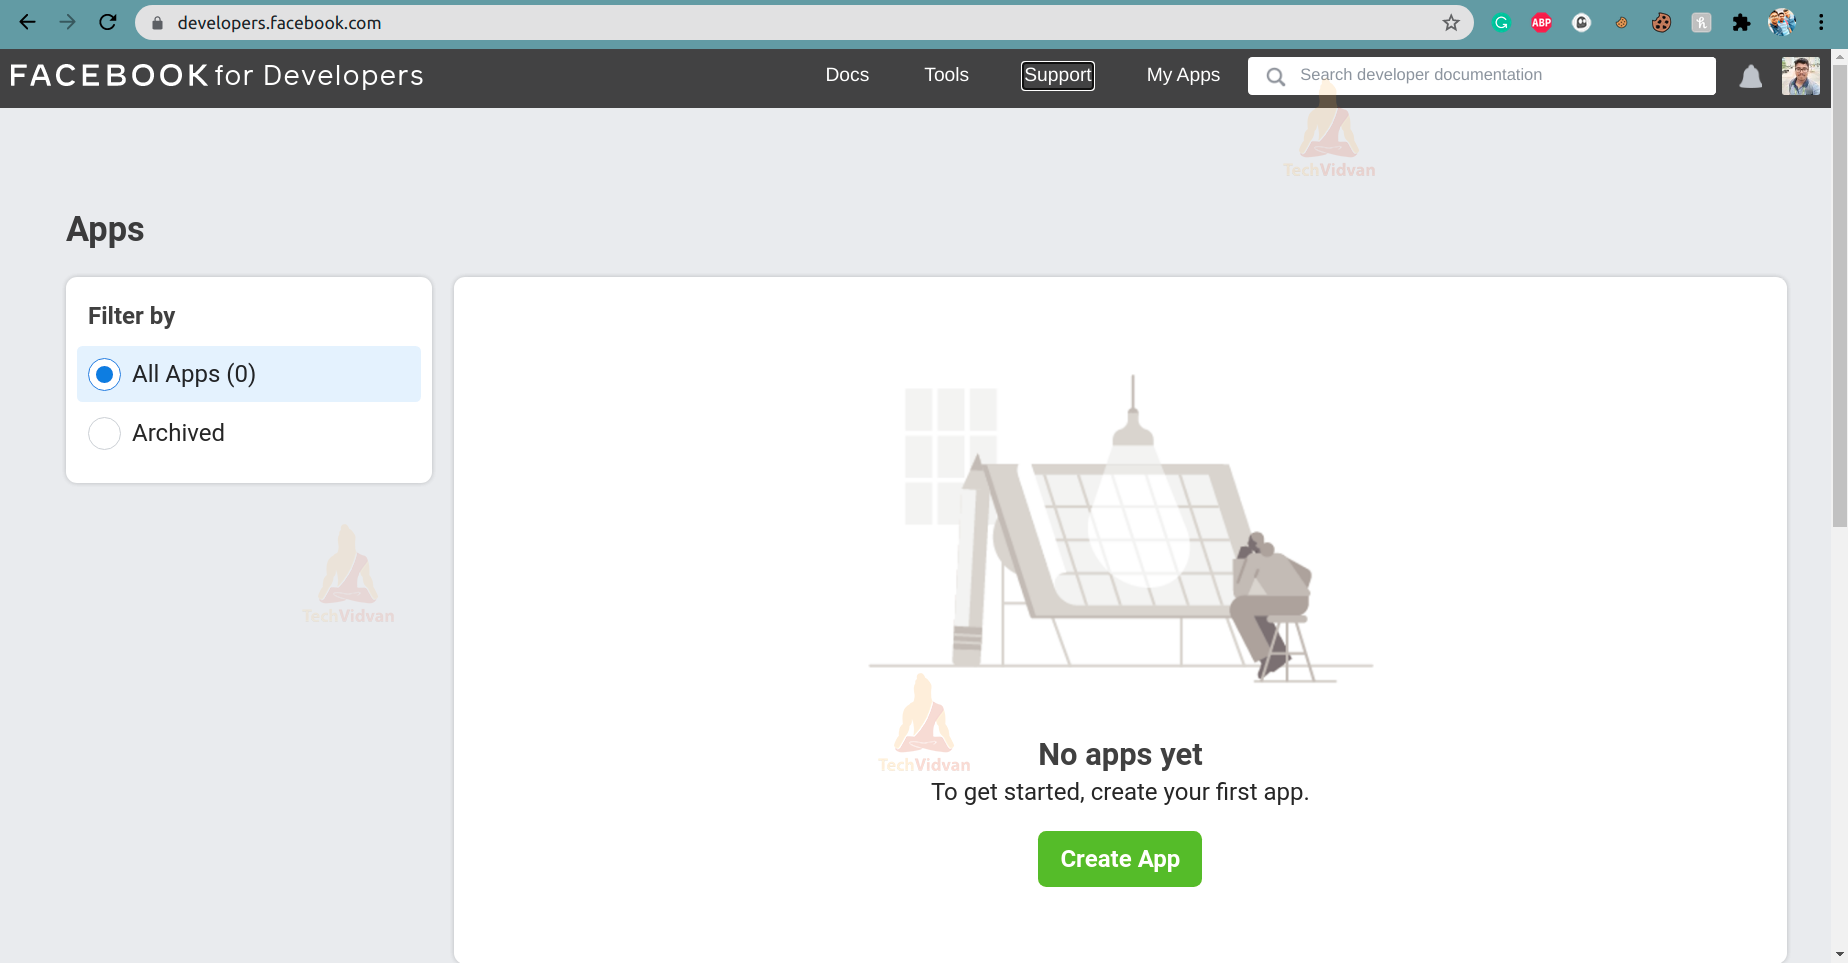
Step 3: After you have created your developer account, you will be redirected to the all apps console as shown below.
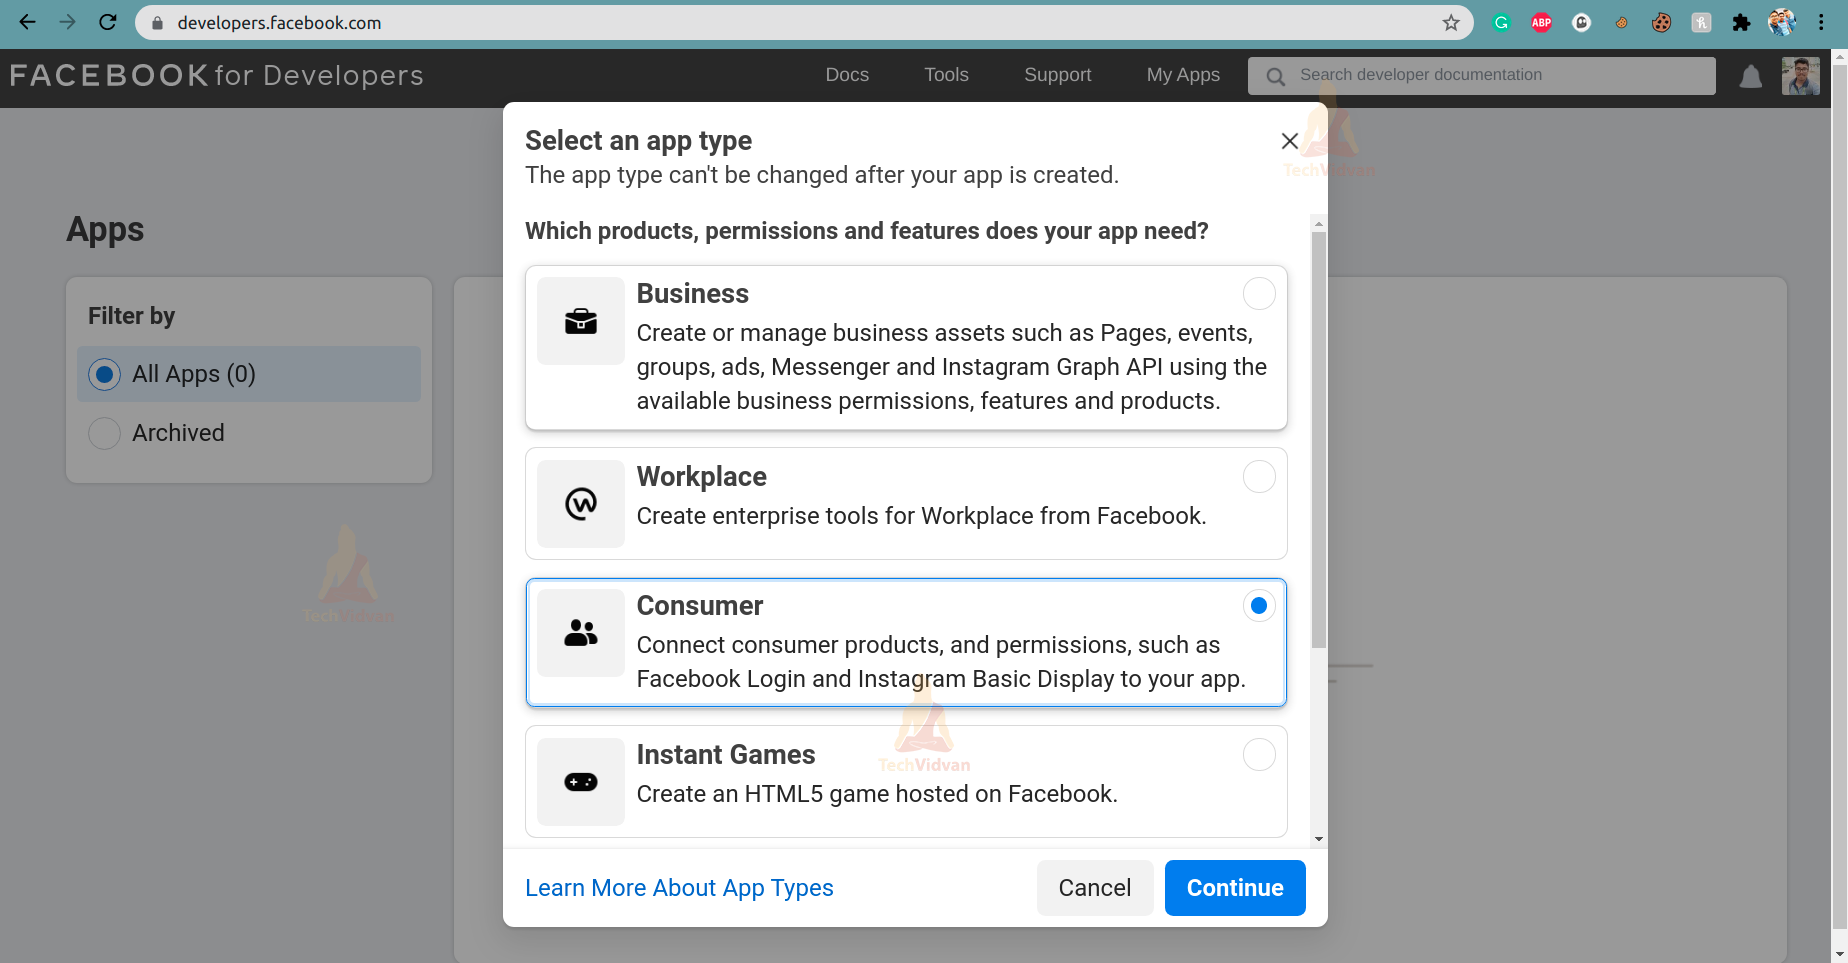
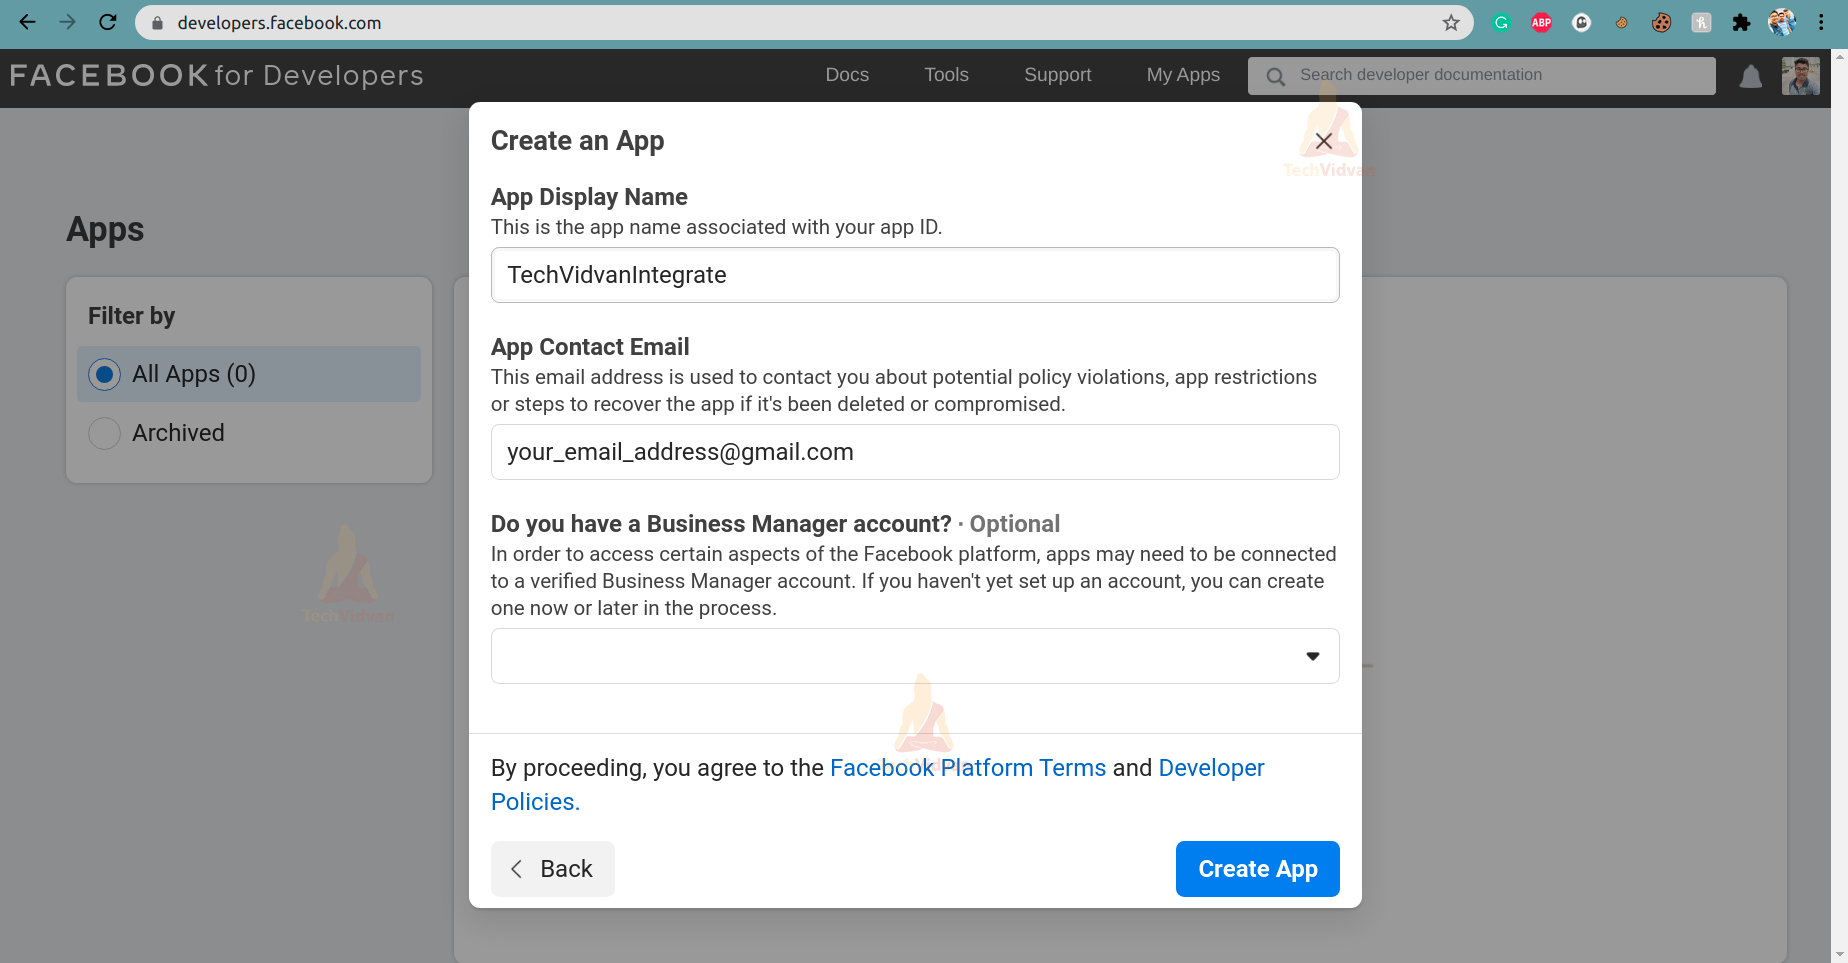
Step 4: Now click on the create app option and select the Consumer option.
Now, provide a name to your application and your contact email, and then click on “Create App.” Remember, you can’t provide an application name associated with Facebook. In other words, you can’t use the words like Facebook, FB, Book, Insta, Gram, Rift, etc., while providing an application name.
Step 5: After creating your app, you will get the console as follows having the app ID and the functionalities provided by Facebook.
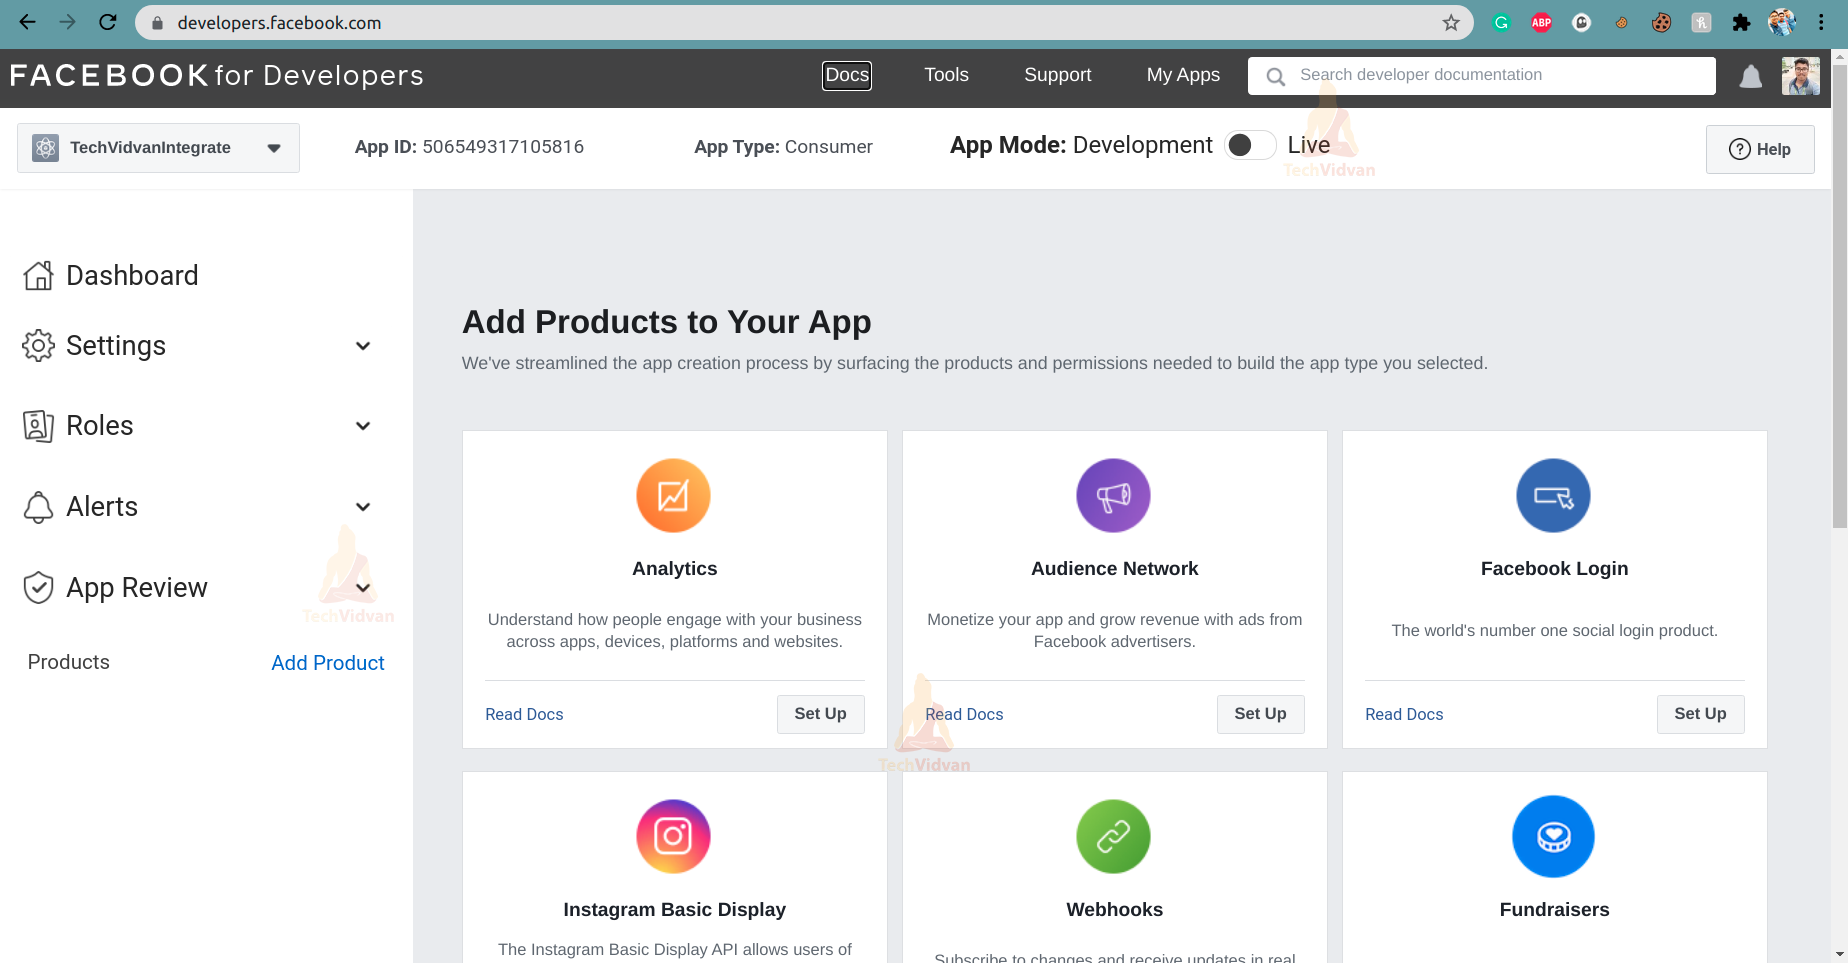
Step 6: Now, in our case, we will try to show you how you can add the Facebook Login feature to your app. So, for that, just click on the Set Up button of the Facebook Login section in the app console.
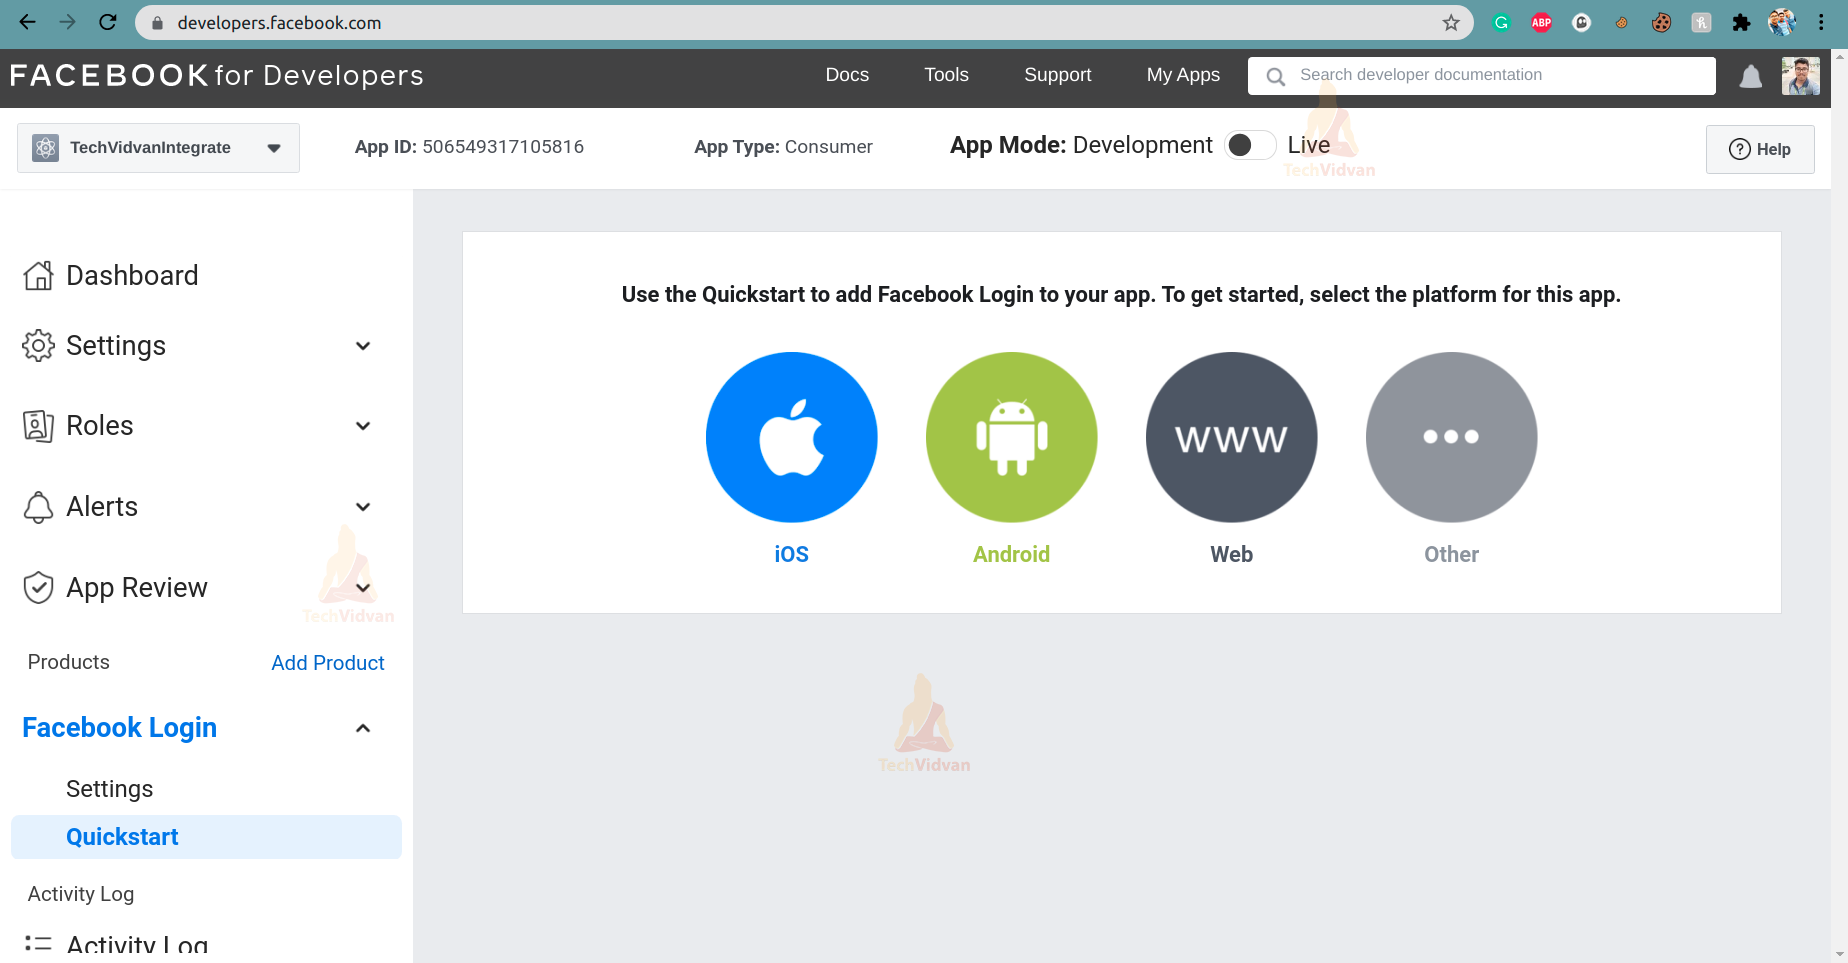
Step 7:Now, it will show you a screen to select the type of app you wish to add this feature. Here select Android and proceed.
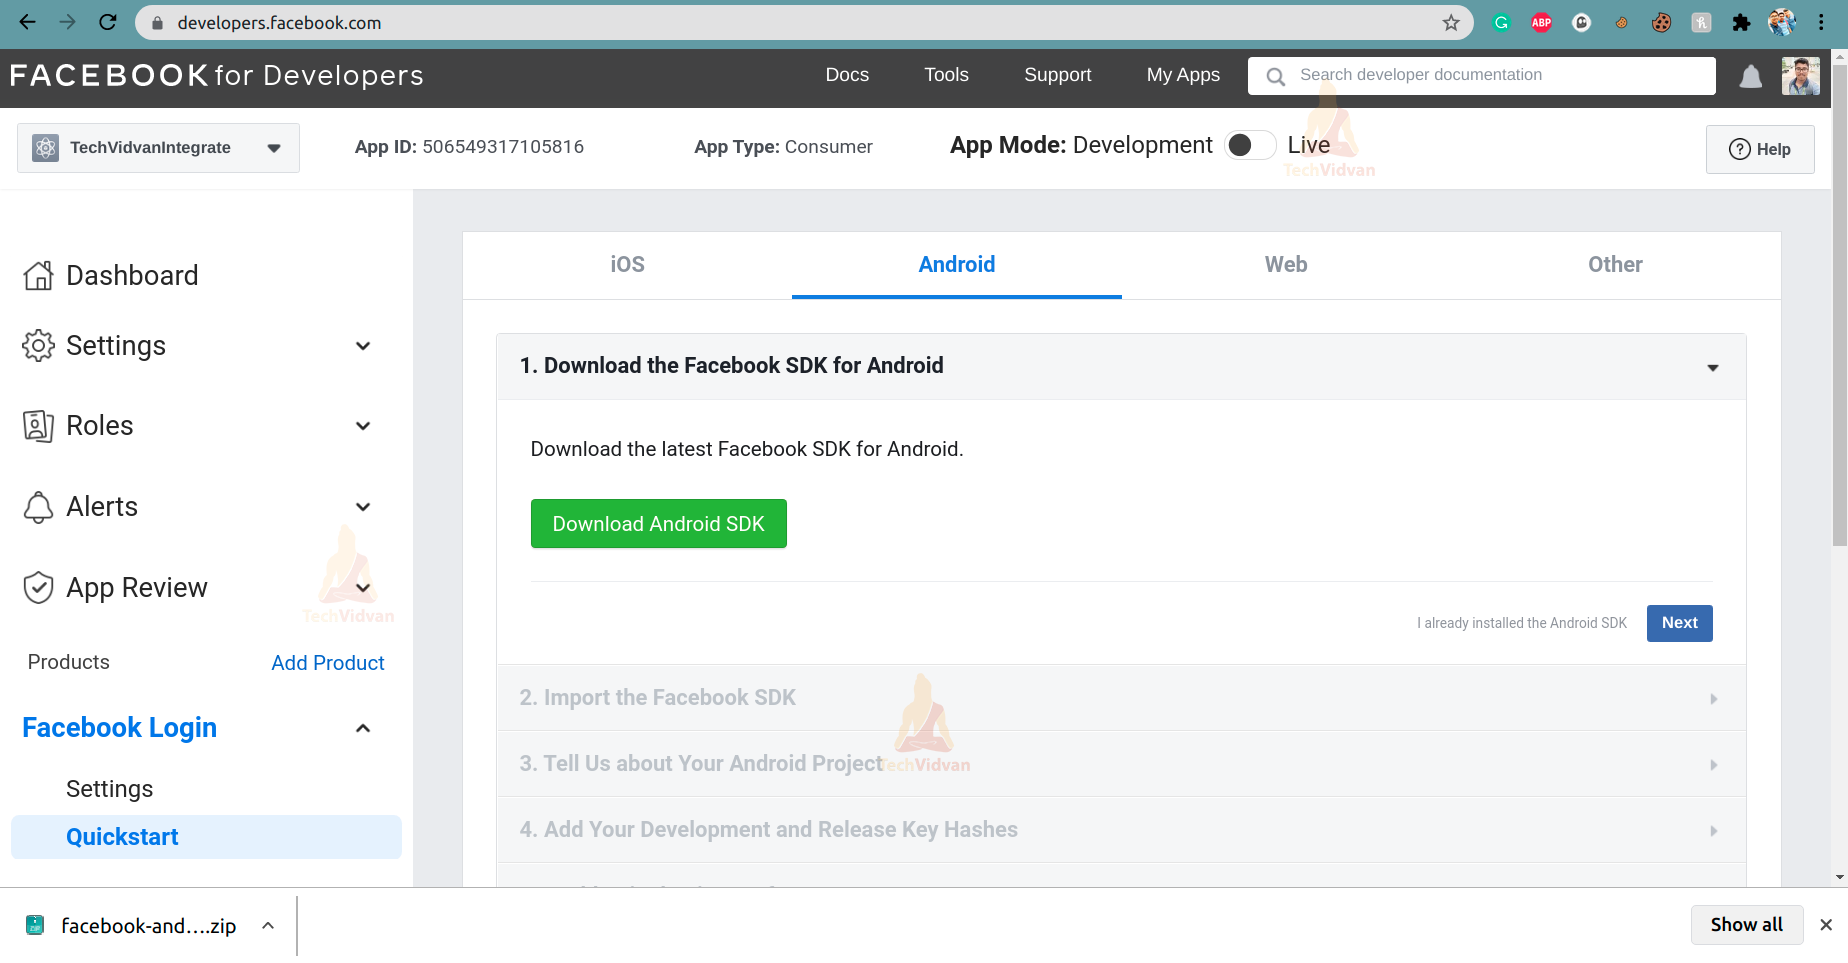
Step 8: Now it will prompt you to download the Facebook SDK for Android. Simply download the Facebook SDK and click on next.
Step 9: Now, to add the Facebook SDK to your android app, you need to follow the below steps:
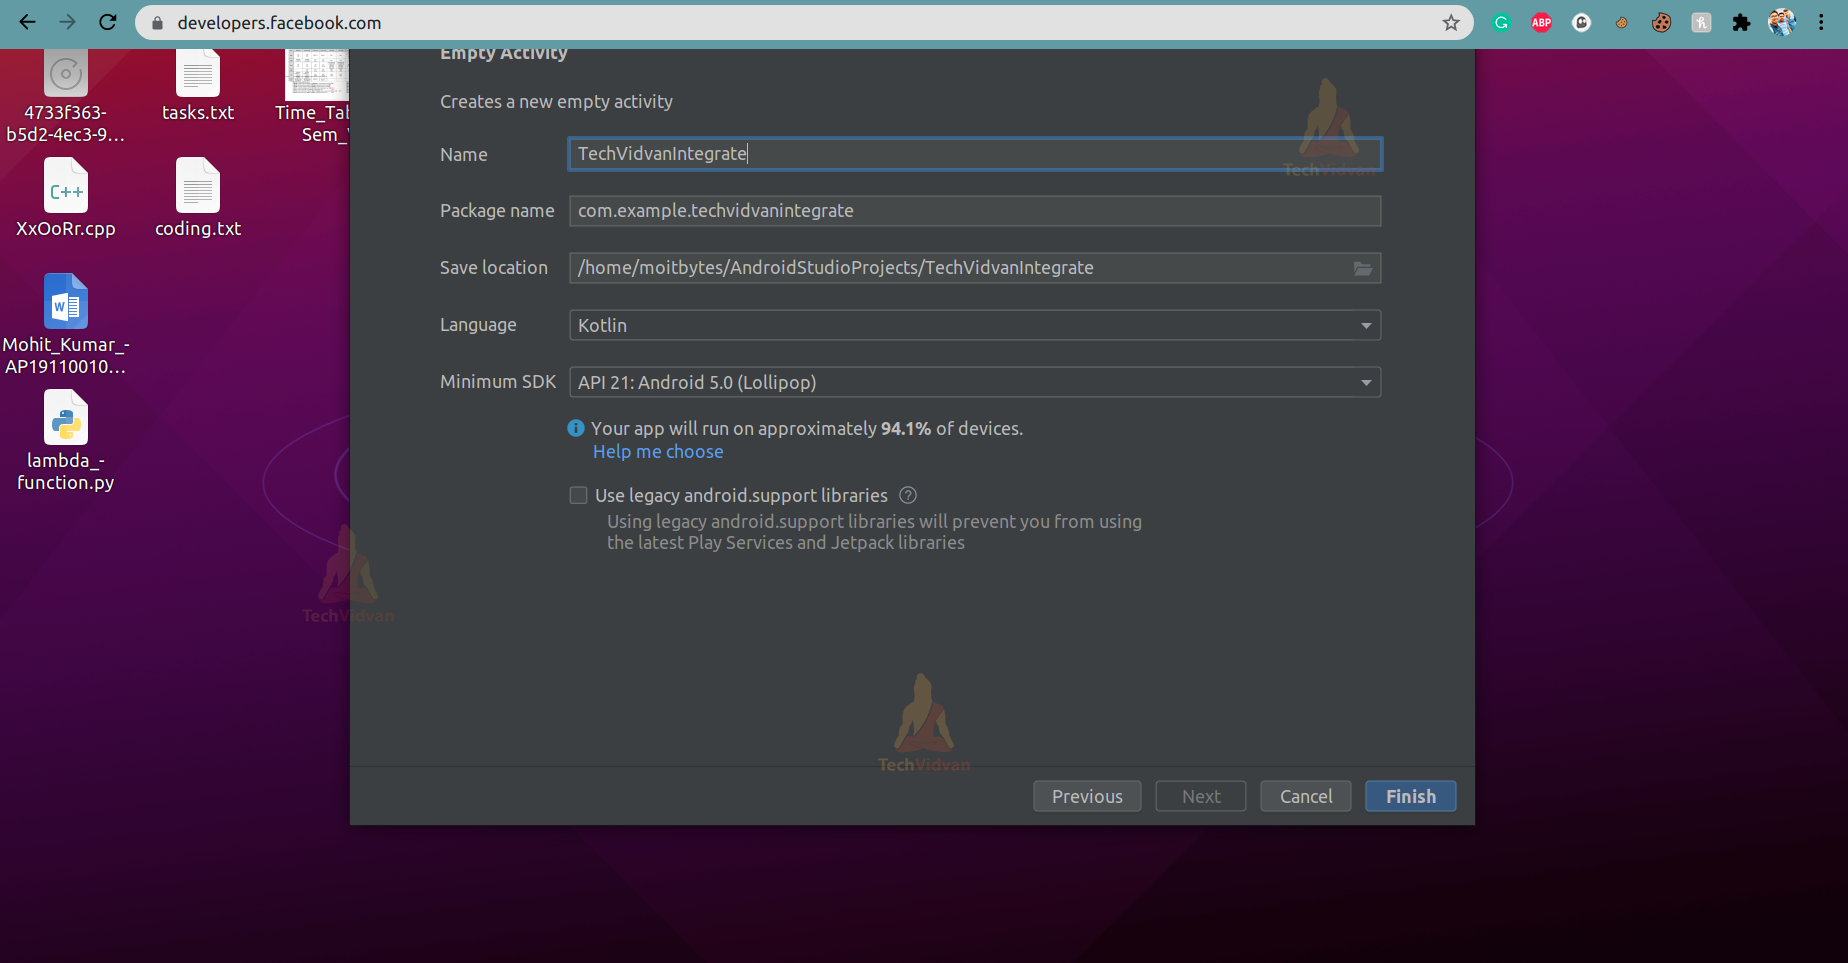
A. Start your Android Studio and click on Create a New Project.
B. Select Empty Activity, provide an application name and select the API level as 22.
C. Now, go to Gradle Scripts and select build.gradle(project) and add the following repository in your buildscript { repositories { } }.
Code:
mavenCentral()
D. Go to your build.gradle(app) file and paste the below dependency there.
Code:
implementation 'com.facebook.android:facebook-android-sdk:[5,6)'
E. Now, rebuild your project and then open your MainActivity.kt file.
F. In your MainActivity,macOS adds the below import statements.
Code:
import com.facebook.FacebookSdk;
import com.facebook.appevents.AppEventsLogger;
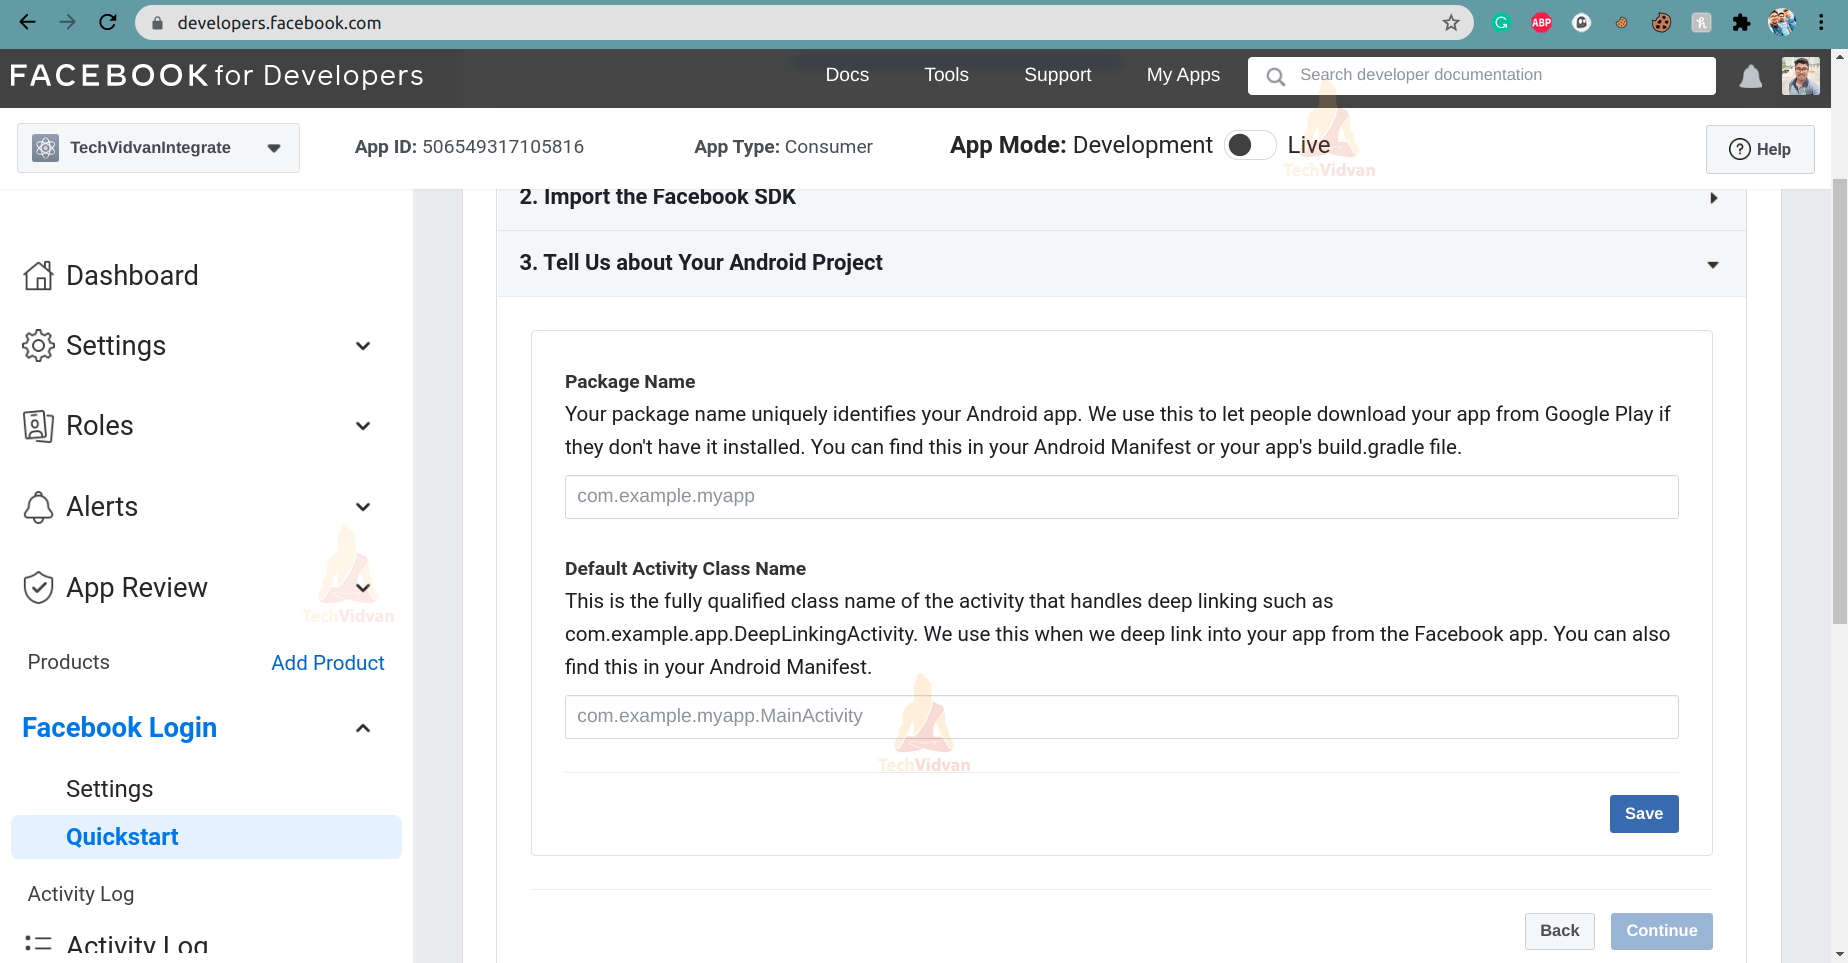
Step 10: Now, it asks you to fill in the package name and the default activity class name.
Package Name: com.example.techvidvanintegrate
Default Class Name: com.example.techvidvanintegrate.MainActivity
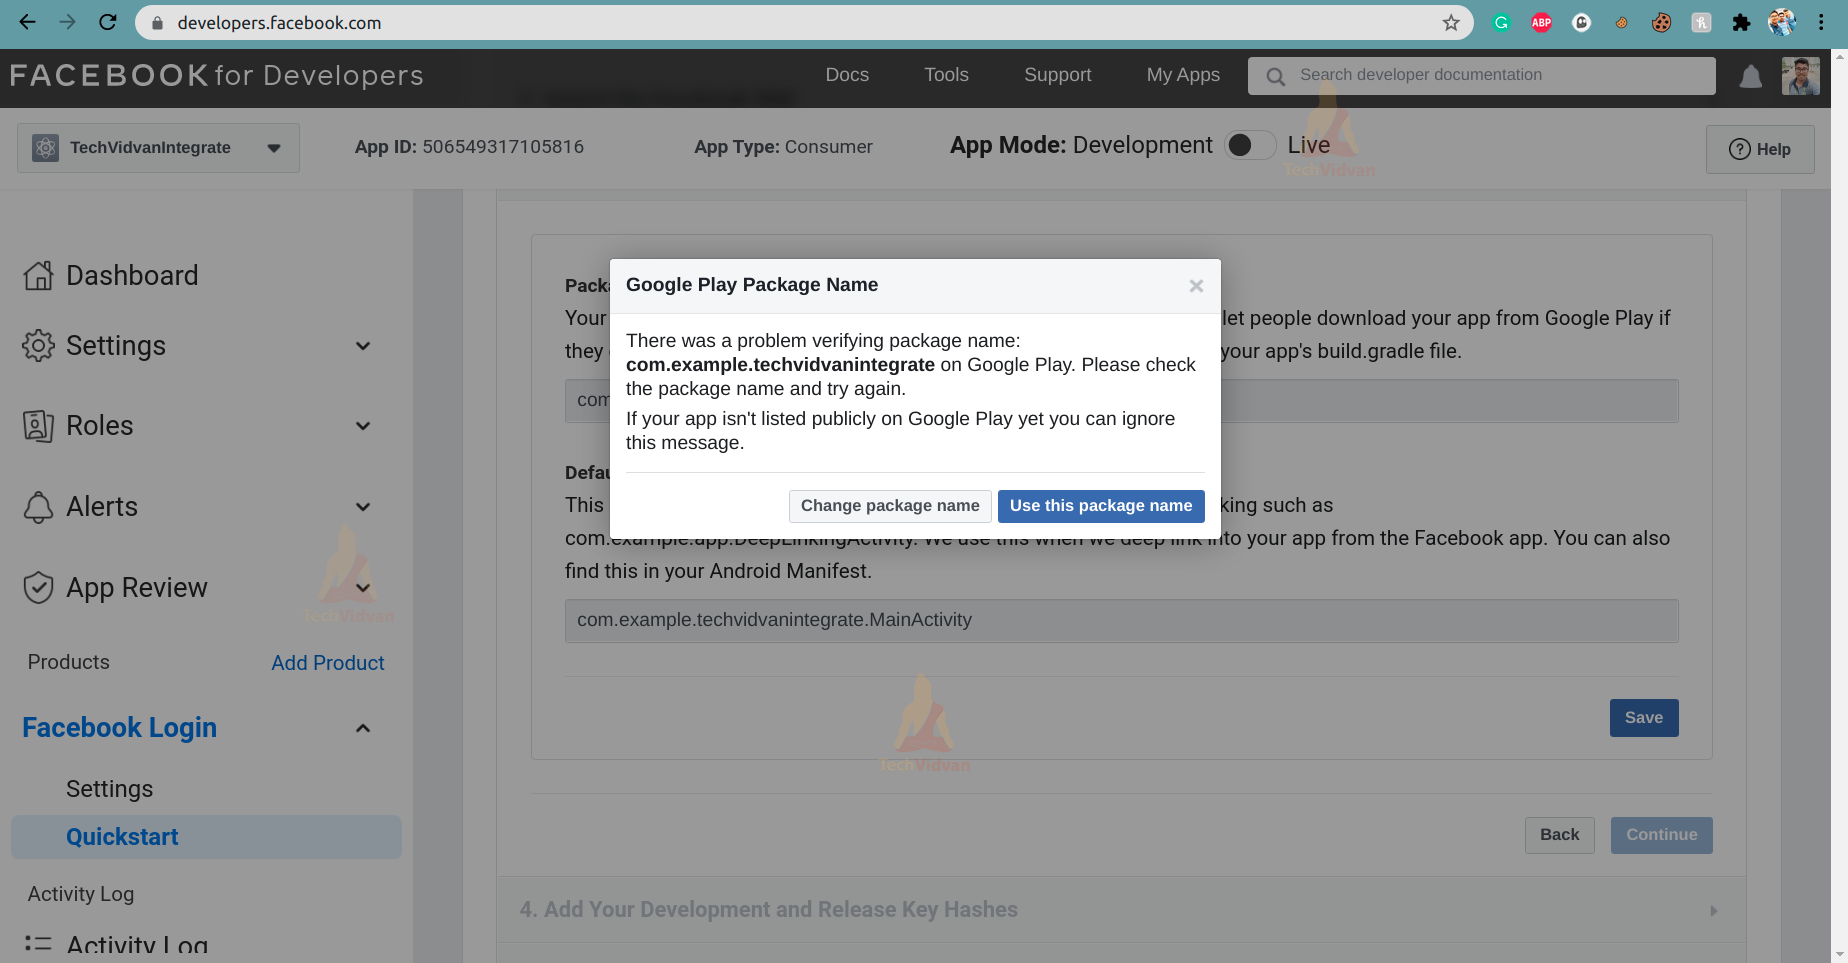
Step 11: After entering your package name and default class name, a popup will appear, warning you that your app couldn’t be found on Google play, but you can avoid this warning and click on Use this as the package name.
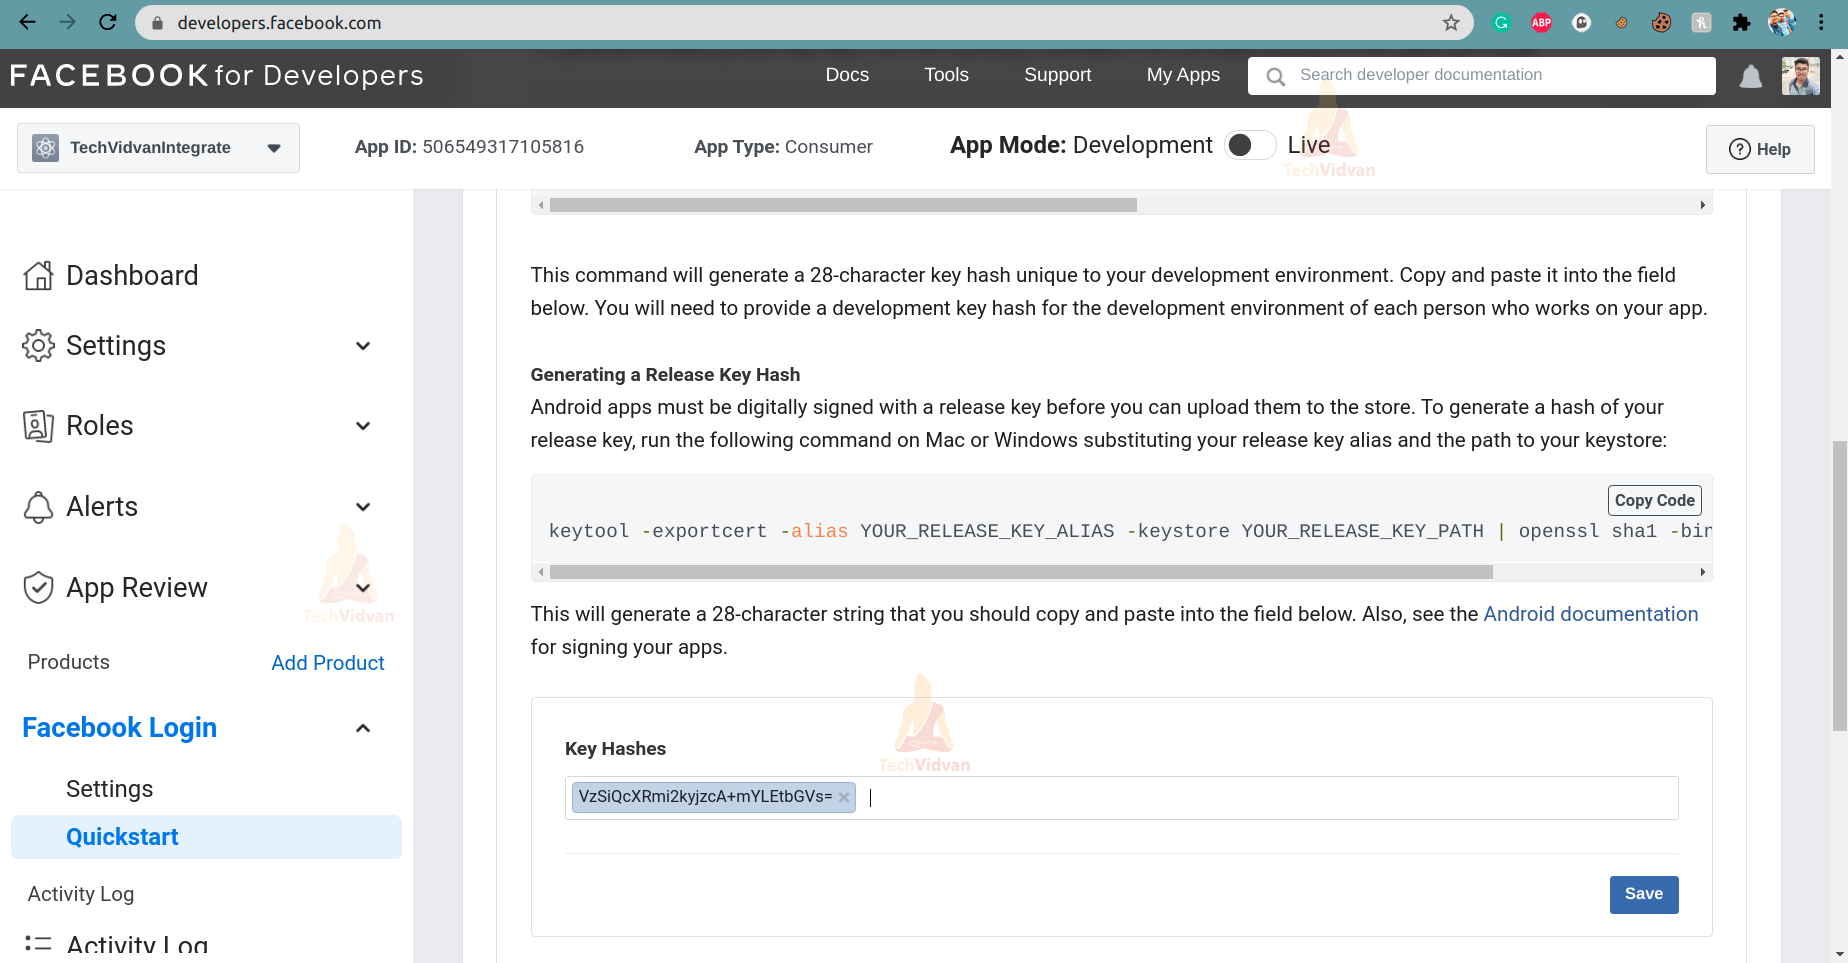
Step 12: To ensure proper and authentic interaction between your application and Facebook, you should create development keys for your applications. To do so,macOS, you can follow the below steps:
Windows
keytool -exportcert -alias androiddebugkey -keystore "C:\Users\USERNAME\.android\debug.keystore" | "PATH_TO_OPENSSL_LIBRARY\bin\openssl" sha1 -binary | "PATH_TO_OPENSSL_LIBRARY\bin\openssl" base64
macOS
keytool -exportcert -alias androiddebugkey -keystore ~/.android/debug.keystore | openssl sha1 -binary | openssl base64
Linux/Ubuntu
keytool -exportcert -alias androiddebugkey -keystore ~/.android/debug.keystore | openssl sha1 -binary | openssl base64
Now, you will get a 28-digit key which you can enter, as shown below.
Step 13: Now, you would see an option to enable sign-on on your device. Just allow that option and proceed.

Step 14: Now, you need to edit your resource and manifest file in your android application. The codes to be added will be available at your Facebook for developer console, and you just need to add them at their specific places.
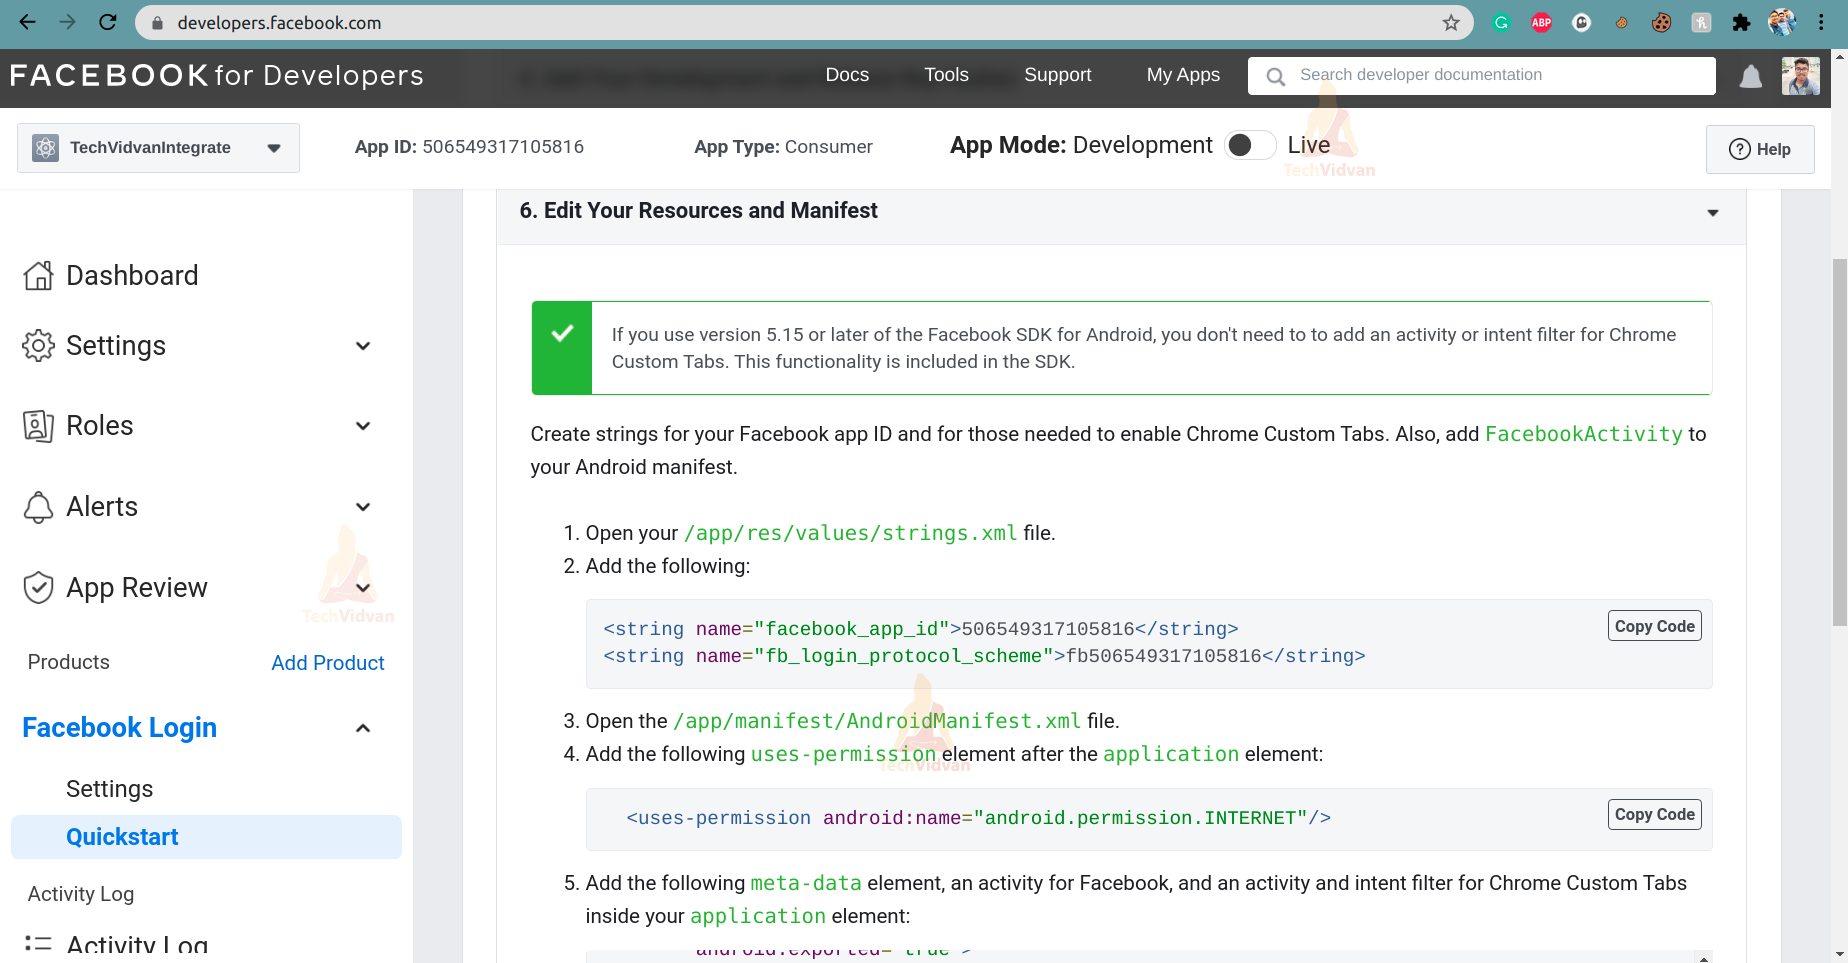
In the above image, you can see the code which you need to add to your project. To make your work easier, I have kept the same below in a more straightforward manner:
A. First, go to app —> res —-> values —–> strings.xml and add the below code there.
Code:
<string name="facebook_app_id">506549317105816</string>
<string name="fb_login_protocol_scheme">fb506549317105816</string>
B. Now, you need to open your AndroidManifest.xml file and add the below internet permission there.
Code:
<uses-permission android:name="android.permission.INTERNET"/>
Now add the below code, which consists of the meta-data, activity, and intent filter for Facebook login in your application.
Code:
<meta-data android:name="com.facebook.sdk.ApplicationId"
        android:value="@string/facebook_app_id"/>

    <activity android:name="com.facebook.FacebookActivity"
        android:configChanges=
                "keyboard|keyboardHidden|screenLayout|screenSize|orientation"
        android:label="@string/app_name" />
    <activity
        android:name="com.facebook.CustomTabActivity"
        android:exported="true">
        <intent-filter>
            <action android:name="android.intent.action.VIEW" />
            <category android:name="android.intent.category.DEFAULT" />
            <category android:name="android.intent.category.BROWSABLE" />
            <data android:scheme="@string/fb_login_protocol_scheme" />
        </intent-filter>
    </activity>
Finally, your AndroidManifest.xml file will appear as follows:
Code: AndroidManifest.xml
<?xml version="1.0" encoding="utf-8"?>
<manifest xmlns:android="http://schemas.android.com/apk/res/android"
    package="com.example.techvidvanintegrate">

    <uses-permission android:name="android.permission.INTERNET"/>

    <application
        android:allowBackup="true"
        android:icon="@mipmap/ic_launcher"
        android:label="@string/app_name"
        android:roundIcon="@mipmap/ic_launcher_round"
        android:supportsRtl="true"
        android:theme="@style/Theme.TechVidvanIntegrate">

        <meta-data android:name="com.facebook.sdk.ApplicationId"
            android:value="@string/facebook_app_id"/>

        <activity
            android:name=".MainActivity"
            android:exported="true">
            <intent-filter>
                <action android:name="android.intent.action.MAIN" />

                <category android:name="android.intent.category.LAUNCHER" />
            </intent-filter>
        </activity>

        <activity android:name="com.facebook.FacebookActivity"
            android:configChanges=
                "keyboard|keyboardHidden|screenLayout|screenSize|orientation"
            android:label="@string/app_name" />
        <activity
            android:name="com.facebook.CustomTabActivity"
            android:exported="true">
            <intent-filter>
                <action android:name="android.intent.action.VIEW" />
                <category android:name="android.intent.category.DEFAULT" />
                <category android:name="android.intent.category.BROWSABLE" />
                <data android:scheme="@string/fb_login_protocol_scheme" />
            </intent-filter>
        </activity>

    </application>

</manifest>
C. Now open your activity_main.xml file and add the below code.
Code: activity_main.xml
<?xml version="1.0" encoding="utf-8"?>
<androidx.constraintlayout.widget.ConstraintLayout xmlns:android="http://schemas.android.com/apk/res/android"
    xmlns:app="http://schemas.android.com/apk/res-auto"
    xmlns:tools="http://schemas.android.com/tools"
    android:layout_width="match_parent"
    android:layout_height="match_parent"
    tools:context=".MainActivity">

    <TextView
        android:layout_width="match_parent"
        android:layout_height="wrap_content"
        app:layout_constraintBottom_toBottomOf="parent"
        app:layout_constraintLeft_toLeftOf="parent"
        app:layout_constraintRight_toRightOf="parent"
        app:layout_constraintTop_toTopOf="parent"
        app:layout_constraintVertical_bias=".1"
        android:gravity="center"
        android:textColor="#3F51B5"
        android:textStyle="bold"
        android:text="TechVidvan Facebook Integration"
        android:textSize="30sp"/>

    <com.facebook.login.widget.LoginButton
        android:id="@+id/login_button"
        android:layout_width="wrap_content"
        android:layout_height="wrap_content"
        android:layout_gravity="center_horizontal"
        android:layout_marginTop="30dp"
        android:layout_marginBottom="30dp"
        app:layout_constraintBottom_toBottomOf="parent"
        app:layout_constraintLeft_toLeftOf="parent"
        app:layout_constraintRight_toRightOf="parent"
        app:layout_constraintTop_toTopOf="parent"/>

</androidx.constraintlayout.widget.ConstraintLayout>
D. Now you need to browse your MainActivity.kt file and add the below code.
Code: MainActivity.kt
package com.example.techvidvanintegrate

import android.content.Intent
import android.os.Bundle
import android.util.Log
import androidx.appcompat.app.AppCompatActivity
import com.facebook.CallbackManager
import com.facebook.FacebookCallback
import com.facebook.FacebookException
import com.facebook.login.LoginResult
import com.facebook.login.widget.LoginButton

@Suppress("DEPRECATION")
class MainActivity : AppCompatActivity() {
    //declaring variables
    lateinit var callbackManager: CallbackManager
    lateinit var fbLoginButton: LoginButton
    private val email = "email";

    override fun onCreate(savedInstanceState: Bundle?) {
        super.onCreate(savedInstanceState)
        setContentView(R.layout.activity_main)

        //binding the facebook login button with our variable
        fbLoginButton = findViewById(R.id.login_button)

        //setting up on click listener on our fb login button
        fbLoginButton.setOnClickListener {
            fbLoginButton.setReadPermissions(listOf(email))
            callbackManager = CallbackManager.Factory.create()

            //registering callback method over the fb login button
            fbLoginButton.registerCallback(
                callbackManager,
                object : FacebookCallback<LoginResult?> {

                    //on successful login the below method will trigger
                    override fun onSuccess(loginResult: LoginResult?) {
                        //displaying the facebook token generated for the user
                        Log.d("TechVidvan", "Login Token: " + loginResult!!.accessToken.token)

                        //redirecting him to new activity as he is successfully logged in
                        startActivity(Intent(applicationContext, WelcomeScreen::class.java))
                    }

                    override fun onCancel() {
                        // Define what to do if user rejects to log in using facebook
                    }

                    override fun onError(exception: FacebookException) {
                        // Define what to do if there is some error while logging in
                    }
                })

        }
    }
}
E. Now, create a new activity called “WelcomeScreen,” where you will redirect to the user if he successfully logs in to your application. Add the below code in your activity_welcome_screen.xml file.
Code: activity_welcome_screen.xml
<?xml version="1.0" encoding="utf-8"?>
<androidx.constraintlayout.widget.ConstraintLayout
    xmlns:android="http://schemas.android.com/apk/res/android"
    xmlns:app="http://schemas.android.com/apk/res-auto"
    xmlns:tools="http://schemas.android.com/tools"
    android:layout_width="match_parent"
    android:layout_height="match_parent"
    tools:context=".WelcomeScreen">

    <TextView
        android:layout_width="match_parent"
        android:layout_height="wrap_content"
        app:layout_constraintBottom_toBottomOf="parent"
        app:layout_constraintLeft_toLeftOf="parent"
        app:layout_constraintRight_toRightOf="parent"
        app:layout_constraintTop_toTopOf="parent"
        android:gravity="center"
        android:textColor="#3F51B5"
        android:textStyle="bold"
        android:text="Thanks for signing in!!"
        android:textSize="30sp"/>

</androidx.constraintlayout.widget.ConstraintLayout>
F. That’s it. Your whole coding part is completed, and your application is ready to be tested.
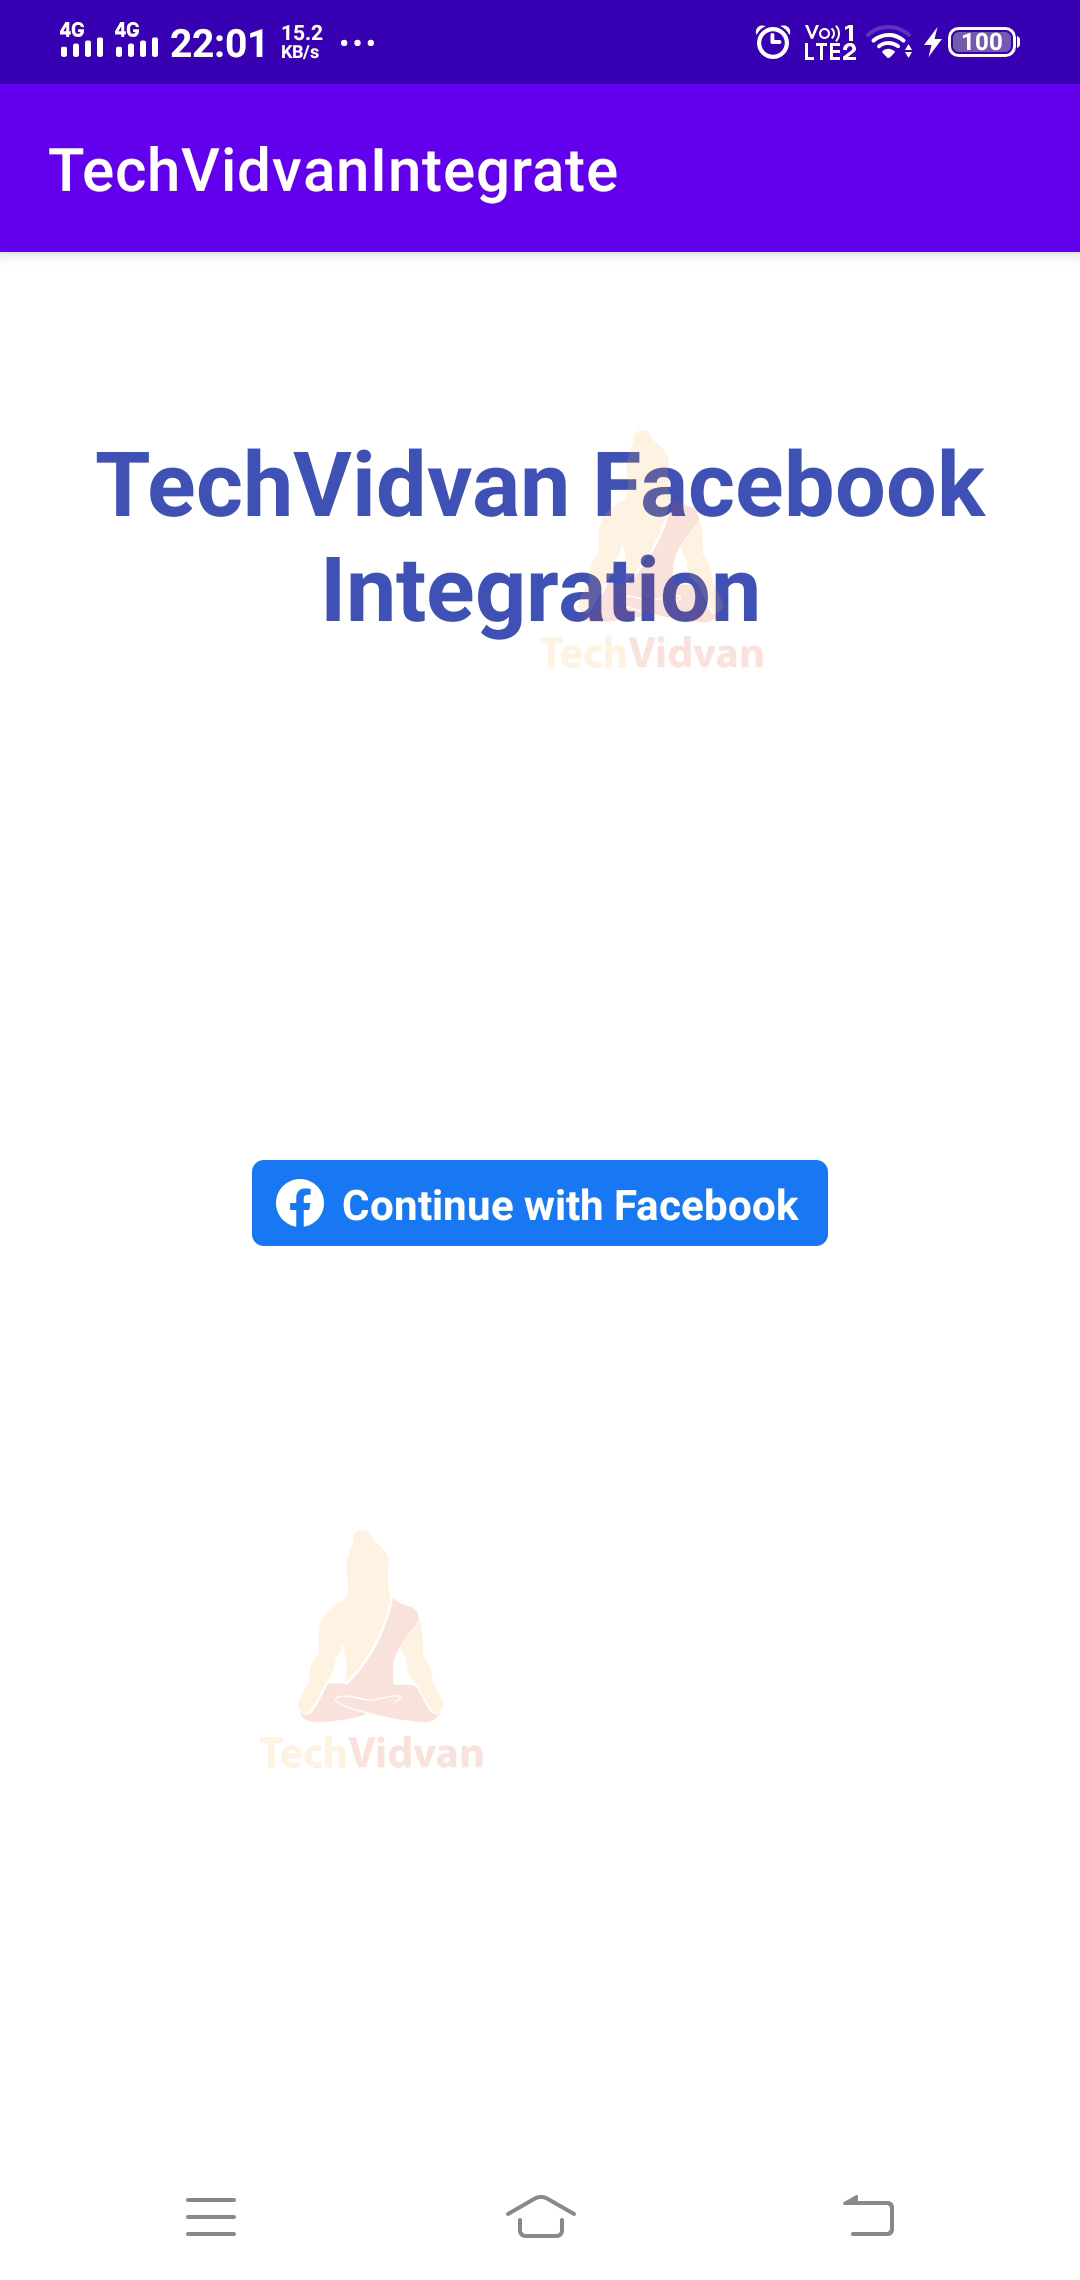
Now go ahead and run your Facebook Integration application on your android device or emulator.
You can notice a button to continue with Facebook. Using this button, you can log in to the app by using your Facebook credentials.
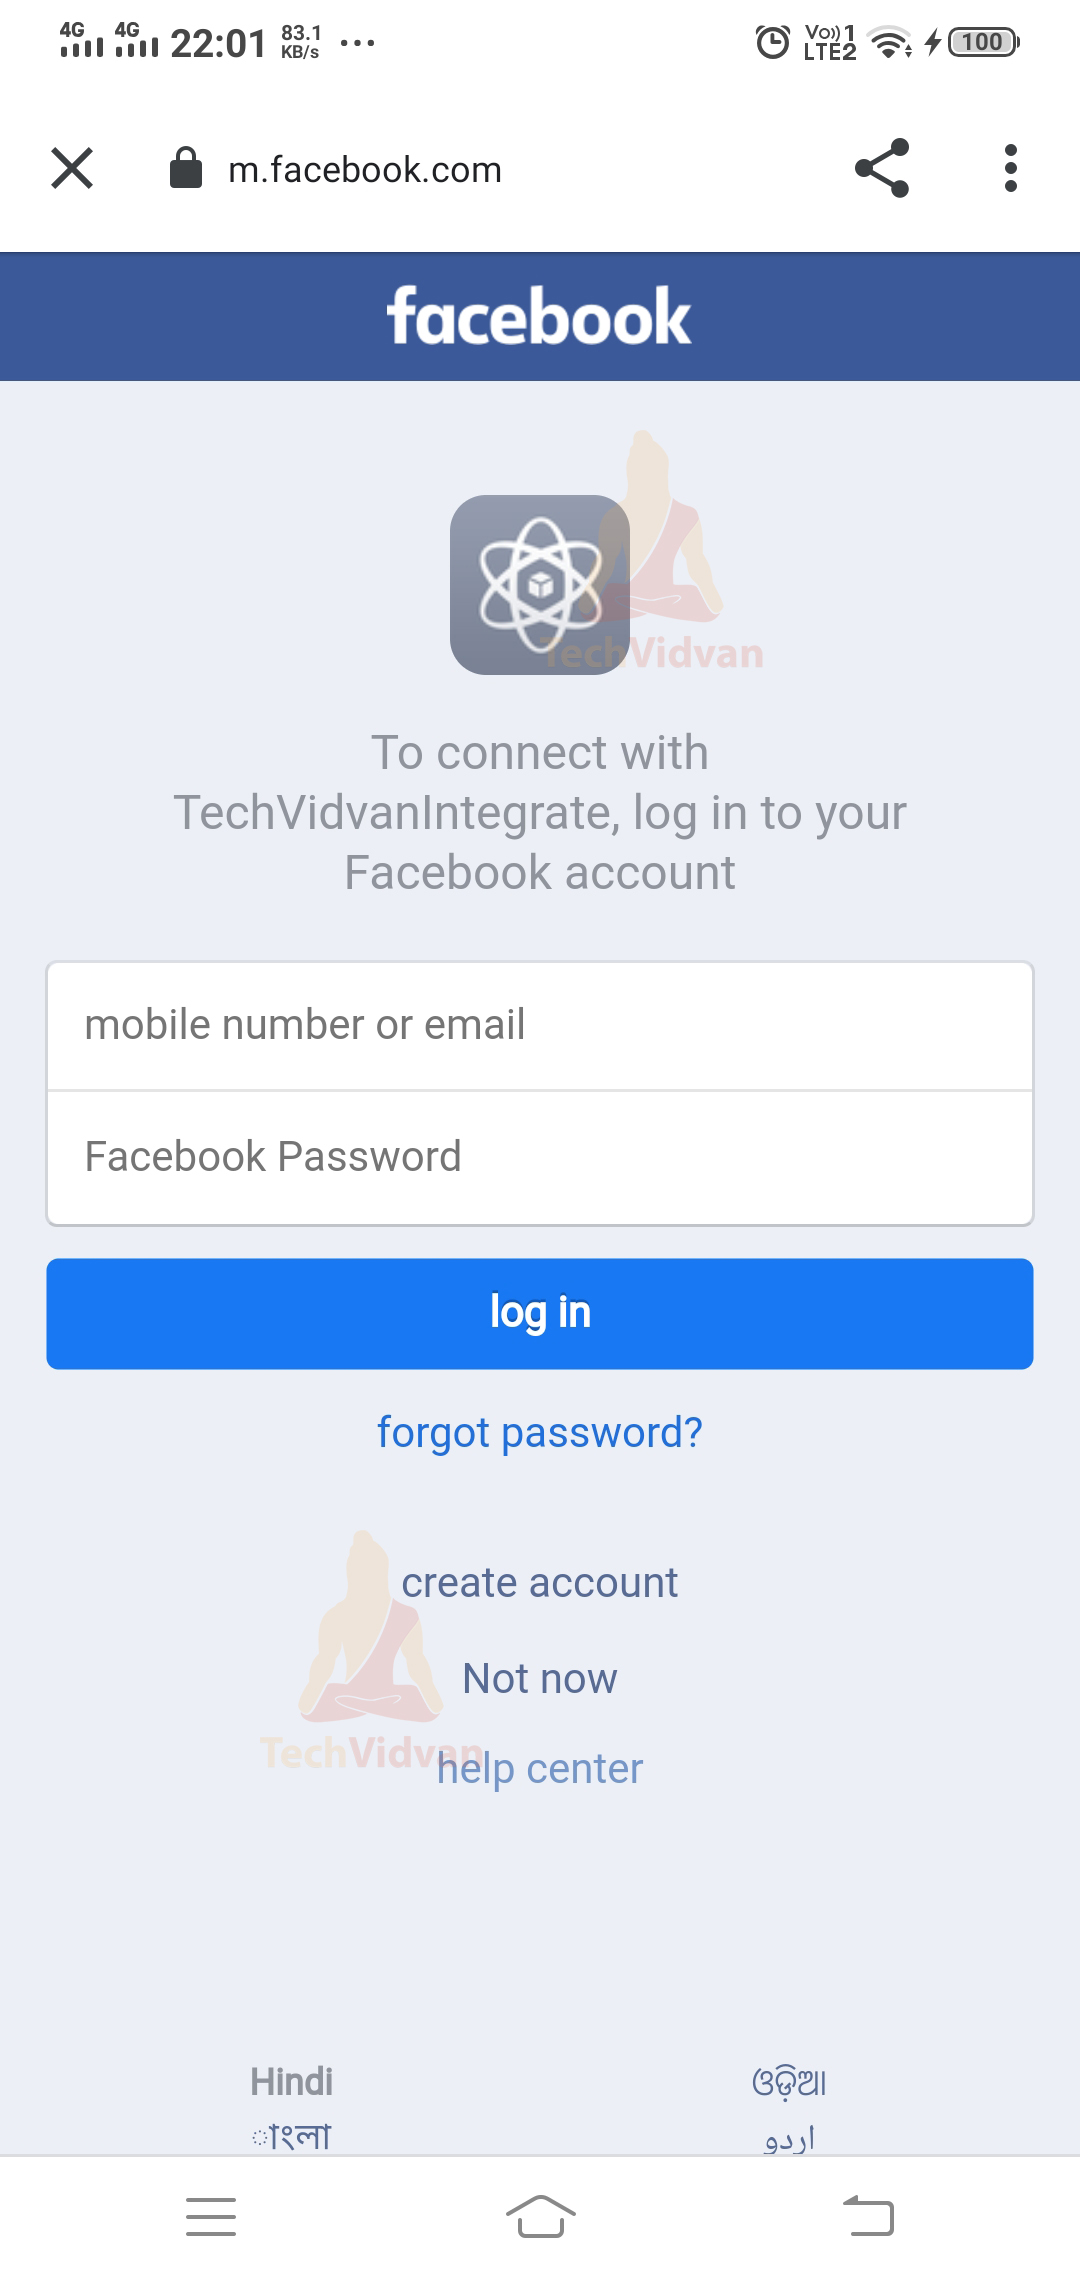
After you click on this button, it will take you to a page where you need to enter your Facebook credentials.
Summary
So through this article, you came across how you can add the Facebook sign-in feature to your android application. You can find this quite important because nowadays, people prefer signing in from either google or Facebook. So adding these options advances a high rate of users on your applications.
From this article, I have tried to make every step clear for you, which would help you integrate Facebook into your app. Now it’s time for you to self explore it and then leave your valuable comments below.