Android Fragments
This article will help you understand what fragments are and the several types of fragments in android. You will also know how to create a fragment and communicate between the fragments and the activities. You will get to see the lifecycle and the various methods involved in the fragments.
Further, we will implement the concept through an application that will make your ideas more clear.
What are Fragments in Android?
Fragments are like sub-activities of an Android Activity. In other words, you can think of it as a part of an activity. It’s a graphical user interface that allows users to interact but depends on an activity for its existence.
An activity can hold many fragments inside it. Fragments have their lifecycle, but their life cycle is dependent on the parent activity’s lifecycle. If the action where the fragment resides is destroyed, then even the fragment gets destroyed.
Here a question may arise to you. If a fragment is so dependent on the activity, then why do we use it in android?
Let’s see the need for fragments that will automatically answer the above question.
Needs of Android Fragments
Fragments are generally used to make a lightweight and smooth user interface. Fragments can be dynamically added and deleted from an activity. The flexibility of fragments allows several kinds of UI to be possible.
You can create a custom tabbed layout or swiping tab layout using fragments. Fragments have their events and allow you to perform various tasks through fragments.
Fragment layouts are customizable. We can add as many text views, image views, buttons, etc.
Types of Fragments in Android
Fragments are basically of three types:
1. Single Fragments in Android
Here, you can only see one fragment on the entire screen. It is primarily seen in handheld devices like smartphones. This type of fragment is useful for activities that only require one main view, such as a detailed view of an item.
2. List Fragments in Android
Here, the fragments are in the form of a list, and the user can pick the fragment he wishes to view. This type of fragment is often used in combination with a detail fragment to display a list of items and their details on selection.
3. Fragment Transactions in Android
Using this type of fragment, you can switch between fragments.
How Android Fragments interact with activity in various devices
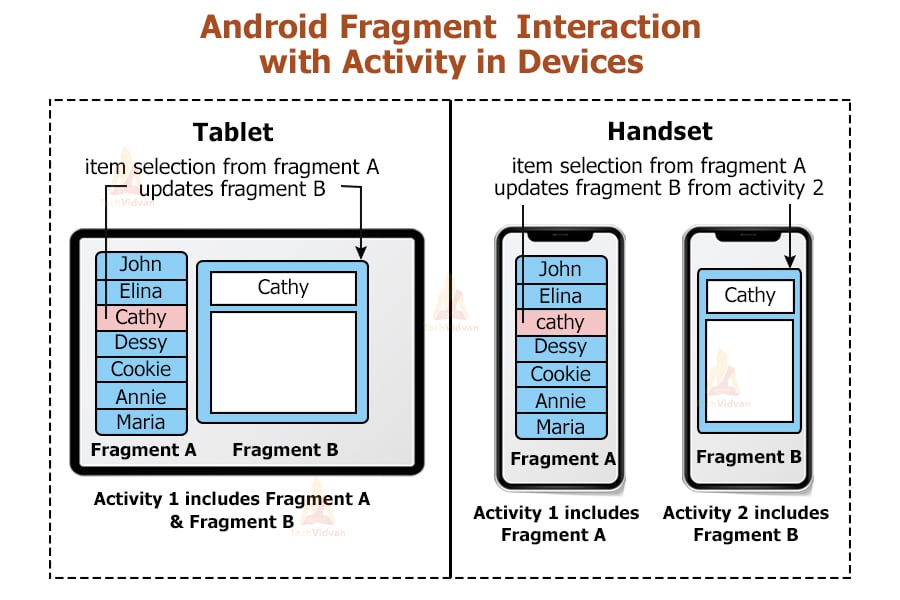
So to understand this, let’s take the example shown in the above picture. Here you can see we are considering two devices: Tablet and a Handset. Let’ see how fragments interact through activity in both devices.
In Tablet, we have only one activity called Activity 1. In this activity, we have two fragments Fragment A and Fragment B. If the user selects something in Fragment A, then that is displayed on Fragment B. Here, we don’t require another activity to perform this thing.
Whereas in the handset, we require two activities as the device’s screen size is comparatively tiny than tablets. Hence we would need two activities to perform the same task. In Activity 1, we have fragment A where the user selects something. In Activity 2, we have fragment B, where the user can view his selection.
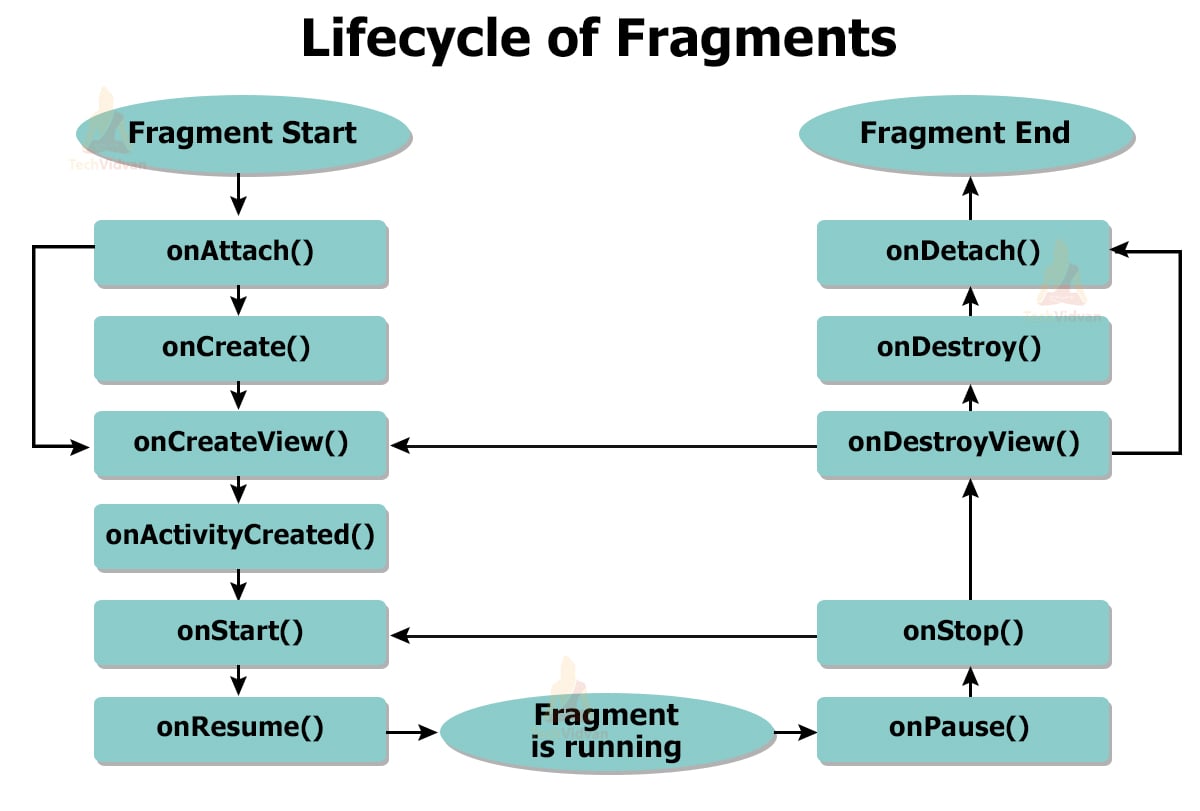
Lifecycle of Fragments in Android
Fragments depend upon the activity for its existence and have a lifecycle similar to Android Activity. Below is an image that summarizes the Fragment Lifecycle.
Methods of Fragments in Android
Following are the methods that are implemented depending on the requirement we have. All these methods contribute to the proper functioning of a fragment. Let’s see each of them in detail.
1. onAttach()
To initialize a fragment with the respective activity, we use the above method. Using this method, the fragment gets fully initialized. It is called once the fragment is associated with its activity, allowing the fragment to interact with the activity context and access its properties.
2. onCreate()
This method is used to create a fragment and initialize the necessary components. We may want to retain these essential components even if the fragment is paused or stopped and then resumed. It is called to perform the initial setup, such as inflating views and setting up resources.
3. onCreateView()
This method is used to return the UI layout of the fragment to the user. This method is invoked at the time when the fragment is created. If you don’t have any design with your fragment then just return null.
4. onActivityCreated()
This method is invoked after the onCreateView(). This method signifies that the activity is ready to host your fragment. After this method is invoked, we can access the fragment view by using findViewById().
5. onStart()
This method is invoked immediately after the fragment is visible on the user’s device. It marks the point where the fragment becomes visible and interactive to the user, often used to initialize components that require user input.
6. onResume()
This method is invoked immediately when the fragment comes back into focus. It signifies that the fragment is now active and the user can interact with it. This method is typically used to resume any paused tasks or animations.
7. onPause()
This method is invoked whenever the fragment goes out of focus or is inactive for some duration. It allows you to save any state changes or pause ongoing tasks that should not continue while the fragment is not in the foreground.
8. onStop()
This method is invoked when the fragment is not visible to the user anymore.
9. onDestroyView()
This method is invoked to clear up the resources used by the fragment. It is called just before the fragment is going to be destroyed. It allows you to clean up resources related to the fragment’s view, such as bitmap recycling or stopping services.
10. onDestroy()
This method is invoked to destroy the fragment and clean up its state. It is the final cleanup call before the fragment is completely removed from memory. Use this method to release resources and save any persistent state.
11. onDetach()
This method is invoked to detach a fragment from host activity. It marks the end of the fragment’s association with its activity and provides an opportunity to perform final cleanup before the fragment is destroyed.
How to use Android Fragments?
Fragments can be used in a project by following the below steps:
- Decide the number of fragments you require
- Go ahead and create an XML layout file for each such fragment.
- Create a class extending Fragment class and then link the class with the layout created.
- Now use the above-discussed methods based on your needs.
- Finally, come back to the Main Activity and edit the file adding the fragments to your activity.
Android Fragments with Activity
We know that fragments are required to be present in an activity. A fragment individually can’t exist, and hence we should know how to place a fragment with an activity. There are two ways to do this:
1. Static method
Using this method, you can place the fragment through the XML file. The demerit of this method is you can’t change the fragment on runtime. If you wish to change the fragment with another, you need to edit the XML code again.
While placing the fragment you should ensure that the fragment class extends FragmentActivity or AppCompatActivity.
Below is an implementation of the same.
<?xml version="1.0" encoding="utf-8"?>
<LinearLayout xmlns:android="http://schemas.android.com/apk/res/android"
    android:layout_width="match_parent"
    android:layout_height="match_parent"
    android:orientation="vertical" >

    <fragment
        android:name="com.TechVidvan.android.MyFragment"
        android:id="@+id/static_fragment"
        android:layout_width="match_parent"
        android:layout_height="match_parent" />

</LinearLayout>
2. Dynamic method
Unlike the static method here, you can change the fragments on runtime. You need to add a frame layout, and then through fragment transaction, you can place fragments during runtime. Below is an implementation of the same.
<?xml version="1.0" encoding="utf-8"?>
<LinearLayout xmlns:android="http://schemas.android.com/apk/res/android"
    android:layout_width="match_parent"
    android:layout_height="match_parent"
    android:orientation="vertical" >
  <FrameLayout
       android:id="@+id/fragment_placeholder"
       android:layout_width="match_parent"
       android:layout_height="match_parent">
  </FrameLayout>
</LinearLayout>
Now to create the fragment transaction, you can use the below code.
 val transaction = fragmentSupportManager.beginTransaction()
 transaction.replace(R.id.host,new TechVidvanFragment())
 transaction.commit()
Fragment Instance in Android
We know that fragment is placed in an activity. To find a fragment in your project, you have several methods. You can use the below to locate the required fragment:
1. By ID:
Using this, we can find the fragment based on its ID. You need to use the findFragmentByID() method in this case.
2. By Tag:
Using this, we can find the fragment based on its name. You need to use the findFragmentByName() method in this case.
3. By Pager
Using this, we can find the fragment based on the view pager on which the fragment is registered. You need to use the getRegisteredFragment() method in this case.
Android Fragment and Activity Communication
The fragment is a part of the activity, and if in case the fragment needs to communicate to the other fragments. Then it can’t do it directly. It needs to communicate through its parent activity to perform a task.
So, it becomes essential for us to understand how a fragment can communicate with its root activity. Following are the methods which you can do to achieve the task.
1. View Model
Whenever we want to share data or communicate between the fragments, we can create a standard view model. The view model allows multiple fragments to interact and communicate.
For example:
class TechVidvanViewModel : ViewModel() {
private val mutable_Item = MutableLiveData<Item>()
val selectedItem: LiveData<Item> get() = mutable_item

fun selectItem(item: Item) {
mutable_item.value = item
}
}
2. Interface
Using an interface also you can connect multiple fragments. You just need to create an interface in your first fragment. Now, you need to implement the designed interface in your activity. Directly by calling the other fragment from your activity, you can simply connect the interface.
class FragmentOne : Fragment() {

        lateinit var listener: TextClickedListener

        //defining Interface
        interface TextClickedListener {
            fun sendText(text: String)
        }

        fun setOnTextClickedListener(callback: TextClickedListener) {
            this.listener = callback
        }

    }
}
Now you need to implement the above interface in your Main Activity. You can do that using the below code.
class MainActivity :Activity(), FragmentOne.TextClicked {
    fun onAttachFragment(fragment: Fragment) {
        if (fragment is FragmentOne) {
            fragment.setOnTextClickedListener(this)
        }
    }
    override fun sendText(text: String) {
        // Call FragmentTwo
        val callingFragmentTwo = getSupportFragmentManager().findFragmentById(R.id.fragment_two) as FragmentTwo
        //calling the updateMsg method of the FragmentTwo
        callingFragmentTwo.updateMsg(text)
    }
}
Now you can create the updateMsg() method in your Fragment Two, and this will do your task.
Nesting Fragments within Fragment in Android
Sometimes there can be a need to have a fragment inside another fragment. This can be achieved by simply placing another FrameLayout inside the existing layout of the fragment. This helps you to keep a fragment inside another.
This process is also known as Fragment Nesting.
For example:
<?xml version="1.0" encoding="utf-8"?>
<LinearLayout xmlns:android="http://schemas.android.com/apk/res/android"
android:layout_width="match_parent"
android:layout_height="match_parent"
android:orientation="vertical" >
<TextView
android:layout_width="match_parent"
android:layout_height="wrap_content"
android:text="The root Fragment" />
<FrameLayout
android:id="@+id/child_fragmentr"
android:layout_width=”200dp"
android:layout_height="400dp" />
</LinearLayout>
So, here you can see the linear layout is the layout of the root fragment. In this root fragment, we are creating a child fragment using the frame layout container.
Implementation of Android Fragments
Following are the steps using which you can create fragments in Android. We will show you how to create a layout similar to WhatsApp, having three fragments: Chats, Status, Calls.
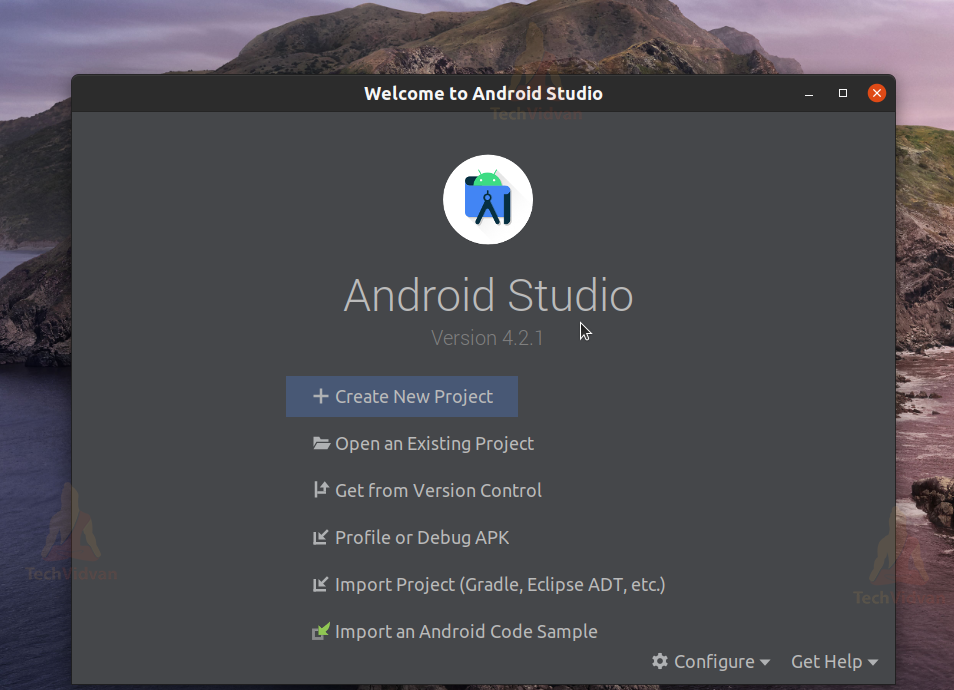
1: Open your Android Studio.
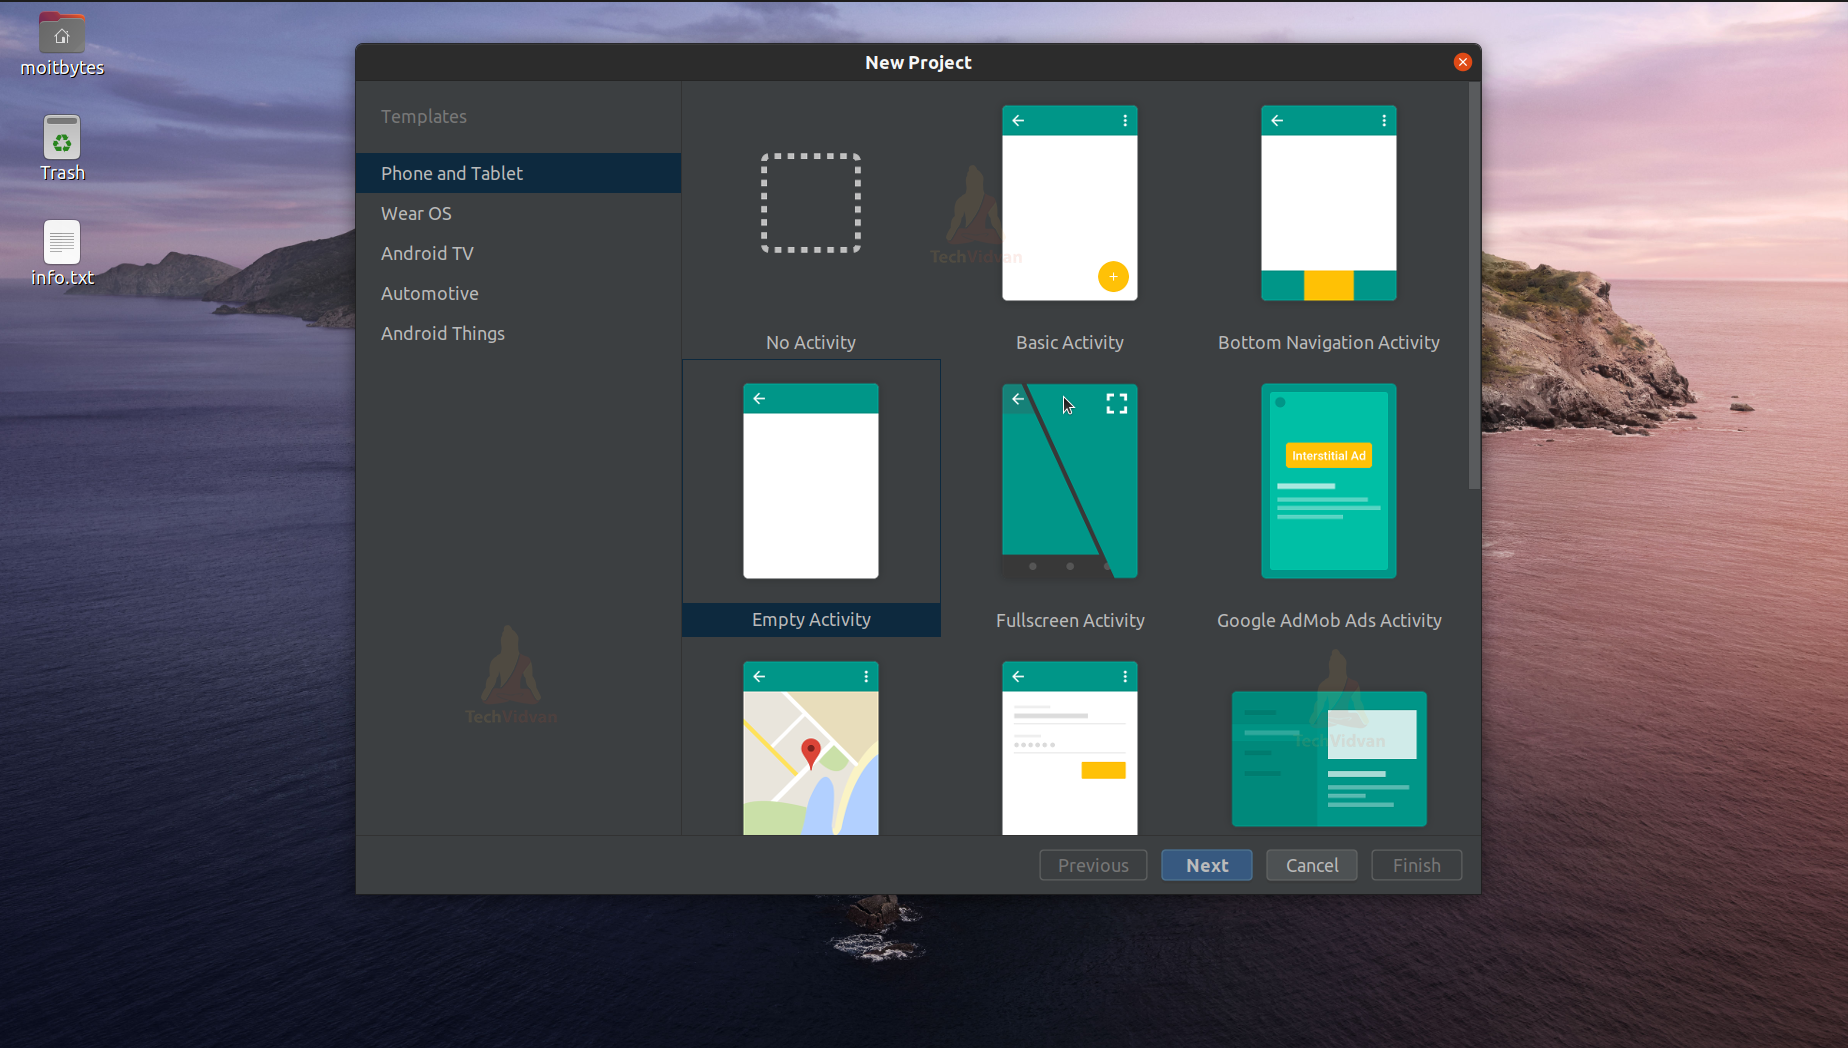
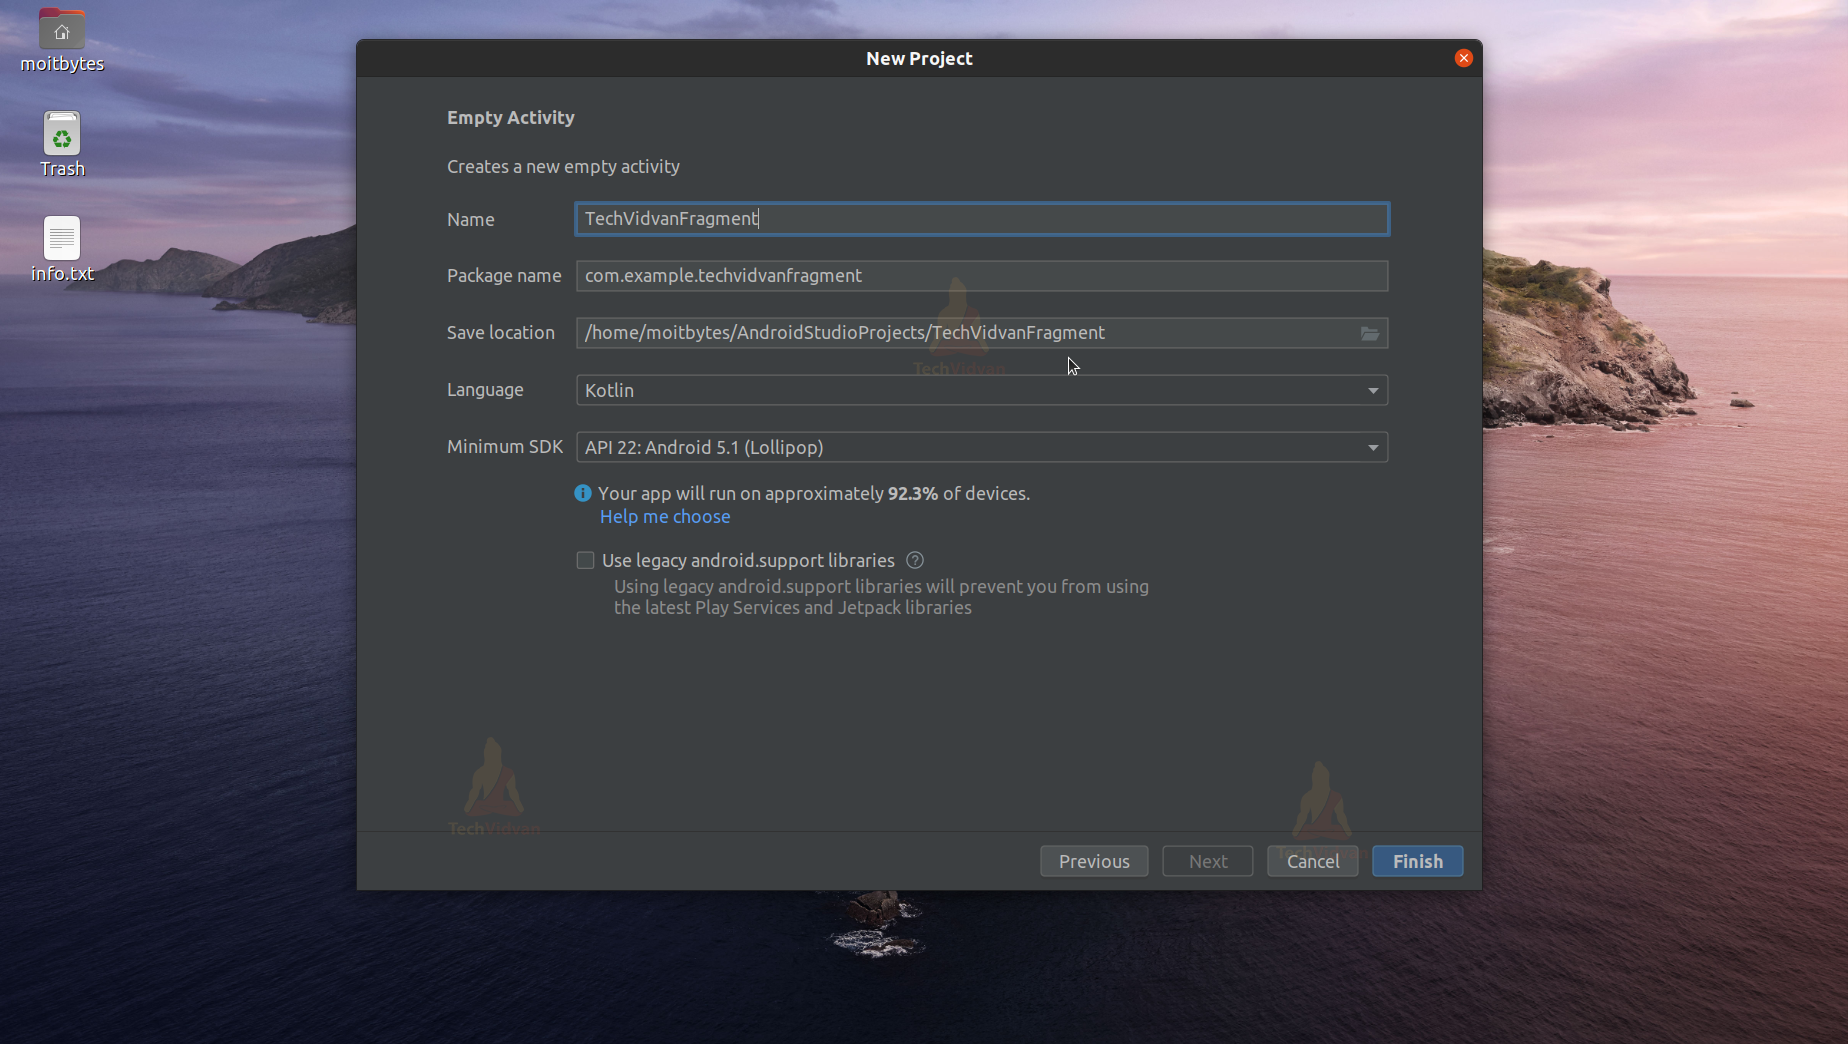
2: Click on Create New Project.
3: Select Empty Activity and proceed.
4: Enter your application name. In my case, it’s “TechVidvanFragments.” Next, select Kotlin from the dropdown. For the API level, select API 22 for now.
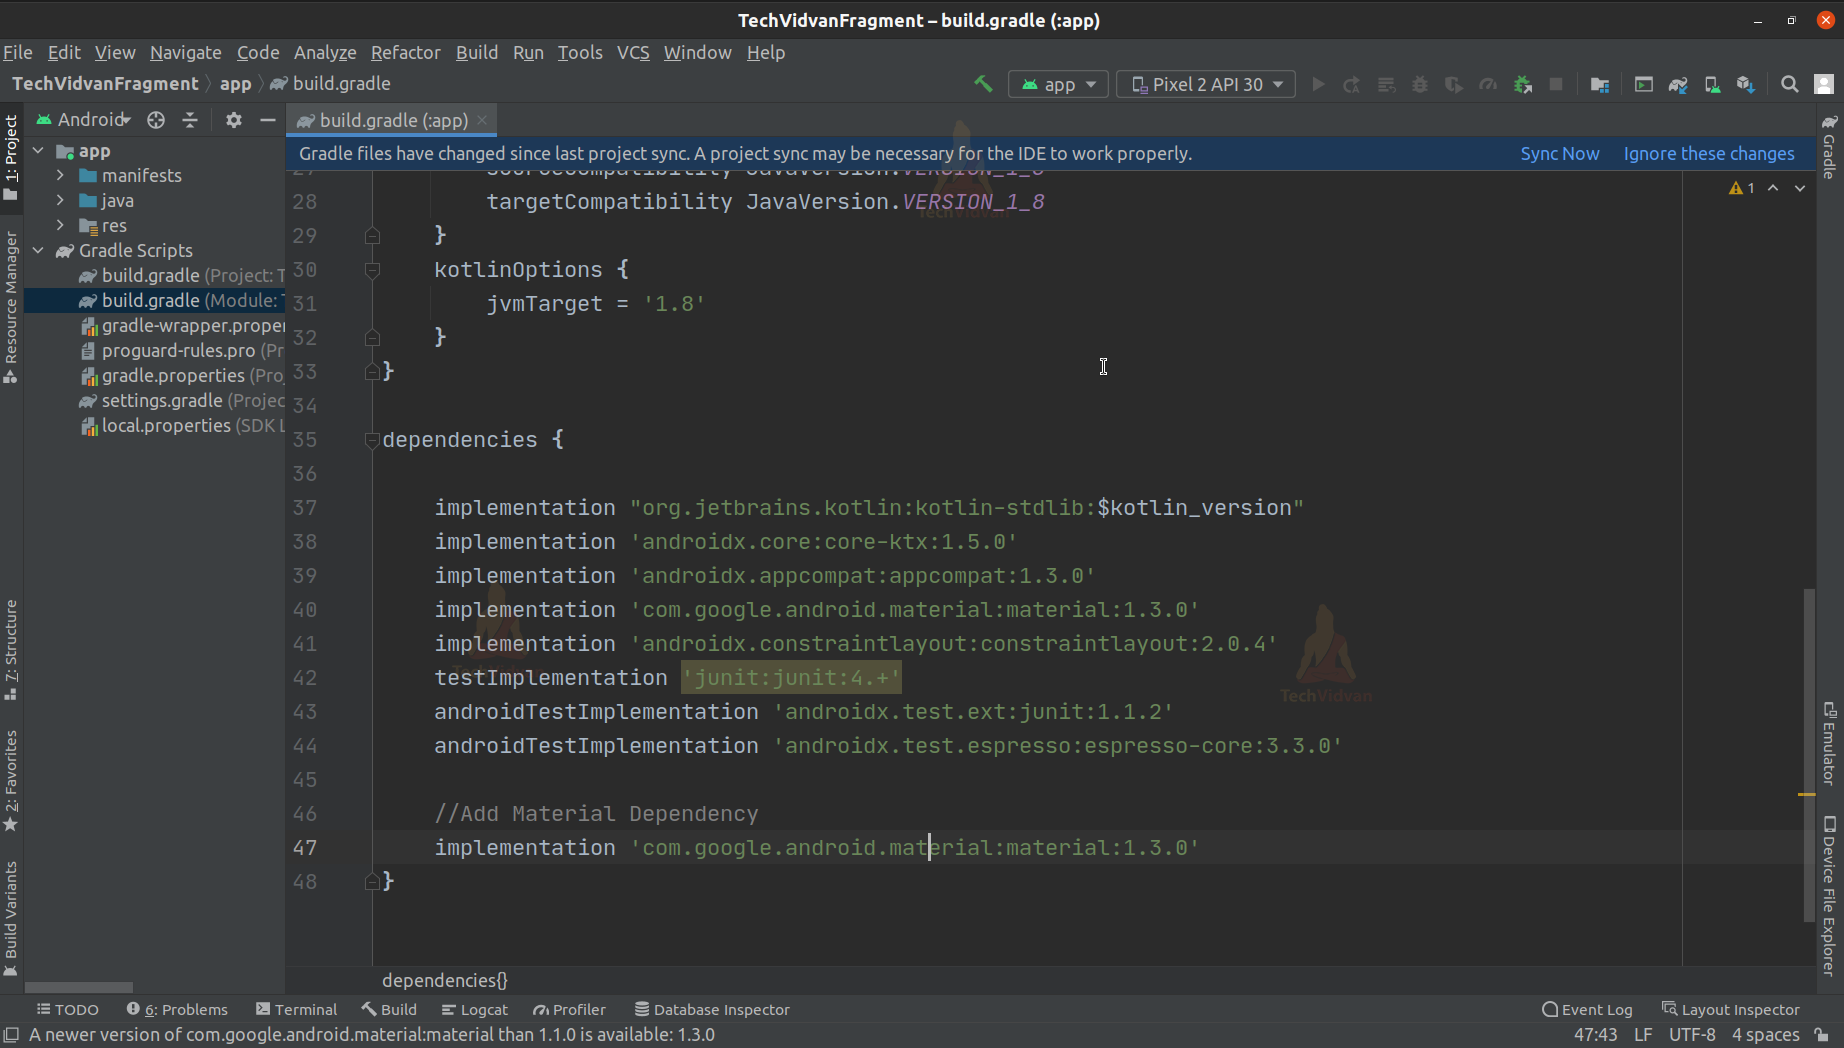
5: Now open your app-level Gradle file and paste the below dependency in the dependencies. Now click on sync.
//Add Material Dependency
    implementation 'com.google.android.material:material:1.3.0'
6: Now go to res—> values —>themes and paste the below code.
themes.xml
<resources xmlns:tools="http://schemas.android.com/tools">
    <!-- Base application theme. -->
    <style name="Theme.TechVidvanFragment" parent="Theme.MaterialComponents.DayNight.NoActionBar">
        <!-- Primary brand color. -->
        <item name="colorPrimary">@color/green</item>
        <item name="colorPrimaryVariant">@color/green</item>
        <item name="colorOnPrimary">@color/white</item>
        <!-- Secondary brand color. -->
        <item name="colorSecondary">@color/teal_200</item>
        <item name="colorSecondaryVariant">@color/teal_700</item>
        <item name="colorOnSecondary">@color/black</item>
        <!-- Status bar color. -->
        <item name="android:statusBarColor" tools:targetApi="l">?attr/colorPrimaryVariant</item>
        <!-- Customize your theme here. -->
    </style>
</resources>
7: Now open your activity_main.xml file and copy-paste the below code.
activity_main.xml
<?xml version="1.0" encoding="utf-8"?>
<RelativeLayout
    xmlns:android="http://schemas.android.com/apk/res/android"
    xmlns:app="http://schemas.android.com/apk/res-auto"
    xmlns:tools="http://schemas.android.com/tools"
    android:layout_width="match_parent"
    android:layout_height="match_parent"
    tools:context=".MainActivity">

    <com.google.android.material.appbar.AppBarLayout
        android:layout_width="match_parent"
        android:layout_height="wrap_content"
        android:id="@+id/top_bar">

        <com.google.android.material.tabs.TabLayout
            android:id="@+id/tabs"
            android:layout_width="match_parent"
            android:layout_height="wrap_content"
            app:tabBackground="@color/green"
            app:tabGravity="fill"
            app:tabInlineLabel="true"
            app:tabMode="fixed"
            app:tabTextColor="@color/d_green"
            app:tabSelectedTextColor="@color/white"
            />
    </com.google.android.material.appbar.AppBarLayout>

    <androidx.viewpager.widget.ViewPager
        android:layout_width="match_parent"
        android:layout_height="match_parent"
        android:id="@+id/view_pager"
        android:layout_below="@+id/top_bar"/>

</RelativeLayout>
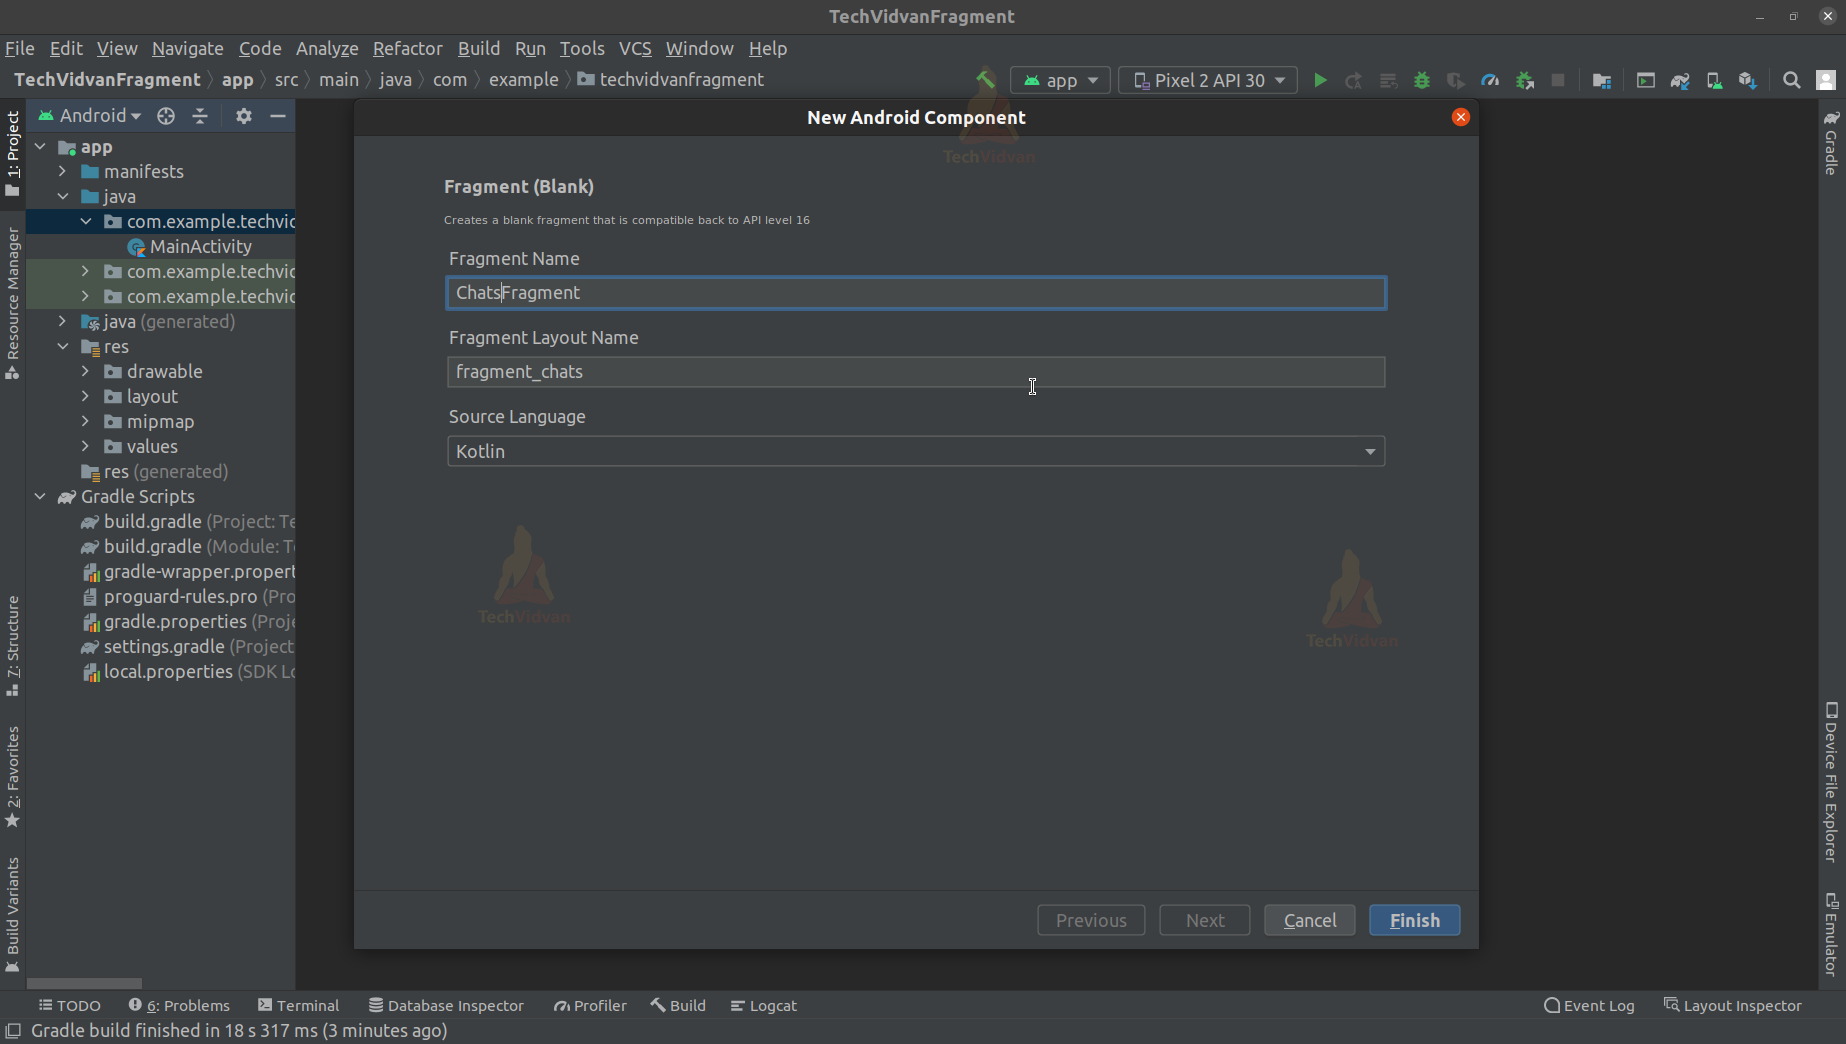
8: Now, go to your project structure. Select your package and right-click. Then select New—> Fragments —> Fragments(Blank).
You will see a screen like below. Keep the name as ChatsFragment and proceed.
Similarly, create two other fragments named StatusFragment and CallsFragment. Now copy the below codes in respective fragments and their layout files.
fragment_chats.xml
<?xml version="1.0" encoding="utf-8"?>
<FrameLayout
xmlns:android="http://schemas.android.com/apk/res/android"
xmlns:tools="http://schemas.android.com/tools"
android:layout_width="match_parent"
android:layout_height="match_parent"
tools:context=".ChatsFragment">
<TextView
android:layout_width="match_parent"
android:layout_height="match_parent"
android:gravity="center"
android:textSize="40sp"
android:textColor="@color/black"
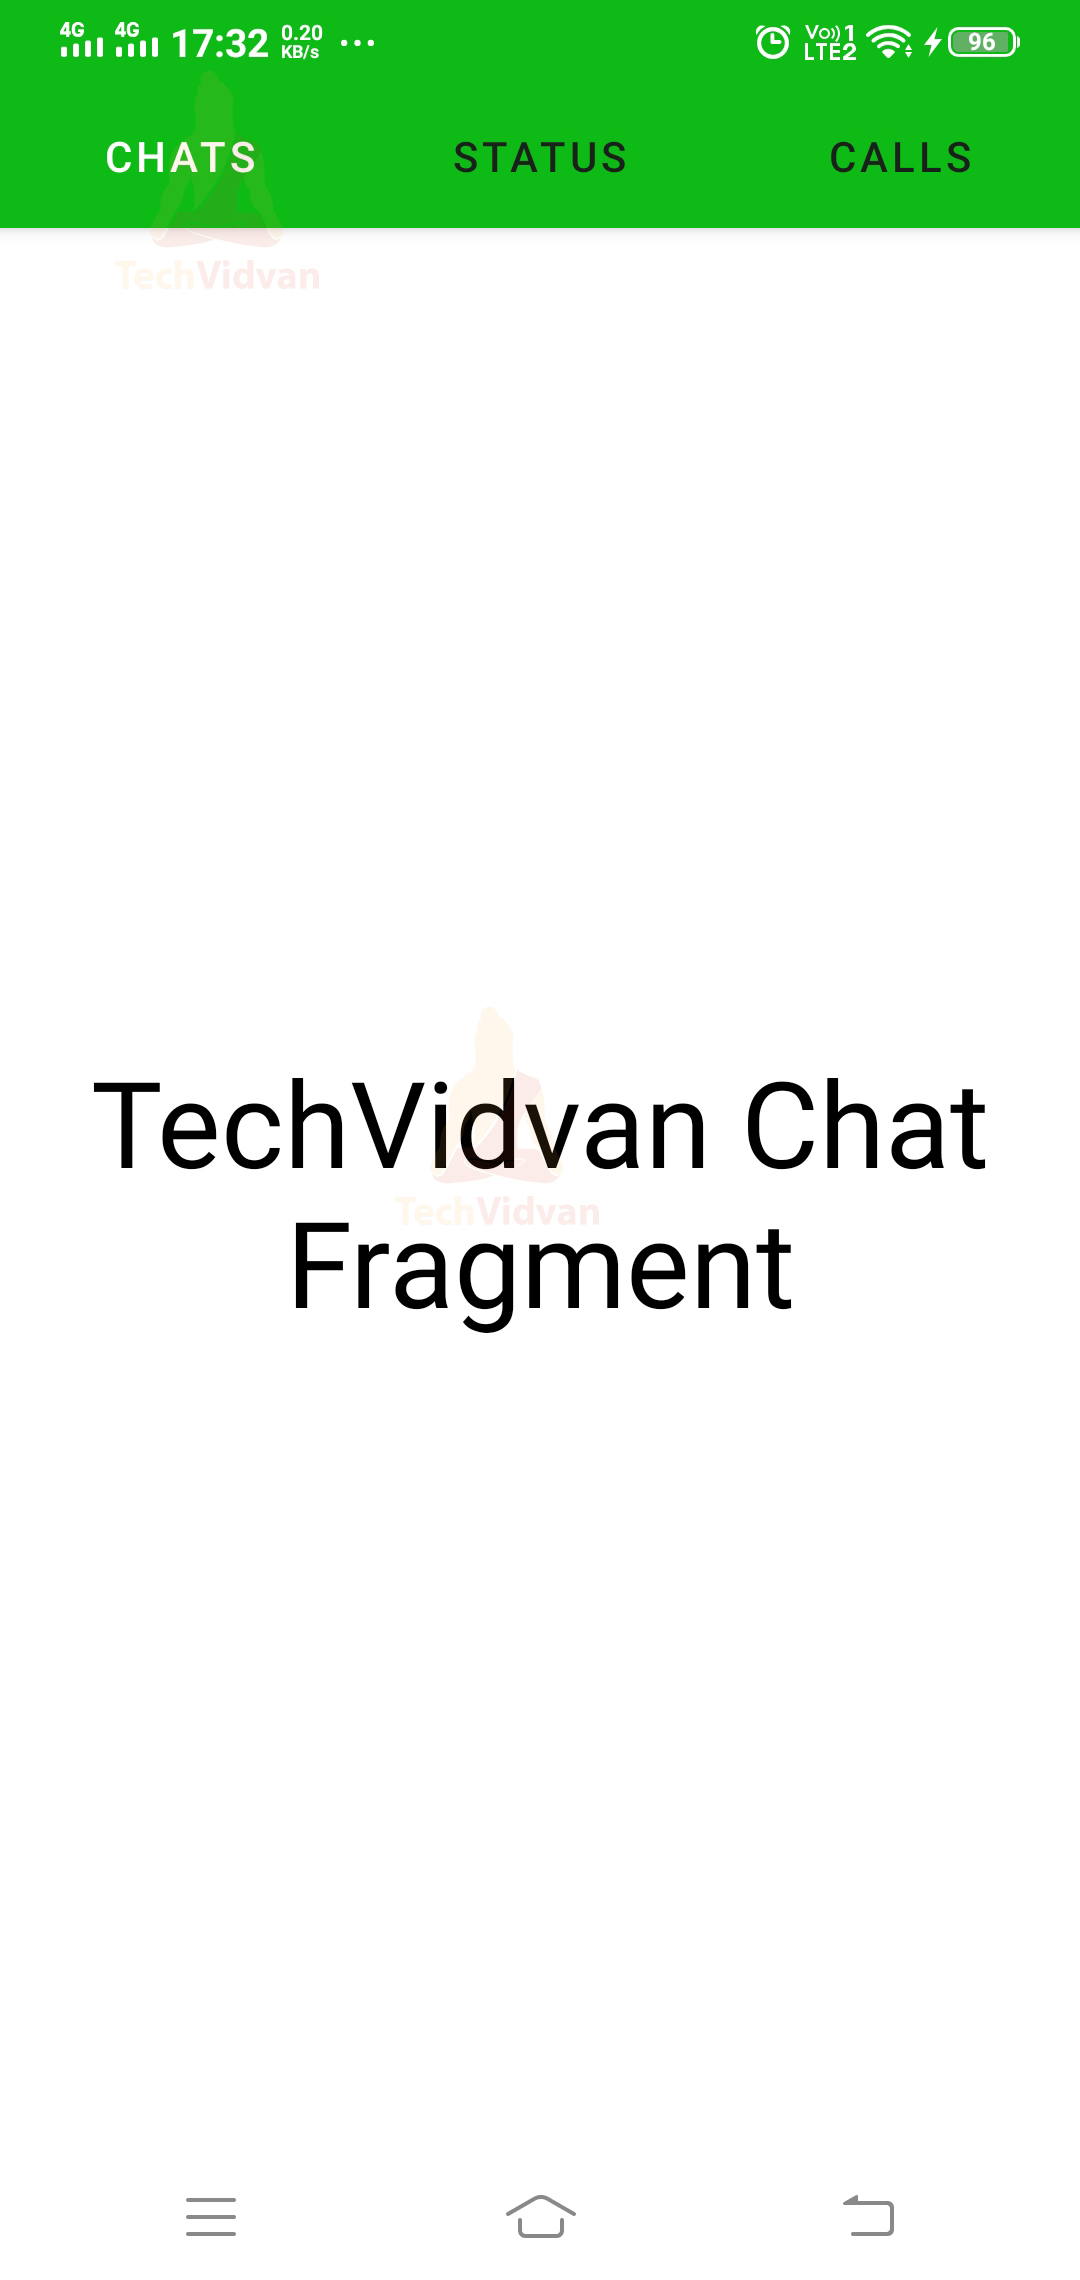
android:text="TechVidvan Chat Fragment" />
</FrameLayout>
ChatsFragemnt.kt
package com.example.techvidvanfragment

import android.os.Bundle
import androidx.fragment.app.Fragment
import android.view.LayoutInflater
import android.view.View
import android.view.ViewGroup

class ChatsFragment : Fragment() {

    override fun onCreate(savedInstanceState: Bundle?) {
        super.onCreate(savedInstanceState)
        arguments?.let {
        }
    }

    override fun onCreateView(
        inflater: LayoutInflater, container: ViewGroup?,
        savedInstanceState: Bundle?
    ): View? {
        // Inflate the layout for this fragment
        return inflater.inflate(R.layout.fragment_chats, container, false)
    }
}
fragment_status.xml
<?xml version="1.0" encoding="utf-8"?>
<FrameLayout xmlns:android="http://schemas.android.com/apk/res/android"
    xmlns:tools="http://schemas.android.com/tools"
    android:layout_width="match_parent"
    android:layout_height="match_parent"
    tools:context=".StatusFragment">

    <TextView
        android:layout_width="match_parent"
        android:layout_height="match_parent"
        android:gravity="center"
        android:textSize="40sp"
        android:textColor="@color/black"
        android:text="TechVidvan Status Fragment" />

</FrameLayout>
StatusFragemnt.kt
package com.example.techvidvanfragment

import android.os.Bundle
import androidx.fragment.app.Fragment
import android.view.LayoutInflater
import android.view.View
import android.view.ViewGroup

class StatusFragment : Fragment() {

    override fun onCreate(savedInstanceState: Bundle?) {
        super.onCreate(savedInstanceState)
        arguments?.let {
        }
    }

    override fun onCreateView(
        inflater: LayoutInflater, container: ViewGroup?,
        savedInstanceState: Bundle?
    ): View? {
        // Inflate the layout for this fragment
        return inflater.inflate(R.layout.fragment_status, container, false)
    }

}
fragment_calls.xml
<?xml version="1.0" encoding="utf-8"?>
<FrameLayout xmlns:android="http://schemas.android.com/apk/res/android"
    xmlns:tools="http://schemas.android.com/tools"
    android:layout_width="match_parent"
    android:layout_height="match_parent"
    tools:context=".CallsFragment">

    <TextView
        android:layout_width="match_parent"
        android:layout_height="match_parent"
        android:gravity="center"
        android:textSize="40sp"
        android:textColor="@color/black"
        android:text="TechVidvan Calls Fragment" />

</FrameLayout>
CallsFragemnt.kt
package com.example.techvidvanfragment

import androidx.fragment.app.Fragment
import androidx.fragment.app.FragmentManager
import androidx.fragment.app.FragmentPagerAdapter

class ViewPagerAdapter(supportFragmentManager: FragmentManager):FragmentPagerAdapter(supportFragmentManager,
    BEHAVIOR_RESUME_ONLY_CURRENT_FRAGMENT)
{
    private val fragment_list = ArrayList<Fragment>();
    private val fragment_title = ArrayList<String>();

    override fun getCount(): Int
    {
        return fragment_list.size;
    }

    override fun getItem(position: Int): Fragment {
        return fragment_list[position];
    }

    override fun getPageTitle(position: Int): CharSequence? {
        return fragment_title[position];
    }

    fun addFragementToPager(fragment: Fragment, title:String)
    {
        fragment_list.add(fragment);
        fragment_title.add(title);
    }

}
9: Now, you need to create a new kotlin class. Just select your package —> Right-click —> Click on New and Select Kotlin Class and enter the name as “ViewPagerAdapter.”Now just copy the below code into ViewPagerAdapter.kt file.
ViewPagerAdapter.kt
package com.example.techvidvanfragment

import androidx.fragment.app.Fragment
import androidx.fragment.app.FragmentManager
import androidx.fragment.app.FragmentPagerAdapter

class ViewPagerAdapter(supportFragmentManager: FragmentManager):FragmentPagerAdapter(supportFragmentManager,
    BEHAVIOR_RESUME_ONLY_CURRENT_FRAGMENT)
{
    //creating array to store the fragments
    private val fragment_list = ArrayList<Fragment>();

    //this array will store their title
    private val fragment_title = ArrayList<String>();

    override fun getCount(): Int
    {
        //returns the count of fragments
        return fragment_list.size;
    }

    override fun getItem(position: Int): Fragment
    {
        // returns the fragment based on the position
        // user selected
        return fragment_list[position];
    }

    override fun getPageTitle(position: Int): CharSequence?
    {
        // returns the fragment title of the fragment
        return fragment_title[position];
    }

    fun addFragementToPager(fragment: Fragment, title:String)
    {
        //function to add fragments in array
        fragment_list.add(fragment);
        fragment_title.add(title);
    }

}
10: Now, come to your Main Activity file and paste the below code there.
MainActivity.kt
package com.example.techvidvanfragment

import androidx.appcompat.app.AppCompatActivity
import android.os.Bundle
import androidx.viewpager.widget.ViewPager
import com.google.android.material.tabs.TabLayout

class MainActivity : AppCompatActivity()
{
    //declaring view pager
    //and tab layout
    lateinit var pager:ViewPager;
    lateinit var tabLayout:TabLayout;

    override fun onCreate(savedInstanceState: Bundle?)
    {
        super.onCreate(savedInstanceState)
        setContentView(R.layout.activity_main)

        val adapter = ViewPagerAdapter(supportFragmentManager)

        //Setting up the fragements and the title using the
        //adapter class
        adapter.addFragementToPager(ChatsFragment(), "Chats")
        adapter.addFragementToPager(StatusFragment(), "Status")
        adapter.addFragementToPager(CallsFragment(), "Calls")

        //setting up the adapter
        //to our view pager
        pager = findViewById(R.id.view_pager);
        pager.adapter = adapter;

        //Setting up the tabs with
        //the view pager
        tabLayout = findViewById(R.id.tabs);
        tabLayout.setupWithViewPager(pager);

    }
}
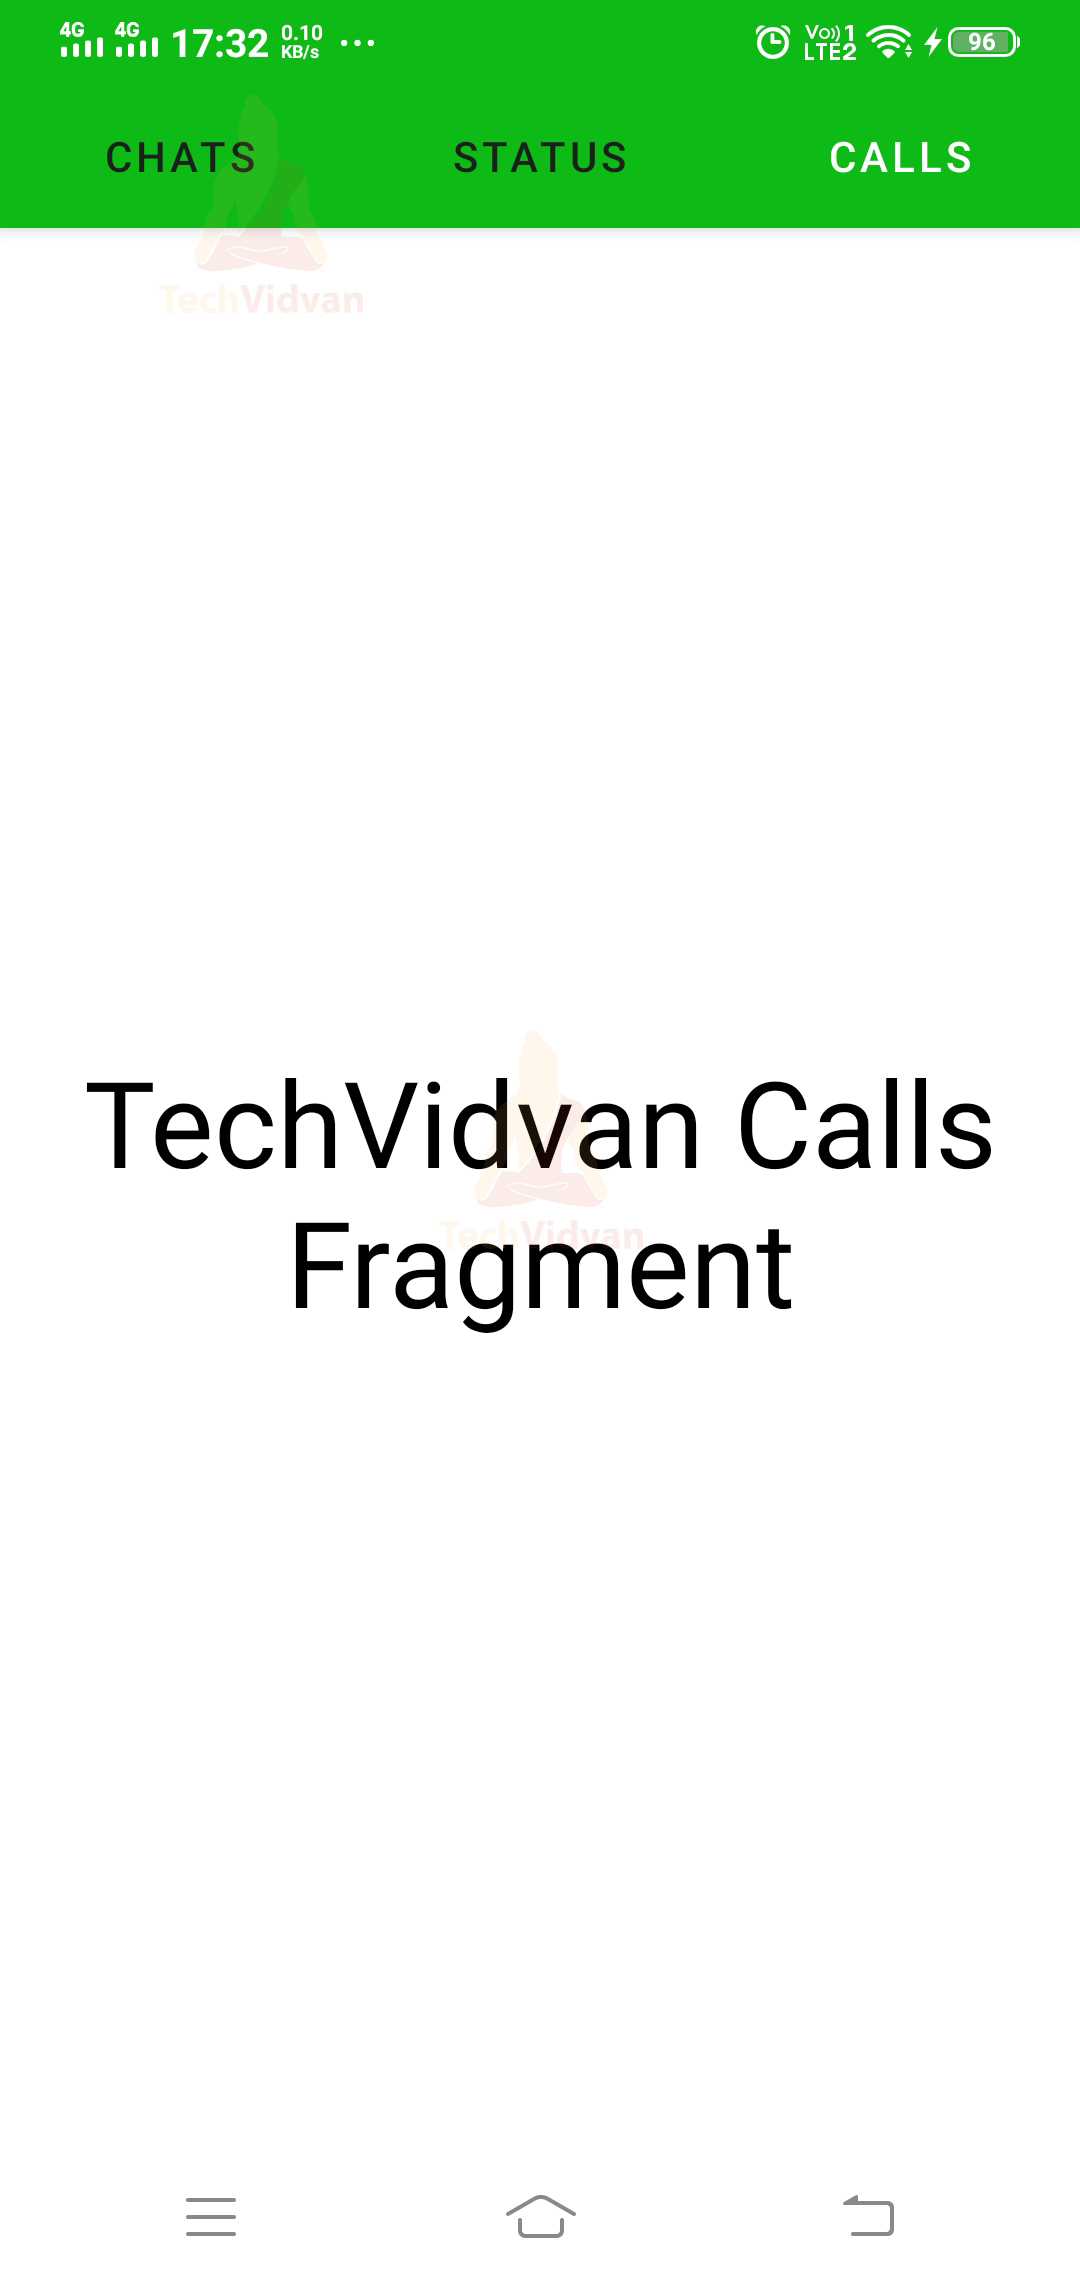
So, now you can run your application and see the output.
You can find three tabs: Chats, Status, and Fragments.
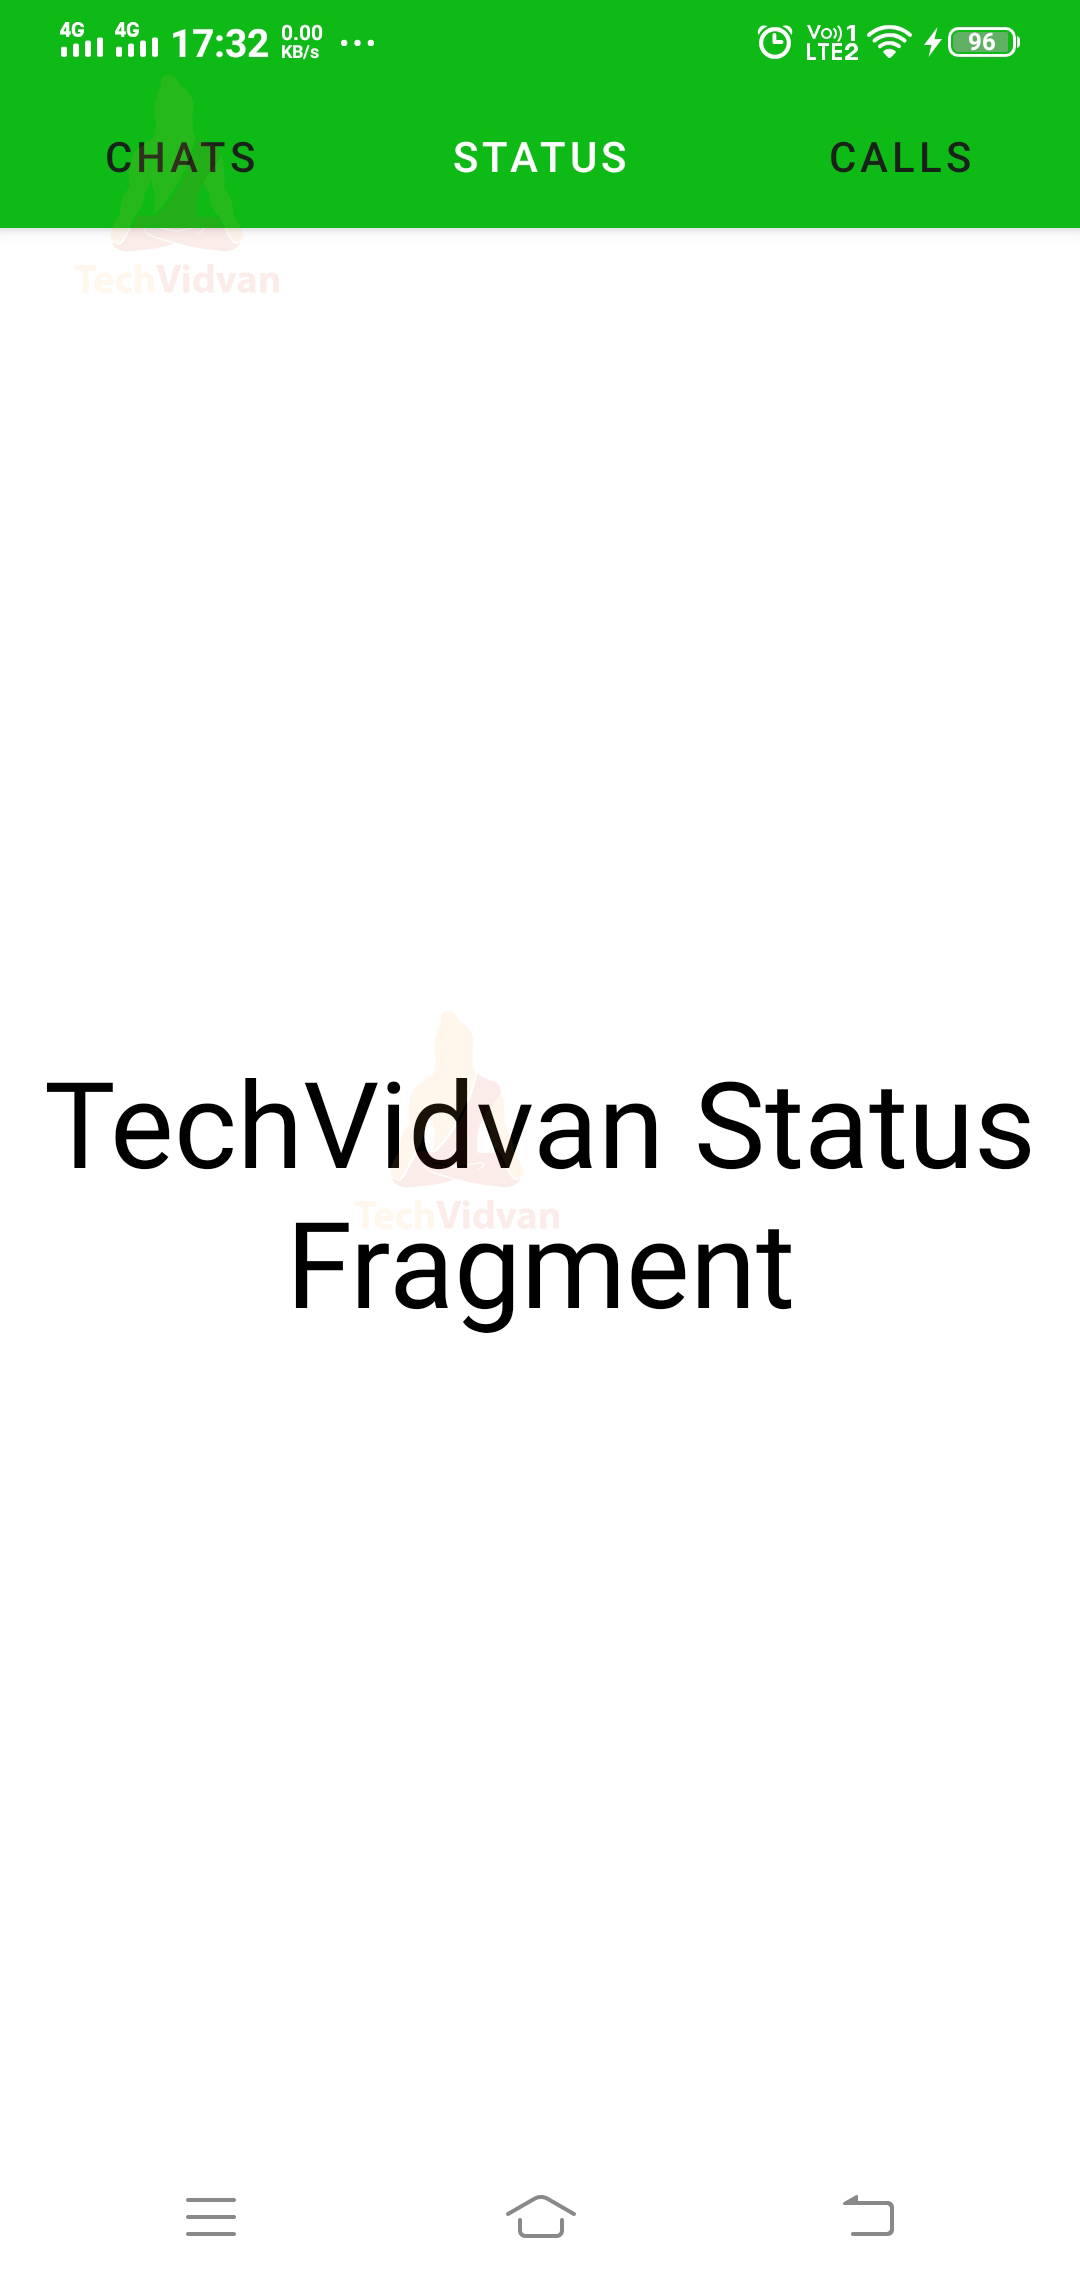
When you swipe right or left, to then your fragments will be changed.
Summary
Through this article, you understood what a fragment is and the need to use a fragment. You came across the various types of fragments and understood how fragments interact with the activity. Moving further, you went across the lifecycle of a fragment and the different callback methods.
Finally, you saw how you could implement fragments in your projects. I hope you are enjoying the course so on and are getting to know many new things.