Android Intent and Filter
This article will help you understand what android filter is and why it is used in Android. We have seen several android components, and now we will see how one component communicates with the other. Along with this, you will also find an implementation of the concept. Let’s begin.
What are Intents in Android?
Intents help the application components to communicate with each other. For example, using intents, we can request other applications to perform some tasks.
One typical example is when you click on any URL from an application; then, you see the browser opening that links for you.
Intents perform several tasks that can be described as follows:
1. Starting an Activity
An activity is a screen through which a user interacts with his application. Using the intents, you can start a new activity. To start a new activity, we need to call the startActivity() with the intent object.
For this, you need to pass the current activity context as one parameter and the name of the activity.
Below is an example of the same.
var intent = Intent(this, NewActivity:: class.java)
startActivity(intent)
2. Starting a Service
A service is a process that doesn’t have any user interface but executes in the background. Using the intent, we can even start a service.
To start a service, you can pass the intent object to the startService() method.
3. Sending Broadcast
Broadcast notifies the user of any task—for example, Battery low warning. Using intent, we can send broadcasts to our device. For this, we need to pass the intent object to sendBroadcast() method.
Intent Object
An intent object is like a copy or an instance of the Intent class. It encapsulates many pieces of information related to the intent. These pieces of information are helpful to know which component to start and what task to perform.
Any intent object contains six things:
Component Name –
The component name contains the name of the component to which the system needs to make intent. To set the component name, you can use any of the following functions:
- setComponent()
- setClass()
- setClassName()
Action –
The action specifies the specific task which we wish to perform on the android component. There are several actions that an intent object can perform. Some of them are as follows:
| Action Name | Description |
| ACTION_VIEW | It displays data on the application screen. |
| ACTION_EDIT | It allows you to edit the data. |
| ACTION_DIAL | It displays the phone number in your phone dialer. |
| ACTION_TIMEZONE_CHANGED | It notifies us when there is a change in your time zone. |
| ACTION_HEADSET_PLUG | It notifies us when there is a headset plugged into our device. |
| ACTION_BATTERY_LOW | It notifies whenever our device battery falls below a specific value. |
| ACTION_CALL | It allows you to make a call from your dialer application. |
| ACTION_SYNC | It allows you to sync your application’s data or the user’s data on the server. |
Data –
Data provides the type and the actual data. The data is in the form of a URI(Uniform Resource Identifier) and has a specific MIME type to distinguish.
Flags-
Flags are an optional parameter but yet essential one. It helps us to describe the behavior of the intent. For example, suppose while launching a new activity if we want to clear the most recent activity from the activity stack. Then we can use the FLAG_ACTIVITY_CLEAR_TOP flag.
Similarly, there are many other flags for specific purposes. Some of them are as follows:
| Flag Name | Description |
| FLAG_ACTIVITY_CLEAR_TOP | Using this, the top of the activity is cleared and replaced with the new activity. |
| FLAG_ACTIVITY_CLEAR_TASK | This clears all the existing activities and makes the new activity the root activity. |
Extras –
This is also an optional parameter and is used to send some extra data along with your intent. The data is provided in the form of a key-value pair, allowing you to pass complex data structures like arrays and bundles. This is useful when you need to pass data between activities or services, such as user inputs or settings.
Category –
This is also an optional parameter and used to provide some additional information about the intent. The intent object can contain many categories, each defining the kind of component the intent should target. By categorizing intents, Android can better understand the type of action required and respond appropriately.
Some of them are as follows:
BROWSABLE:
This means that the components can run on browsers, allowing web content to be opened directly from an app. It enables intents to be handled by activities that support browsing capabilities.
ALTERNATIVE:
This means the components should be present in the alternative list. This category can be used to provide alternative actions to the user for a given intent, offering more flexibility in app interactions.
GADGET:
This means the components can be made available on some devices. It suggests that the intent is suitable for specific devices or form factors, such as wearables or home gadgets.
HOME:
It redirects the user to his home screen. This category is often used in intents that reset the user interface or bring the user back to a starting point in the app.
We can specify the category by using the addCategory() method. To delete a category from an intent object, you can use the deleteCategory() method.
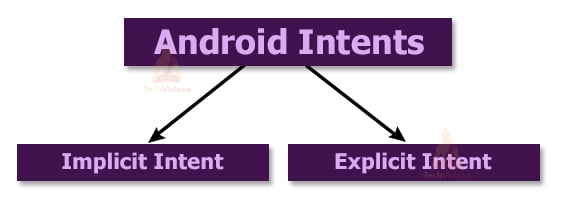
Types of Intent in Android
Intents are of two types, as shown in the below figure:
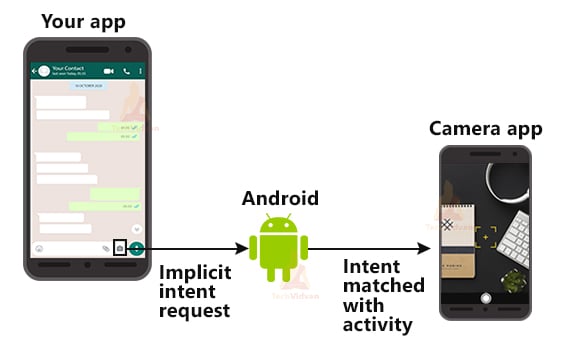
Android Implicit Intent
Here you don’t need to specify any component name. In Implicit intent, you only need to determine the type of action you need to perform. It is helpful to perform the functionalities which your application is not alone able to achieve.
You can implement it in the following way:
Code:
intent = Intent(Intent.ACTION_VIEW)
intent.setData(Uri.parse("https://techvidvan.com/tutorials/"))
startActivity(intent)
The below picture shows an example of implicit intent. So, when you want to access the camera from your application, our application makes an intent to open the camera application.
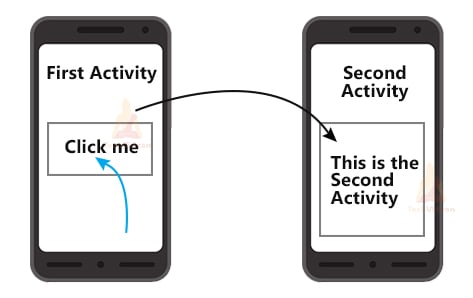
Explicit Intent in Android
Unlike Implicit Intent, here, you are required to provide the component name. However, any request is satisfied with the application component itself.You can implement it in the following way:
Code:
var intent = Intent(this, NewActivity:: class.java)
startActivity(intent)
Below you can see a picture demonstrating how explicit intent works.
Intent Filters in Android
Intent Filters are the declarations that are present in your app’s manifest file. This plays an essential role in defining the behavior of the intent. In addition, these filters help you in customizing your intents.
To define the behavior of intent, you require the following attribute tags in the intent filter:
- <actions> – In this, you can keep all the actions you wish your intent to accept.
- <data> – It defines the type of data that the intent will take.
- <category> – It represents the name of the category that the intent will accept.
Below is an example code fore the same:
<activity android:name ``.TechVidvanActivity”>
<intent-filter>
<action android:name= “android.intent.action.VIEW”>
<category android:name= “android.intent.category.BROWSABLE”>
<data android:mimeType= “text/plain”>
</intent-filter>
</activity>
Similar to the above, you can even have multiple activities with multiple intent filters in your manifest file.
Intent Resolution
Intent resolution is the process of searching for appropriate application components for your intents. Usually, we see intent resolution in the case of implicit intent.
In Implicit intent, since we don’t provide the component name, the system tries to find a component. This finding of the android component is in three steps:
1. Action Test:
In this step, the system tries to figure out if intent action and the intents in the intent filter are identical or not. If they are the same, then this test is passed.
2. Category Test:
In this step, this system checks if the category name is identical to what is mentioned in the intent filter. If it’s exact, then this test is passed.
3. Data Test:
In this step, the system checks the MIME type of your data with the data in the intent filter. If it is the same, then this check is passed.
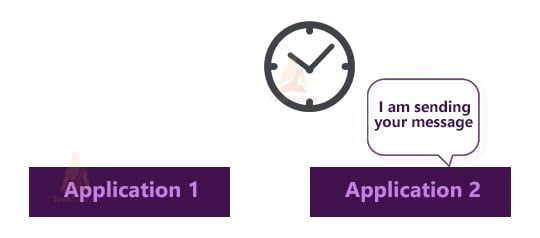
Pending Intent in Android
Pending intents are very useful in android development. The pending intent acts as a secure shell allowing the external applications to communicate securely. It allows the external applications to communicate only when the user grants permission to do so. Until then, our application can’t access the external application.
For example: Suppose you want to perform a task at a particular time. Then you can use the pending intent to fire that intent at that specific time.
Implementation of Intent in Android
Below are the steps using which you can implement intent in Android. You will see how you can make an application where if you paste any URL, it opens the URL for you in a browser.
Step 1:
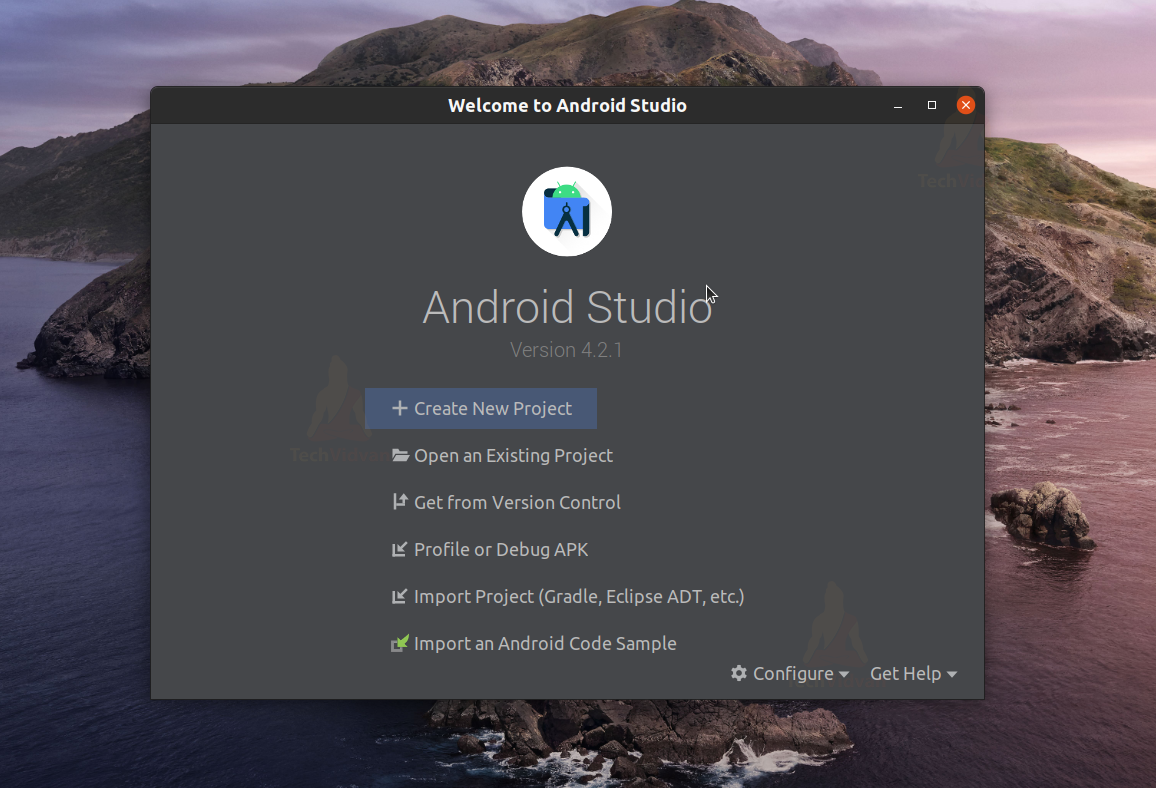
Open your Android Studio.
Step 2:
Click on Create New Project.
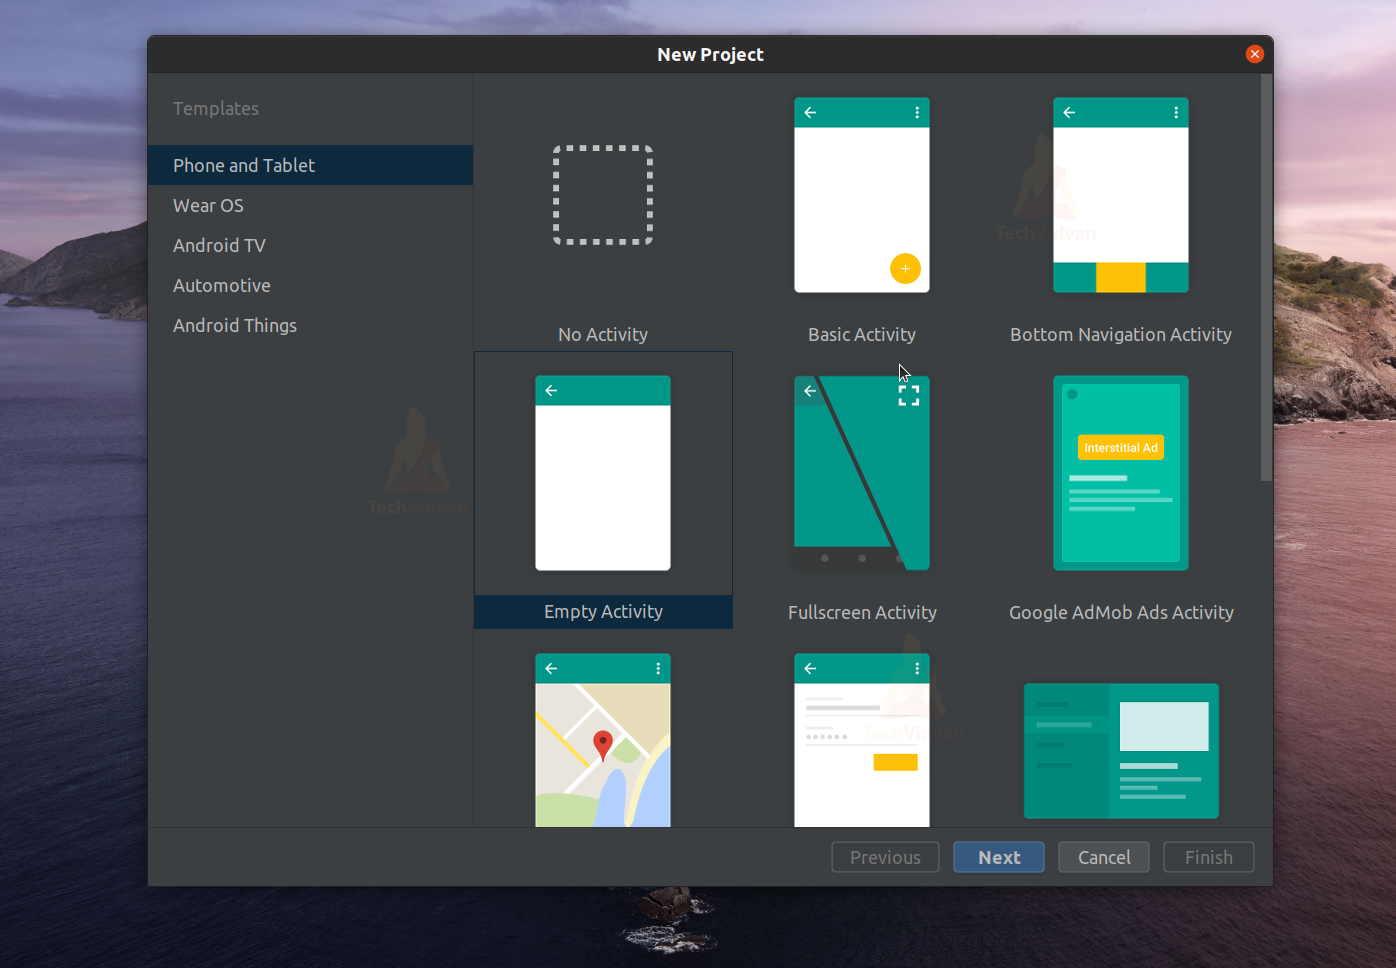
Step 3:
Select Empty Activity and proceed.
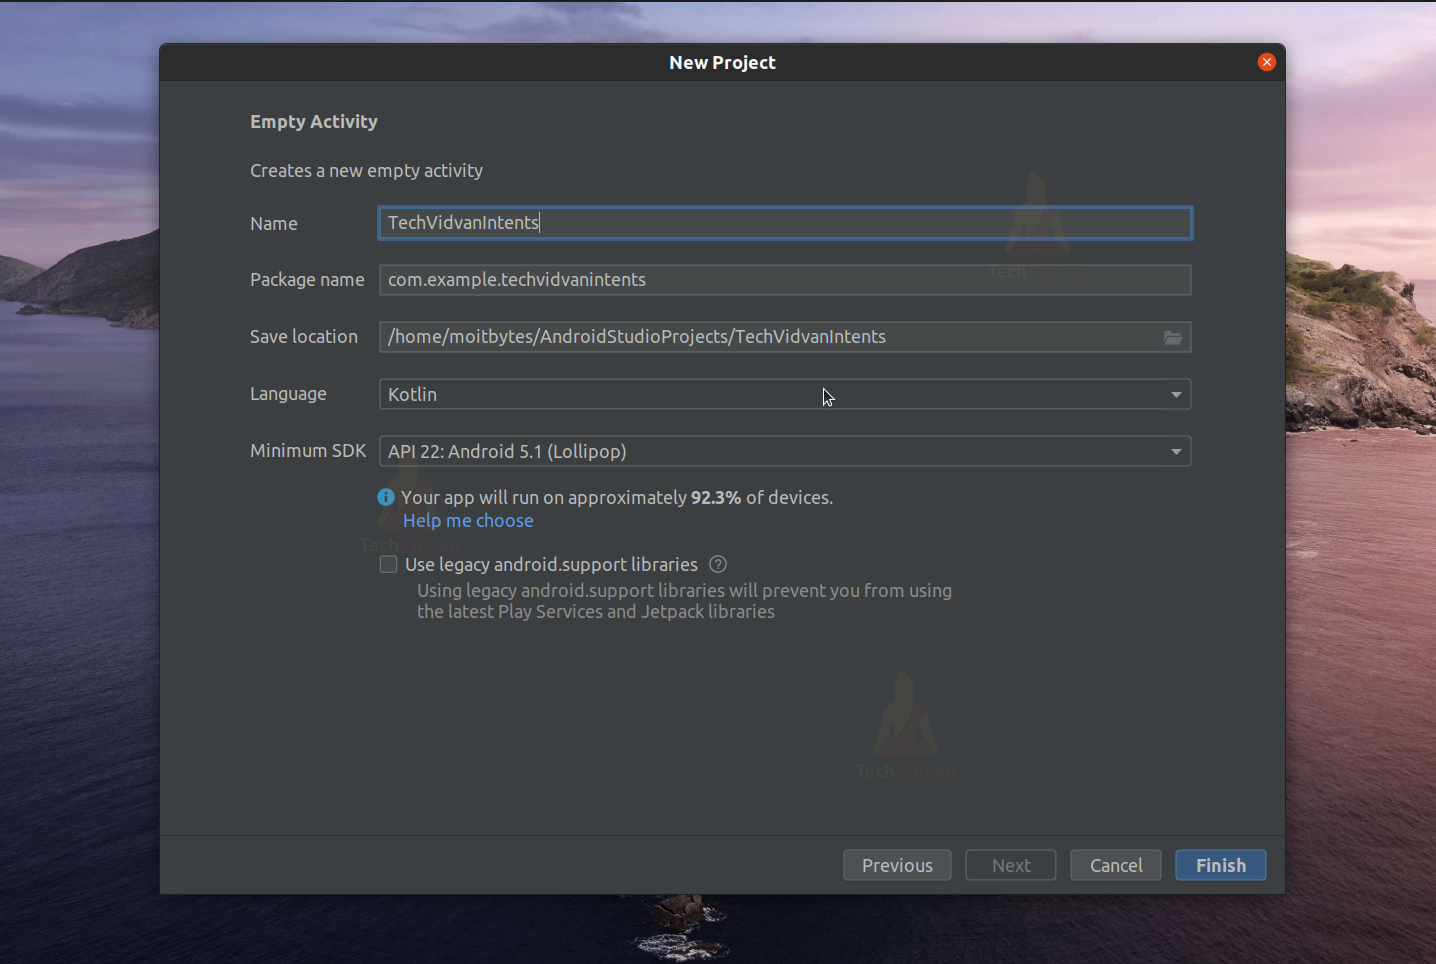
Step 4:
Enter your application name. In my case, it’s “TechVidvanIntents.” Next, select Kotlin from the dropdown. For the API level, select API 22 for now.
Step 5:
Now go to res —> layout —-> and open activity_main.xml. Now here, you need to create one edit text and button. You can paste the below code in your activity_main.xml file.
activity_main.xml
<?xml version="1.0" encoding="utf-8"?>
<LinearLayout xmlns:android="http://schemas.android.com/apk/res/android"
    xmlns:tools="http://schemas.android.com/tools"
    android:layout_width="match_parent"
    android:layout_height="match_parent"
    android:orientation="vertical"
    tools:context=".MainActivity">

    <TextView
        android:layout_width="match_parent"
        android:layout_height="wrap_content"
        android:text="Tech Vidvan"
        android:textColor="#FF5722"
        android:textStyle="bold"
        android:textSize="40sp"
        android:gravity="center"
        android:layout_marginTop="20dp"
        />
    <EditText
        android:id="@+id/text_url"
        android:layout_width="match_parent"
        android:layout_height="wrap_content"
        android:layout_margin="30dp"
        android:padding="20dp"
        android:hint="Enter the URL"/>

    <Button
        android:onClick="openBrowserWithURL"
        android:layout_width="wrap_content"
        android:layout_height="wrap_content"
        android:text="Open"
        android:layout_gravity="center"
        android:layout_marginTop="20dp"/>

</LinearLayout>
Step 6:
After editing your XML file, you must create an intent object in your Main Activity file. Paste the below code in your Main Activity file.
MainActivity.kt
package com.example.techvidvanintents

import android.content.Intent
import android.net.Uri
import androidx.appcompat.app.AppCompatActivity
import android.os.Bundle
import android.view.View
import android.widget.EditText

class MainActivity : AppCompatActivity()
{
    //variable to fetch the user
    //input URL
    lateinit var text_url:EditText

    override fun onCreate(savedInstanceState: Bundle?)
    {
        super.onCreate(savedInstanceState)
        setContentView(R.layout.activity_main)

        //Binding the edit text with the variable
        text_url = findViewById(R.id.text_url)
    }

    fun openBrowserWithURL(view: View)
    {
        //Will be called immediately when the user presses
        //the button

        //first fetch the user URL
        var url = text_url.text.toString()

        //Now call the intent to open this URL
        var intent = Intent(Intent.ACTION_VIEW)
        intent.setData(Uri.parse(url))
        startActivity(intent)

    }
}
Now, your application is read. Now just click on the run button, and the app will install on your device.
The application would look as below:

Now in the edit text, you need to enter the URL which you wish to browse.

After you enter the URL, press the open button, and the browser will open that link for you.

Summary
Through this article, you saw what an Intent is and why it is useful in android. Next, you saw the various types of intents, and then you understood the intent object. Later, you came across the intent filters and saw how you could declare them in your Manifest file.
Finally, you saw the implementation of the above concepts through an app. I hope you enjoyed the article and have got some insights.