Android Localization
Android provides you with a feature to use applications and your device in your native languages. It supports a lot of native languages, and that’s what makes it unique and popular among users. Now to make our app compatible with the user’s selected device language, we need Android Localization. So, through this article, we will show you how you can provide language support to your applications and target a broad group of users.
Localization in Android
As we know, we have widespread users of android, distributed across various regions and various countries. Providing localization in your app helps your app adapt to the particular region and display content in its local language. Instead of developing the same app separately for each region, we can provide localization.
In order to set up localization in your application, you need to do resource switching. Resource Switching means switching among the resources that are specific to that region. The resources may include text, style, date, time, sounds, or graphical stuff. That’s why it’s always insisted to separate these resources as much as possible from the core functionality.
For example, In a TextView, you may provide a text as “Welcome to my App.”Since you didn’t define it in your res—>values—->strings.xml, it will lead to a failure of resource switching.
The text is not defined and is directly kept in the text attribute. The guys who know French or the guys who only know Hindi will also see it as “Welcome to my app.” They won’t see that converted in their language.
To avoid such mistakes, you can always define your text values in the string.xml folder and then use the same resource to link your core functionalities.
Now let’s see an example of how you can show date and time in a specific format. Sometimes you may find people denoting a date as DD/MM/YYYY, and sometimes you even see it as MM/DD/YYYY. There are many such formats that you can use to display the current date. Depending on the locale, you can specify the form which you would require.
For example, you can find below how we can display both date and time in the below format.
Code:
val your_format = “yyyy-MM-dd hh:mm:ss”
val your_locale = Locale.getDefault())
val date_format = SimpleDateFormat(format, locale)
Log.d(“TechVidvan”, date_format.format(Calendar.getInstance().time))
Language Codes and Resource Switching
To enable resource switching, you need to create a value folder specific to each region where you think your app will be used. You need to have the values folder specific to the region, otherwise, you won’t be able to switch languages.
Below is a list of some commonly used value folders, along with the language they specify.
| Language | Code | Folder Name |
| Arabic | ar | values-ar |
| Bengali | bn | values-bn |
| Hindi | hi | values-hi |
| Telugu | te | values-te |
| Punjabi | pa | values-pa |
| Tibetan | bo | values-bo |
| French | fr | values-fr |
| Japanese | ja | values-ja |
| Bulgarian | bg | values-bg |
| Chinese | zh | values-zh |
| German | de | values-de |
Implementation of Localization in Android
I hope we can make a small application that would make you comfortable with Localization in Android. Below are the steps that you can quickly implement the resource switching and localization if you follow.
1: Open your android studio and click on create a new project.
2: Select Empty Activity, provide application name and then select API level as 22.
3: As the first step, you need to create several values folders in your res directory corresponding to your target languages. For example, values-hi correspond to the Hindi language, whereas values-ja corresponds to Japanese.
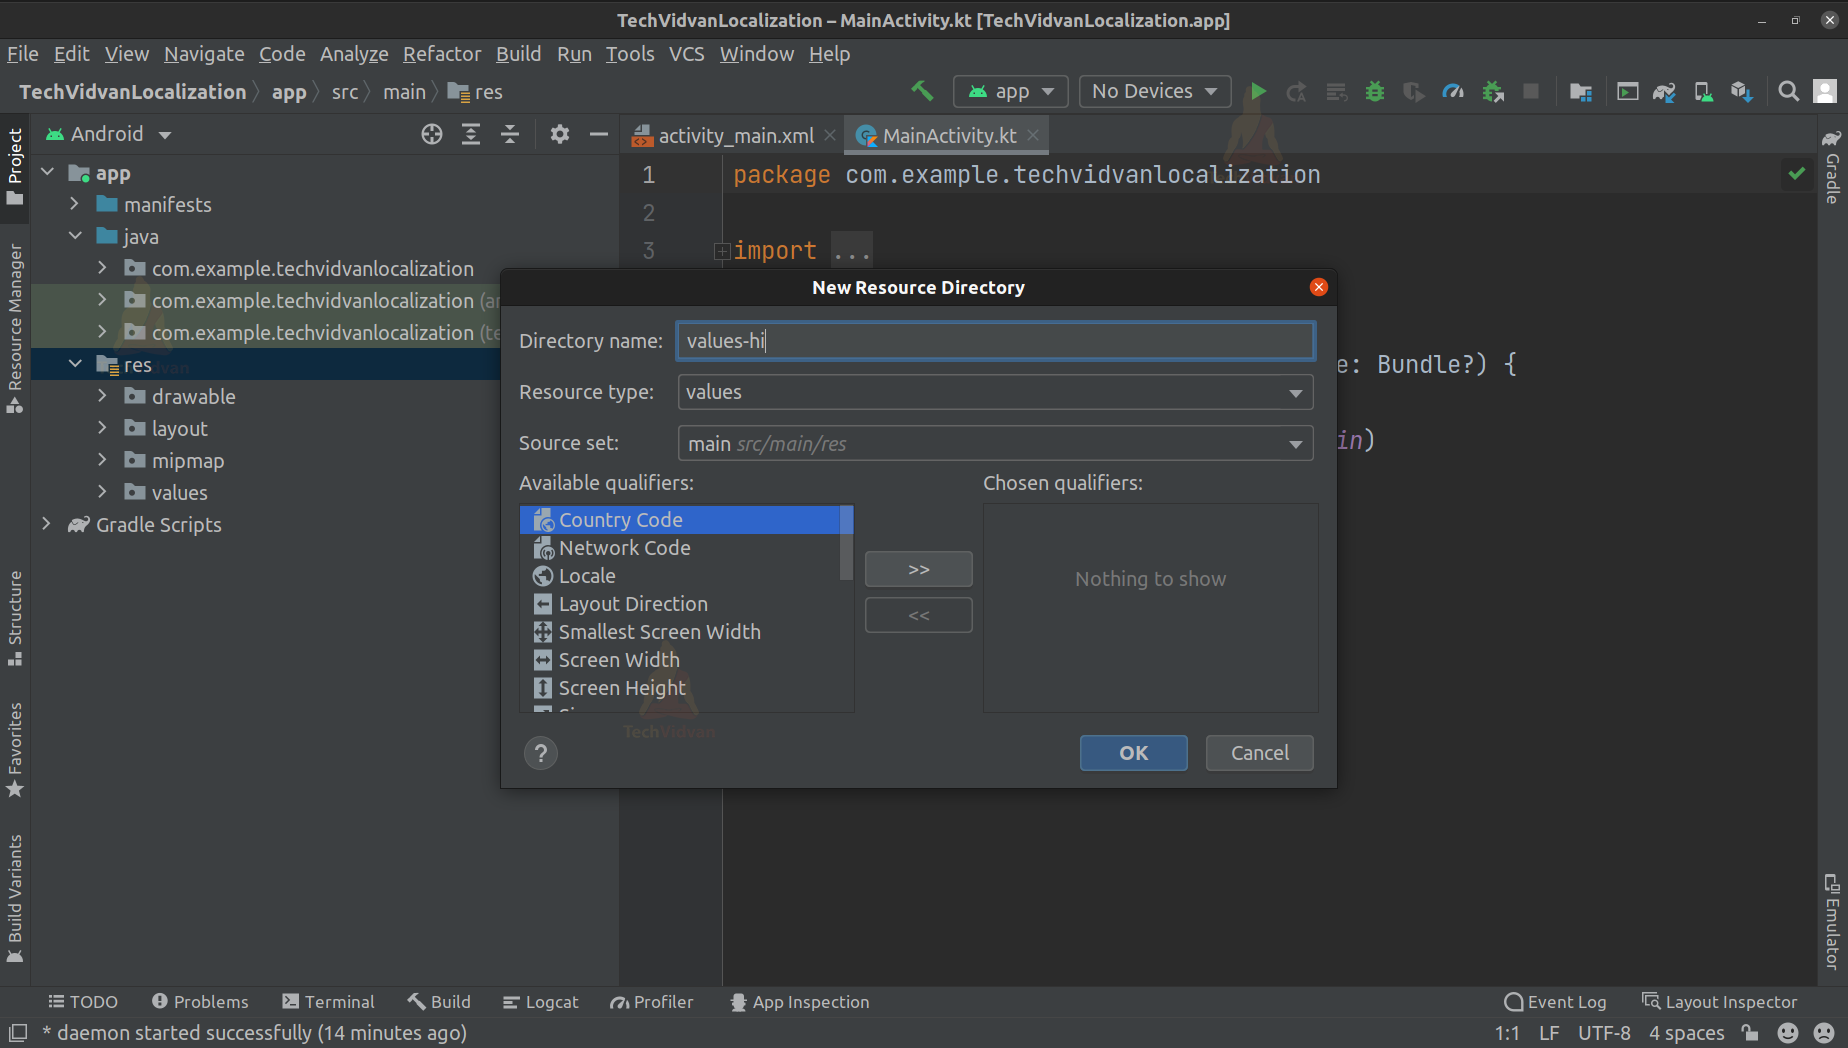
a. Right-click on your res directory and select new and then select Android Resource Directory. Now provide the values name as values-hi or values-ja depending on your need. We have mentioned above a list to guide you on the same.
The below screen shows how you need to enter the name and proceed.
b. Now similarly create some directories like values-fr, values-ja, values-te, and values-de. Now when you locate, you can’t see these directories listed. So, what you need to do is go to res—–>values——>strings.xml. After going there at the top, you can see the option to open the translations editor, as shown below.
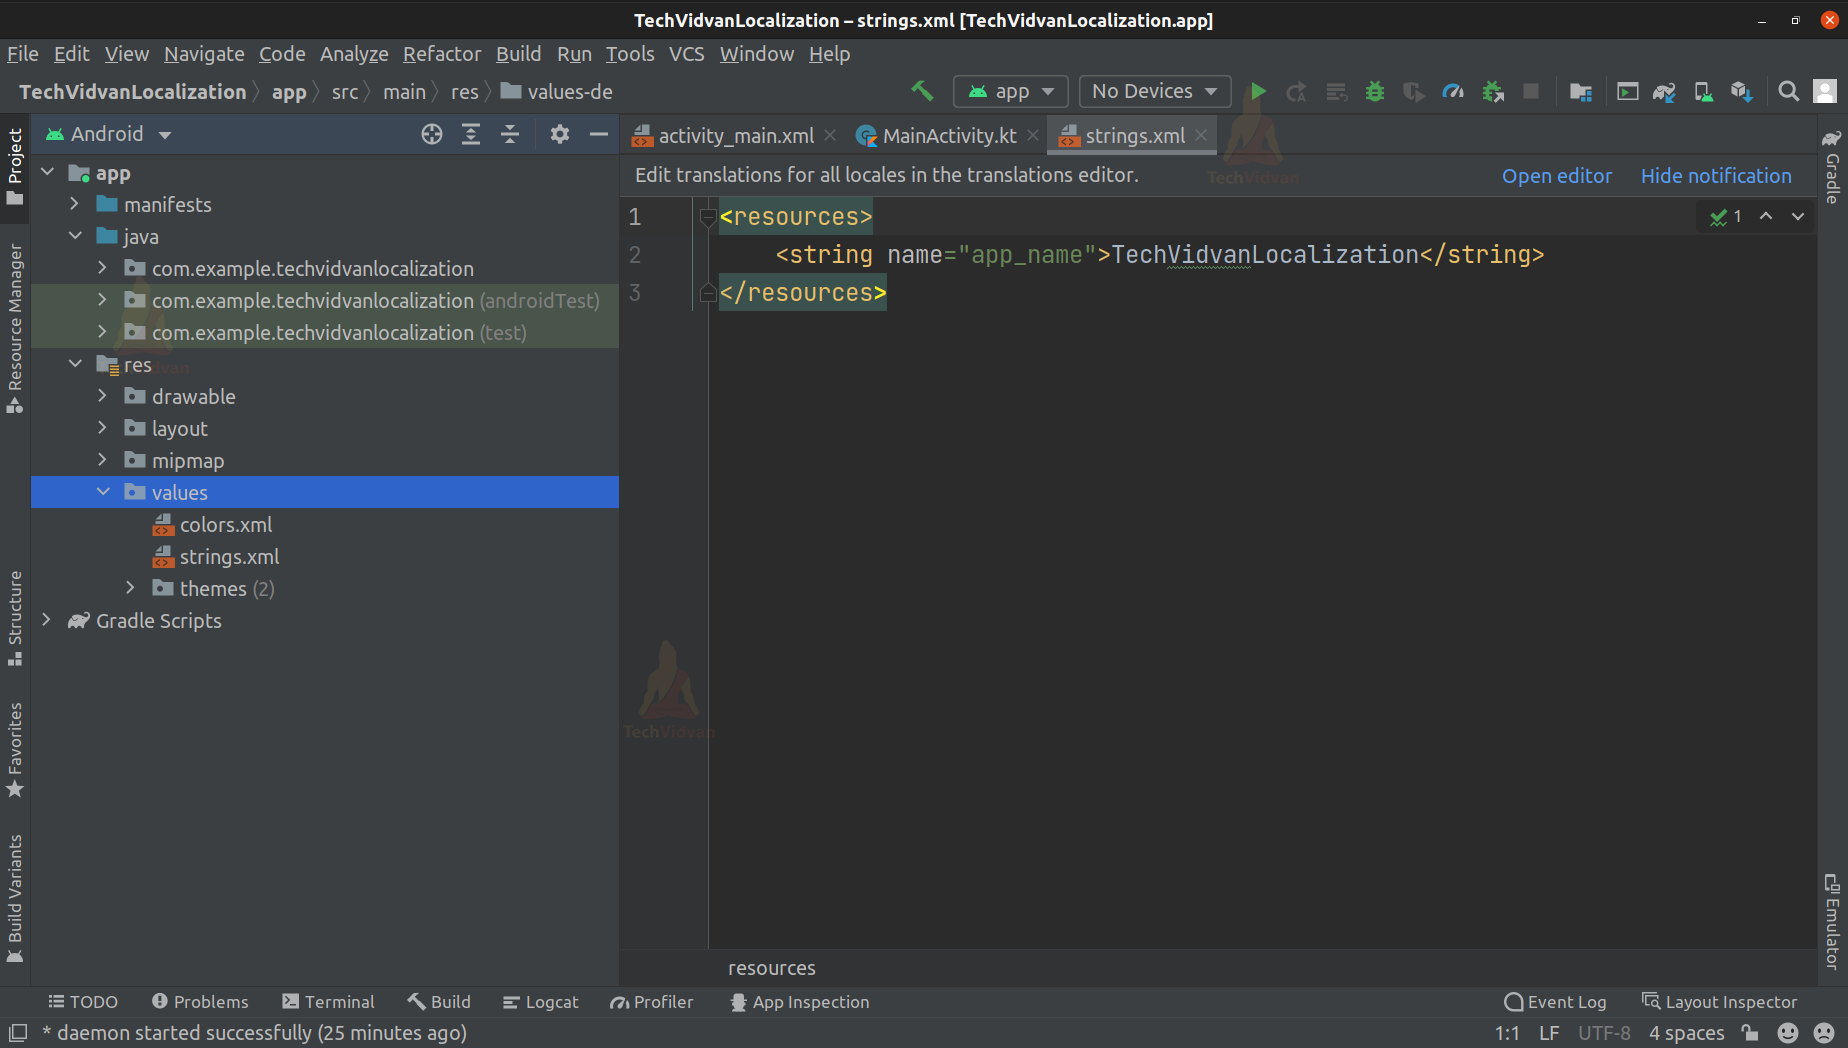
Alternatively, if you don’t get the option, you can locate it by clicking your strings.xml file located in the values directory and selecting the translations editor.
Step 4: Now, after you come to your translation editor, you can see a world icon at the top left corner. Just press it, and you can see the available list of countries and languages there. You can use this option if you feel it is hectic to create each value directory for each language individually.
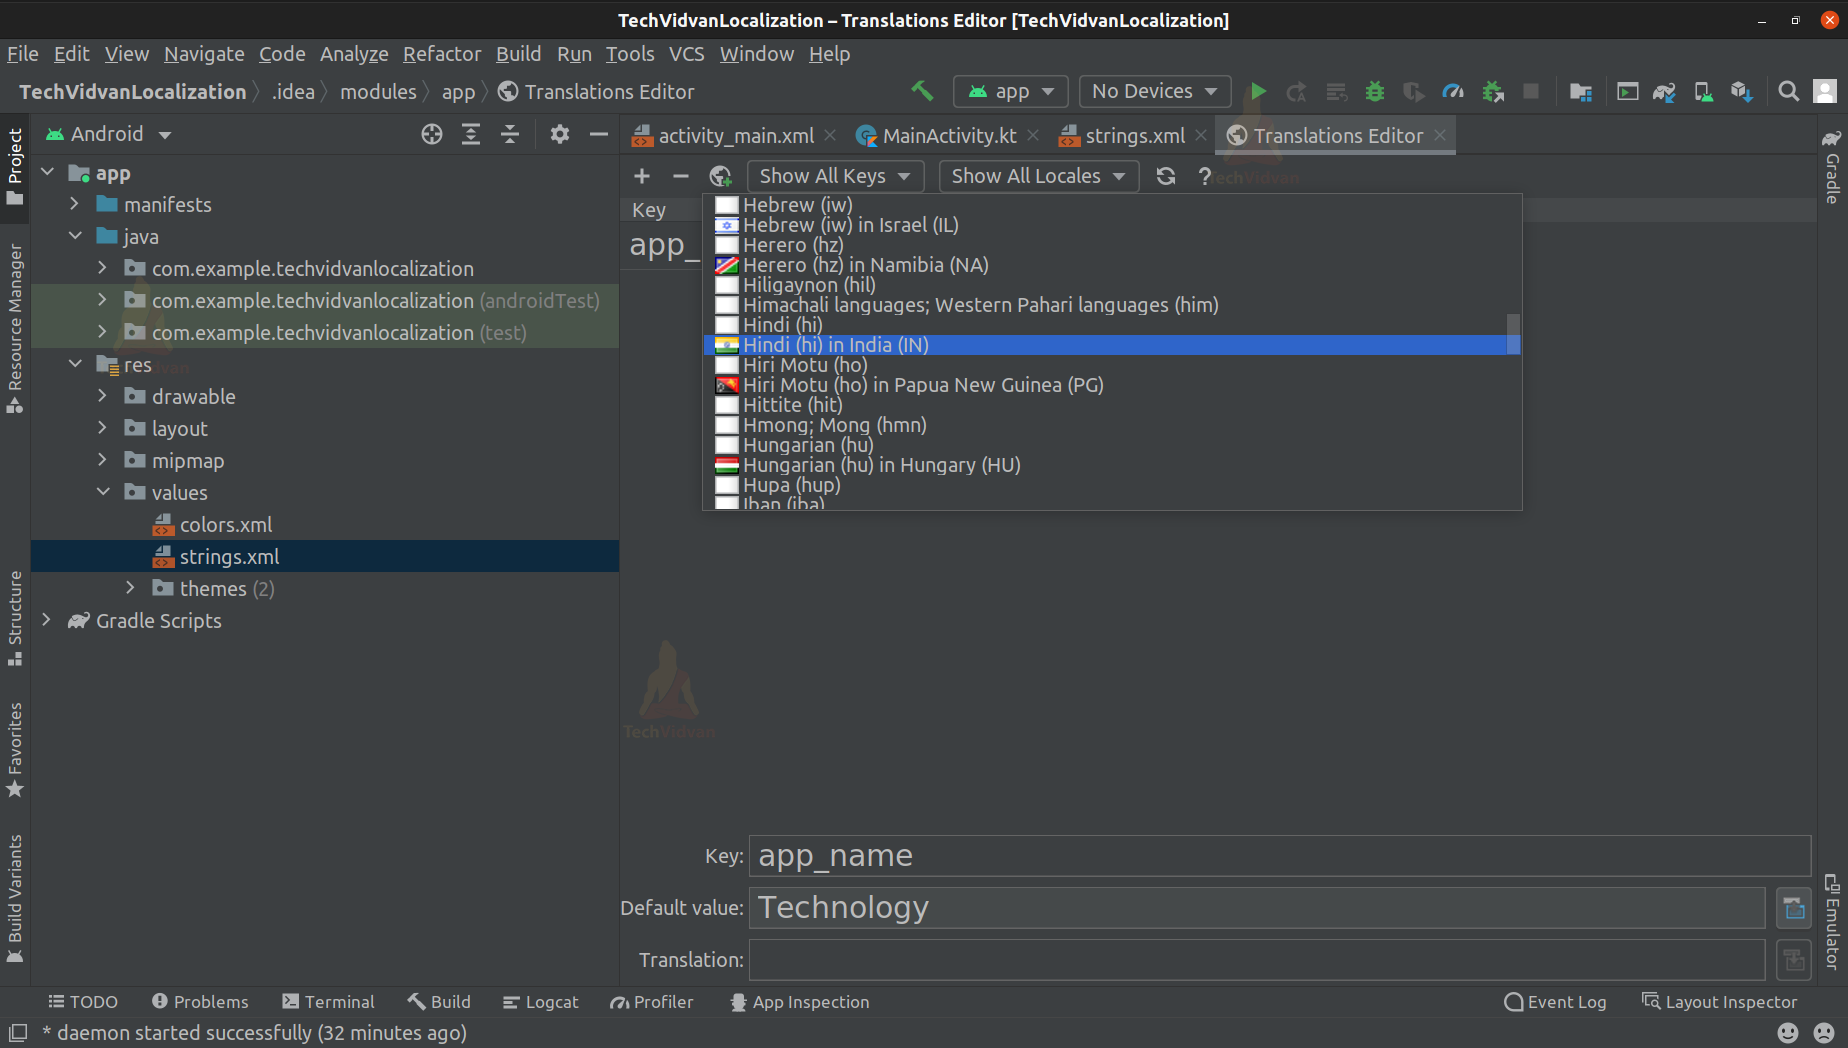
From here, you need to select the locations whose directory we created. After you are done selecting all the locales, your screen would appear something as follows.
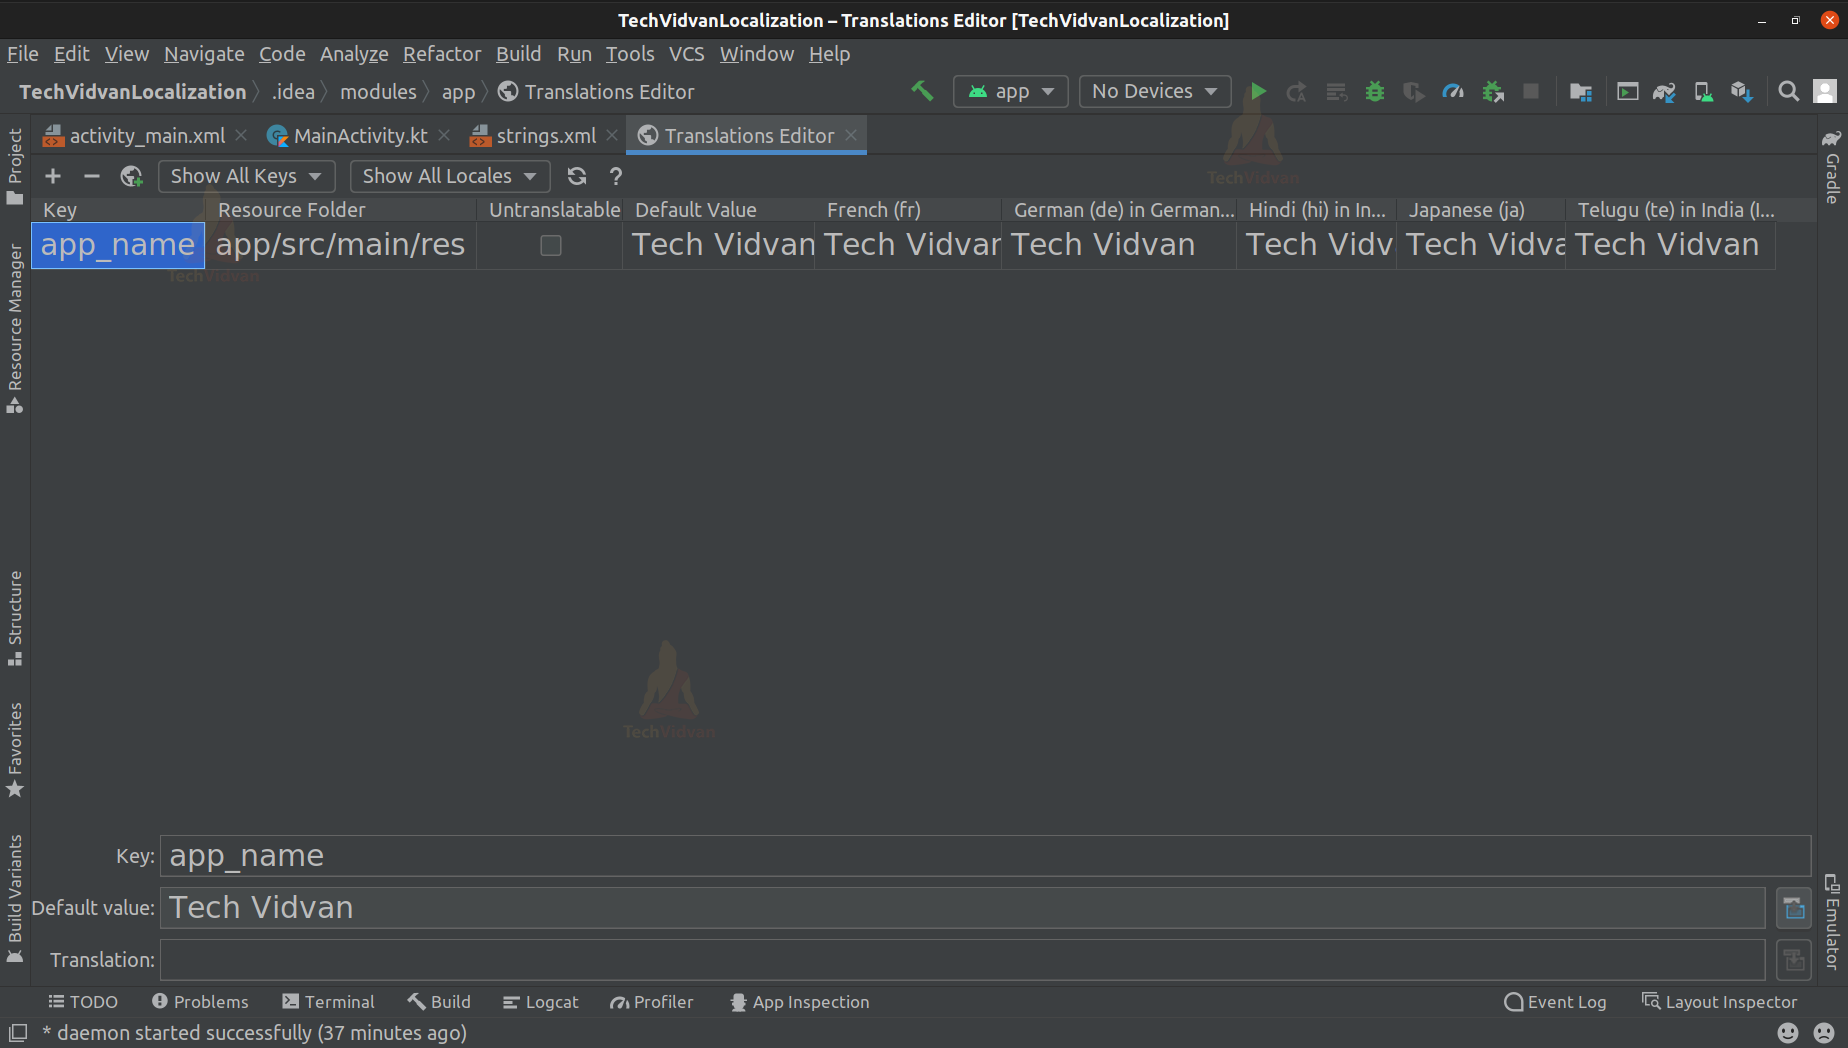
Since app_name is the only key, we have in strings.xml, so that is only appearing. You can notice that the text is not translated yet. Don’t worry; in the next few steps, you will conquer that too.
5: We will add one more key in our strings.xml file with the key name as vidvan_message. Your strings.xml code would be as follows, and you can copy it and paste it there for easy reference.
Code: strings.xml
<resources>
    <string name="app_name">Tech Vidvan</string>
    <string name="vidvan_message">Hello people welcome to your Locale.</string>
</resources>
6: Now go back to your translations editor. Don’t worry if you are getting some errors in your strings.xml file; that will be removed after adding the translations. So to add translations, you need to copy the original text and use the link below to convert them into the language you require.
https://translate.google.co.in/
For example, “hello” in french is “Bonjour.”
7: After converting each of them into their respective language, just paste them in their locale column something like below.
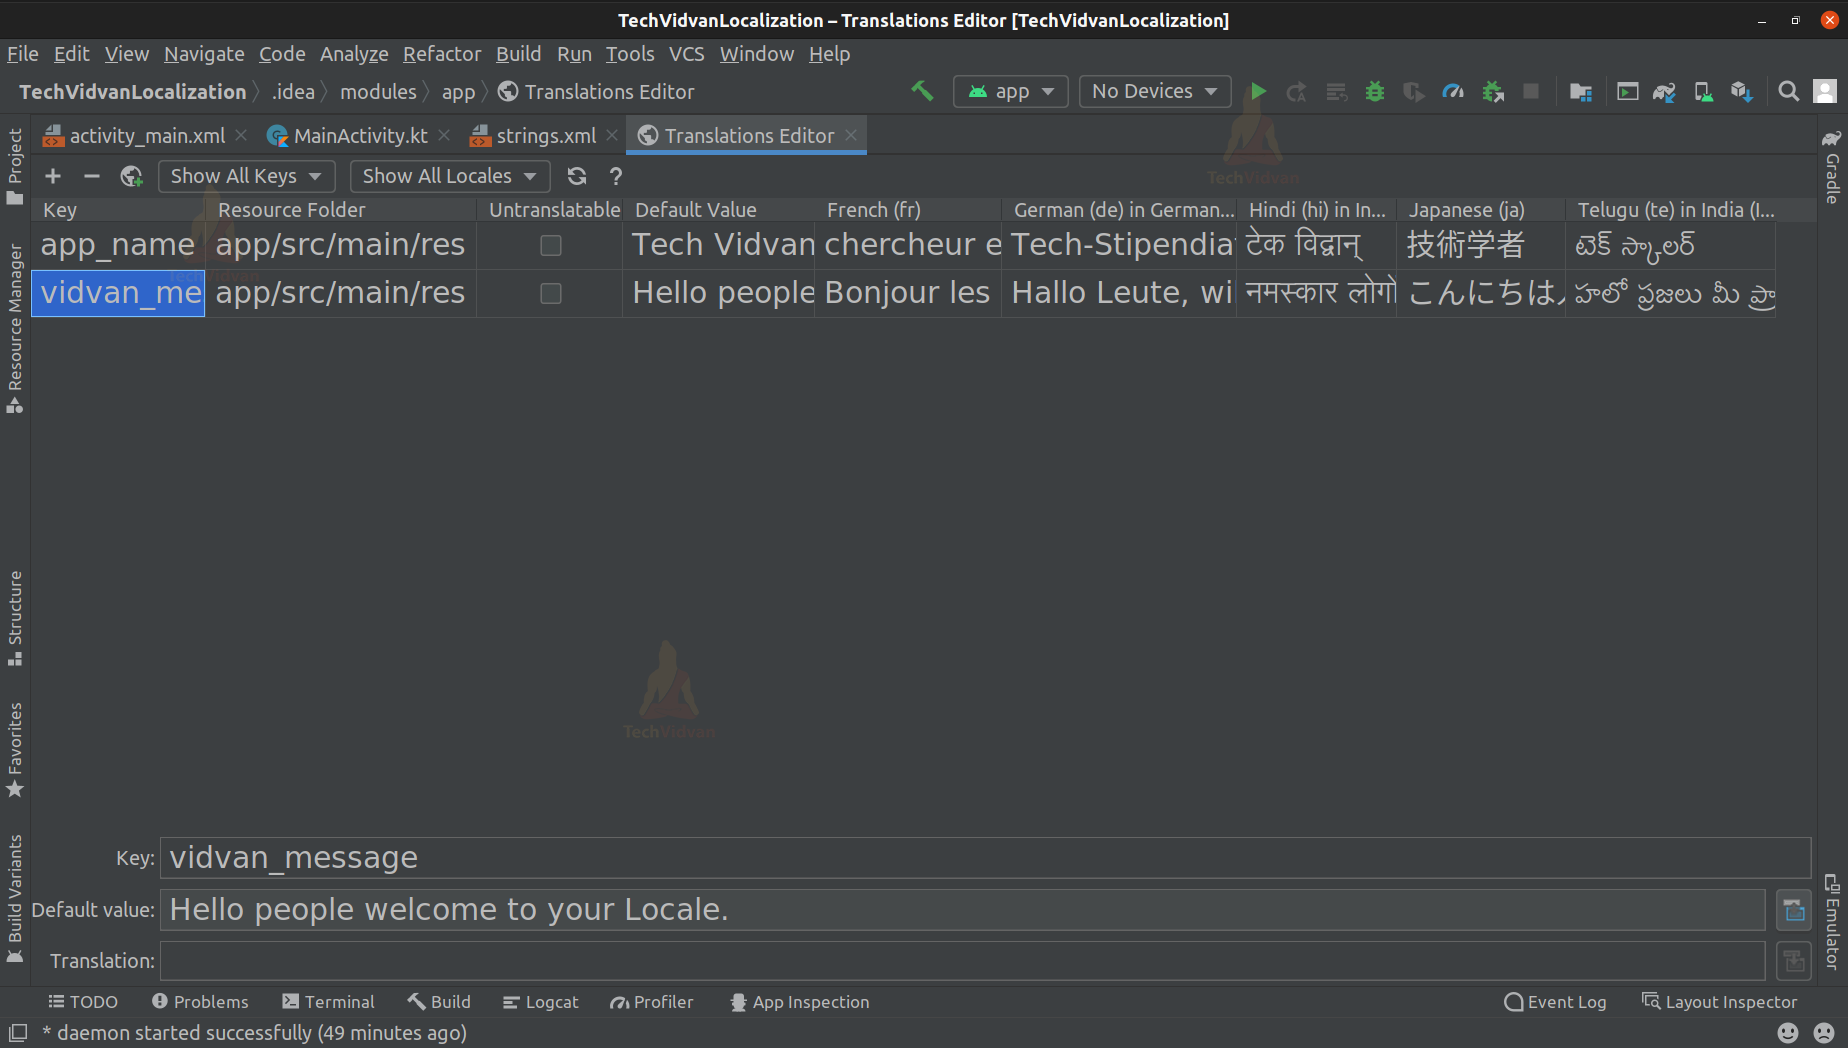
8: So this completes your resource switching part. In other words, now your app is ready to be operated in the above-defined locale.
9: Before running the app, we need to design the layout so that both the app name and the message appear nicely.
Code: activity_main.xml
<?xml version="1.0" encoding="utf-8"?>
<androidx.constraintlayout.widget.ConstraintLayout
    xmlns:android="http://schemas.android.com/apk/res/android"
    xmlns:app="http://schemas.android.com/apk/res-auto"
    xmlns:tools="http://schemas.android.com/tools"
    android:layout_width="match_parent"
    android:layout_height="match_parent"
    tools:context=".MainActivity">

    <TextView
        android:id="@+id/title"
        android:layout_width="wrap_content"
        android:layout_height="wrap_content"
        android:text="@string/app_name"
        android:textStyle="bold"
        android:textSize="30sp"
        android:textColor="#3F51B5"
        app:layout_constraintVertical_bias=".1"
        app:layout_constraintBottom_toBottomOf="parent"
        app:layout_constraintLeft_toLeftOf="parent"
        app:layout_constraintRight_toRightOf="parent"
        app:layout_constraintTop_toTopOf="parent" />

    <TextView
        android:layout_width="match_parent"
        android:layout_height="wrap_content"
        android:text="@string/vidvan_message"
        android:textSize="40sp"
        android:textColor="#009688"
        android:gravity="center"
        android:padding="20dp"
        app:layout_constraintVertical_bias=".4"
        app:layout_constraintBottom_toBottomOf="parent"
        app:layout_constraintLeft_toLeftOf="parent"
        app:layout_constraintRight_toRightOf="parent"
        app:layout_constraintTop_toTopOf="parent"/>

</androidx.constraintlayout.widget.ConstraintLayout>
Now let’s run our application and see what output we get.
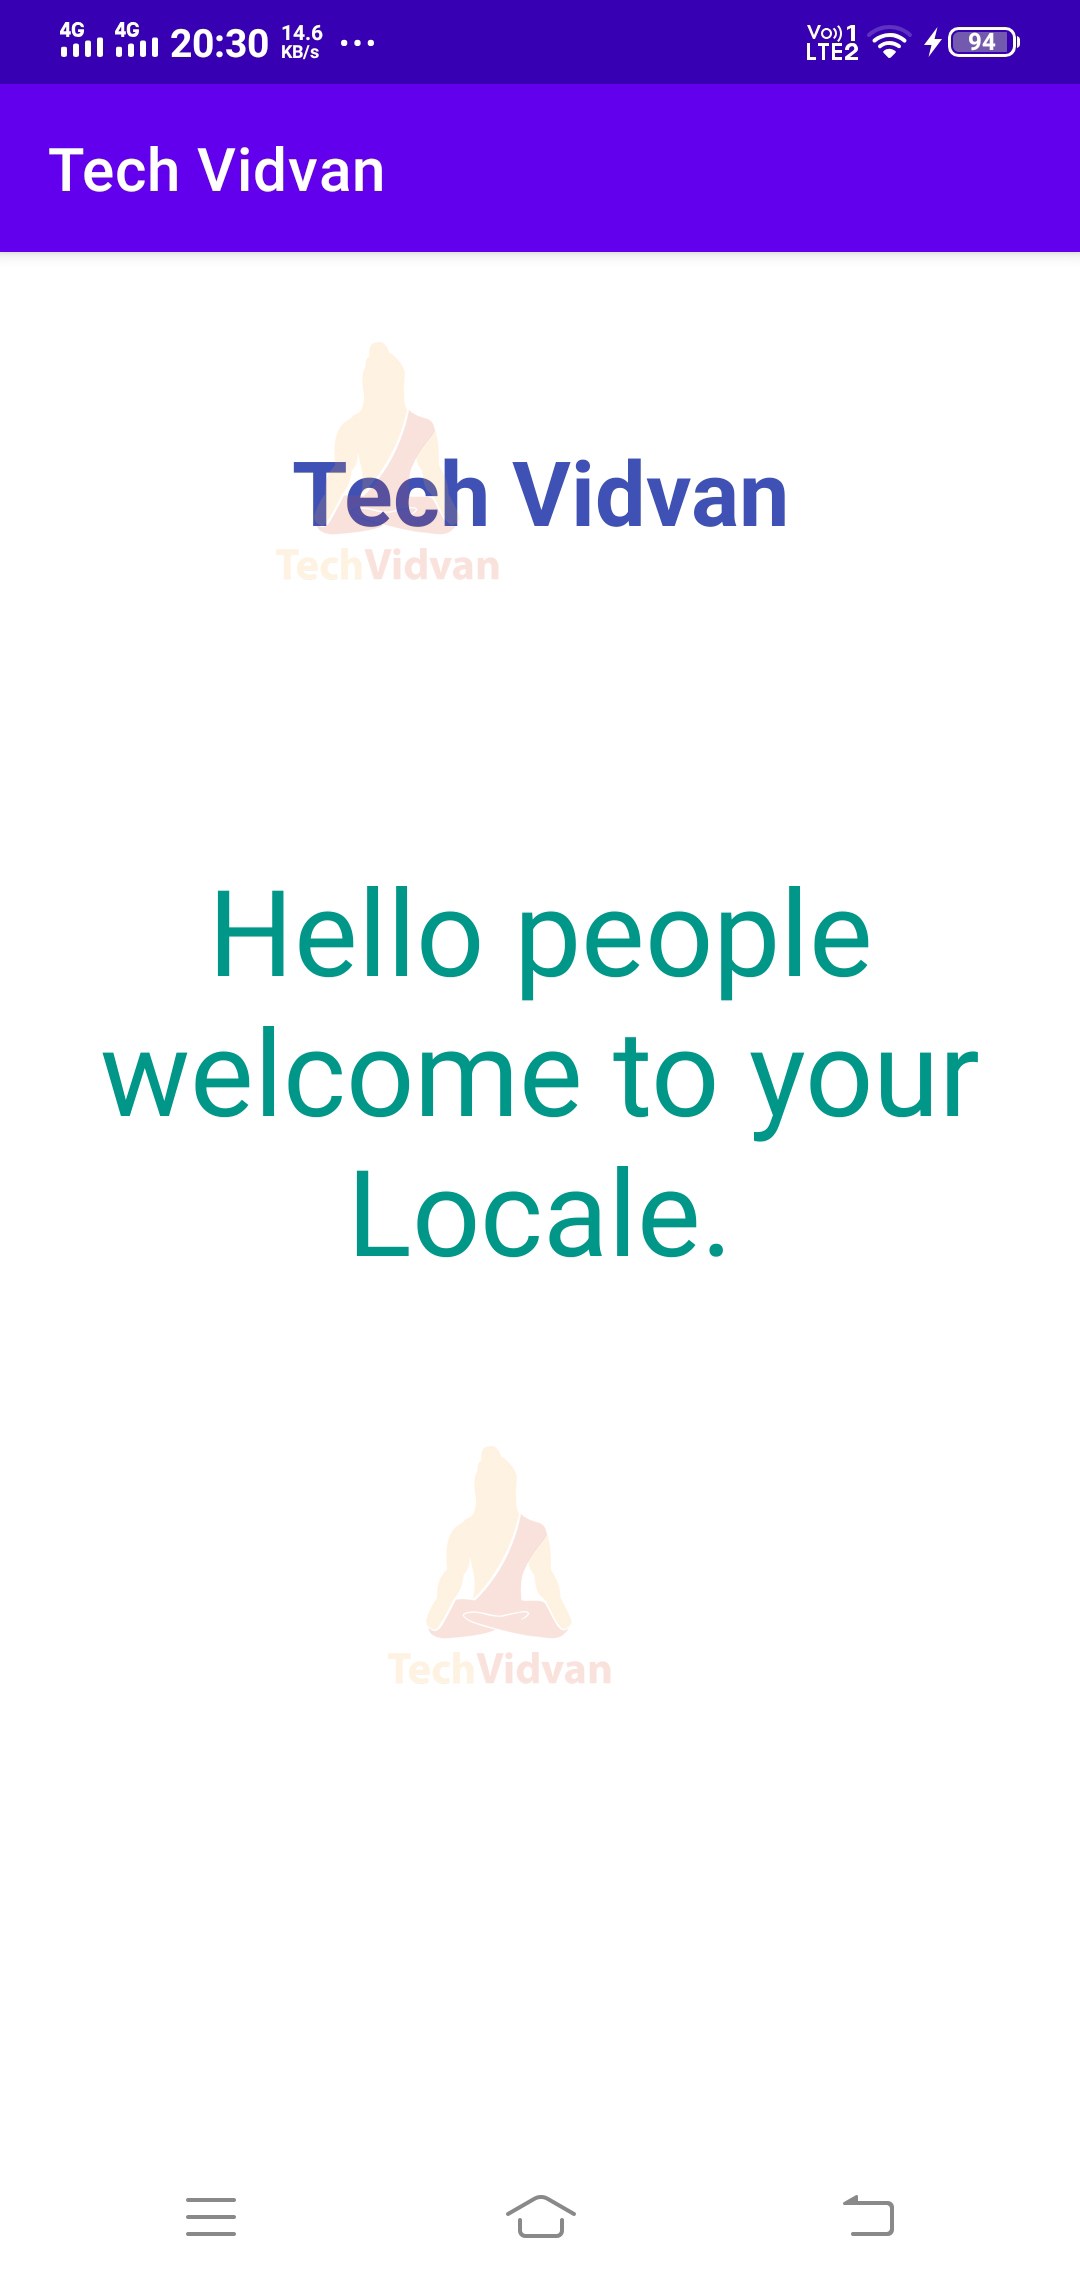
So here we can’t see any change in my app language because, by default, my device language is English.
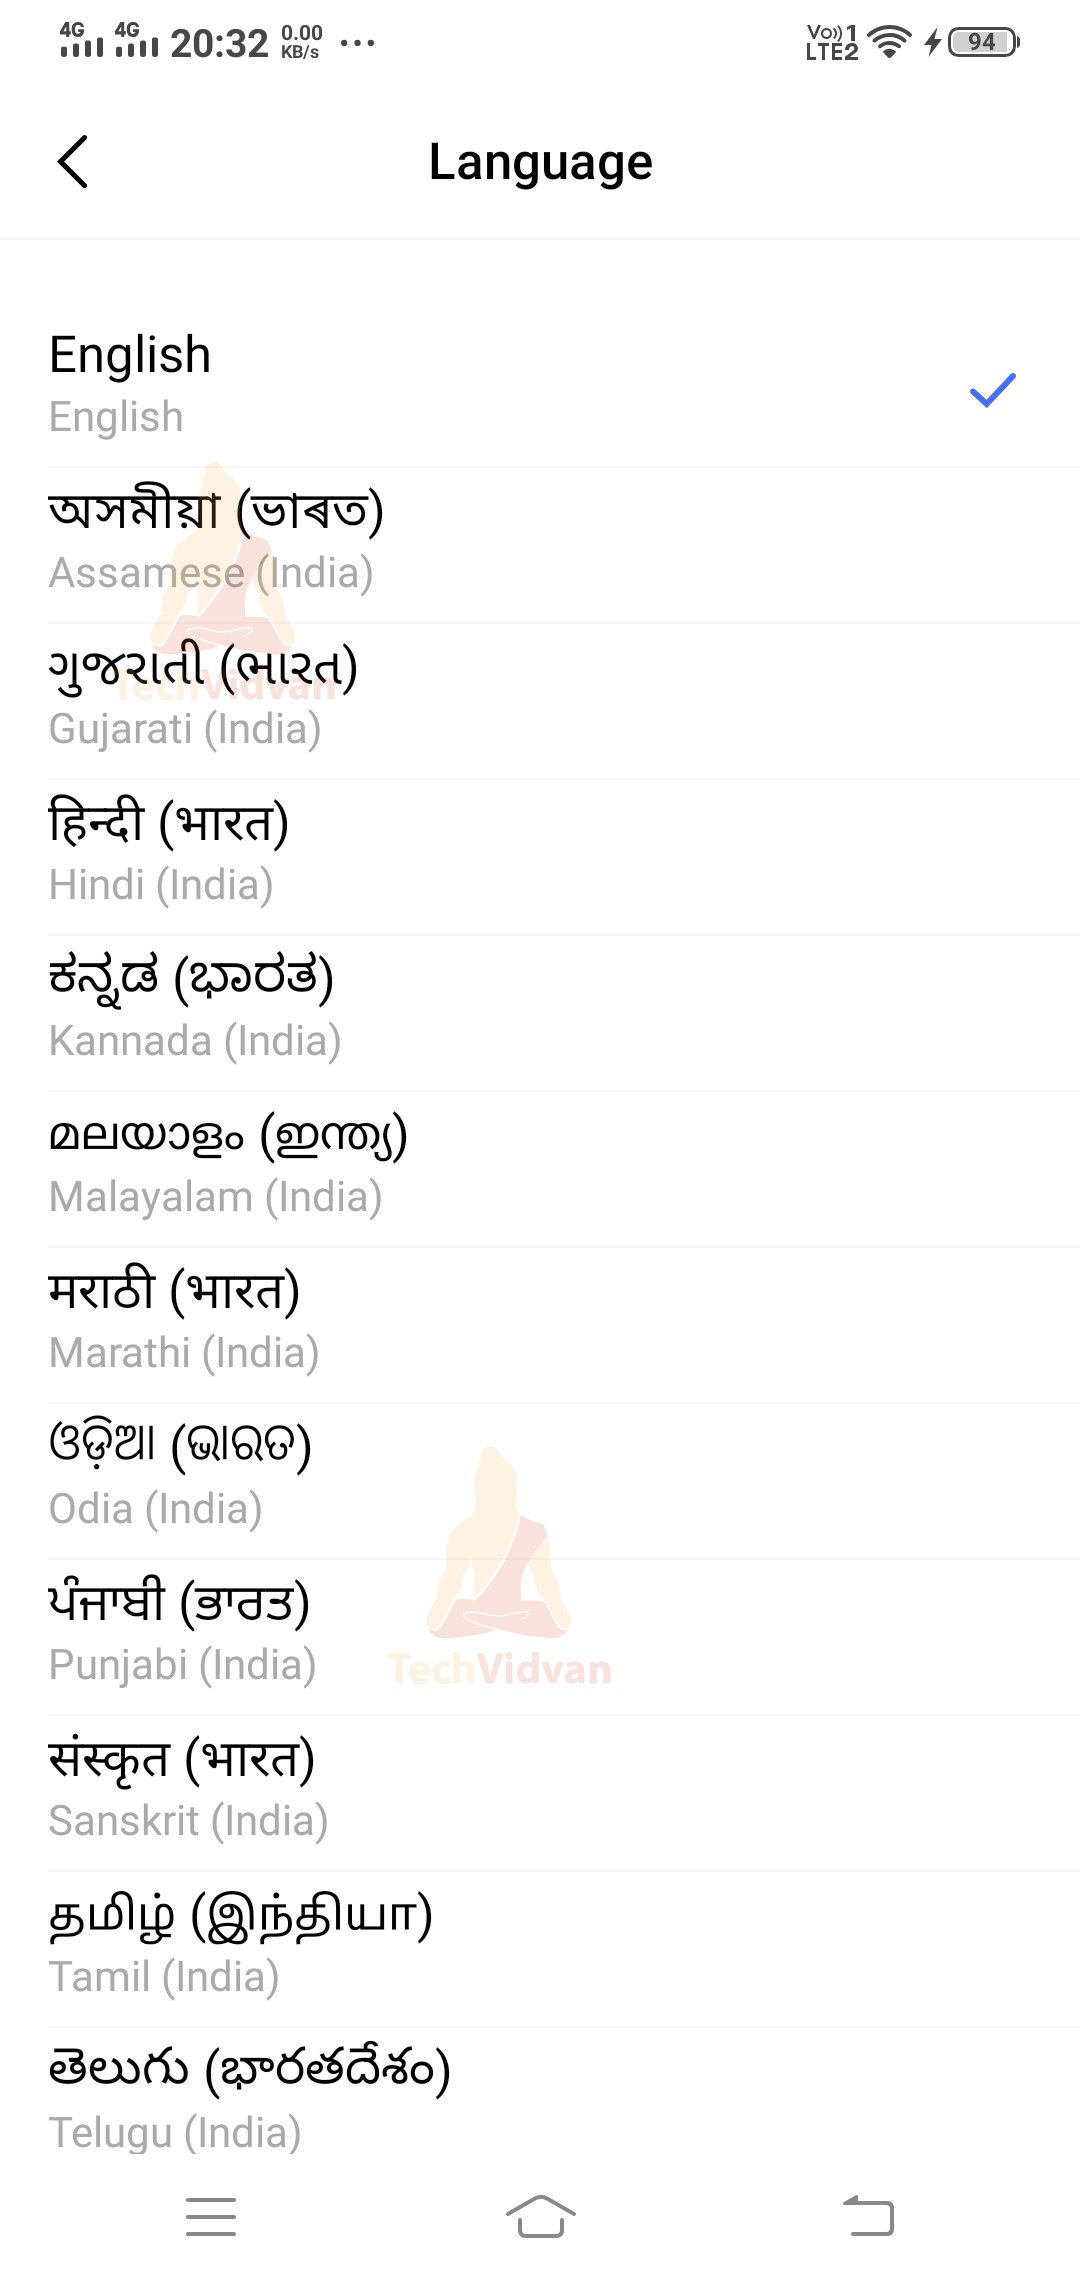
To see my app working and displaying the content in other languages, I will go to my Settings and change my default language to something else.
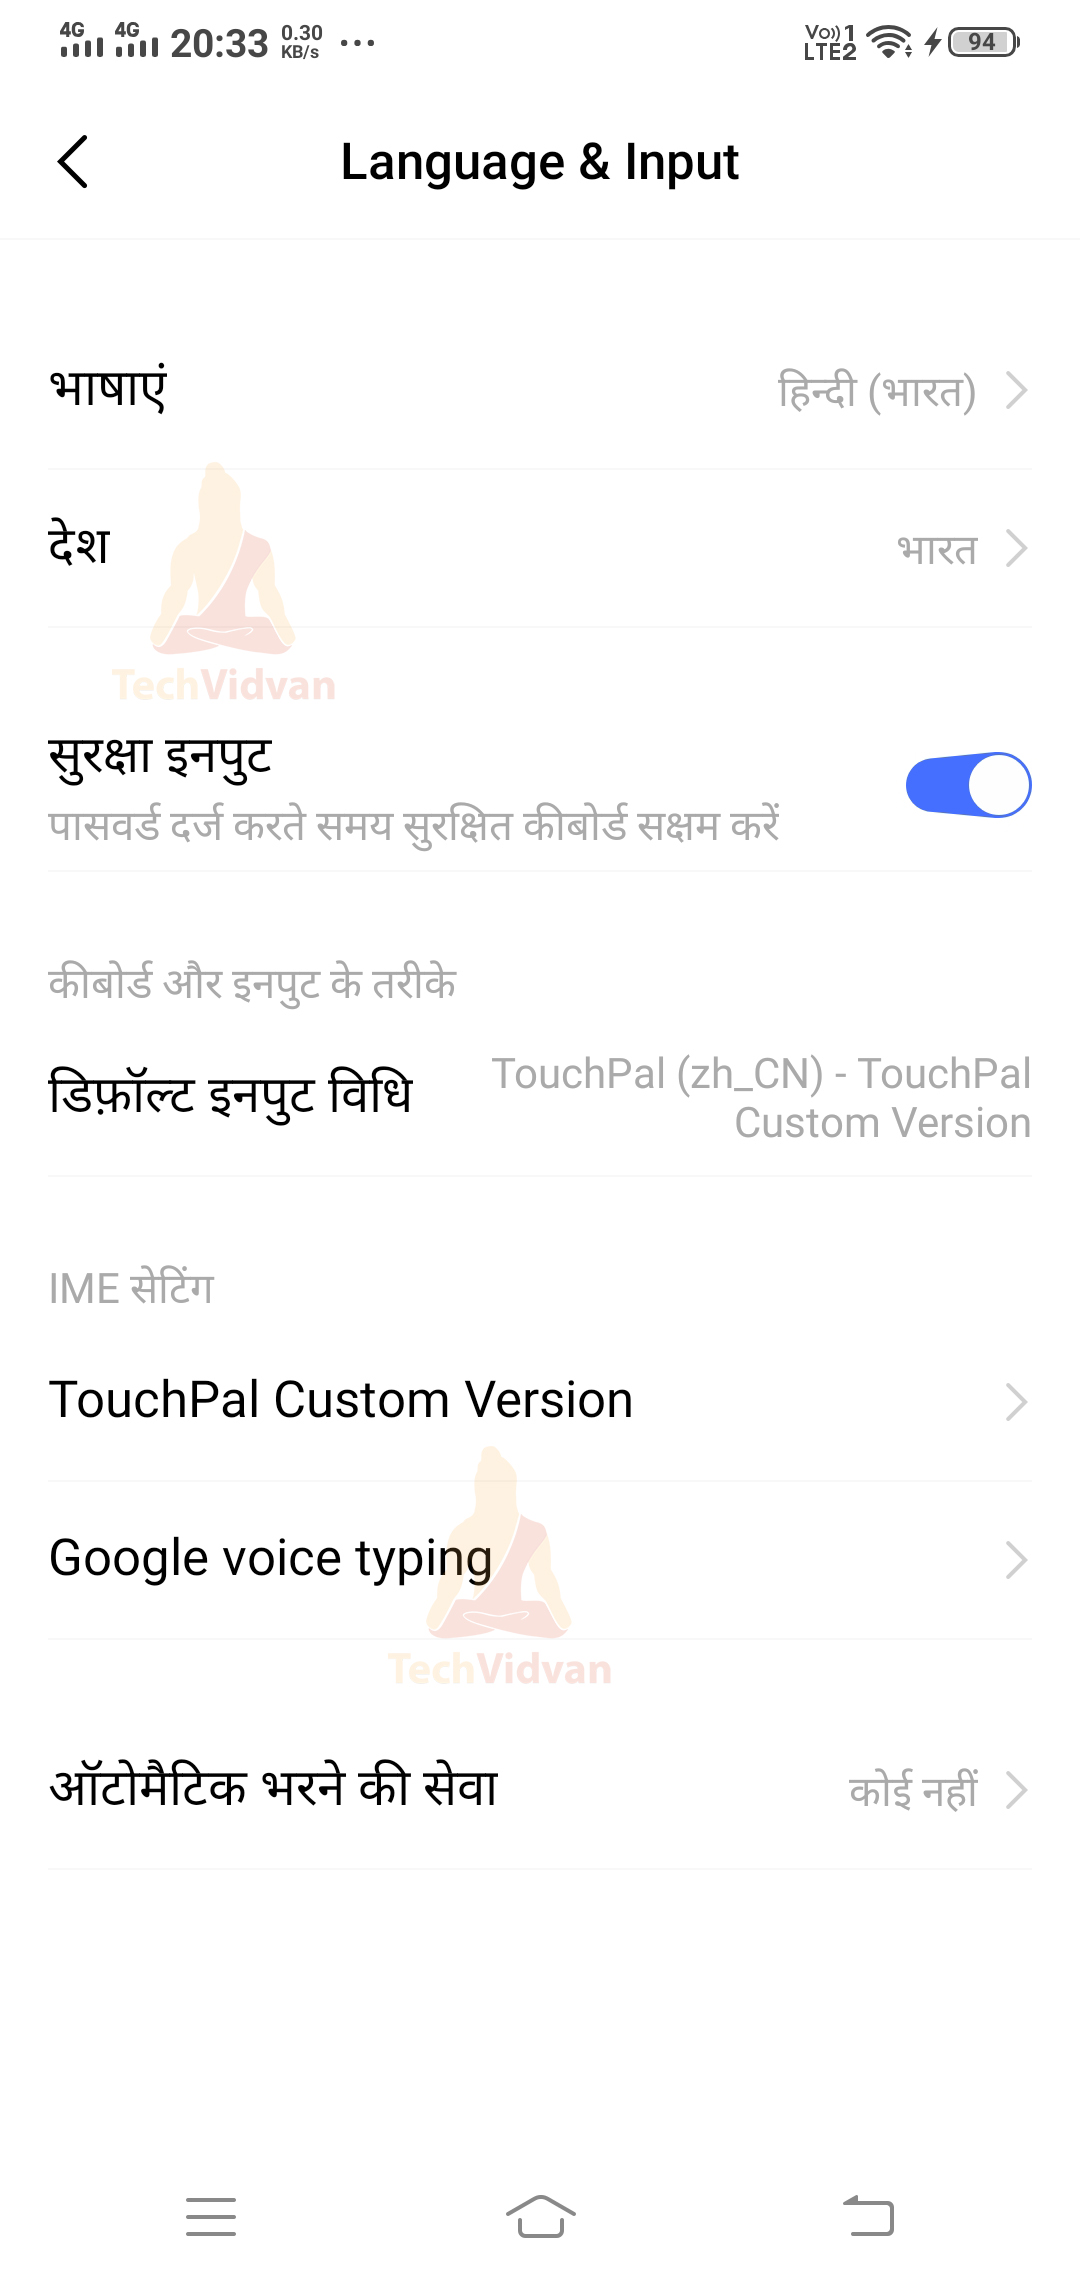
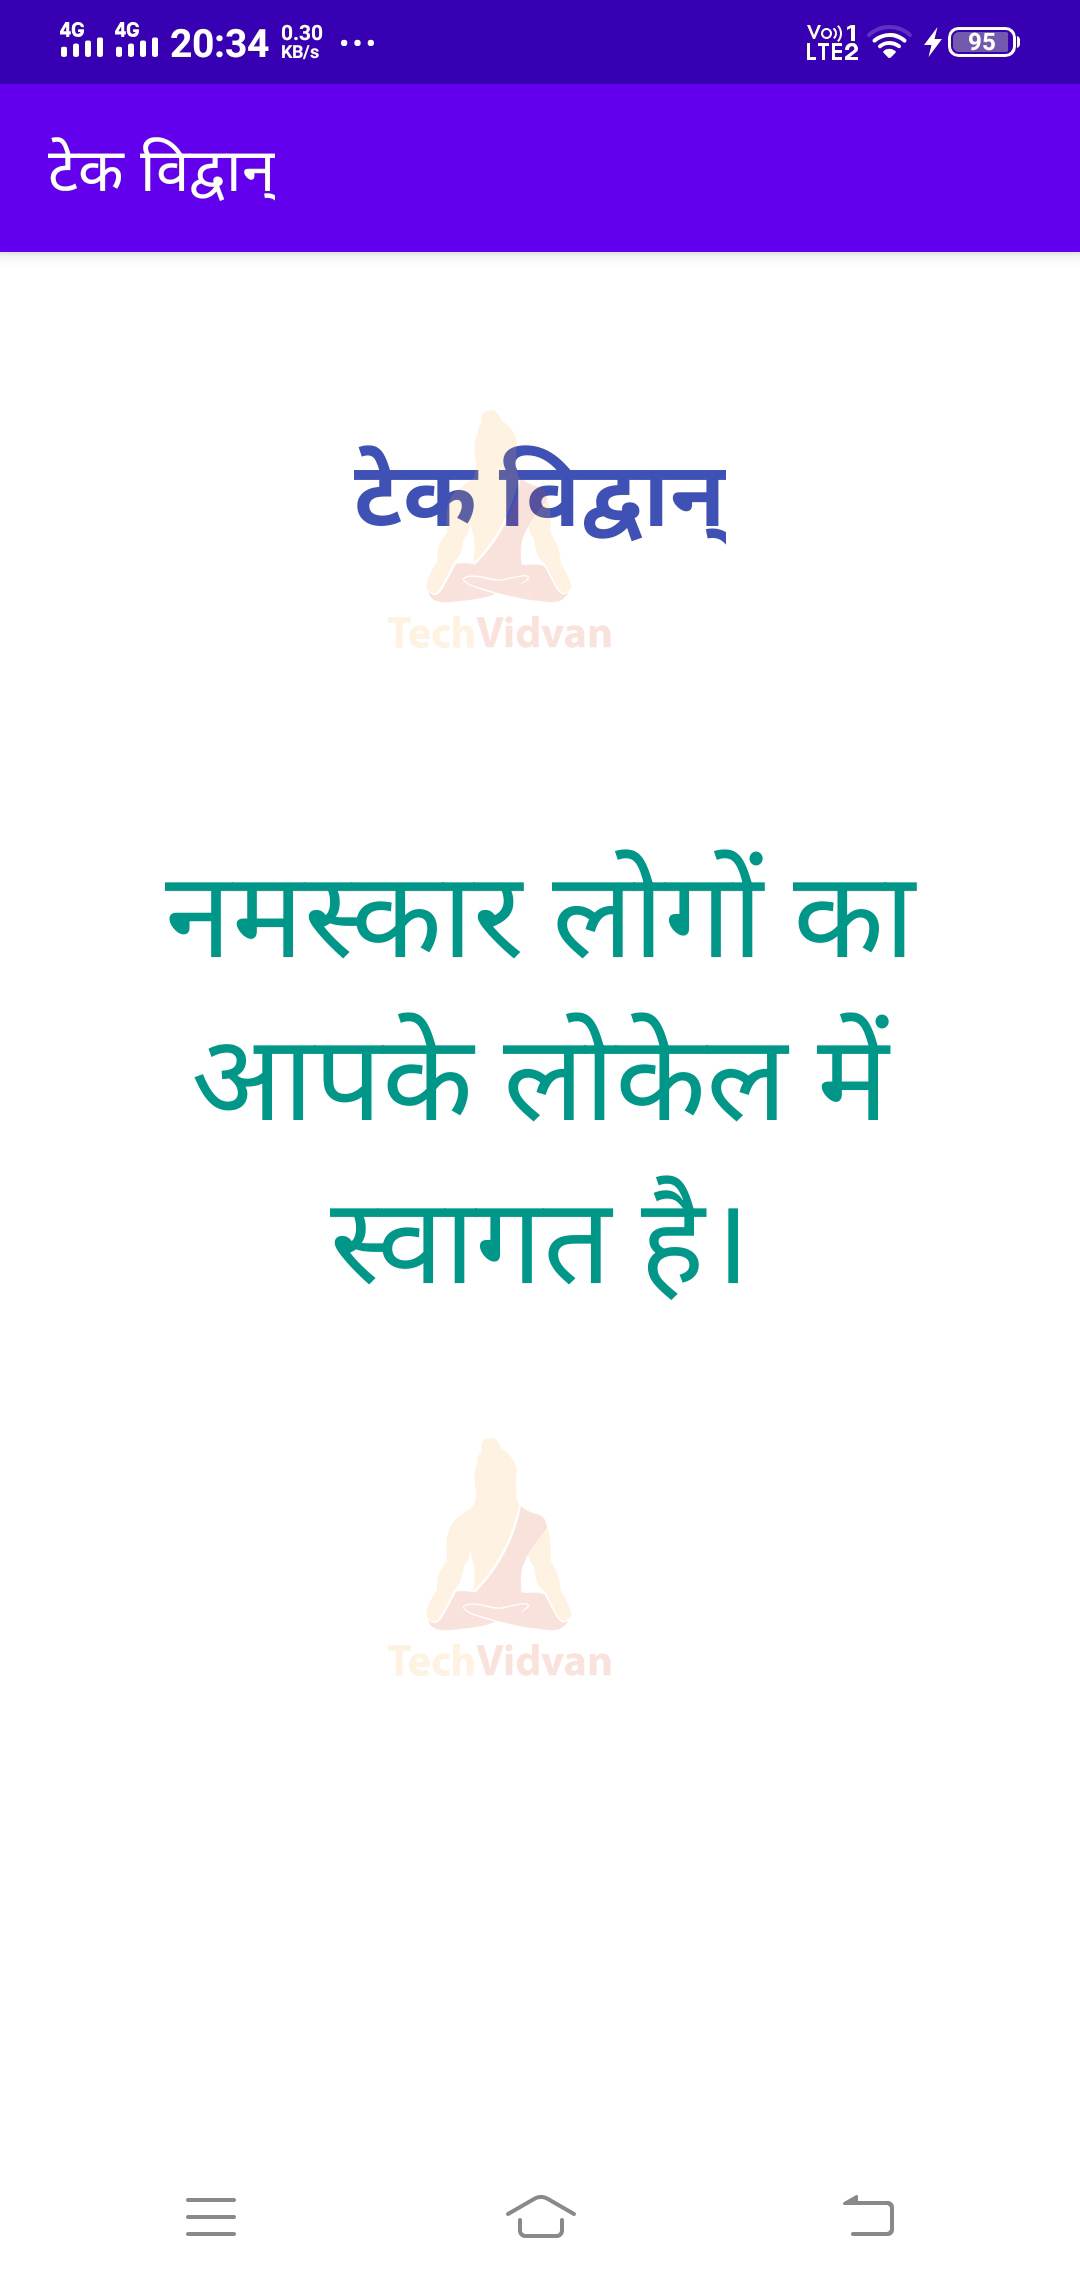
When language is Hindi
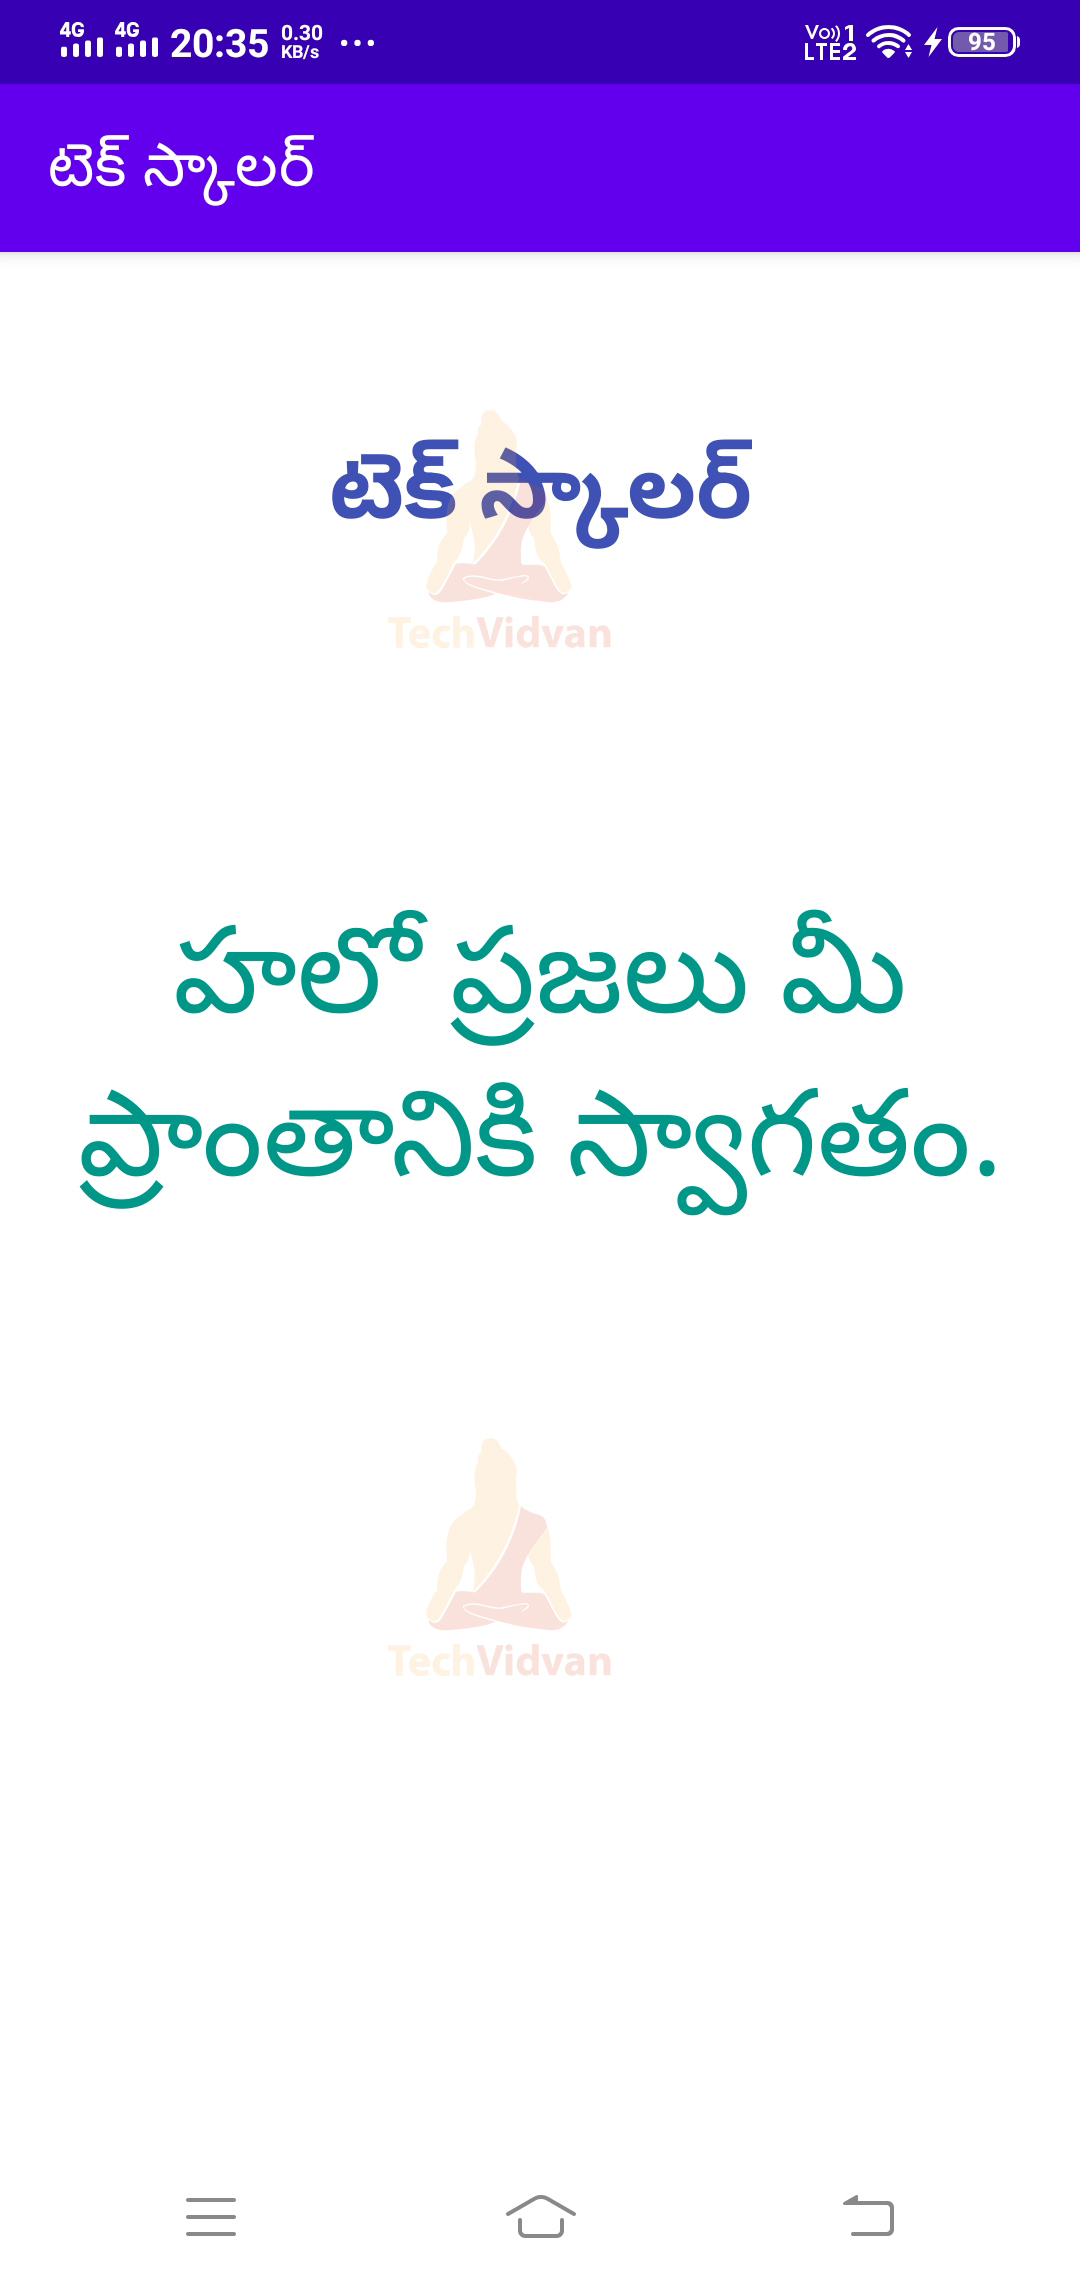
When language is Telugu
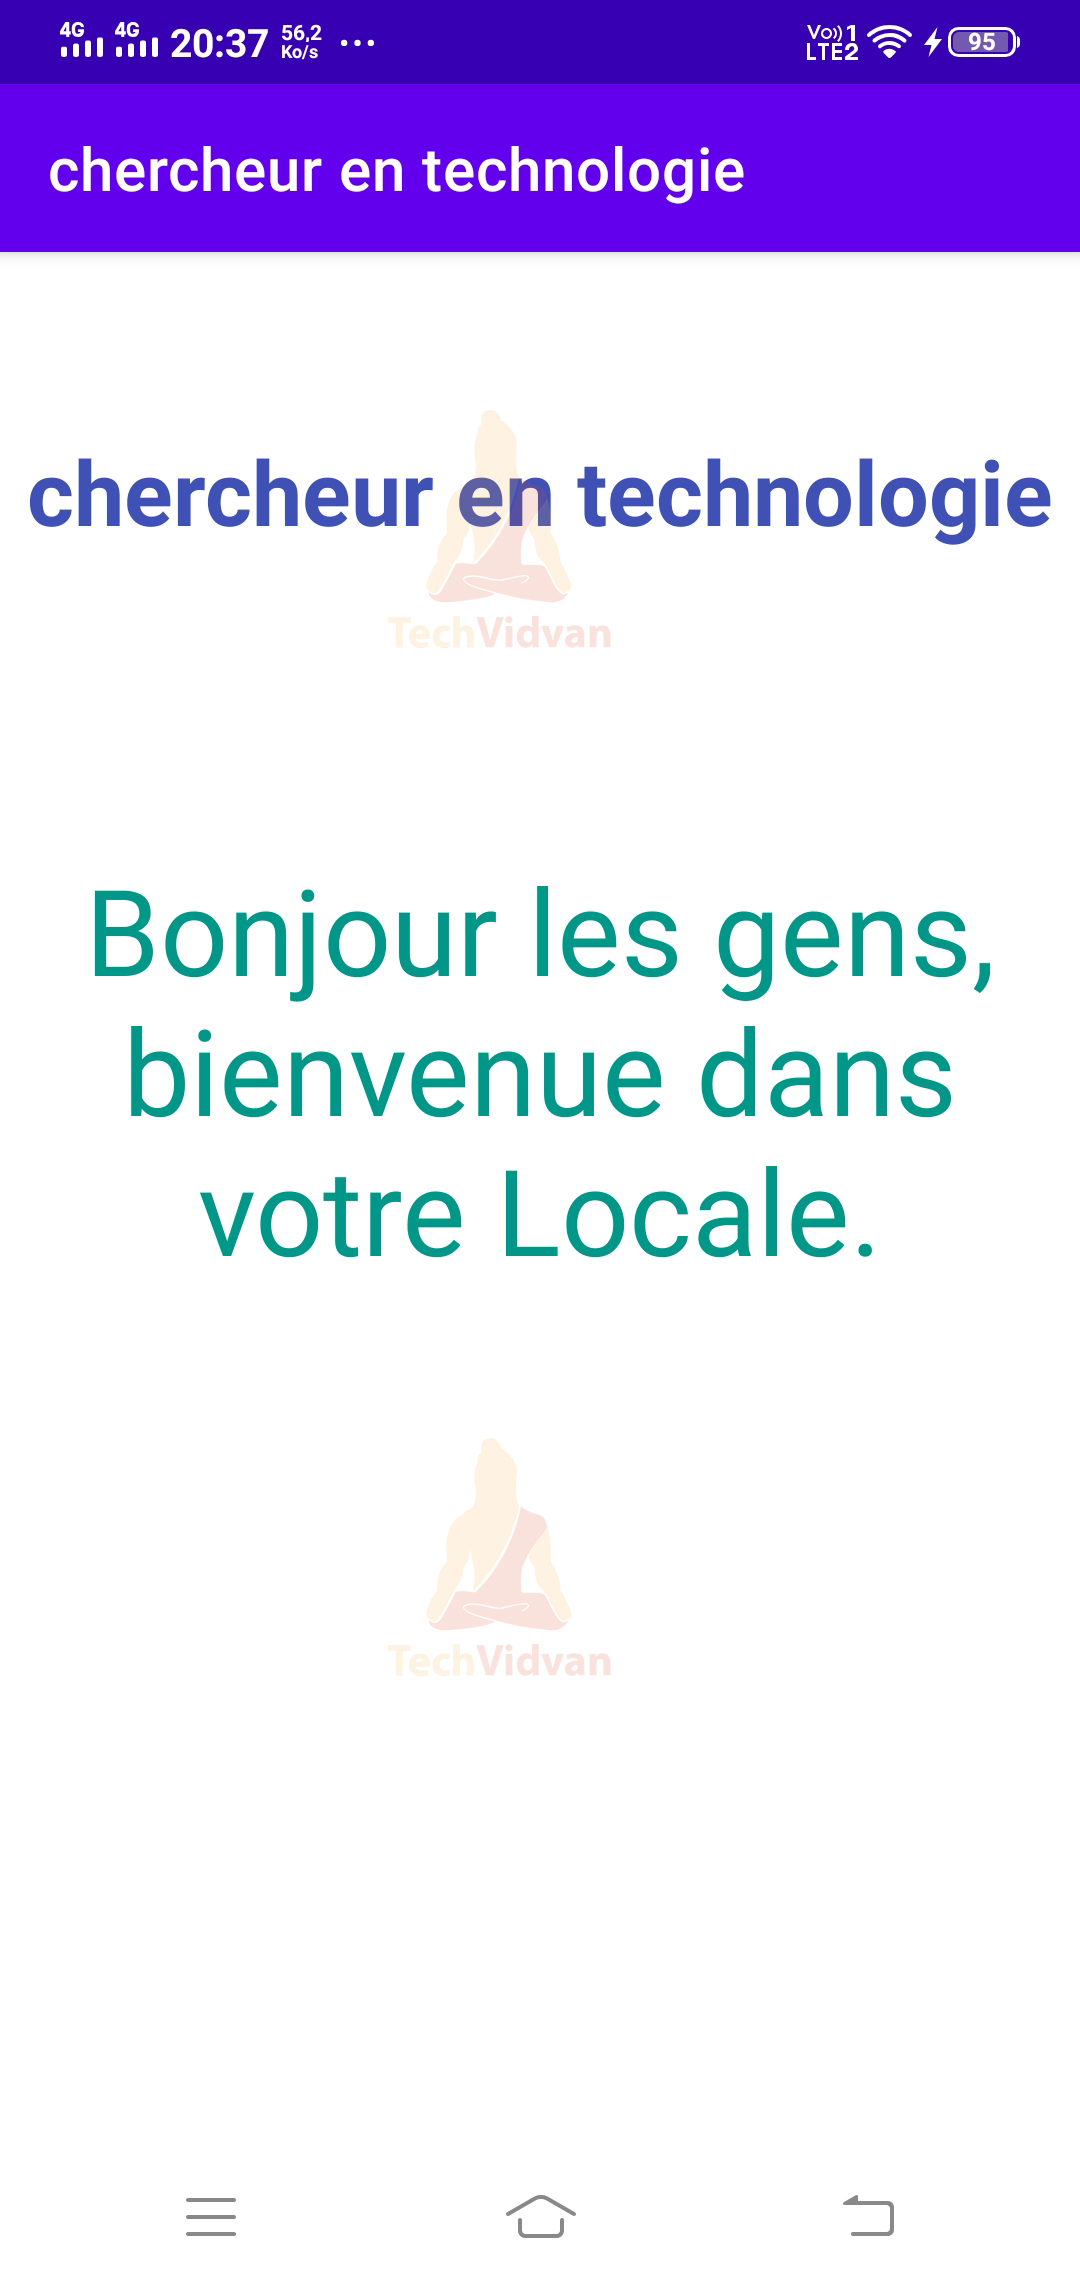
When language is French
When language is German

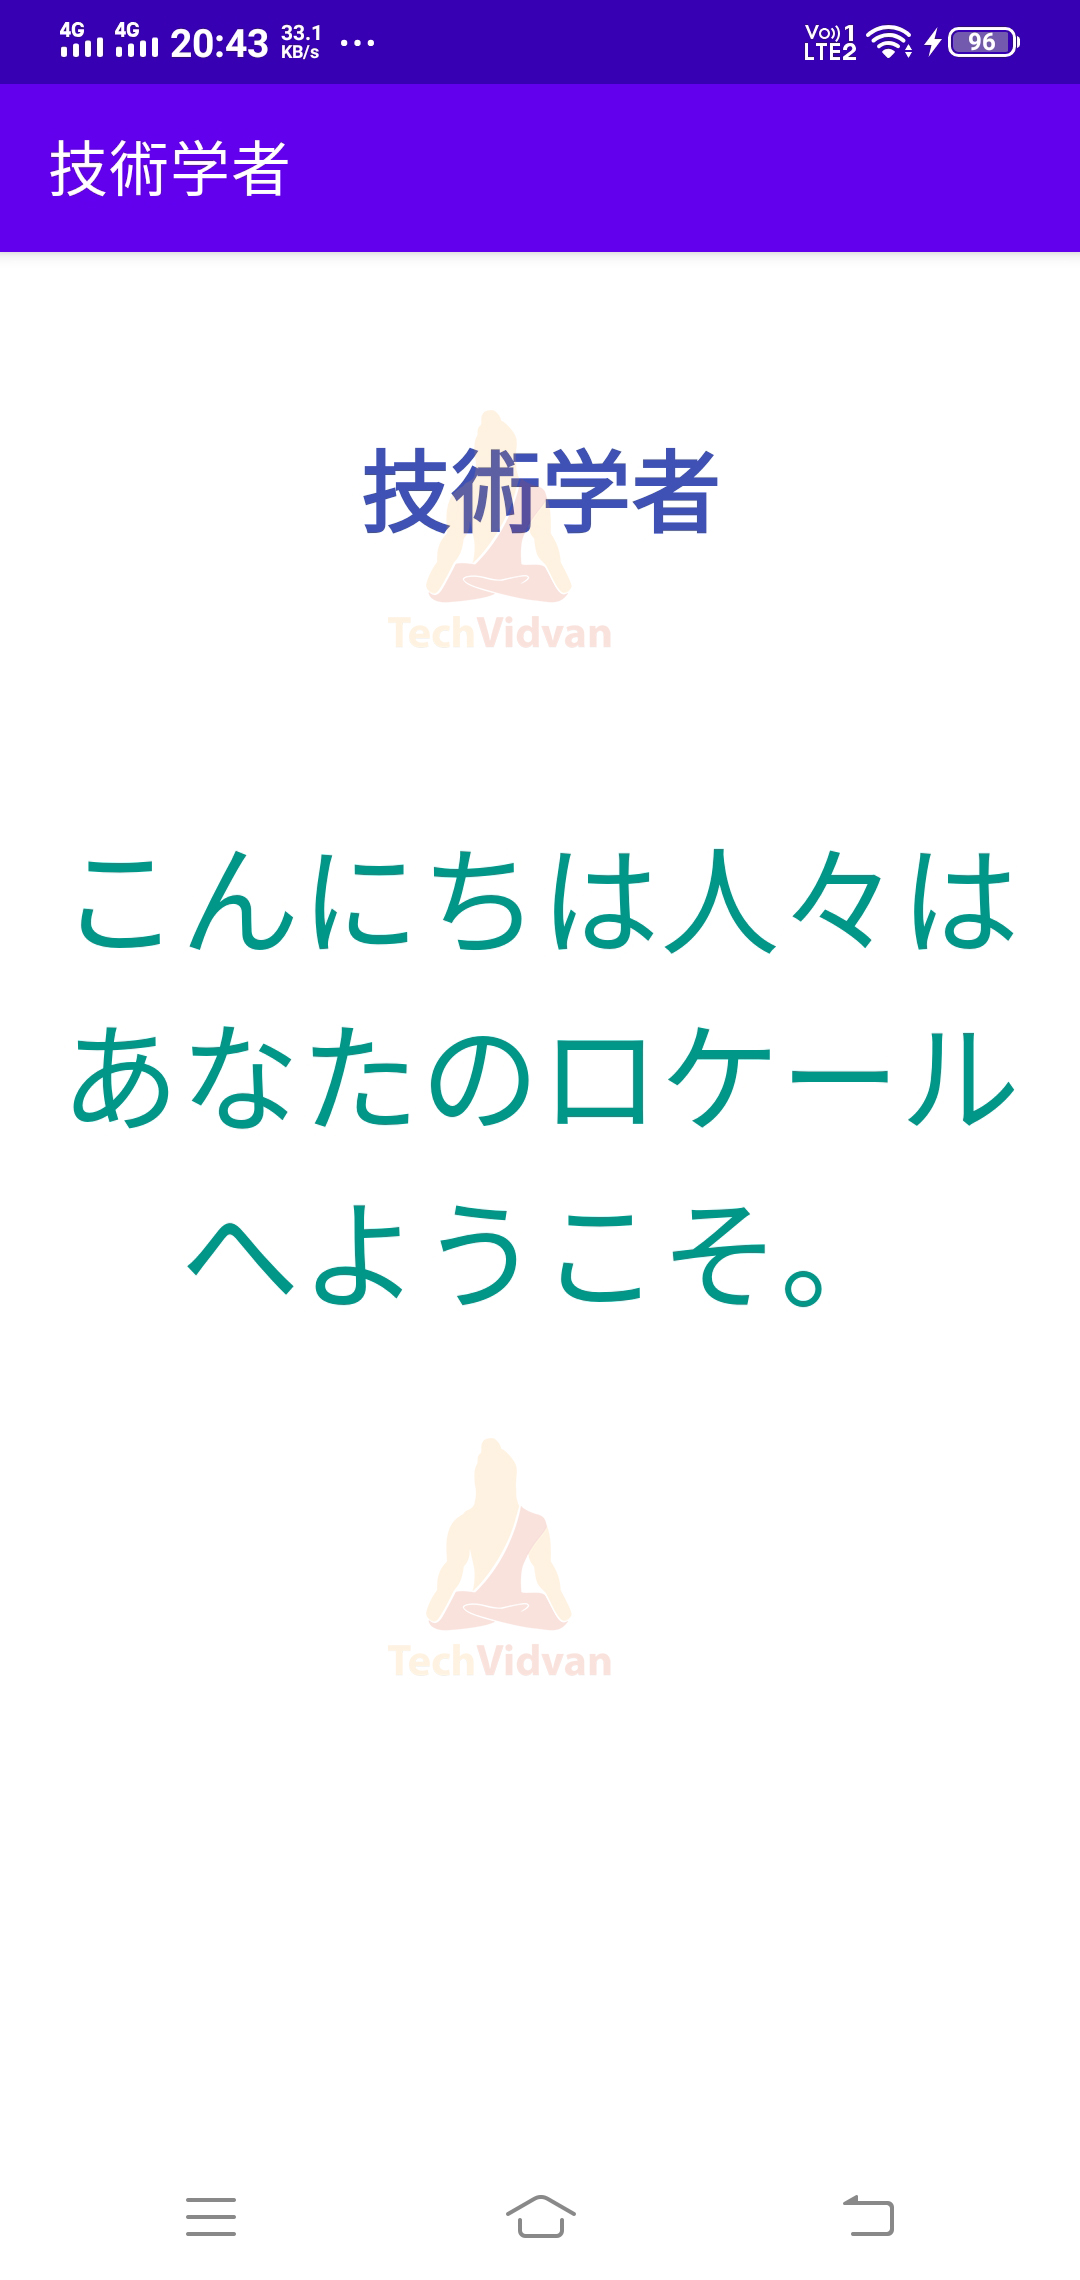
When language is Japanese
Summary
So, through this article, we covered what localization is and how it benefits us in making our app available to several regions and users. We came across how we can use localization in our apps and how resource switching helps us. Finally, we saw an app implementation of localization where we showed every step.