Android Menu – Types, Implementation and Examples
In this article, we will explore an exciting topic called Android Menu. Menus are a crucial part of any application’s user interface, enhancing the interactivity and overall user experience. Without a menu, your app might feel less intuitive and engaging. An Android Menu provides users with a list of options to choose from, guiding them to perform various actions seamlessly.
For instance, imagine you are using a tourism app. The menu might contain options like Trains, Flights, Hotels, Support, and more. By selecting any of these options, users can quickly navigate to the relevant section and perform the desired actions. Menus make it easier for users to access the features they need, making the app more user-friendly and efficient. So, let’s dive into the different types of menus and how to implement them in your Android app.
Types of Android Menu
Let us explore the three types of menu provided by Android:
1. Android Options Menu
The options menu is usually present in the action bar. You can find several options listed in the options menu through which you can make a selection.
For example,

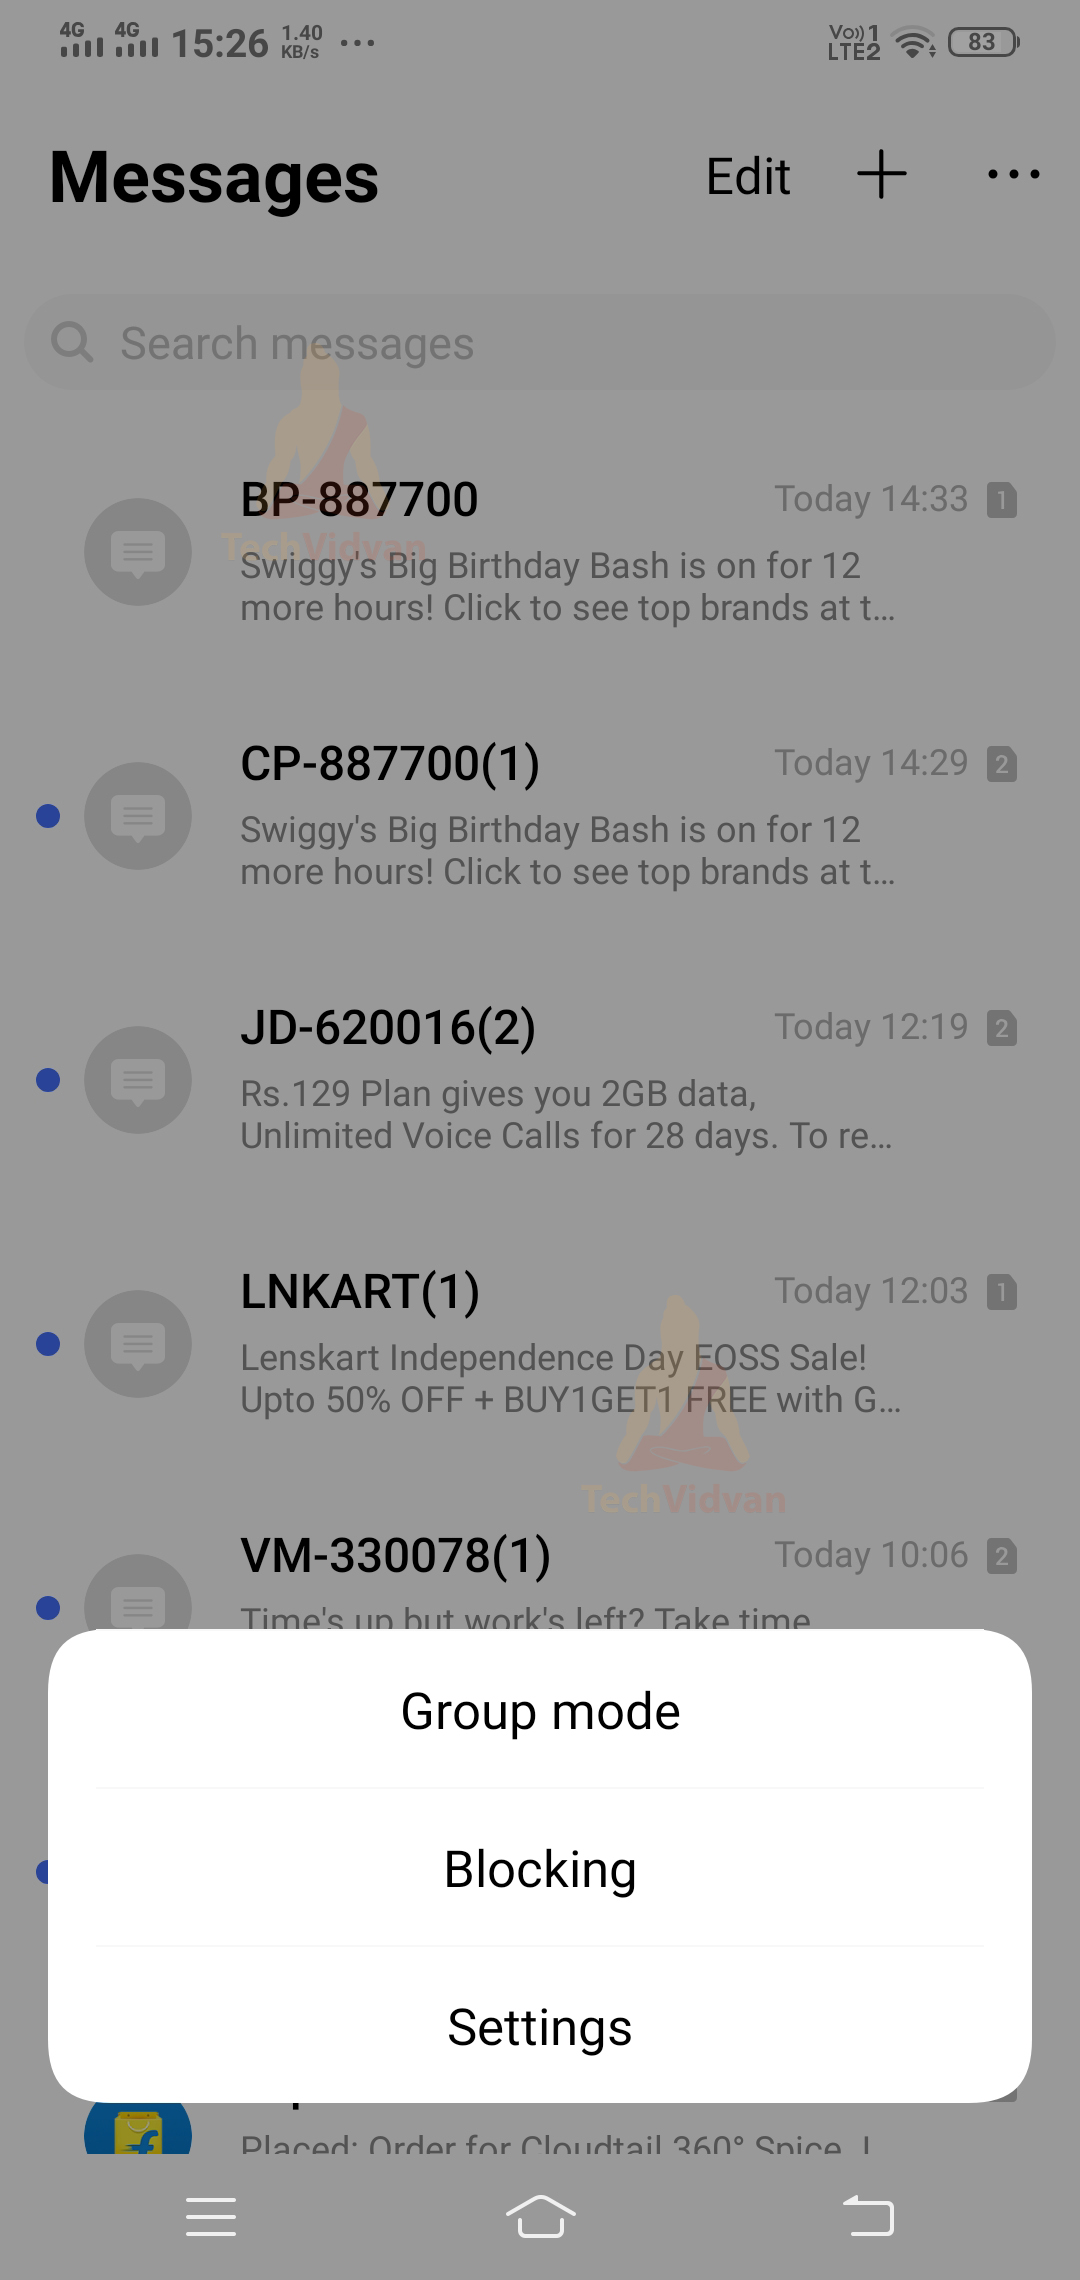
2. Android Popup Menu
Popup Menu is a menu that appears over your view and covers your view. Below you can find an example of the same.
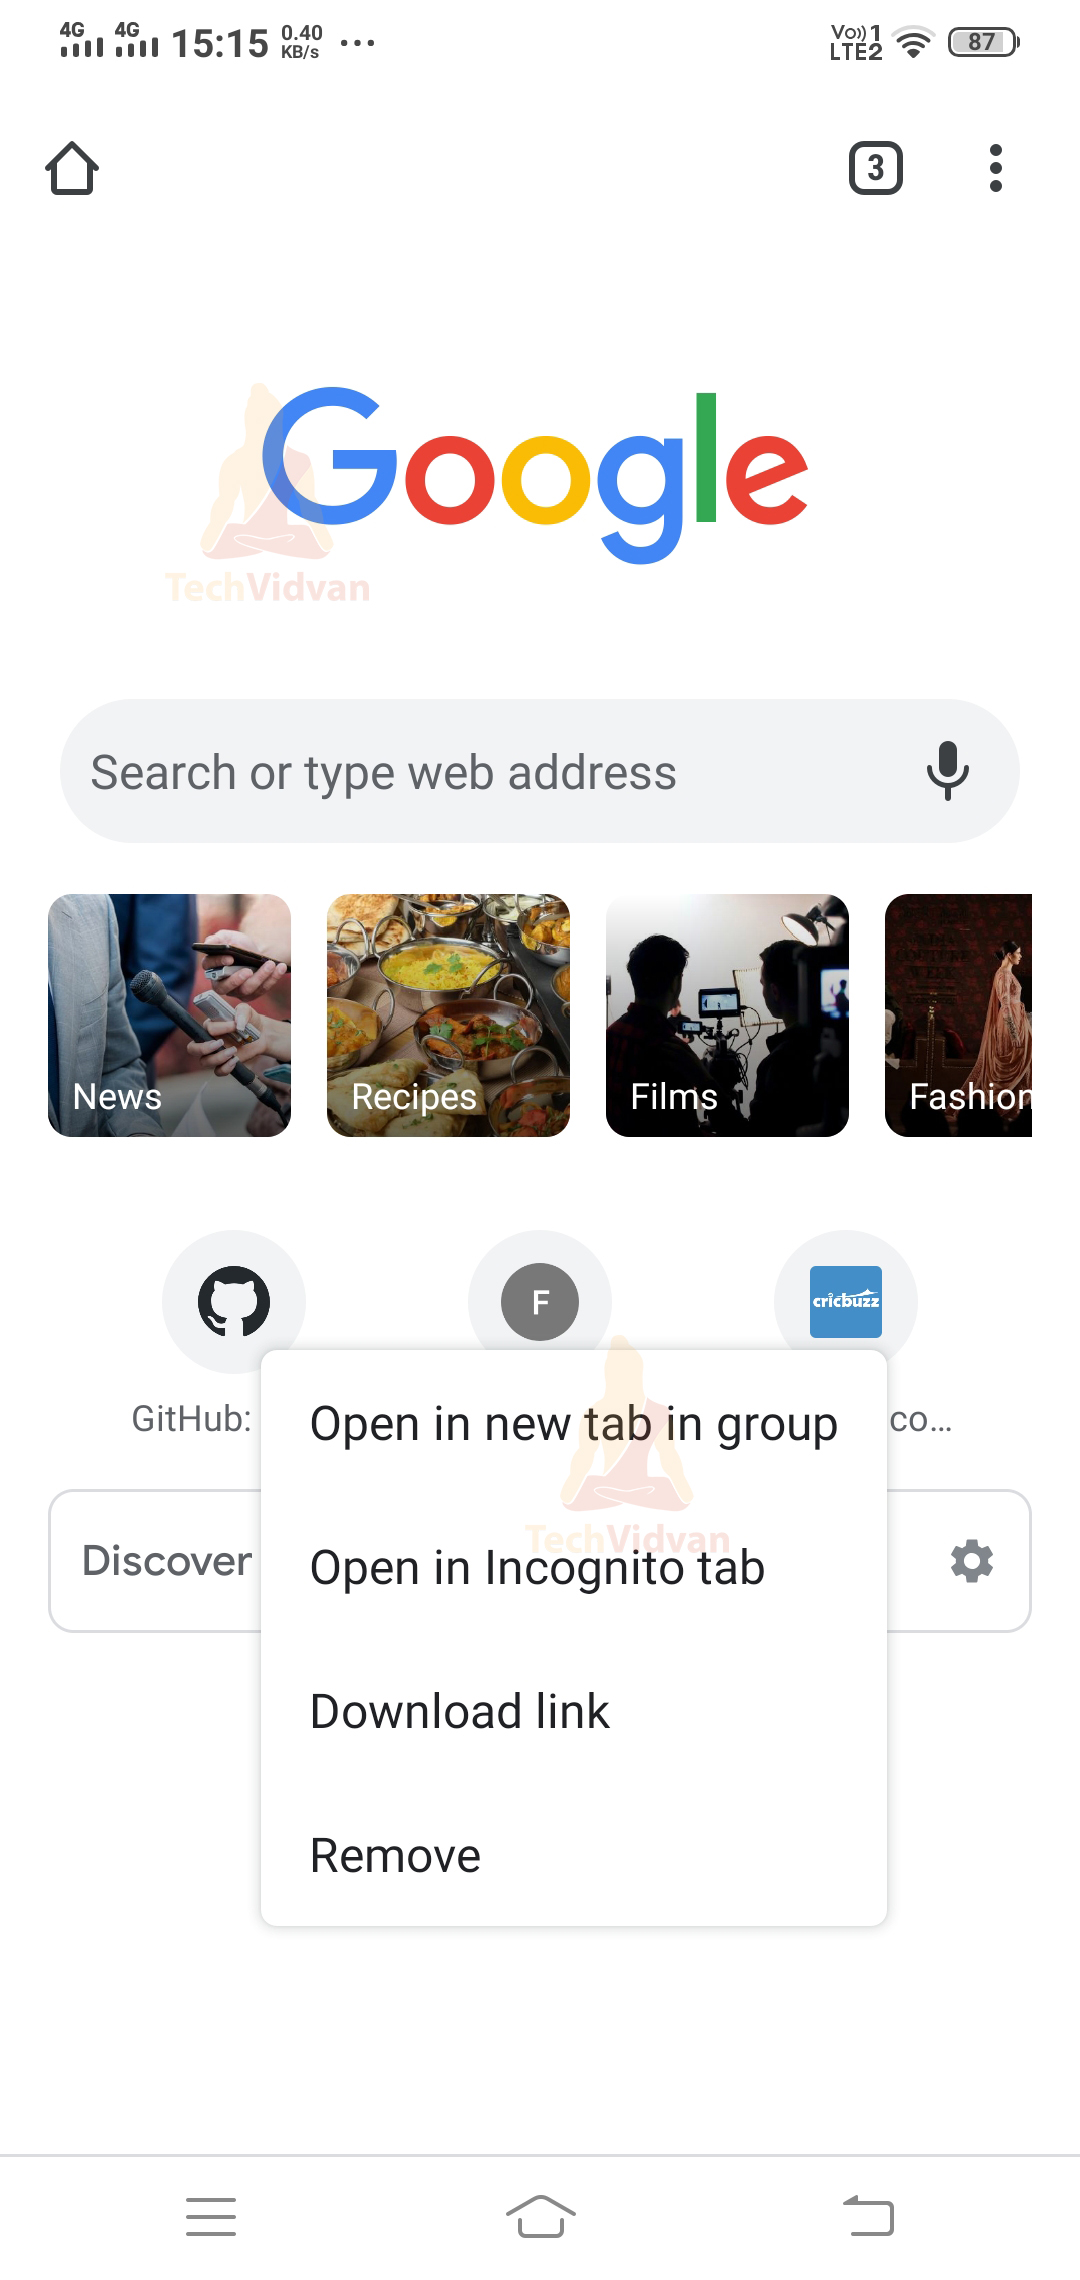
3. Android Contextual Menu
Contextual Menu appears when you long-press over a view element. Its position is not fixed and usually appears just beside the element you did a long press.
For example,
Defining a Menu in XML
Android provides you with a feature to style your menu according to your needs. Let’s see a few things which would help you to design the menu layout.
You first need to create a menu directory in the res directory. After that, create a file called sample_menu.xml file in your menu directory.
Below you can find some of the essential elements of the menu.
| <element> | Description |
| <menu> |
|
| <items> |
|
| <group> |
|
To make the above points clear, you can go through the below example.
Code:
<?xml version="1.0" encoding="utf-8"?>
<menu xmlns:android="http://schemas.android.com/apk/res/android">
    <item
        android:id="@+id/new_group"
        android:title="New Group" />
    <item
        android:id="@+id/new_broad"
        android:title="New Broadcast" />
    <item
        android:id="@+id/search"
        android:title="Search" />
    <item
        android:id="@+id/settings"
        android:title="Settings" />
    <item
        android:id="@+id/account"
        android:title="Account" />
</menu>
Attributes involved in Android Menu
Like any other UI element, even the menu has some attributes to style it and provide additional functionalities. These attributes are applied to the <item> element.
| Attribute Name | Description |
| android:id | It is used to identify the menu item uniquely. |
| android:icon | If you wish to show an icon as your item then you can use the icon attribute. |
| android:title | Whatever be the name of your option needs to be provided using the title attribute. |
| android:showAsAction | Using the showAsAction attribute, you need to specify when and where the option should be visible. |
Implementation of Menu in Android
The implementation of the Android Menu is quite simple and just requires a bit of knowledge of XML. I hope you are clear with the above points and are ready to implement them in your Android Studio.
Step 1: Start your Android Studio, select a new project, and then provide your application with a name.
Step 2: Now, create a menu directory in your res directory. In this folder, create a file named sample_menu.xml and paste the below code there.
Code: sample_menu.xml
<?xml version="1.0" encoding="utf-8"?>
<menu xmlns:android="http://schemas.android.com/apk/res/android">
    <item
        android:id="@+id/new_group"
        android:title="New Group" />
    <item
        android:id="@+id/new_broad"
        android:title="New Broadcast" />
    <item
        android:id="@+id/search"
        android:title="Search" />
    <item
        android:id="@+id/settings"
        android:title="Settings" />
    <item
        android:id="@+id/account"
        android:title="Account" />
</menu>
Step 3: Now go back to your MainActivity.kt file and paste the code below.
Code: MainActivity.kt
package com.techvidvan.techvidvanmenu

import androidx.appcompat.app.AppCompatActivity
import android.os.Bundle
import android.view.Menu
import android.view.MenuInflater
import android.view.MenuItem
import android.widget.Toast

class MainActivity : AppCompatActivity()
{
    //Kotlin Code to create options menu in android
    override fun onCreate(savedInstanceState: Bundle?) {
        super.onCreate(savedInstanceState)
        setContentView(R.layout.activity_main)
    }

    //Overriding the onCreateOptionsMenu
    override fun onCreateOptionsMenu(menu: Menu): Boolean {
        //Creating an object of MenuInflater
        val inflater: MenuInflater = menuInflater
        //Calling the sample menu using inflater
        inflater.inflate(R.menu.sample_menu, menu)
        return true
    }

    override fun onOptionsItemSelected(item: MenuItem): Boolean {
        // Handle item selection
        return when (item.itemId) {
            //If the user chooses New Group
            R.id.new_group -> {
                Toast.makeText(this@MainActivity, "You Chose New Group", Toast.LENGTH_LONG).show()
                true
            }
            //If the user chooses New Broadcast
            R.id.new_broad -> {
                Toast.makeText(this@MainActivity, "You Chose New Broadcast", Toast.LENGTH_LONG).show()
                true
            }
            //If the user chooses Search option
            R.id.search -> {
                Toast.makeText(this@MainActivity, "You Chose Search", Toast.LENGTH_LONG).show()
                true
            }
            //If the user chooses Settings Option
            R.id.settings -> {
                Toast.makeText(this@MainActivity, "You Chose Settings", Toast.LENGTH_LONG).show()
                true
            }
            //If the user chooses Account option
            R.id.account -> {
                Toast.makeText(this@MainActivity, "You Chose Account", Toast.LENGTH_LONG).show()
                true
            }

            else -> super.onOptionsItemSelected(item)
        }
    }
}
Now build your application and then run it on your device or emulator.

You can notice the three dots present in the action bar; just click on them.
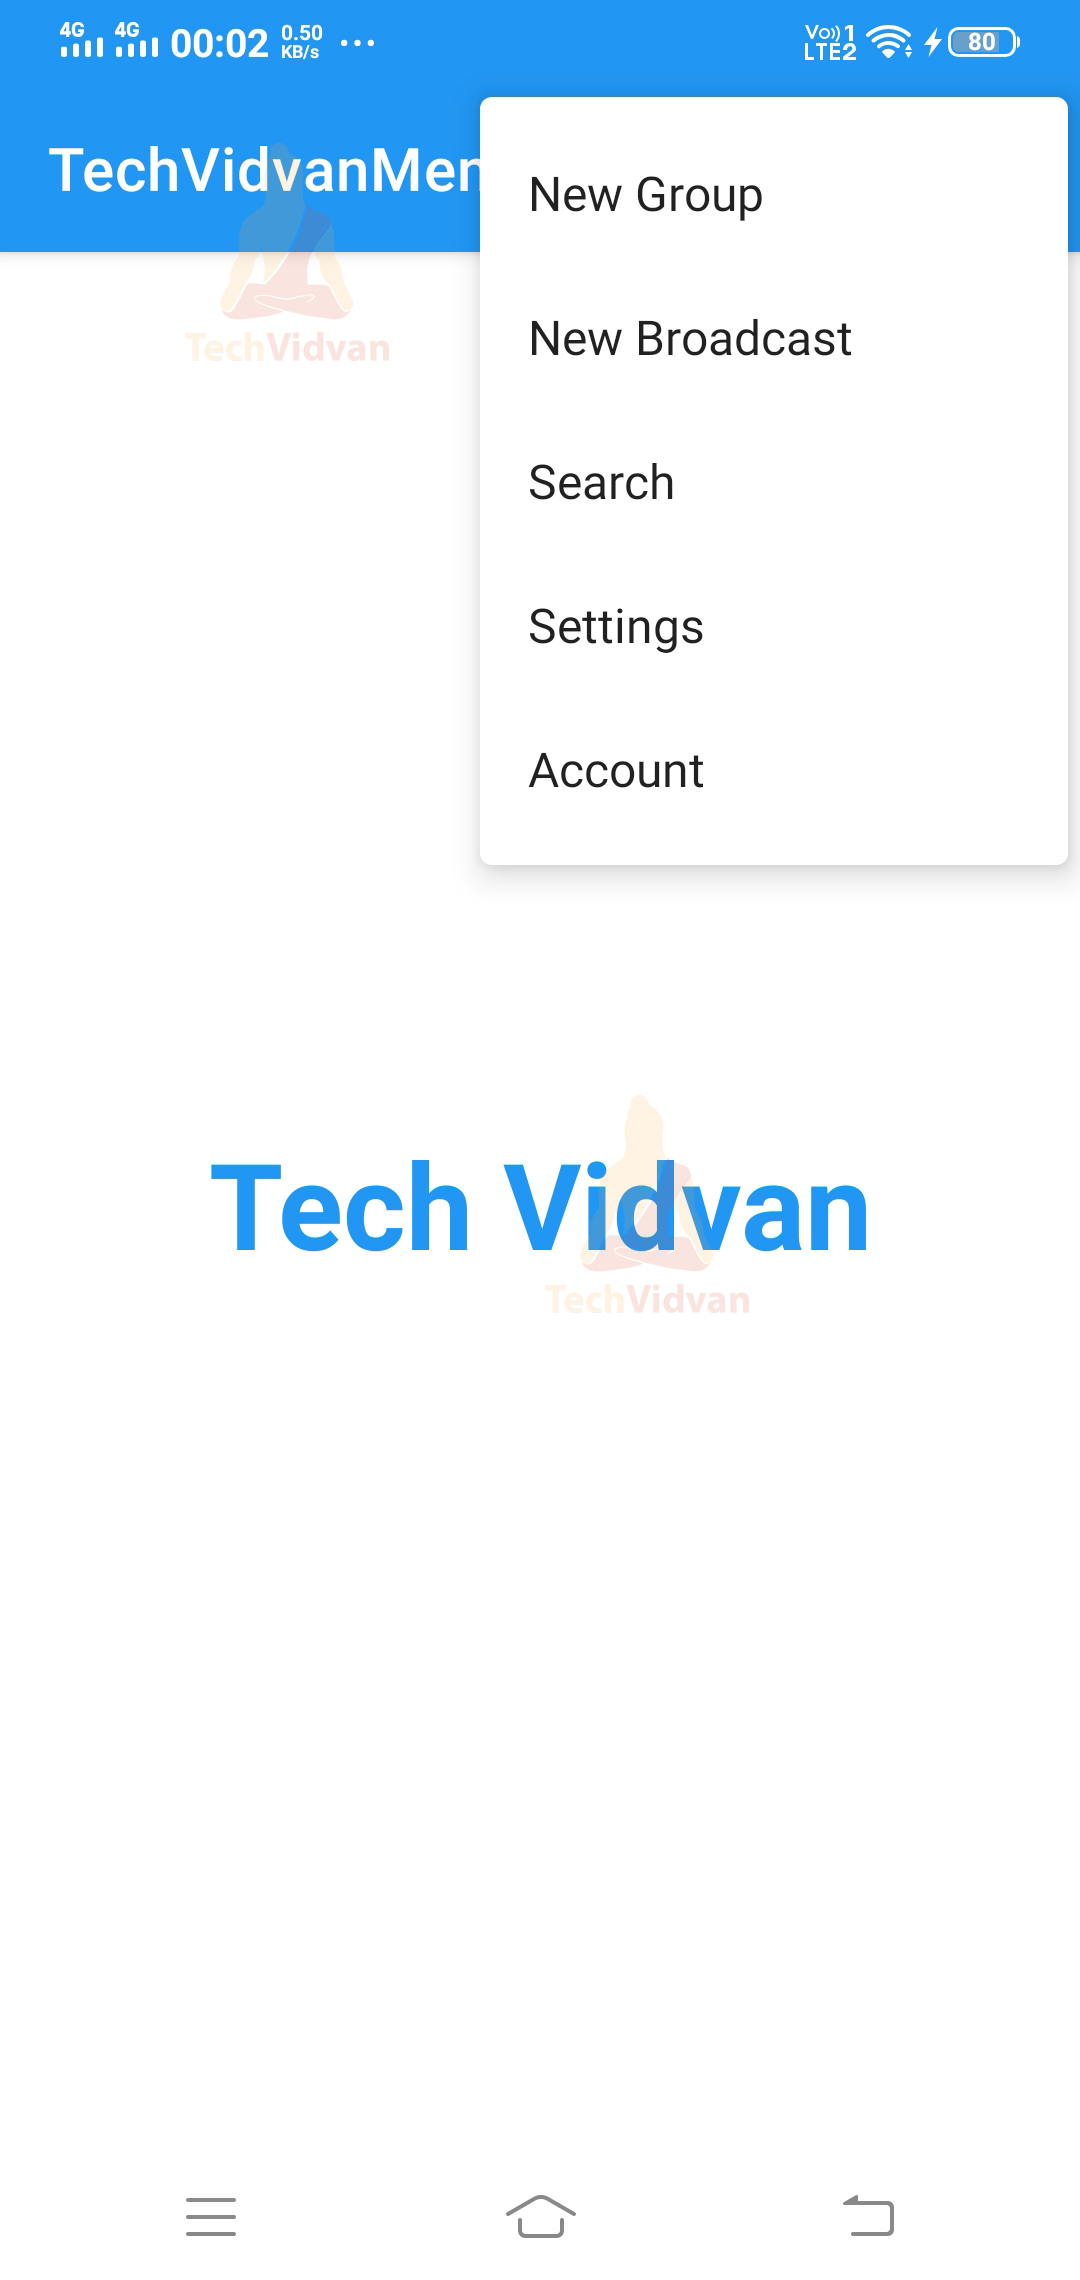
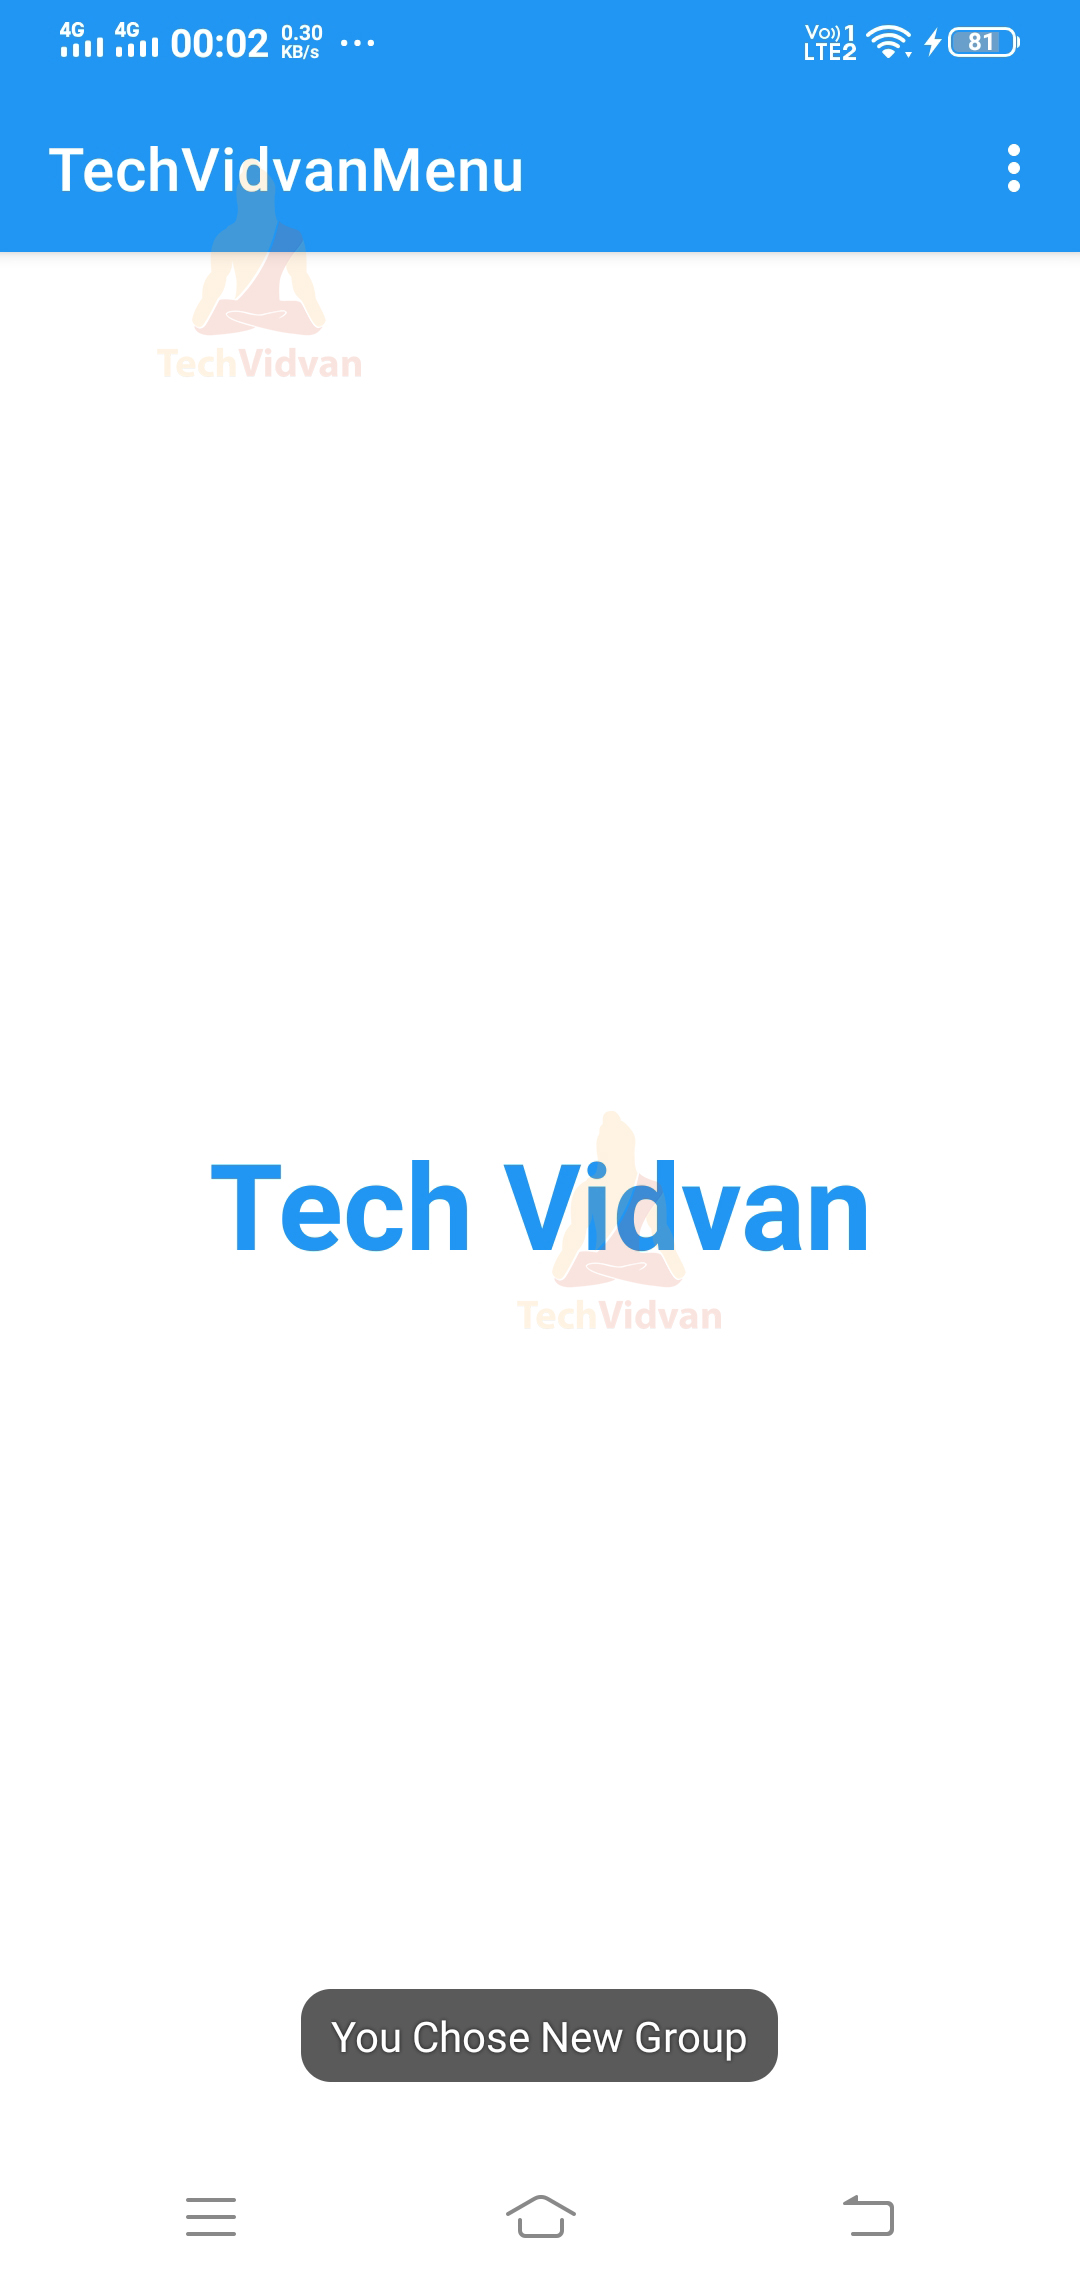
You can see an available list of options. Now select the New Group option here, and you would see a toast on your screen.
Summary
Through this article, you came across Menu in Android. You saw several types of menus present in Android, along with a suitable example. Later on, you saw how you could define and style your menu. Finally, you saw an implementation of the Android Menu in a few simple steps. I hope you enjoyed the article and would develop more such menus for your apps.