Services in Android
This article will help you understand what services are and the several types of services. You will also know how applications work in the background and carry out their tasks. For example, you must have used music applications that play music in the background while you do some other tasks.
Further, we will discuss the Lifecycle of services, their methods, and how to implement them in detail. Let’s start!!!!
What are Services in Android?
Services are the processes that run in the background and do not have any user interface for the user to interact. It simply runs in the background and performs the tasks. It doesn’t matter whether the application is active or not; its services may be active.
Services are a beneficial component and allow the user to perform various tasks like music playback, notification triggering, warnings, etc. Suppose, for example, you kept the music on your music application and then went out of that application. Still, the music keeps on playing in the background.
Another ubiquitous example is your messaging app. Even if your messaging app is not active, you still receive notifications for any new messages coming to your device.For implementing Services in android, you need to create a subclass from the “Service” Class.
Types of Android Services
There are three types of Android Services, namely:
- Foreground Services
- Background Services
- Bound Services
Let’s discuss each of them in detail.
1. Foreground Services in Android
The foreground services are the services that are available directly to users. The users can interact through these services directly, and they are visible to them. These services can run both when the app is active or shift his focus to other applications.
One persuasive example is the music players, which allow you to play music even when you are not operating the application.
2. Background Services in Android
These services are hidden from the user and operate in the background. Usually, these services are managed by the system itself.
One such example is your internet services or syncing data or storing data.
3. Bound Services in Android
These services require binding from the application components of the android. The service will last until there is a binding to it; otherwise, it will lose its existence. Several components can bind with the service at a time.
To bind the service and a component, we need to use a bindService() method.
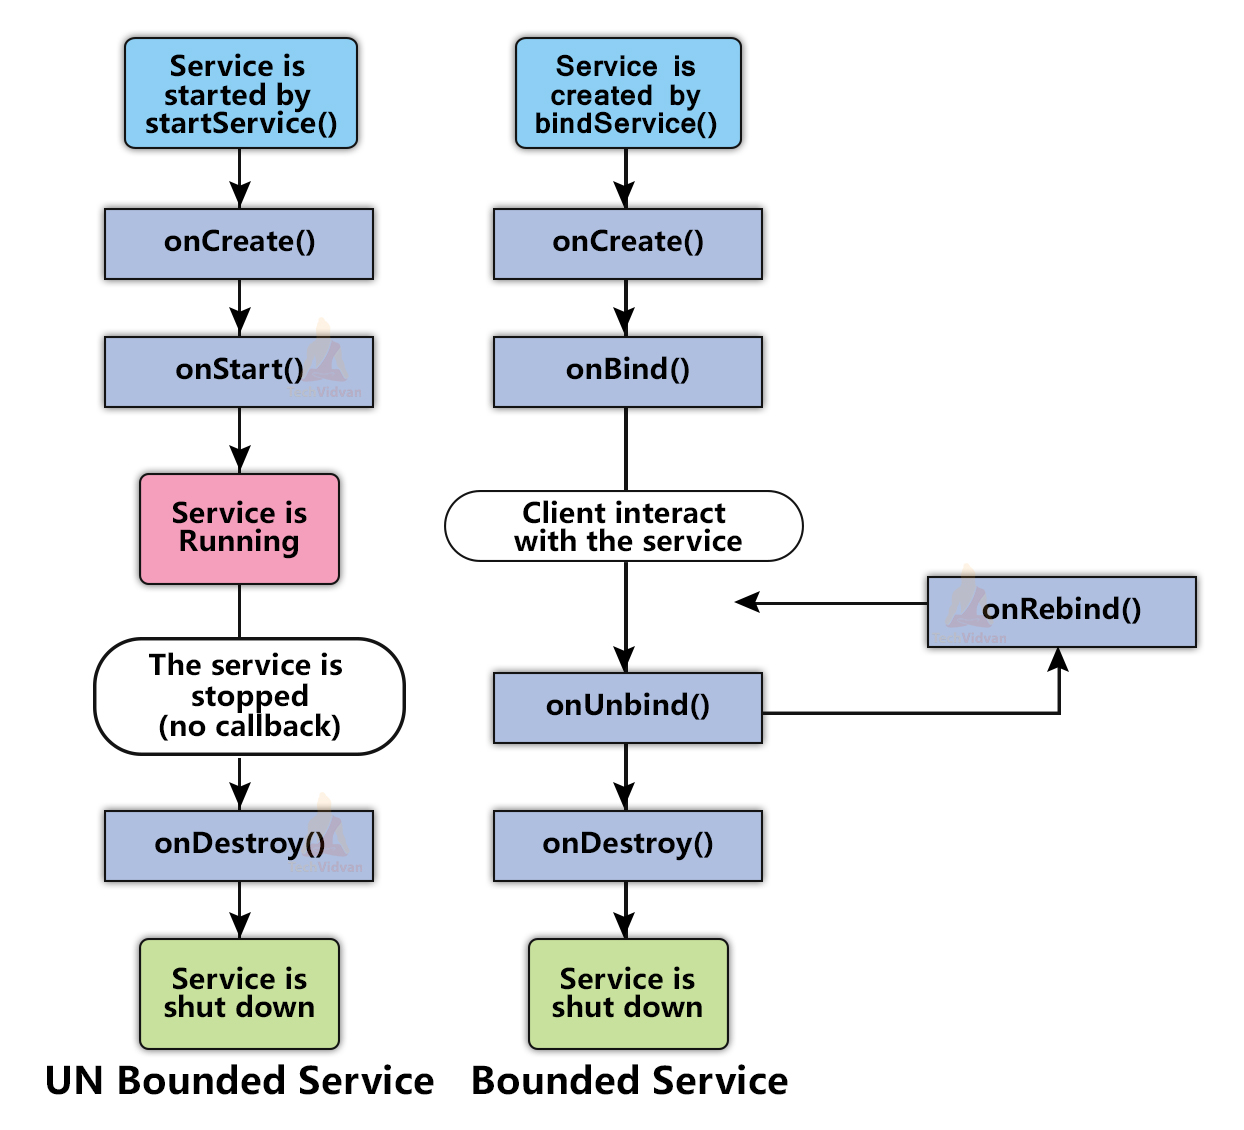
Lifecycle of Android Services
Android Services Lifecycle has only two possible states. Any service goes through these two states.
- Started
- Bound
Let’s discuss them in detail:
1. Started:
When the service is started, it works in the background and is not dependent on its component. Even if the component gets destroyed, still the service may keep on running in the background. Therefore, started services are also known as unbounded services.
To create or initiate service, the application component needs to call the startService() method.
However, to stop the initiated service, you can do either of the following:
- You can call the stopService() method, or
- The service will stop itself by using stopSelf() method.
2. Bound:
Whenever the service is in this state, then it behaves as a server responding to the application component’s request. Therefore, the application component needs to bind itself with the service. For this purpose, you need to use the bindService() method.
To stop this kind of service, you need to use the unbindService() method. This method helps to unbind the components from their respective services.
Methods of Android Services
Six callback methods are a part of the Service class. We can create, start, stop, destroy a service, or even bind services with application components using these functions. The following are the methods:
1. onCreate()
This method is called at first whenever a service has to be created. Using this callback method, the service of an application is created and is ready to perform some tasks. It is where you initialize any resources needed for the service, such as setting up necessary variables or components. This method runs only once during the entire lifecycle of the service.
2. onStartCommand()
This method is called whenever the startService() method is invoked. This method gets triggered whenever the service starts, and whatever is present inside this method is performed. It returns an integer that describes how the system should continue the service in the event the system kills it. You can handle tasks like executing new work requests or processing intents within this method.
3. onBind()
This method is called whenever the bindService() method is invoked. This method helps us to bind the application components with the service created. For the communication between the application component and the service, we need to provide an IBinder Object interface. This method is mandatory and needs to be present in your service class. If you don’t need to bind components, then just return null. It is essential for services that allow client-server communication within the same application or with other applications.
4. onRebind()
This method is required whenever new users get connected to your service. However, this method can only be invoked after the onBind() method. It is called when new clients request to bind to the service after it had previously been unbound. This method is useful for managing additional client connections without reinitializing the service.
5. onUnbind()
This method unbinds all the components bound with the service and disconnects the service’s current user. It is called when all clients have disconnected from a particular interface published by the service. You can use this method to clean up resources related to the bound service, ensuring no memory leaks occur.
6. onDestroy()
This method is used to free up the system resources. Whenever the service has to be destroyed, then the onDestroy() method is called. This method drops the active threads, removes listeners, etc. It is the final call the service receives and is useful for releasing any resources that were allocated in onCreate(). It ensures that the service shuts down cleanly.
Implementation of Android Services
Following are the steps using which you can create your service in Android. We will show you how you can create a music player service that plays your default mobile ringtone for the demonstration.
1: Open your Android Studio.
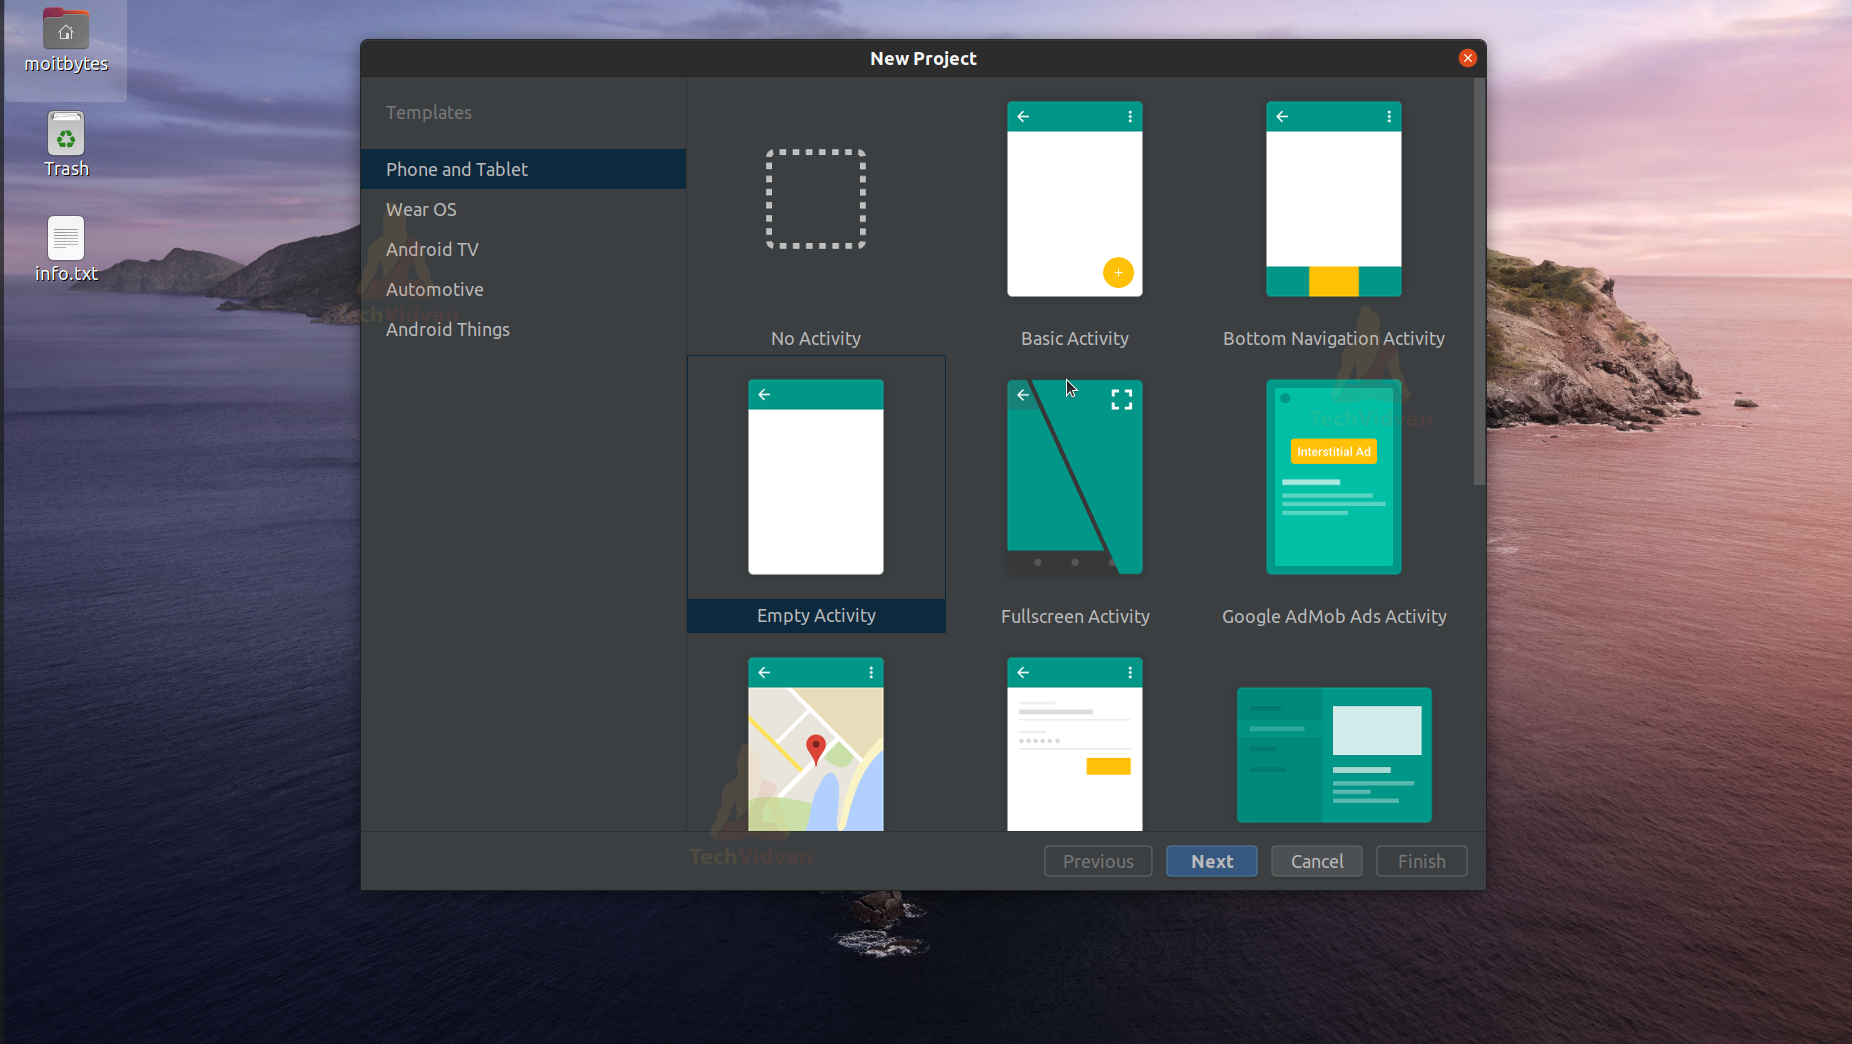
2: Click on Create New Project.
3: Select Empty Activity and proceed.
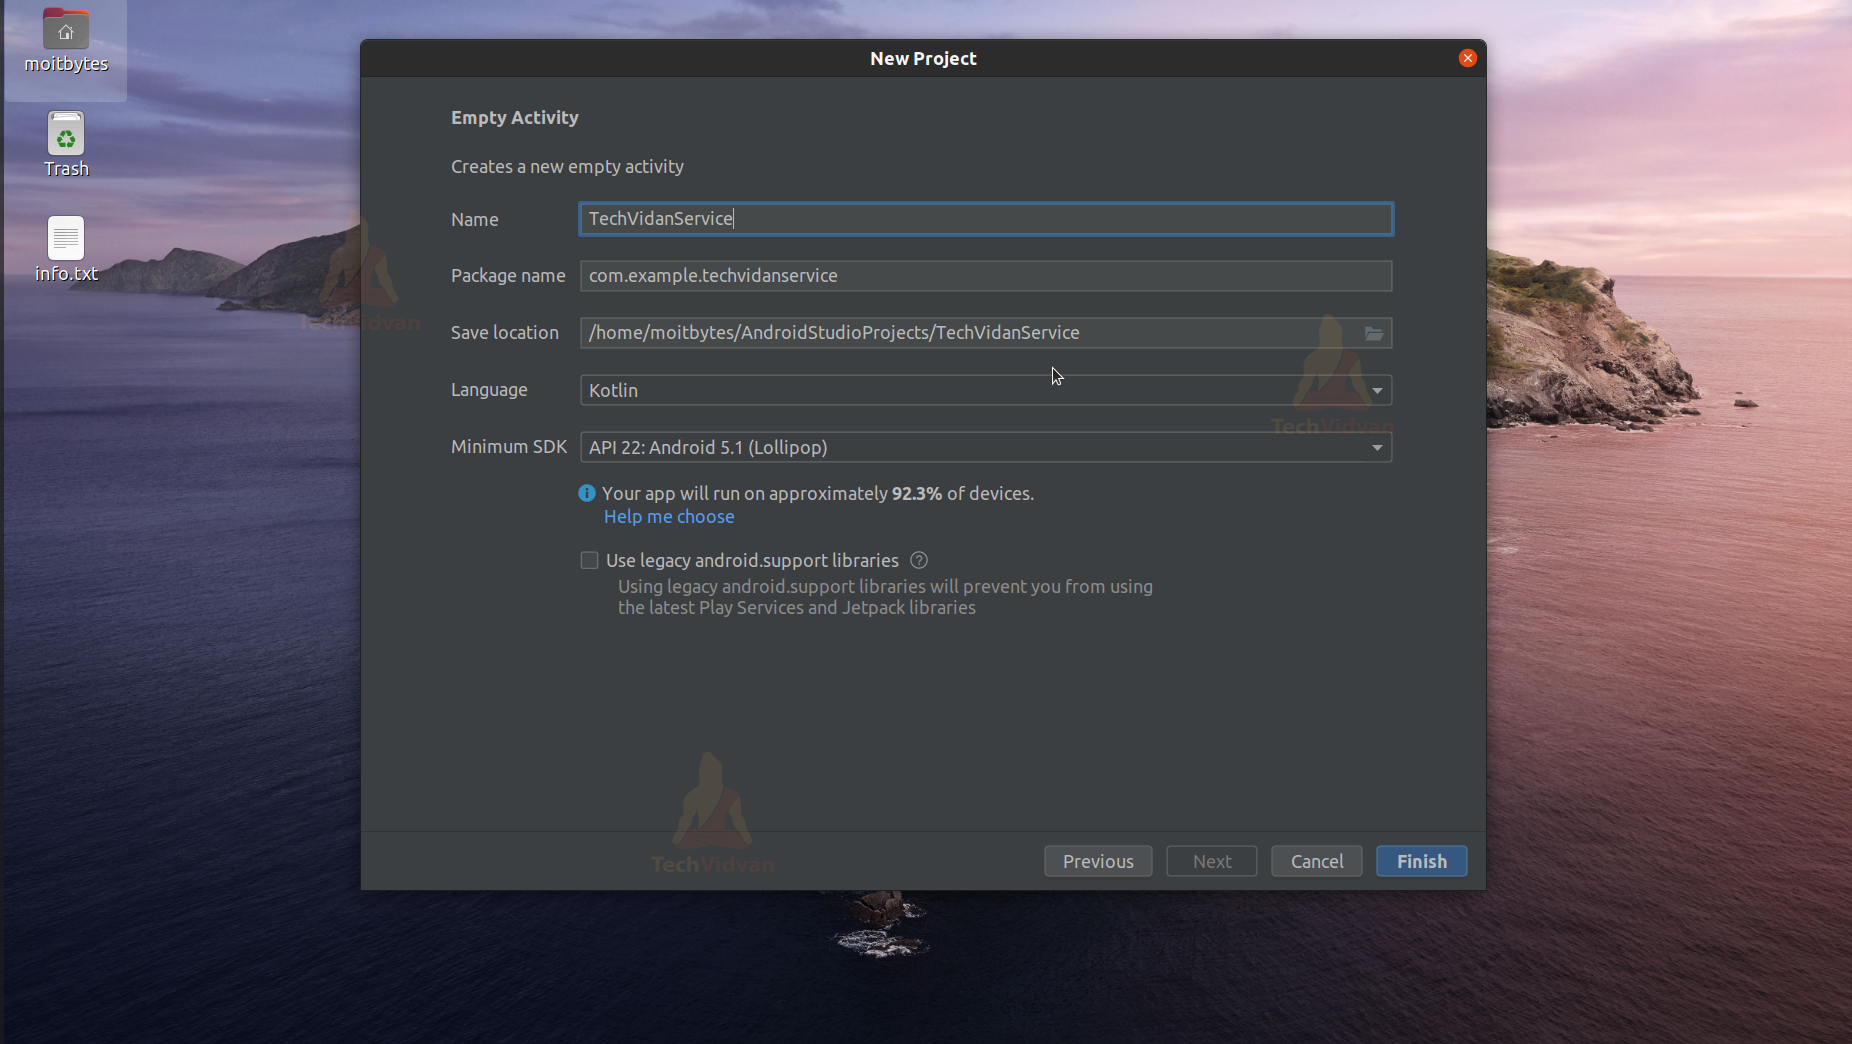
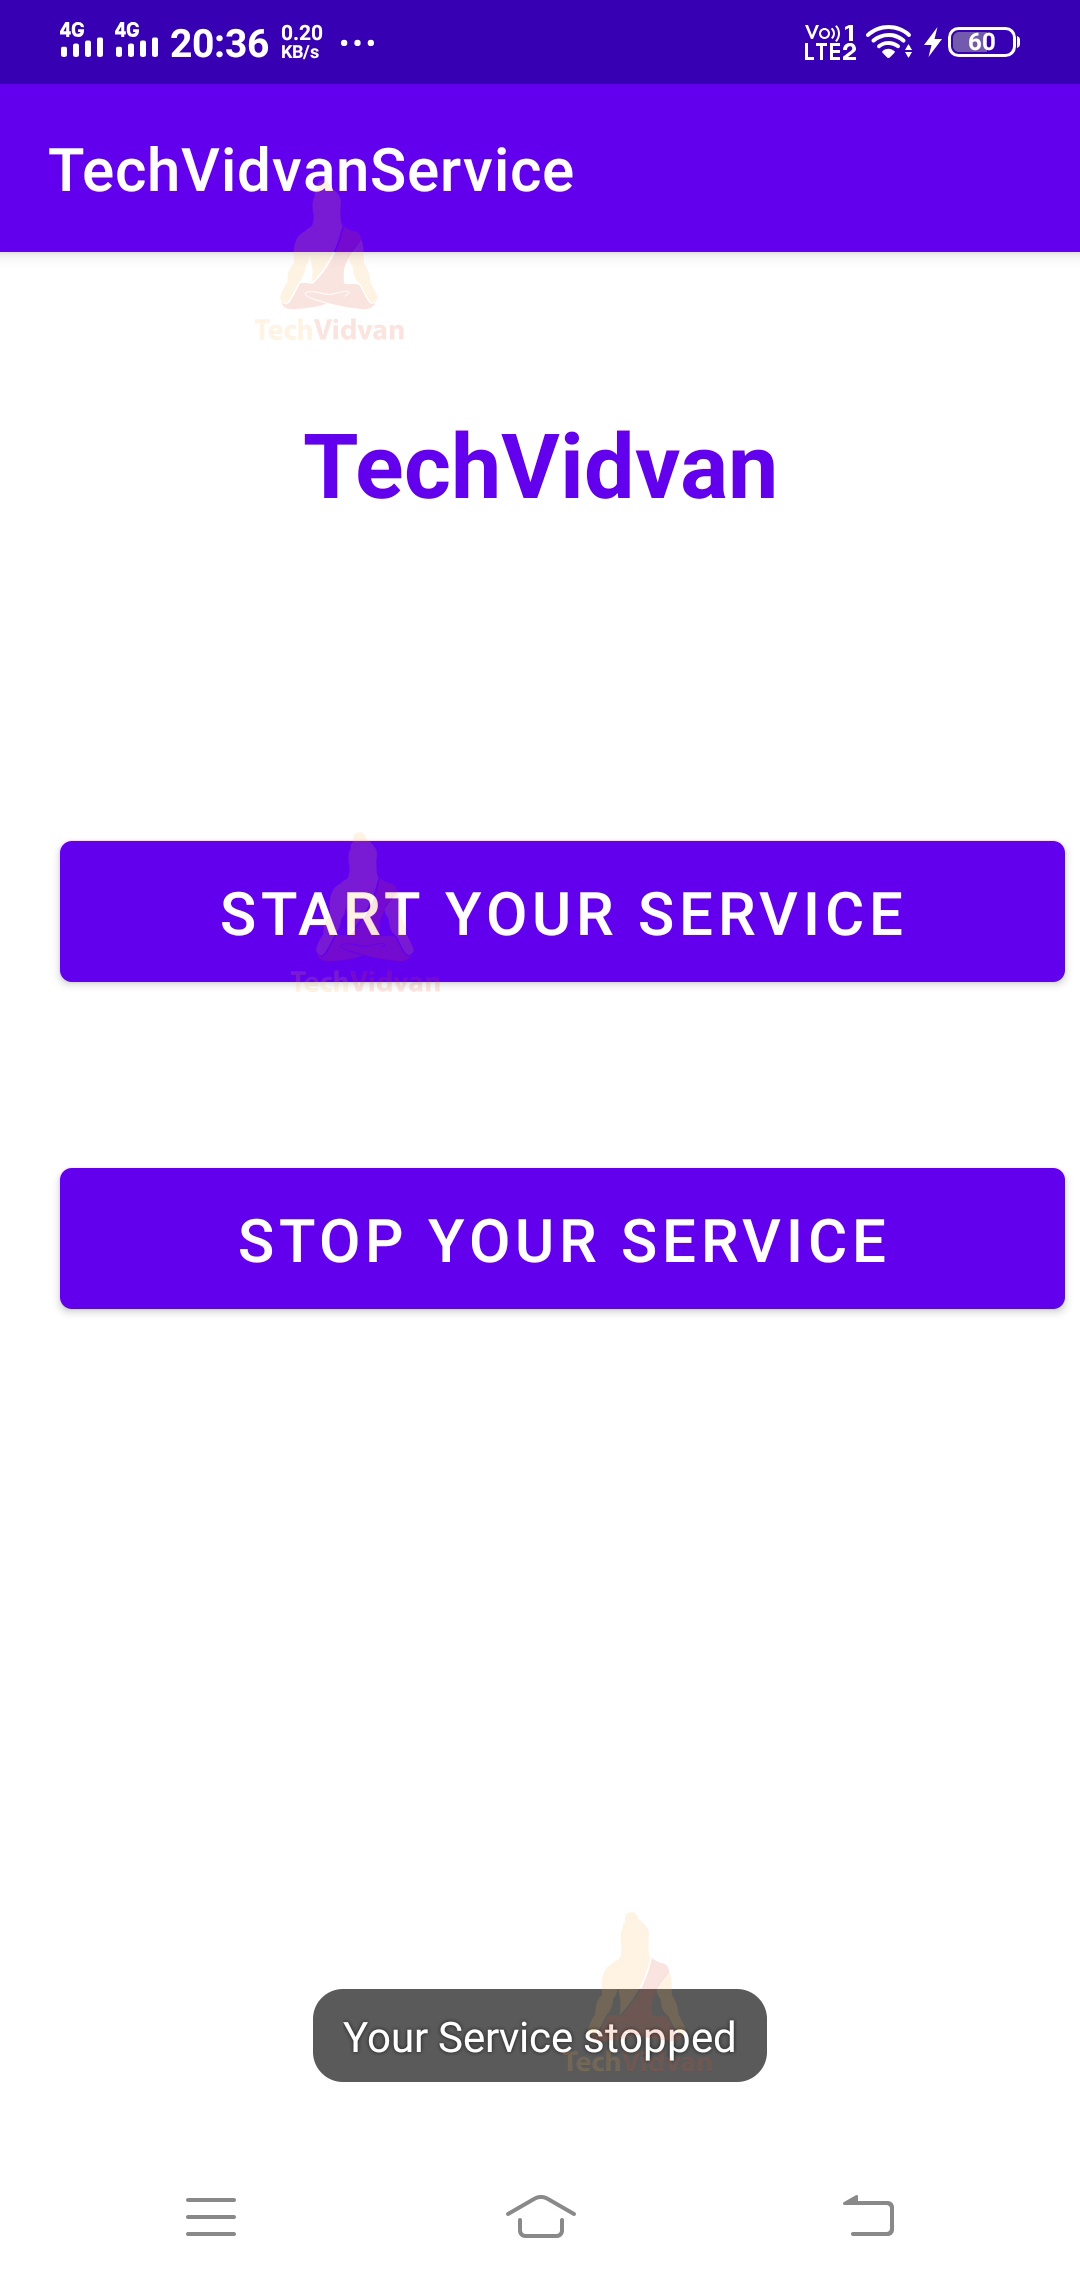
4: Enter your application name. In my case, it’s “TechVidvanService.” Next, select Kotlin from the dropdown. For the API level, select API 22 for now.
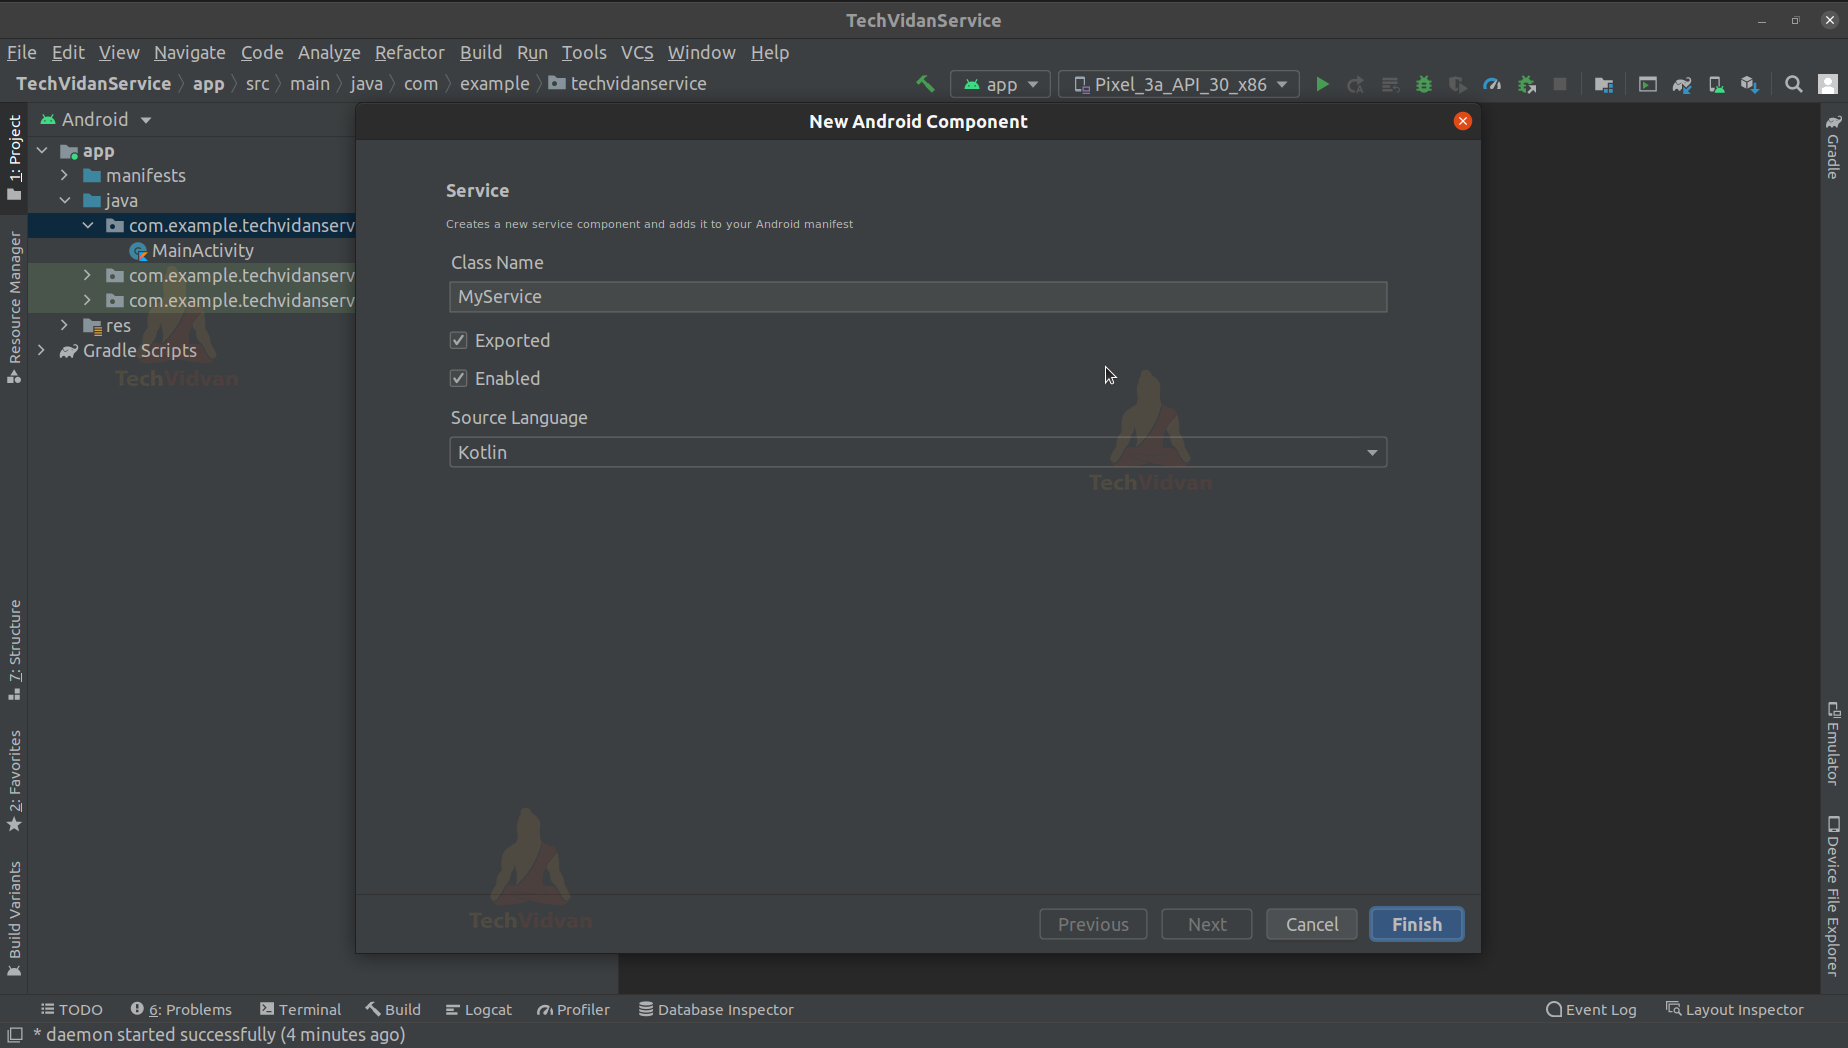
5: Now, when your android studio loads, then click on java. Then select the first directory and right-click. Now click on New —> Service. This will open a window asking you the name of your service. Just enter “MyService” and click finish.
6: Now, you can see your service created. By default, you can see the onBind() method is there. Just remove the return statement and keep the return null. Now just see how we coded the MyService.kt file.
Code: (MyService.kt)
package com.example.techvidvanservice

import android.app.Service
import android.content.Intent
import android.media.MediaPlayer
import android.os.IBinder
import android.provider.Settings
import android.widget.Toast

class MyService : Service()
{
    private lateinit var myPlayer: MediaPlayer;

    override fun onBind(intent: Intent): IBinder?
    {
        //returning null as we are not binding any component to the service
        return null;
    }

    override fun onCreate()
    {
        super.onCreate()
        Toast.makeText(this, "Your Service is created", Toast.LENGTH_LONG).show();
    }
    override fun onStartCommand(intent: Intent?, flags: Int, startId: Int): Int
    {
        //playing your phone ringtone
        //whenever you start this service

        myPlayer = MediaPlayer.create(this, Settings.System.DEFAULT_RINGTONE_URI)

        // setting the player on loop
        // so that the service keeps running
        // until we stop
        myPlayer.setLooping(true)

        // starting the player service
        myPlayer.start()
        Toast.makeText(this, "Your Service started", Toast.LENGTH_LONG).show();

        // provides the status of our service
        return START_STICKY
    }

    override fun onDestroy() {
        super.onDestroy()

        //whenever the service is destroyed
        //we need to stop our media player
        myPlayer.stop();
        Toast.makeText(this, "Your Service stopped", Toast.LENGTH_LONG).show();
    }
}
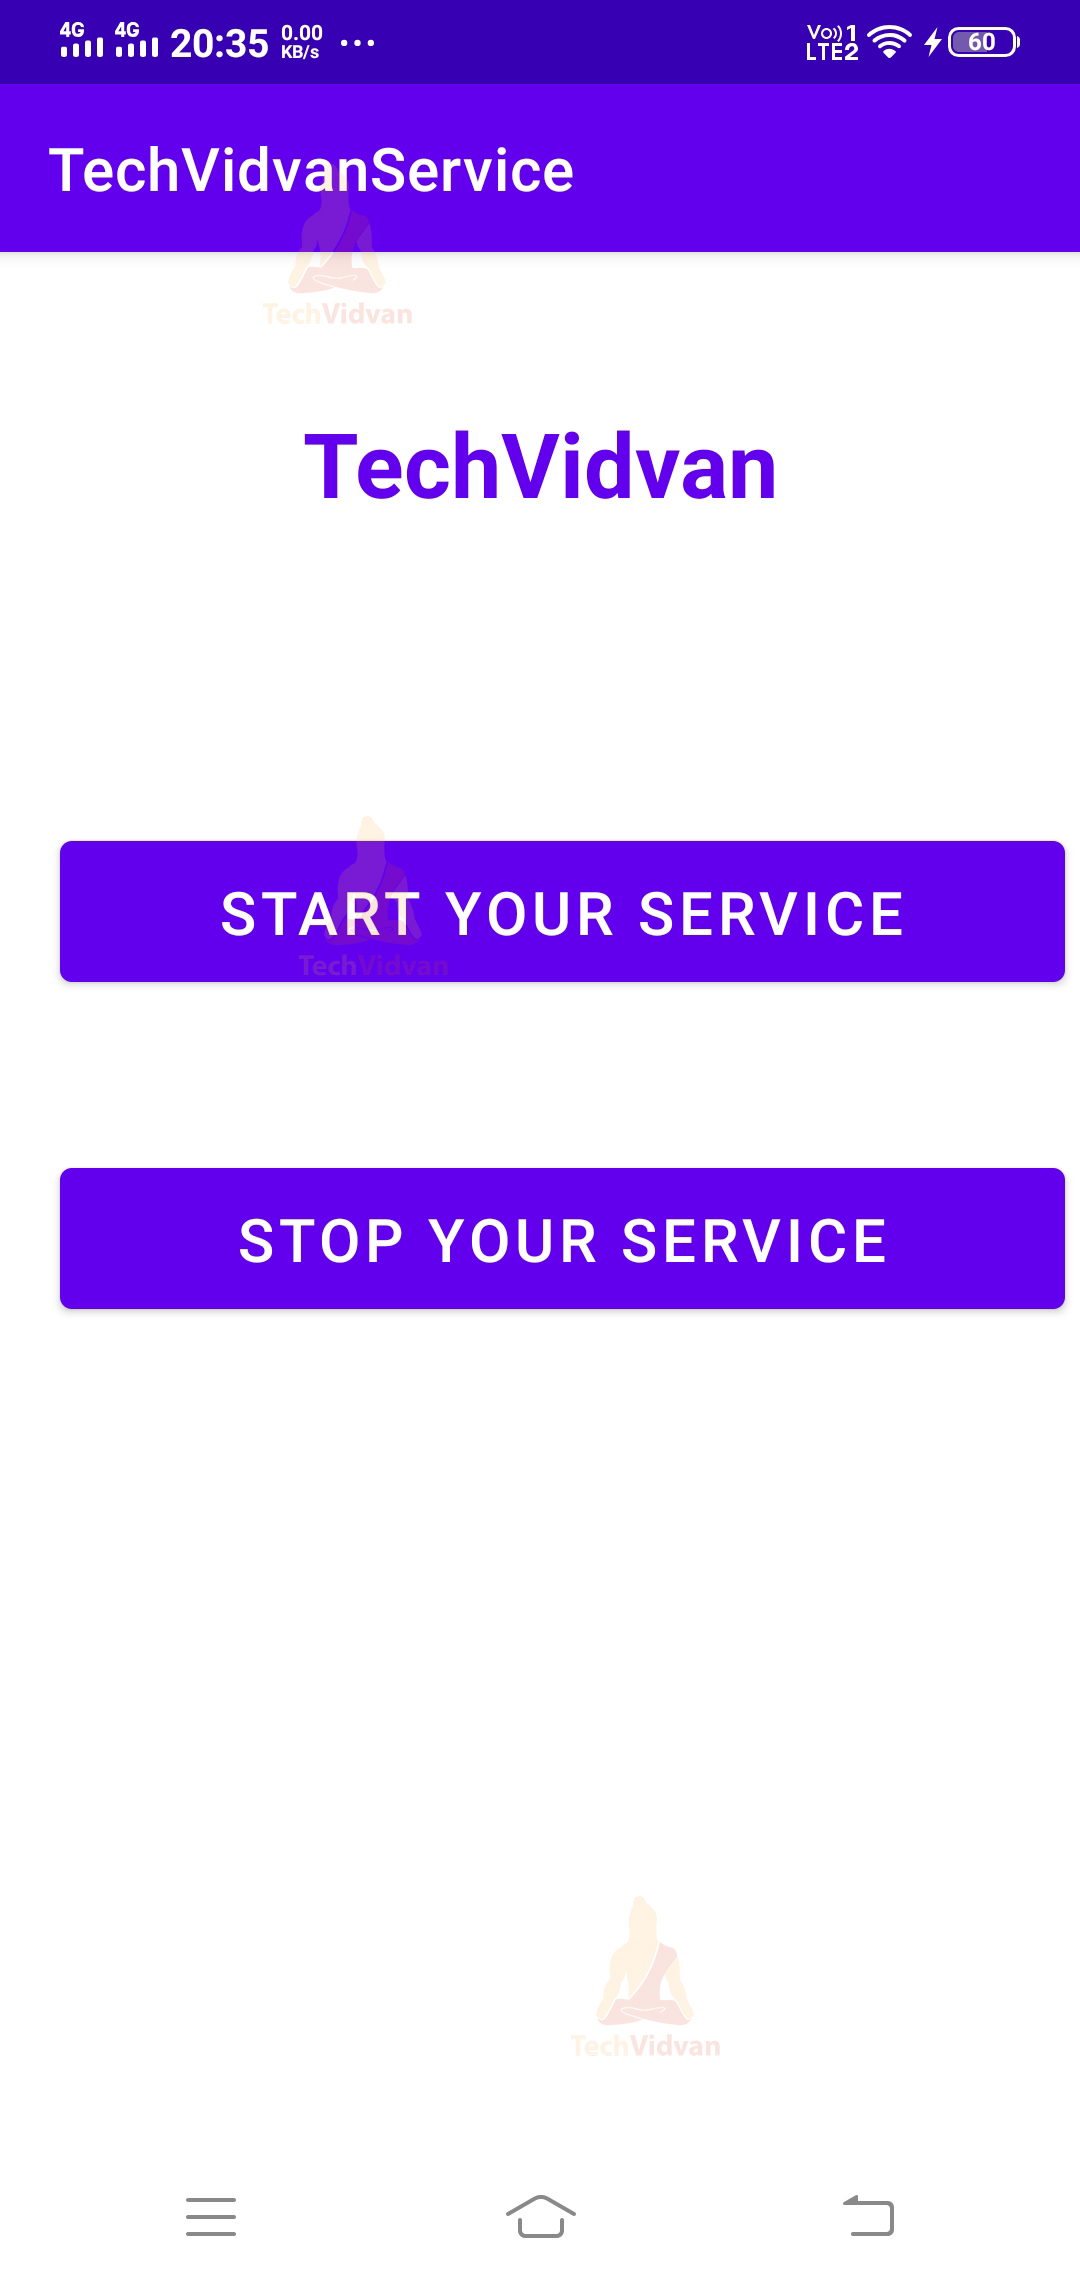
7: Now go to the app –> res –> layout –> activity_main.xml and add two buttons one to start the service and another to stop the service. You can notice the activity_main.xml file below.
Code: (activity_main.xml)
<?xml version="1.0" encoding="utf-8"?>
<LinearLayout
    xmlns:android="http://schemas.android.com/apk/res/android"
    xmlns:tools="http://schemas.android.com/tools"
    android:layout_width="match_parent"
    android:layout_height="match_parent"
    tools:context=".MainActivity"
    android:orientation="vertical">

    <TextView
        android:layout_width="match_parent"
        android:layout_height="wrap_content"
        android:layout_marginTop="50dp"
        android:text="TechVidvan"
        android:fontFamily="sans-serif"
        android:textColor="@color/purple_500"
        android:textStyle="bold"
        android:gravity="center"
        android:textSize="30sp"
        />

    <Button
        android:id="@+id/startServiceButton"
        android:layout_width="match_parent"
        android:layout_height="wrap_content"
        android:text="Start your Service"
        android:textSize="20sp"
        android:padding="10dp"
        android:layout_marginLeft="20dp"
        android:layout_marginRight="5dp"
        android:layout_marginTop="100dp"
        />
    <Button
        android:id="@+id/stopServiceButton"
        android:layout_width="match_parent"
        android:layout_height="wrap_content"
        android:text="Stop your Service"
        android:textSize="20sp"
        android:padding="10dp"
        android:layout_marginLeft="20dp"
        android:layout_marginRight="5dp"
        android:layout_marginTop="50dp"
        />
</LinearLayout>
8: After coding the activity_main.xml, now come to the MainActivity.kt file.
Code: (MainActivity.kt)
package com.example.techvidvanservice

import android.content.Intent
import androidx.appcompat.app.AppCompatActivity
import android.os.Bundle
import android.view.View
import android.widget.Button

class MainActivity : AppCompatActivity()
{
    private lateinit var startMusic:Button;
    private lateinit var stopMusic:Button;

    override fun onCreate(savedInstanceState: Bundle?)
    {
        super.onCreate(savedInstanceState)
        setContentView(R.layout.activity_main)

        //Binding the start/stop buttons of the layout to our variables
        startMusic = findViewById(R.id.startServiceButton)
        stopMusic = findViewById(R.id.stopServiceButton)

        //Adding listener to each button
        startMusic.setOnClickListener(View.OnClickListener
        {
            //starting the music player service
            //when start service button is pressed
            startService(Intent(this, MyService::class.java))
        })

        stopMusic.setOnClickListener(View.OnClickListener
        {
            //stop the music player service
            //when stop service button is pressed
            stopService(Intent(this, MyService::class.java))
        })
    }
}
Your application is now ready. Just install it on your emulator or device.
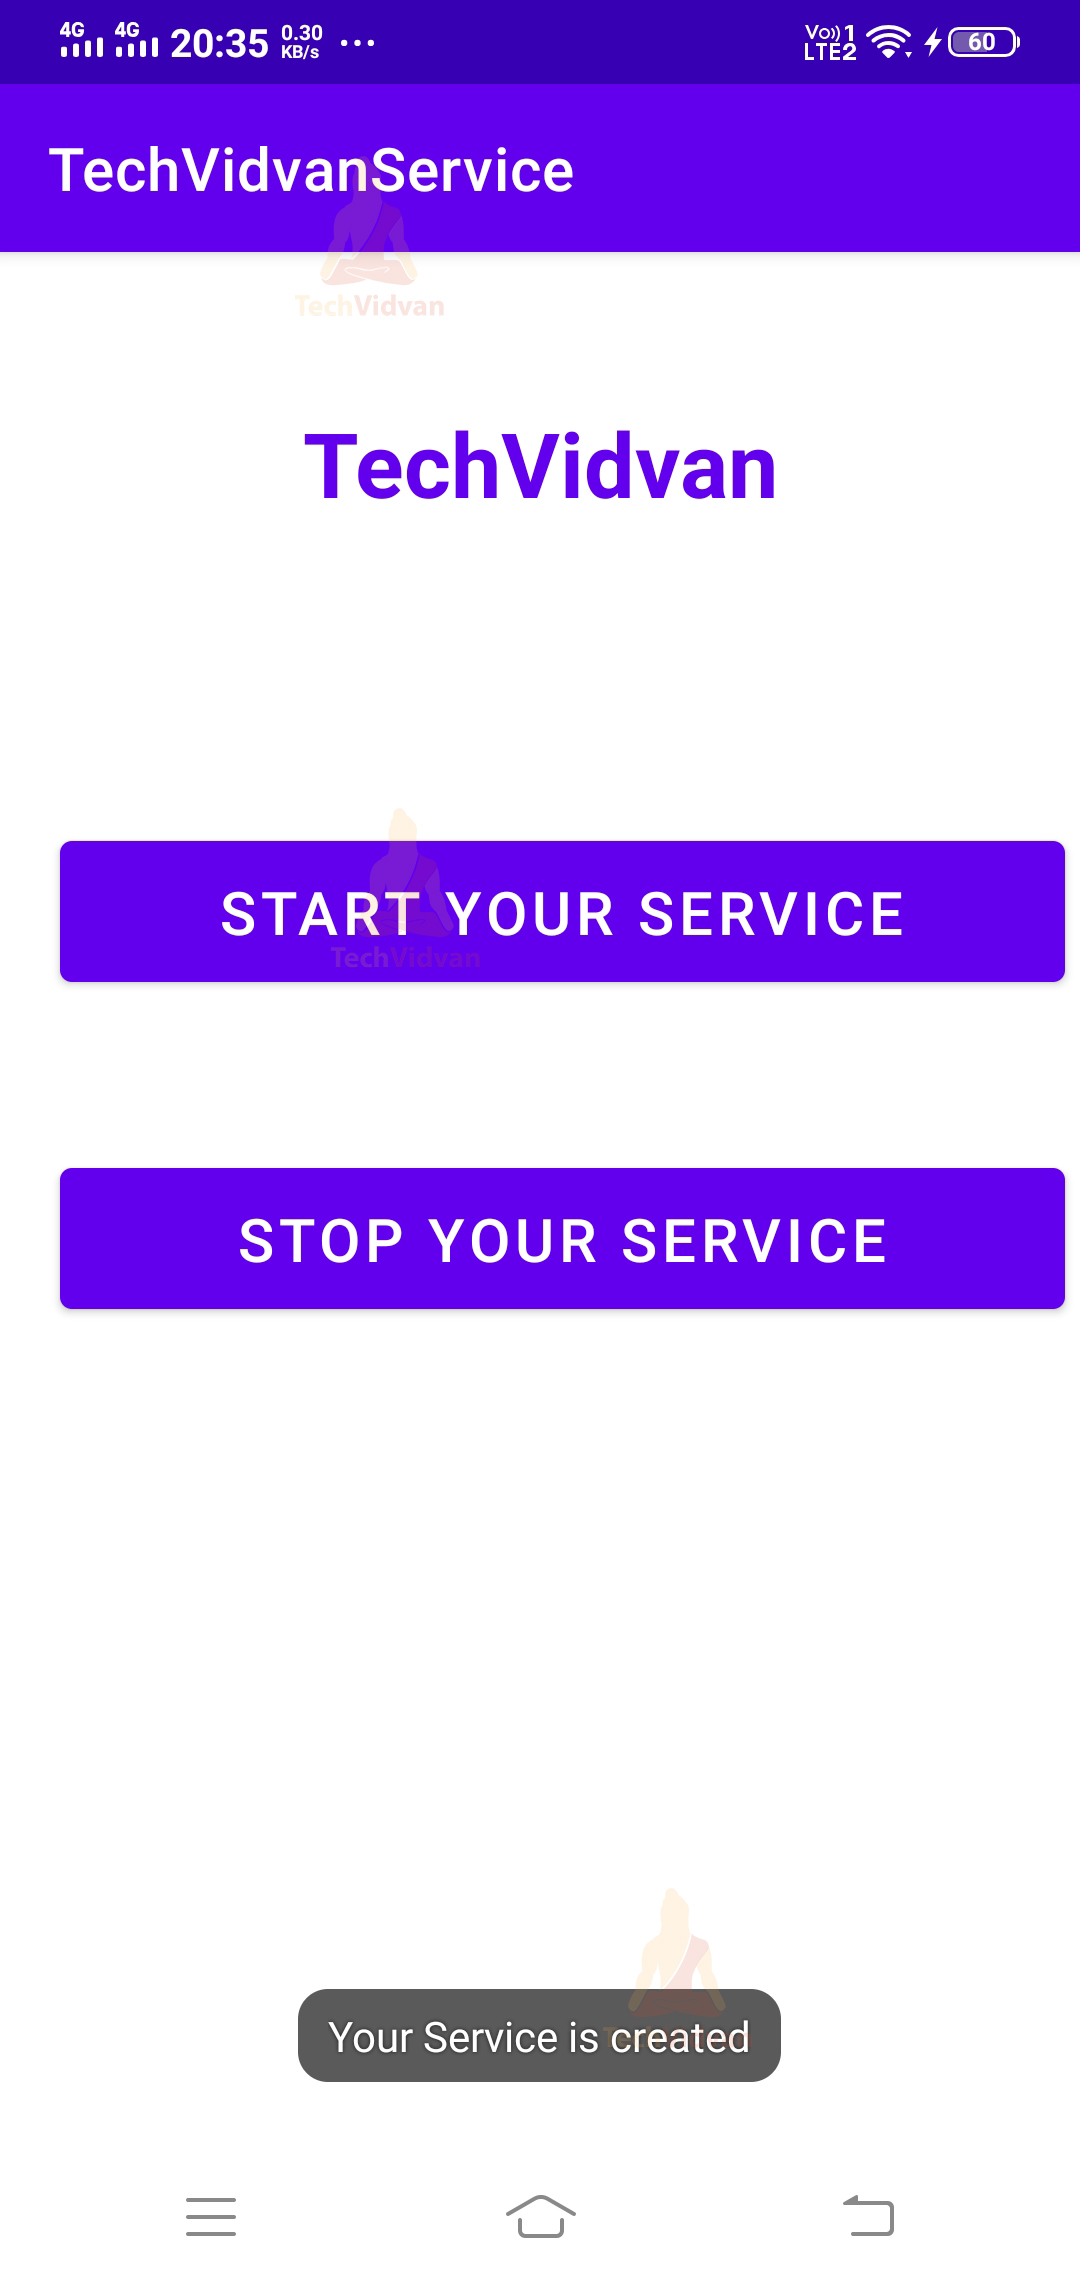
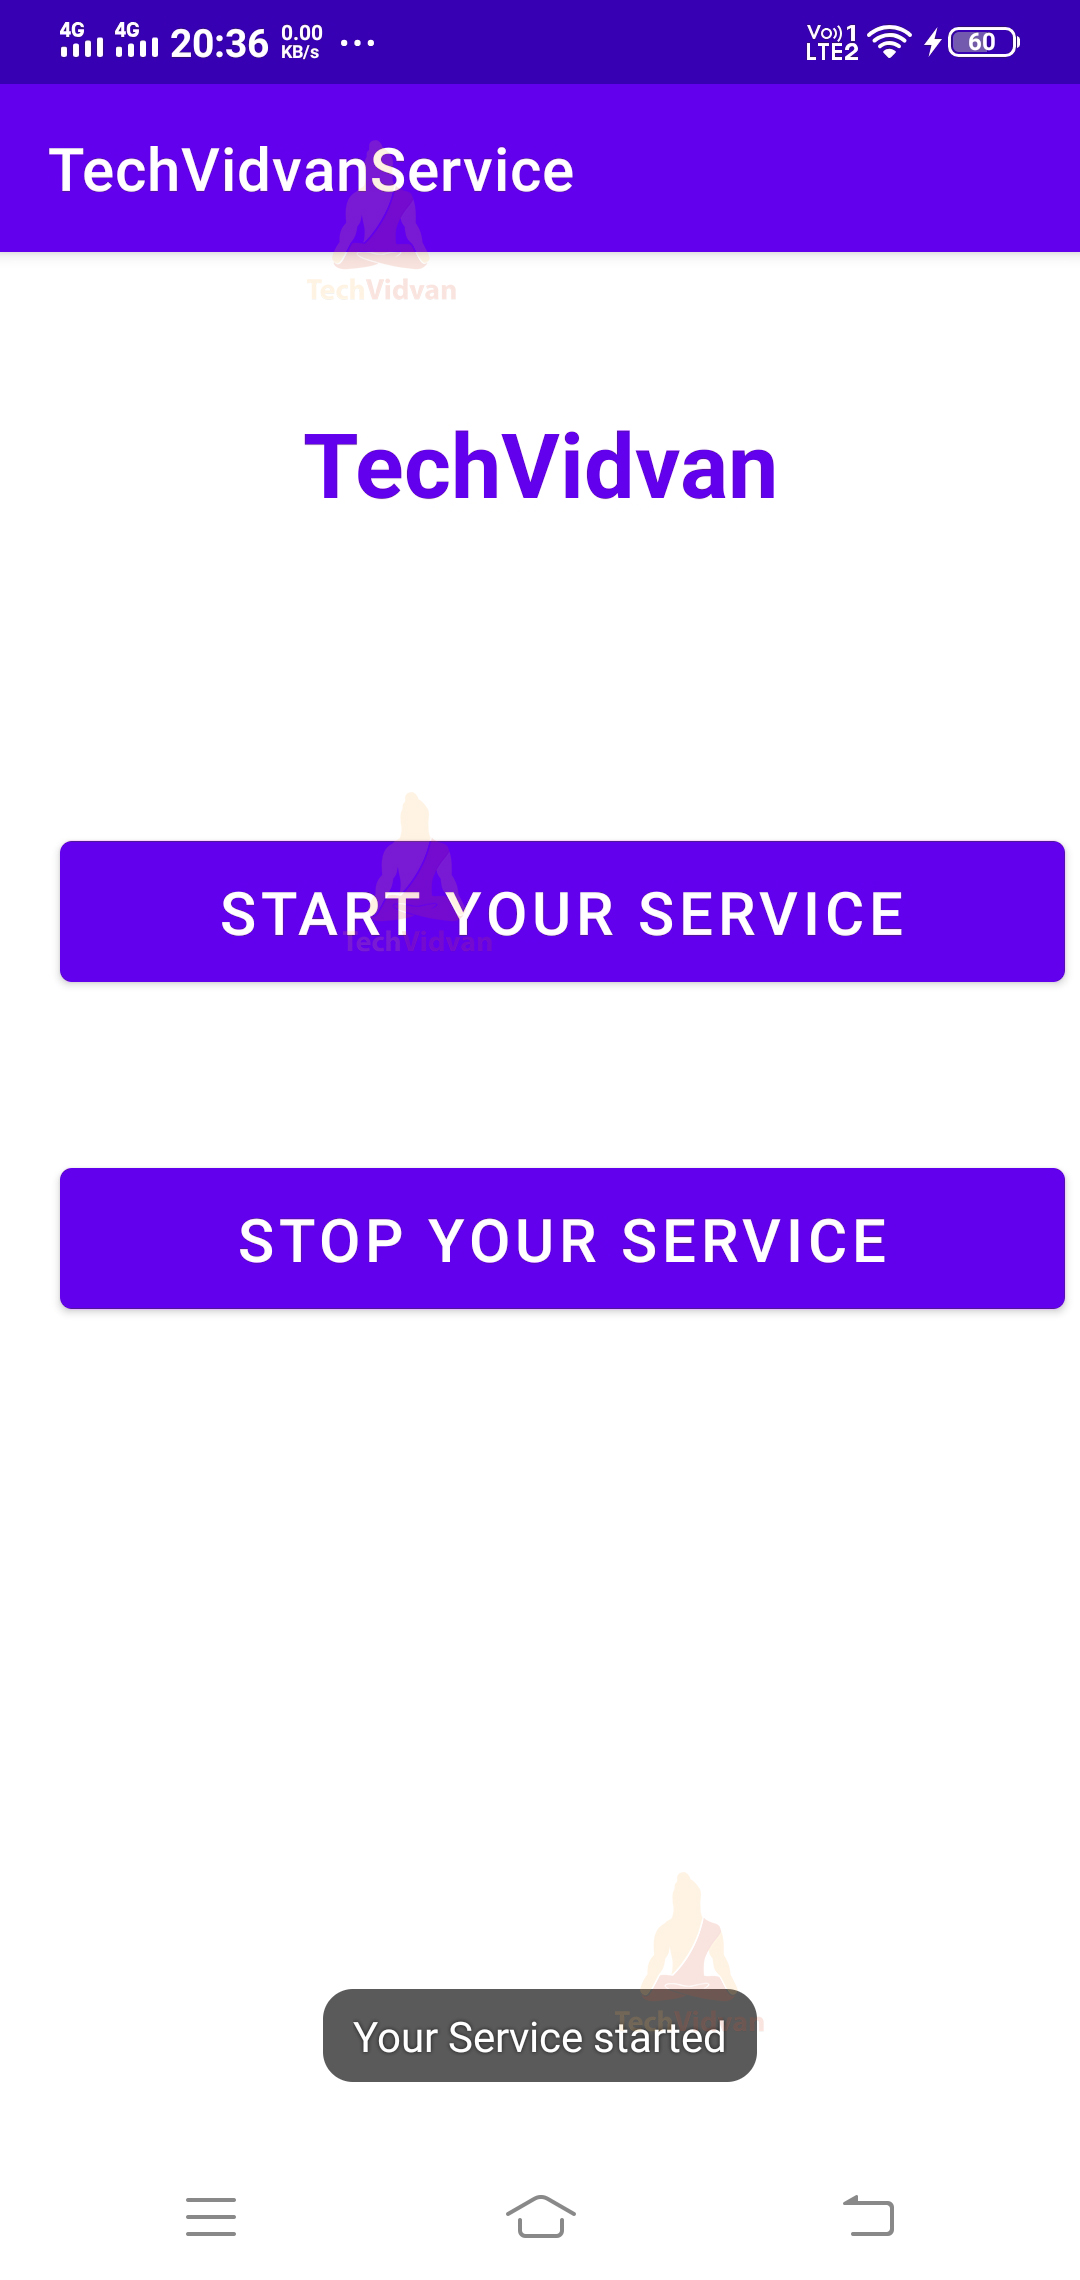
When you press start your service, you will get a toast that your service is created, followed by a toast that your service started, and immediately you will get your ringtone to start playing.
Now, when you click the stop your service button, your service will stop, and you will get a toast that your service has stopped.
Summary
So, from this article, you understood what Android Services are and the several types of Android services. You also saw the various paths a service might go through. Along with this, you saw the lifecycle of the services and the methods used to implement service in android.
Lastly, you saw an application demonstrating the process of service creation.