Android Widgets
Android Widgets are an exciting feature that enhances user interaction by allowing actions to be performed directly from the home screen. Instead of constantly searching for an application to perform routine tasks, you can use the widgets available on your home screen for quick access.
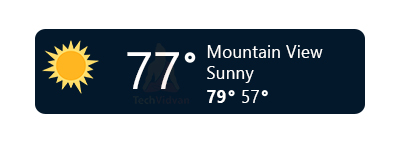
Imagine checking the weather; you don’t need to open the weather app every time. A weather widget can provide real-time updates right on your home screen, making your life easier and more efficient. Widgets are a powerful tool for improving user experience and engagement with your app. So, let’s dive in and explore the world of Android Widgets!
About Android Widgets
Android Widgets are a part of the UI element used to customize your device’s home screen. Android Widget allows its users to easily access the application from the widget present on their home screen. Along with this, they can even position the widget on the home screen wherever they want. They can also resize the widgets depending on their needs.
Let’s see how you can design your widget using XML.
Code:
<LinearLayout xmlns:android="http://schemas.android.com/apk/res/android"
    android:id="@+id/widget_layout"
    android:layout_width="match_parent"
    android:layout_height="match_parent"
    android:background="@drawable/background"
    android:gravity="center"
    android:orientation="vertical"
    android:padding="@dimen/widget_margin">

    <TextView style="@style/WidgetButtonVerticalSpace" />

    <TextView
        android:id="@+id/appwidget_text"
        style="@style/WidgetTextView.Big" />

    <TextView
        style="@style/WidgetTextView"
        android:text="Your Widget" />

    <TextView style="@style/WidgetButtonVerticalSpace" />

    <LinearLayout
        android:layout_width="match_parent"
        android:layout_height="wrap_content"
        android:orientation="horizontal">

        <TextView style="@style/WidgetButtonHorizontalSpace" />

        <LinearLayout
            android:id="@+id/ristretto_button"
            style="@style/myWidgetButton" >

            <ImageView
                style="@style/WidgetButtonImage"
                android:src="@drawable/ic_airplane" />
            <TextView
                style="@style/WidgetButtonText"
                android:text="Airplane" />

        </LinearLayout>

        <TextView style="@style/WidgetButtonHorizontalSpace" />

        <LinearLayout
            android:id="@+id/espresso_button"
            style="@style/myWidgetButton">

            <ImageView
                style="@style/WidgetButtonImage"
                android:src="@drawable/ic_wifi" />
            <TextView
                style="@style/WidgetButtonText"
                android:text="Wifi" />

        </LinearLayout>

        <TextView style="@style/WidgetButtonHorizontalSpace" />

        <LinearLayout
            android:id="@+id/long_button"
            style="@style/myWidgetButton" >

            <ImageView
                style="@style/WidgetButtonImage"
                android:src="@drawable/ic_mobile" />
            <TextView
                style="@style/WidgetButtonText"
                android:text="Data" />

        </LinearLayout>

        <TextView style="@style/WidgetButtonHorizontalSpace" />

    </LinearLayout>

    <TextView style="@style/WidgetButtonVerticalSpace" />

    <TextView
        android:id="@+id/coffee_quote"
        style="@style/WidgetQuote" />

</LinearLayout>
Components of Android Widget
Android Widget is made of three components that are classified as follows:
1. AppWidgetProviderInfo: AppWidgetProviderInfo is an instance of the widget containing the widget details like its layout, updates, etc. It specifies the metadata for the widget, including its size, update frequency, and initial layout. This information is essential for defining how the widget behaves and appears on the user’s home screen.
2. AppWidgetProvider: AppWidgetProvider provides the facility of paginating over a collection of an undefined number of objects. It acts as a bridge between the widget’s functionality and the Android system, handling widget updates and interactions. It ensures the widget’s data is refreshed and responds to user actions appropriately.
3. ViewLayout: ViewLayout is used to define the layout of your widgets. It determines how the elements within the widget are arranged and displayed, such as buttons, text views, and images. A well-designed layout enhances the widget’s usability and visual appeal, making it more engaging for users.
Methods in Android Widget
The methods present in the Android Widget allow you to customize your widgets and add more functionalities.
| Method Name | Description |
| onDelete() | The onDelete() method is invoked whenever an AppWidgetProvider is deleted. |
| onEnabled() | The onEnabled() method is invoked whenever an AppWidgetProvider is created. |
| onDisabled() | The onDisabled() method is invoked whenever the last detected AppWidgetProvider is deleted. |
| onReceive() | The onReceive() method is invoked whenever the system needs to distribute calls to the various classes. |
Limitations of Android Widget
Even though widgets are quite helpful, they do have some limitations or restrictions. Let’s see a few of them listed below:
Gestures
Widgets don’t support all kinds of gestures. They only allow its users to click and drag the widget. If your app involves some gestures to make an action, that won’t be happening through widgets. For that, you need to open your app and make that gesture.
Elements
You can’t access all elements of your app through your widget itself. There are some restrictions of the UI elements that you can keep in your widget.
Adding Widget to your Android application
Now, let’s see how you can add widgets to your application in three simple steps.
1. XML definition file: You need to create an XML definition file in the res/values/ to initialize the widget.
2. Kotlin file: To initialize the behavior of your widget, you need to create a Kotlin file in your main package.
3. Layout FIle: The Layout file is optional, but you can design and style your widgets.
Types of Android Widgets
In general, we have four types of Android Widgets, but with the coming up of Android 12, the android widgets have been revamped a lot.
Let’s see the several types of Android Widgets, along with a brief description of each.
1. Information Widgets
The information widgets are usually used to update users about any activity or provide some essential information. The most common information widgets are clock, weather, and news widgets.
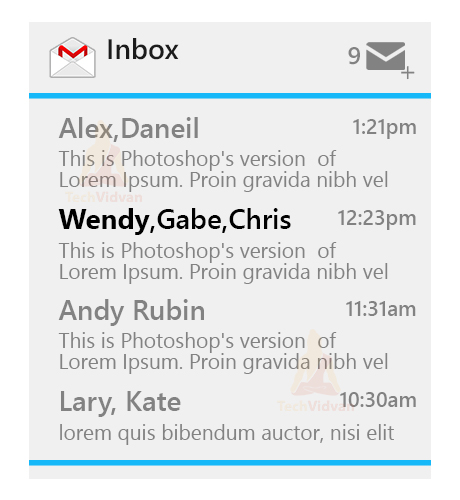
2. Collection Widgets
The collection widgets provide you with a collection of similar types of elements to scroll over vertically. One such example is the widget of email applications.
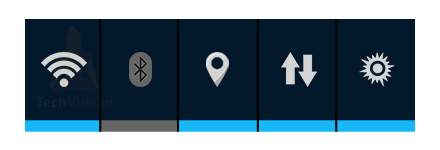
3. Control Widgets
The control widgets are used to perform a particular action without opening every application. One such example is your flashlight, WIFI, GPS, Mobile Data. You need not go to settings to find out each of them and then perform the action, and you can directly perform them using the control widget.
4. Hybrid Widgets
The Hybrid Widgets are a combination of the above-discussed widgets and can be used to provide multiple functionalities. One such example is your Music Player, which gives you the information of the current playing songs and also allows you to control the music by providing play and pause buttons.

Implementation of Android Widgets
Now, let’s see how we can use the above concepts to build our widgets. For this, you need to follow every step clearly and then look at the comments to understand what each part does appropriately.
1: Start your Android and click on Create a new Project.
2: Now, select an empty activity and provide an application name.
3: Create a new android resource directory called XML in the res folder. The XML folder would contain an info file containing the metadata of our widget.
Code: app/res/my_widget_info.xml
<?xml version="1.0" encoding="utf-8"?>
<appwidget-provider xmlns:android="http://schemas.android.com/apk/res/android"
    android:minWidth="180dp"
    android:minHeight="110dp"
    android:updatePeriodMillis="86400000"
    android:previewImage="@drawable/background"
    android:initialLayout="@layout/tech_vidvan_widget"
    android:resizeMode="horizontal|vertical"
    android:widgetCategory="home_screen"
    android:initialKeyguardLayout="@layout/tech_vidvan_widget">
</appwidget-provider>
4: After finishing up with Step 2, open your AndroidManifest.xml file and add the below receiver.
<receiver android:name=".MyWidgetClass">
           <intent-filter>
               <action android:name="android.appwidget.action.APPWIDGET_UPDATE"/>
           </intent-filter>

           <meta-data
               android:name="android.appwidget.provider"
               android:resource="@xml/my_widget_info"/>
       </receiver>
After adding the above receiver, your code will appear as follows:
Code: AndroidManifest.xml
<?xml version="1.0" encoding="utf-8"?>
<manifest xmlns:android="http://schemas.android.com/apk/res/android"
    package="com.techvidvan.techvidvanwidget">

    <application
        android:allowBackup="true"
        android:icon="@mipmap/ic_launcher"
        android:label="@string/app_name"
        android:roundIcon="@mipmap/ic_launcher_round"
        android:supportsRtl="true"
        android:theme="@style/Theme.TechVidvanWidget">

        <receiver android:name=".MyWidgetClass">
            <intent-filter>
                <action android:name="android.appwidget.action.APPWIDGET_UPDATE"/>
            </intent-filter>

            <meta-data
                android:name="android.appwidget.provider"
                android:resource="@xml/my_widget_info"/>
        </receiver>

        <activity android:name=".MainActivity">
            <intent-filter>
                <action android:name="android.intent.action.MAIN" />

                <category android:name="android.intent.category.LAUNCHER" />
            </intent-filter>
        </activity>


    </application>

</manifest>
5: Now, you need to create a custom layout for your widget, for which you can go to res/values/layouts and create a new layout resource file.
Code: tech_vidvan_widget.xml
<LinearLayout xmlns:android="http://schemas.android.com/apk/res/android"
    android:id="@+id/widget_layout"
    android:layout_width="match_parent"
    android:layout_height="match_parent"
    android:background="@drawable/background"
    android:gravity="center"
    android:orientation="vertical"
    android:padding="@dimen/widget_margin">

    <TextView style="@style/WidgetButtonVerticalSpace" />

    <TextView
        android:id="@+id/appwidget_text"
        style="@style/WidgetTextView.Big" />

    <TextView
        style="@style/WidgetTextView"
        android:text="Your Widget" />

    <TextView style="@style/WidgetButtonVerticalSpace" />

    <LinearLayout
        android:layout_width="match_parent"
        android:layout_height="wrap_content"
        android:orientation="horizontal">

        <TextView style="@style/WidgetButtonHorizontalSpace" />

        <LinearLayout
            android:id="@+id/ristretto_button"
            style="@style/myWidgetButton" >

            <ImageView
                style="@style/WidgetButtonImage"
                android:src="@drawable/ic_airplane" />
            <TextView
                style="@style/WidgetButtonText"
                android:text="Airplane" />

        </LinearLayout>

        <TextView style="@style/WidgetButtonHorizontalSpace" />

        <LinearLayout
            android:id="@+id/espresso_button"
            style="@style/myWidgetButton">

            <ImageView
                style="@style/WidgetButtonImage"
                android:src="@drawable/ic_wifi" />
            <TextView
                style="@style/WidgetButtonText"
                android:text="Wifi" />

        </LinearLayout>

        <TextView style="@style/WidgetButtonHorizontalSpace" />

        <LinearLayout
            android:id="@+id/long_button"
            style="@style/myWidgetButton" >

            <ImageView
                style="@style/WidgetButtonImage"
                android:src="@drawable/ic_mobile" />
            <TextView
                style="@style/WidgetButtonText"
                android:text="Data" />

        </LinearLayout>

        <TextView style="@style/WidgetButtonHorizontalSpace" />

    </LinearLayout>

    <TextView style="@style/WidgetButtonVerticalSpace" />

    <TextView
        android:id="@+id/coffee_quote"
        style="@style/WidgetQuote" />

</LinearLayout>
6: Now, you need to create a class called MyWidgetClass.kt and then paste in the below code.
Code: MyWidgetClass.kt
package com.techvidvan.techvidvanwidget

import android.appwidget.AppWidgetManager
import android.appwidget.AppWidgetProvider
import android.content.Context
import android.widget.RemoteViews

class MyWidgetClass : AppWidgetProvider() {

    override fun onUpdate(context: Context, appWidgetManager: AppWidgetManager, appWidgetIds: IntArray) {
        // Updating all the widgets
        for (appWidgetId in appWidgetIds) {
            updateAppWidget(context, appWidgetManager, appWidgetId)
        }
    }

    override fun onEnabled(context: Context) {
        // Describing the functionality when the first widget is created
    }

    override fun onDisabled(context: Context) {
        // Describing the functionality when the last widget is disabled
    }

    companion object {

        internal fun updateAppWidget(
            context: Context, appWidgetManager: AppWidgetManager,
            appWidgetId: Int
        ) {

            val widgetText = "TechVidvanWidget"
            // Creating the RemoteViews object
            val views = RemoteViews(context.packageName, R.layout.tech_vidvan_widget)
            views.setTextViewText(R.id.appwidget_text, widgetText)

            // Use the widget manager to update the widget
            appWidgetManager.updateAppWidget(appWidgetId, views)
        }
    }
}
7: Now, leave your activity_main.xml and MainActivity.kt file as it is and rebuild the project.
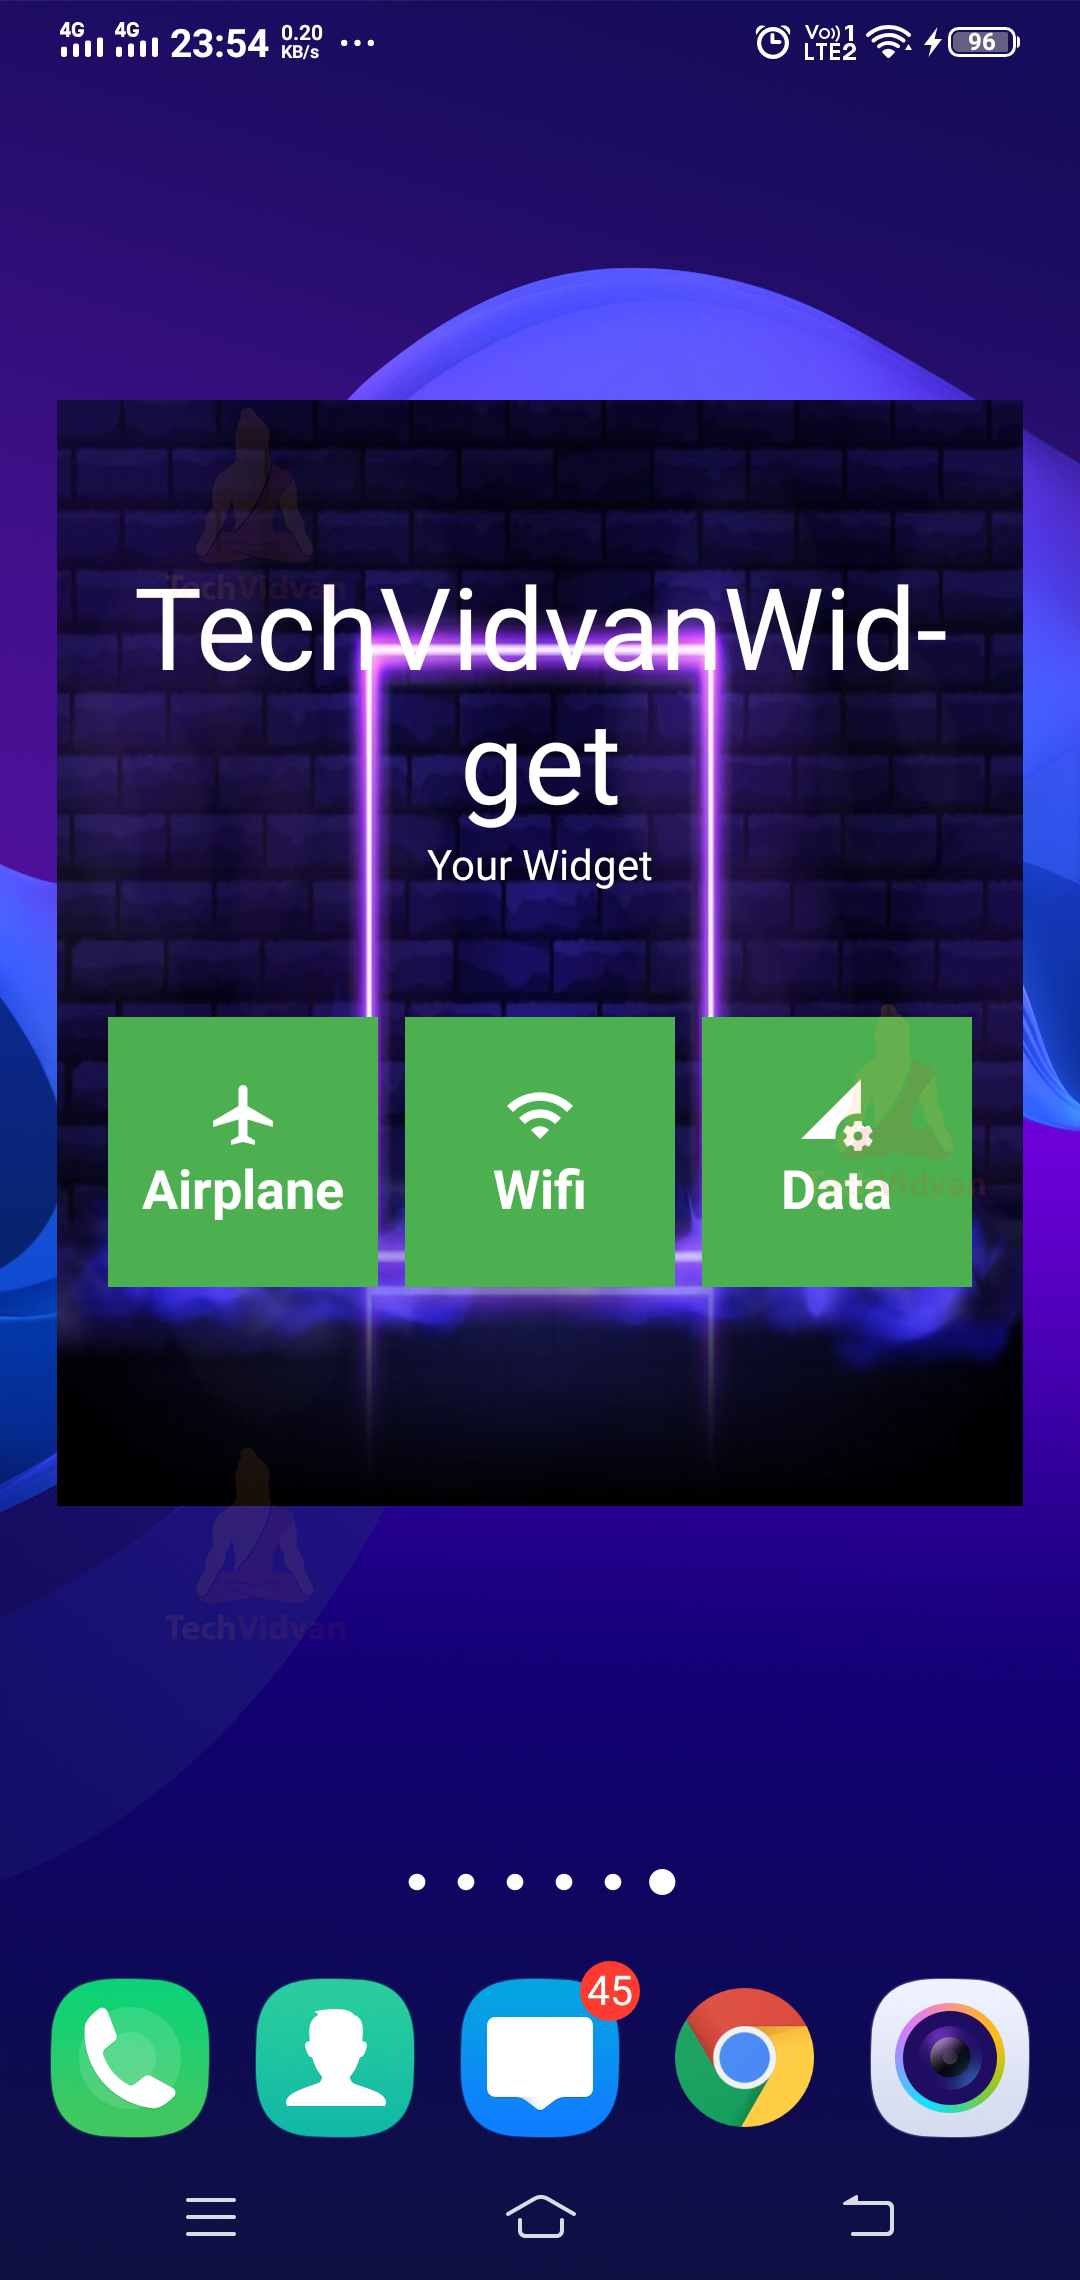
After performing all the above steps, you must test your application on your device and notice how the widget appears in the machine.
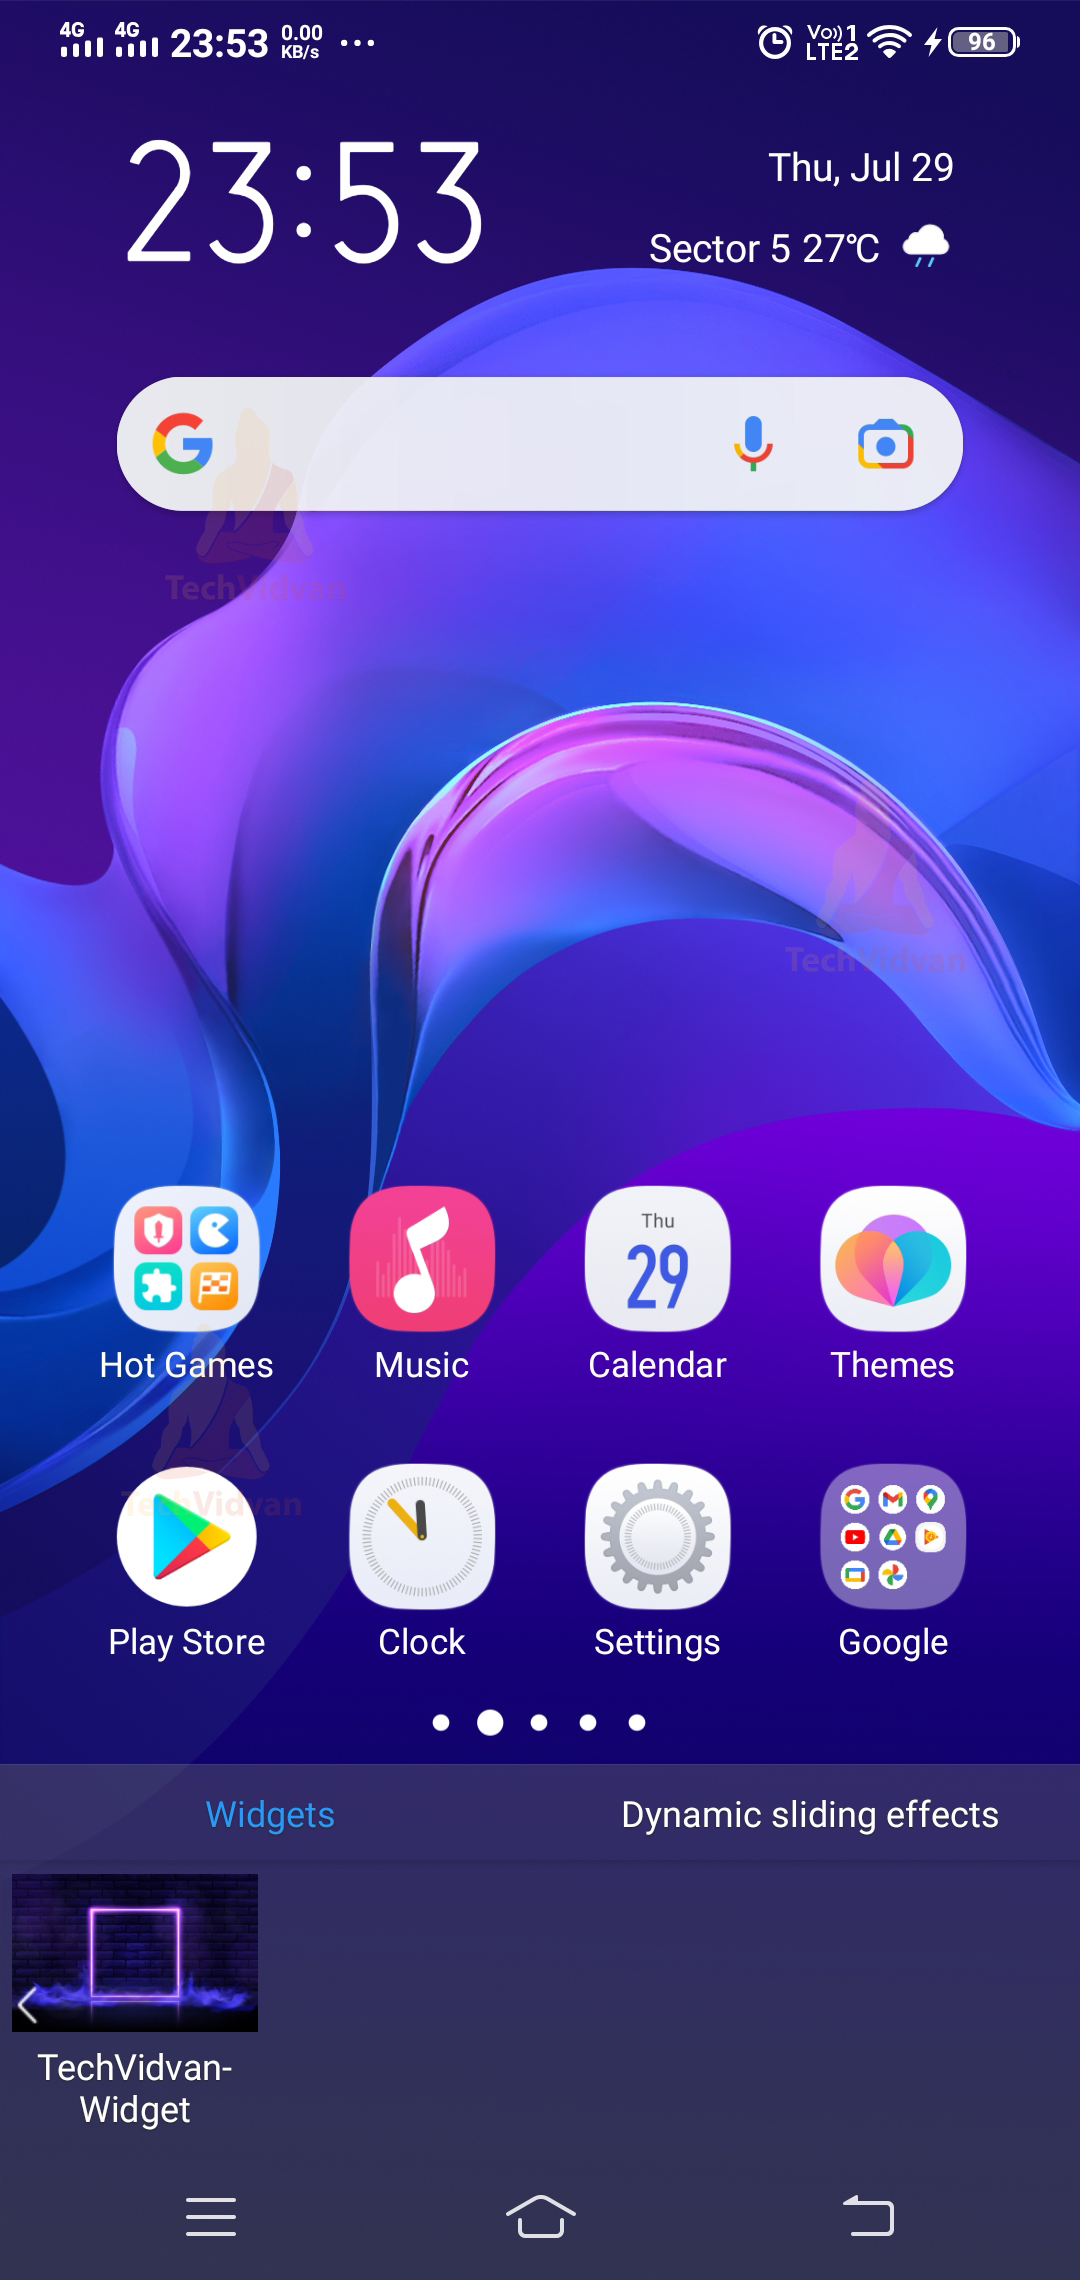
You can see that at the bottom in the widgets section, the TechVidvanWidget is available. Now just click on it and drag it and resize it as follows.
Summary
Through this article, you came across a fascinating topic called Android Widgets. You saw how you could make the user’s task easier and customize his home screen using Android widgets. Then you came across several components that build up the Android Widget. You saw its methods and the various types of widgets present. Finally, you saw how to implement android widgets in your app.