Content Provider in Android
“Did you ever imagine how applications share data?”
Did you ever imagine how you could upload your picture on any application? Actually, for this, you open your application and your application seeks your permission to access the gallery. Then you select your image and upload it.
All kinds of data sharing among the applications are available due to the content provider.
This article will help you understand what a content provider is and why it is used in Android Development. You will get to know the crud operations and about SQLite Database. Further, we will discuss the methods involved and show you an implementation of the concept.
What are Android Content Providers?
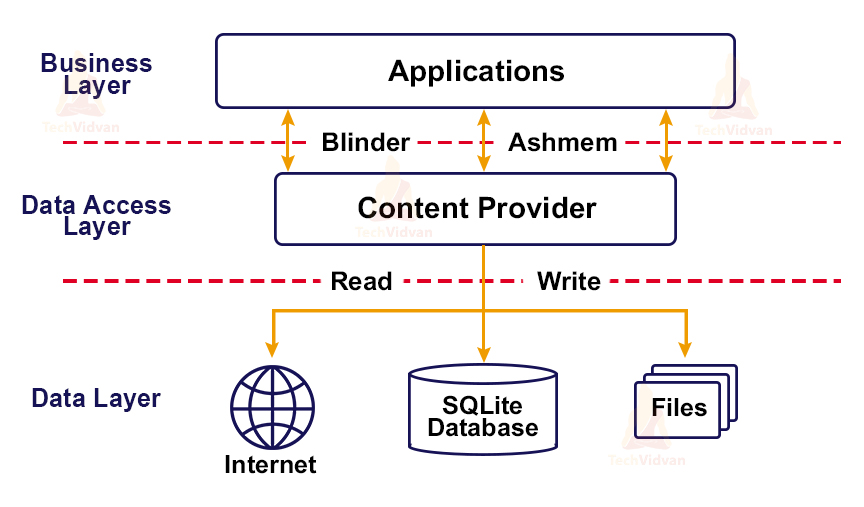
Content Providers act as a medium for various applications to communicate with each other. It manages and looks over the application data and accesses the SQLite Database.
However, it provides only exclusive data to the application user and does not allow you to access the other application data until granted.
All the seeking of data is done through the content provider itself. Whenever you require access to data from other applications, the content provider seeks permission from the user to access the data to the other application.
One typical example which you often notice is your gallery. Whenever any application needs to access some pictures from the gallery, it seeks your permission, and the content provider provides you with the required content.
Another ubiquitous example is your payments application, which accesses your contacts to show the people with whom you can exchange money.
Examples of Content Providers
There are various examples of content providers in Android. Some of them are as follows:
- Music Playlist
- Calls Logs
- Contact List
- Message Threads
- Gallery Application
- File Manager, etc
About SQLite Database
It is a scrapped-out (or lower version) of SQL. Whatever libraries you call or whatever read/write or file operations you make are done through SQLite.
It is a relational database management system and has a syntax similar to PostgreSQL.
User data is usually stored in SQLite Database inside the user’s device. We can perform several read, write, update, delete operations on the data.
The SQLite database doesn’t require an internet connection to connect you to the database.
CRUD Operations
Following are the operations that are usually performed on any data. We term them as the CRUD operations.
CREATE
READ
UPDATE
DELETE

Let’s see in detail what each operation does:
CREATE:
You can use the operation to create data in the database. This involves adding new records or entries, such as a new user or product. Typically, this operation includes specifying the details or attributes of the new record to be stored.
READ:
Using this operation, you can access your data stored in the database. You can only read the data and can’t alter it. This is essential for retrieving information like displaying user profiles or product details without making any modifications.
UPDATE:
Using this operation, you can alter the stored data in your database. This is used to modify existing records, such as updating a user’s email address or changing the price of a product. The operation ensures that the data remains accurate and up-to-date.
DELETE:
Using this operation, you can delete the stored data from your database. This is useful for removing outdated or unnecessary records, such as deleting an inactive user account or removing discontinued products, thereby maintaining database cleanliness.
Working of Content Provider in Android
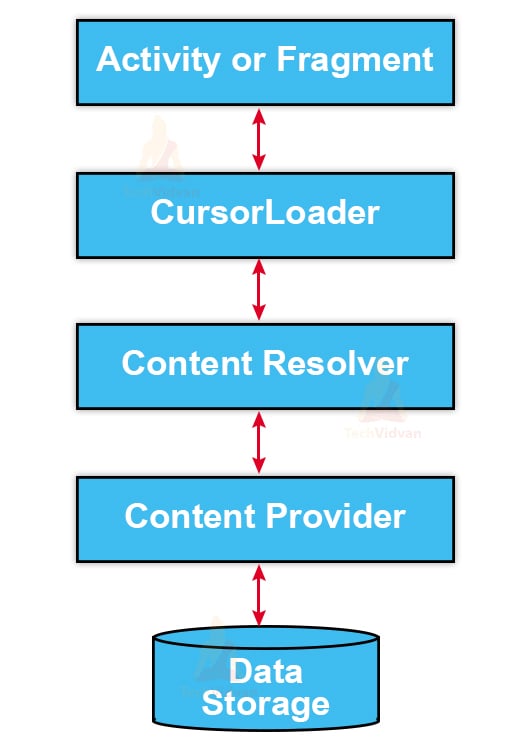
We know that the Content Provider provides us data, but we need to establish a connection to get this data. The link is made using the “ContentResolver” object. The ContentResolver objects help the application to communicate with the Content Provider.
Now, in the next step, we need to connect our ContentResolver object with the user interface. By this step, the user can interact directly with the Content Provider by using the user interface. For this purpose, we require another object called CursorLoader.
The CursorLoader task is to receive the user’s query request and forward it to the Content Provider. The content Provider executes the query and provides the user the requested data.
The diagram below describes the working of the Content Provider.
Methods of Content Provider in Android
Six methods are used while implementing the Content Provider. Following are the methods:
1. onCreate()
This method is called to initialize the provider whenever a content provider is created. It is used to set up any required resources, such as database connections or file storage. Typically, this method ensures that the provider is ready to handle requests for data access.
2. query()
The query method takes parameters to fetch data from the database. The data is accessed through a cursor object. This method allows you to specify which columns to retrieve, conditions for filtering rows, sorting orders, and more, making it versatile for different data retrieval needs.
3. insert()
This method is used to insert a row in the database. It takes a URI and a set of values as parameters and returns the URI of the newly inserted row. This method ensures that new data entries are added correctly to the specified database table.
4. update()
This method is used to alter the data fields present in the database. It takes a URI, a set of values to update, and a selection criteria to specify which rows to update. This method is essential for modifying existing data in a controlled manner.
5. delete()
This method is used to delete records from the database. It takes a URI and a selection criteria to specify which rows to delete. This method helps in removing data entries that are no longer needed, maintaining the integrity of the database.
6. getType()
It returns the MIME(Multipurpose Internet Mail Extension) type of the data, which can be used as the content URI. This method helps in determining the type of data returned, which is useful for clients to understand the format and handle the data appropriately.
Content URIs in Android
Content URIs are the query string that is passed to the Content Provider. URI means Uniform Resource Identifier. Content URI’s are used to identify the various types of data in the Content Provider. Based on the Content URI, we get the required data.
The structure of any Content URI can be divided into four types:
- Prefix -Usually, the prefix is set to content://.
- Authority – It contains the name of the Provider.
- Path – It contains the location of the data.
- ID – This is an optional parameter that is used to access specific records.
Any Content URI will look as follows:
content://<authority>/<path>/<optional_id>
Implementation of Content Provider in Android
Following are the steps using which you can implement Content Provider in Android. We will show you how to create an application that can fetch all your contacts and display them in a list format.
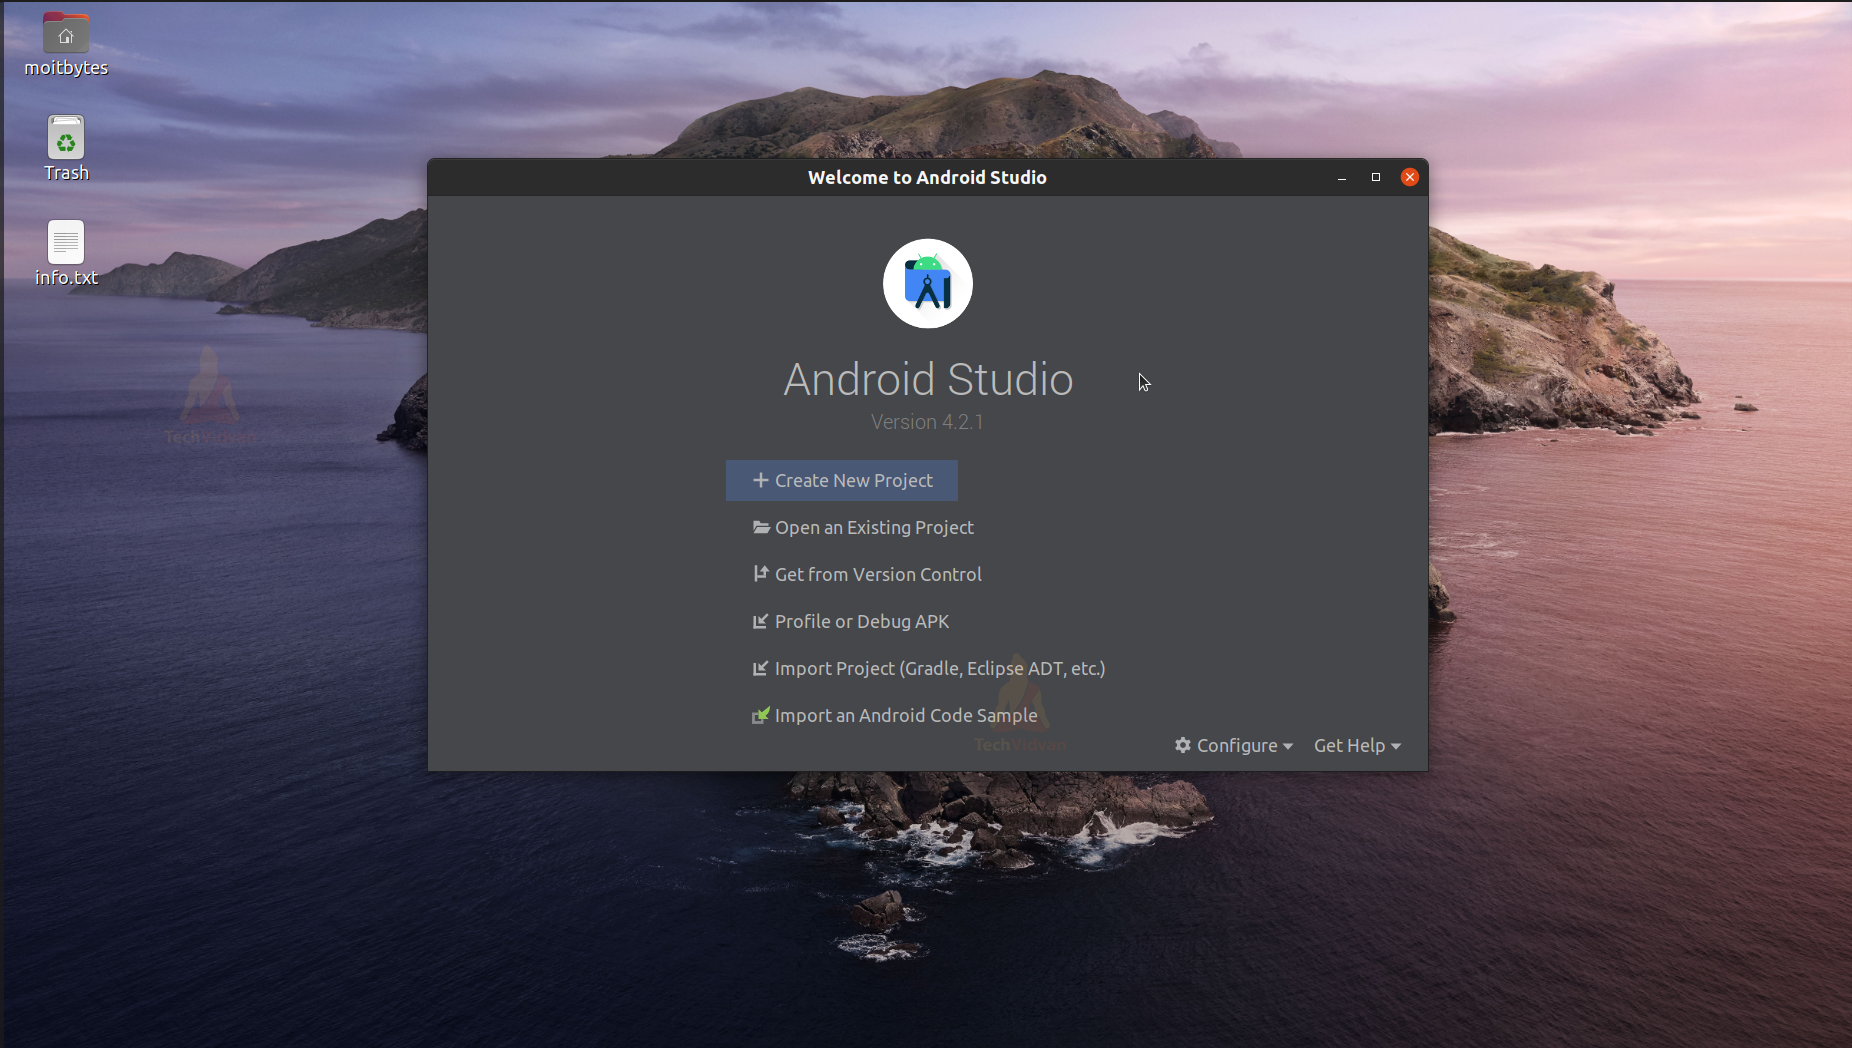
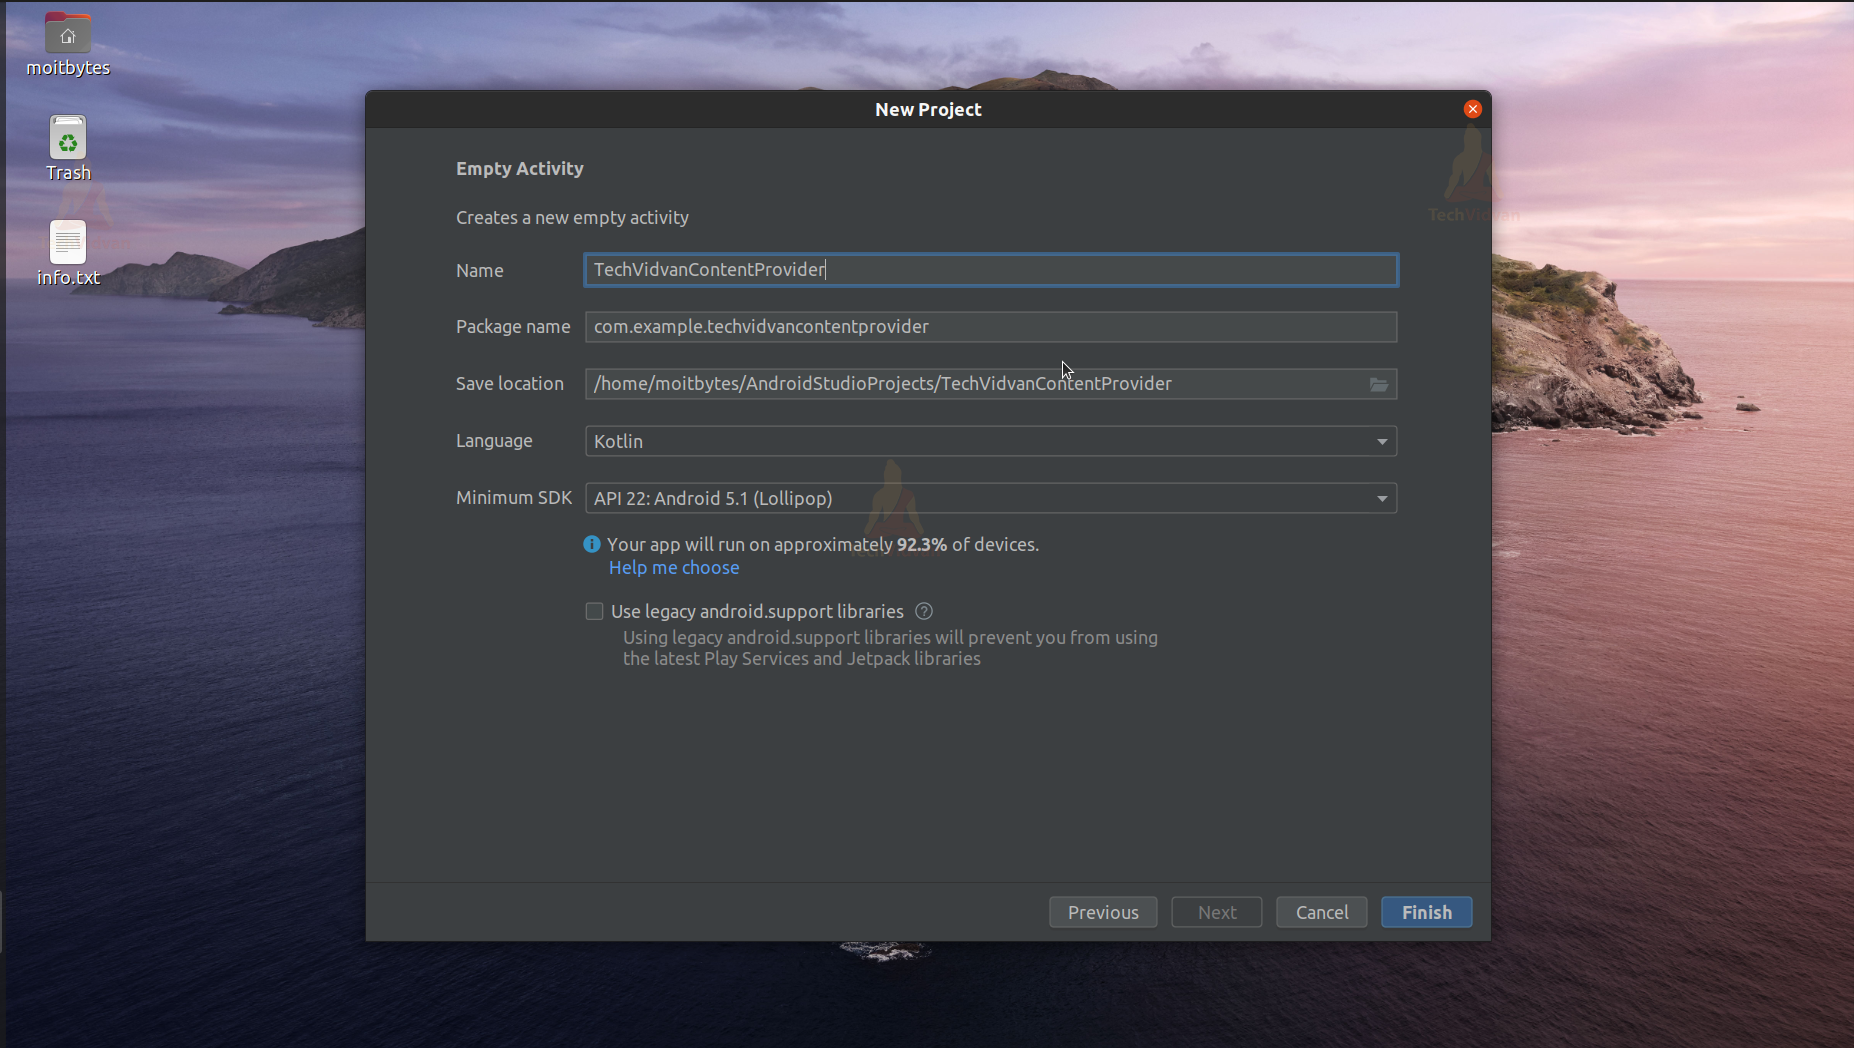
1: Open your Android Studio.
2: Click on Create New Project
3: Select Empty Activity and proceed.
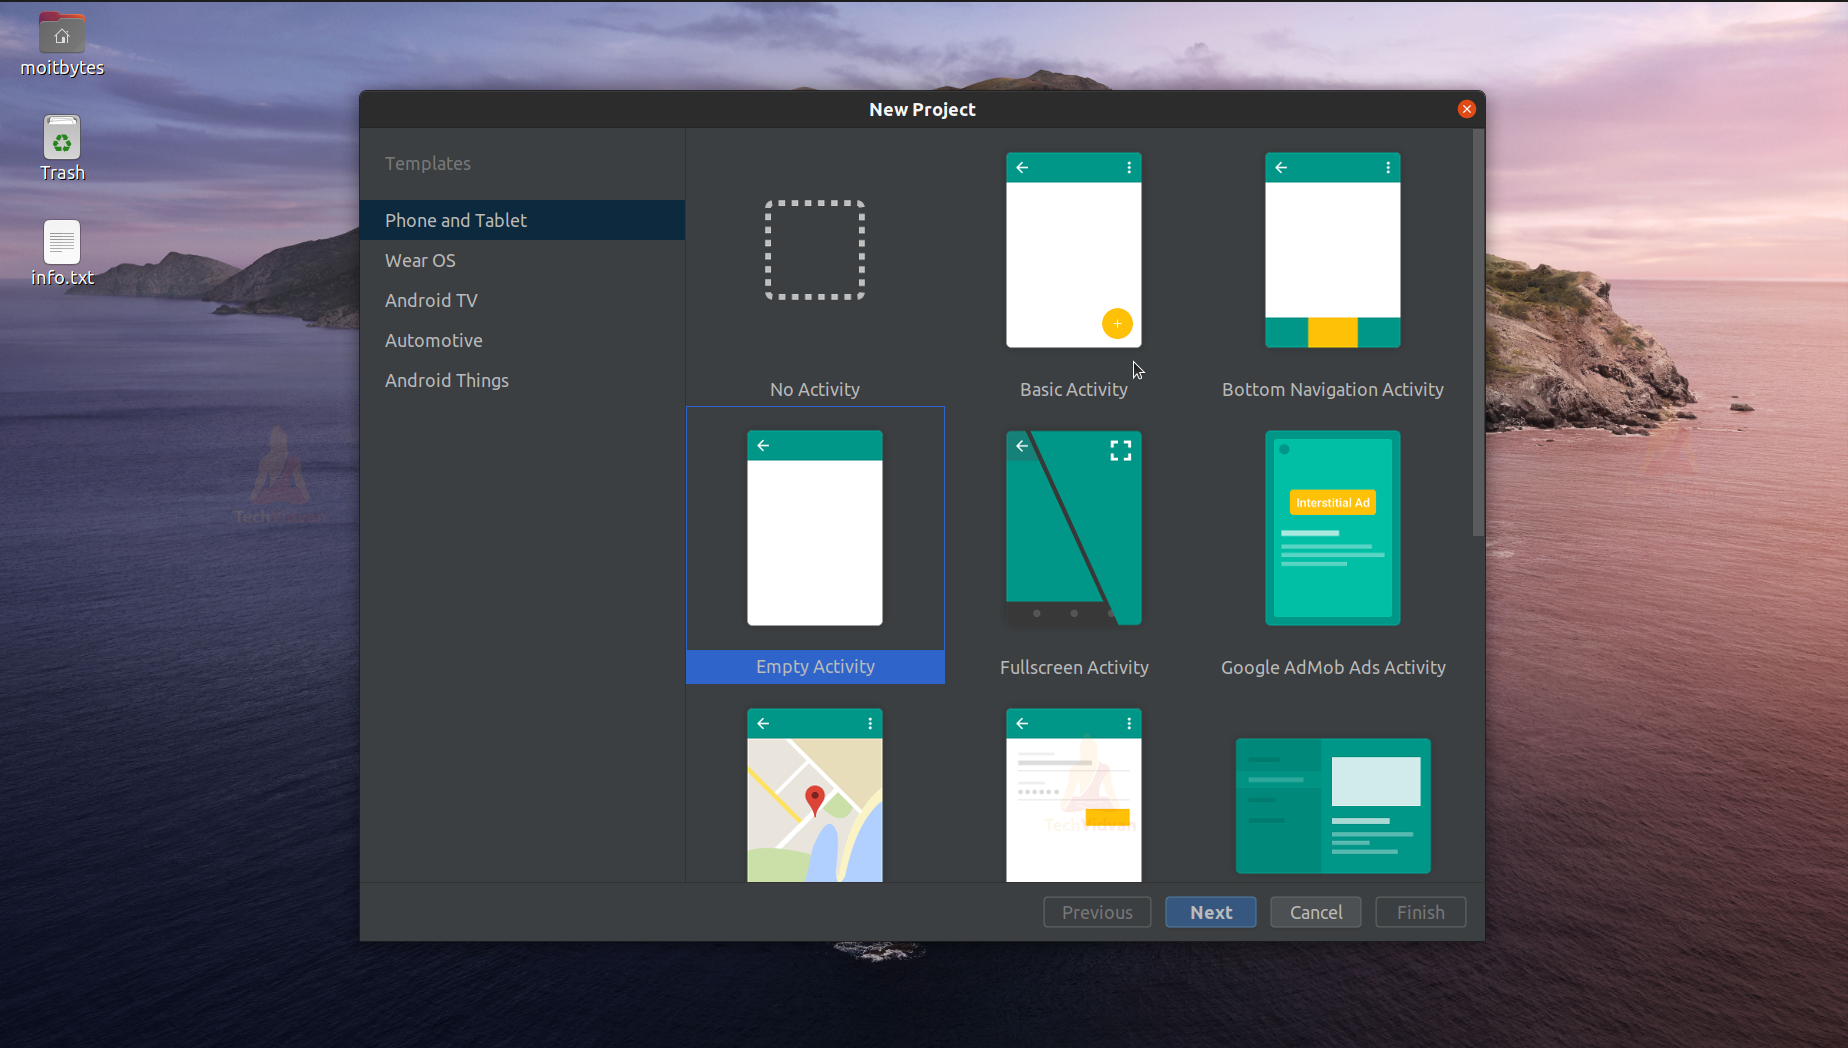
4: Enter your application name. In my case, it’s “TechVidvanBroadcast.” Next, select Kotlin from the dropdown. For the API level, select API 22 for now.
5: Now go to your manifest file and add permission to read contacts. You can copy the below code for your reference.
Code: (AndroidManifest.xml)
<?xml version="1.0" encoding="utf-8"?>
<manifest xmlns:android="http://schemas.android.com/apk/res/android"
    package="com.example.techvidvancontentprovider">

    <uses-permission android:name="android.permission.READ_CONTACTS"/>

    <application
        android:allowBackup="true"
        android:icon="@mipmap/ic_launcher"
        android:label="@string/app_name"
        android:roundIcon="@mipmap/ic_launcher_round"
        android:supportsRtl="true"
        android:theme="@style/Theme.TechVidvanContentProvider">
        <activity android:name=".MainActivity">
            <intent-filter>
                <action android:name="android.intent.action.MAIN" />

                <category android:name="android.intent.category.LAUNCHER" />
            </intent-filter>
        </activity>
    </application>

</manifest>
6: Now go to the app –> res –> layout –> activity_main.xml and add a list view to display the contacts. You can copy the activity_main.xml code from below.
Code: (activity_main.xml)
<?xml version="1.0" encoding="utf-8"?>
<androidx.constraintlayout.widget.ConstraintLayout
    xmlns:android="http://schemas.android.com/apk/res/android"
    xmlns:app="http://schemas.android.com/apk/res-auto"
    xmlns:tools="http://schemas.android.com/tools"
    android:layout_width="match_parent"
    android:layout_height="match_parent"
    tools:context=".MainActivity">

    <TextView
        android:id="@+id/title"
        android:layout_width="match_parent"
        android:layout_height="wrap_content"
        android:layout_margin="20dp"
        android:gravity="center"
        android:text="TechVidvan"
        android:textColor="@color/teal_700"
        android:textSize="40sp"
        android:textStyle="bold"
        app:layout_constraintVertical_bias=".02"
        app:layout_constraintBottom_toBottomOf="parent"
        app:layout_constraintEnd_toEndOf="parent"
        app:layout_constraintStart_toStartOf="parent"
        app:layout_constraintTop_toTopOf="parent" />

    <ListView
        android:id="@+id/contact_list_view"
        android:layout_width="match_parent"
        android:layout_height="wrap_content"
        android:layout_margin="15dp"
        app:layout_constraintVertical_bias="0.15"
        app:layout_constraintBottom_toBottomOf="parent"
        app:layout_constraintEnd_toEndOf="parent"
        app:layout_constraintStart_toStartOf="parent"
        app:layout_constraintTop_toBottomOf="@+id/title" />

</androidx.constraintlayout.widget.ConstraintLayout>
7: After coding the activity_main.xml, come to the MainActivity.kt file and paste the below code. Here, you can find that we have overridden the onCreate() method to initialize the content provider.Further, we have used a content resolver object to read the contacts.
You can find comments in the code for your understanding.
Code: (MainActivity.kt)
package com.example.techvidvancontentprovider

import android.content.pm.PackageManager
import android.os.Bundle
import android.provider.ContactsContract
import android.widget.ListView
import android.widget.SimpleCursorAdapter
import androidx.appcompat.app.AppCompatActivity
import androidx.core.app.ActivityCompat

class MainActivity : AppCompatActivity()
{
    //this variable stores the contact details
    //in the form of an array
    var contact_fields = listOf<String>(
        ContactsContract.CommonDataKinds.Phone.DISPLAY_NAME,
        ContactsContract.CommonDataKinds.Phone.NUMBER,
        ContactsContract.CommonDataKinds.Phone._ID

    ).toTypedArray()

    //using listview to show your contacts in list form
    lateinit var list_view:ListView;

    override fun onCreate(savedInstanceState: Bundle?)
    {
        super.onCreate(savedInstanceState)
        setContentView(R.layout.activity_main)

        //Binding ListView to a variable
        //to display the contact list

        list_view = findViewById(R.id.contact_list_view);

        //Checking if the user has granted
        //permission to access his contacts or not

        if(ActivityCompat.checkSelfPermission(this, android.Manifest.permission.READ_CONTACTS) !=
            PackageManager.PERMISSION_GRANTED)
        {
            //If permission not granted
            //then seek permission from user

            ActivityCompat.requestPermissions(this,
                Array(1){android.Manifest.permission.READ_CONTACTS},
            100)
        }
        else
        {
            //if permission granted then access user contacts
            readUserContacts();
        }
    }

    override fun onRequestPermissionsResult(
        requestCode: Int,
        permissions: Array<out String>,
        grantResults: IntArray
    )
    {
        //This function is called
        super.onRequestPermissionsResult(requestCode, permissions, grantResults)

        if(requestCode == 100 && grantResults[0]==PackageManager.PERMISSION_GRANTED)
        {
            //if permission granted
            //then display contacts
            readUserContacts()
        }
    }
    private fun readUserContacts()
    {
        var source = listOf<String>(
            ContactsContract.CommonDataKinds.Phone.DISPLAY_NAME,
            ContactsContract.CommonDataKinds.Phone.NUMBER

        ).toTypedArray()

        var destination = intArrayOf(android.R.id.text1, android.R.id.text2)

        var result_set = contentResolver.query(ContactsContract.CommonDataKinds.Phone.CONTENT_URI,
        contact_fields, null, null, ContactsContract.CommonDataKinds.Phone.DISPLAY_NAME)

        var adapter = SimpleCursorAdapter(this, android.R.layout.simple_list_item_2, result_set,
        source, destination, 0);

        list_view.adapter = adapter


    }
}
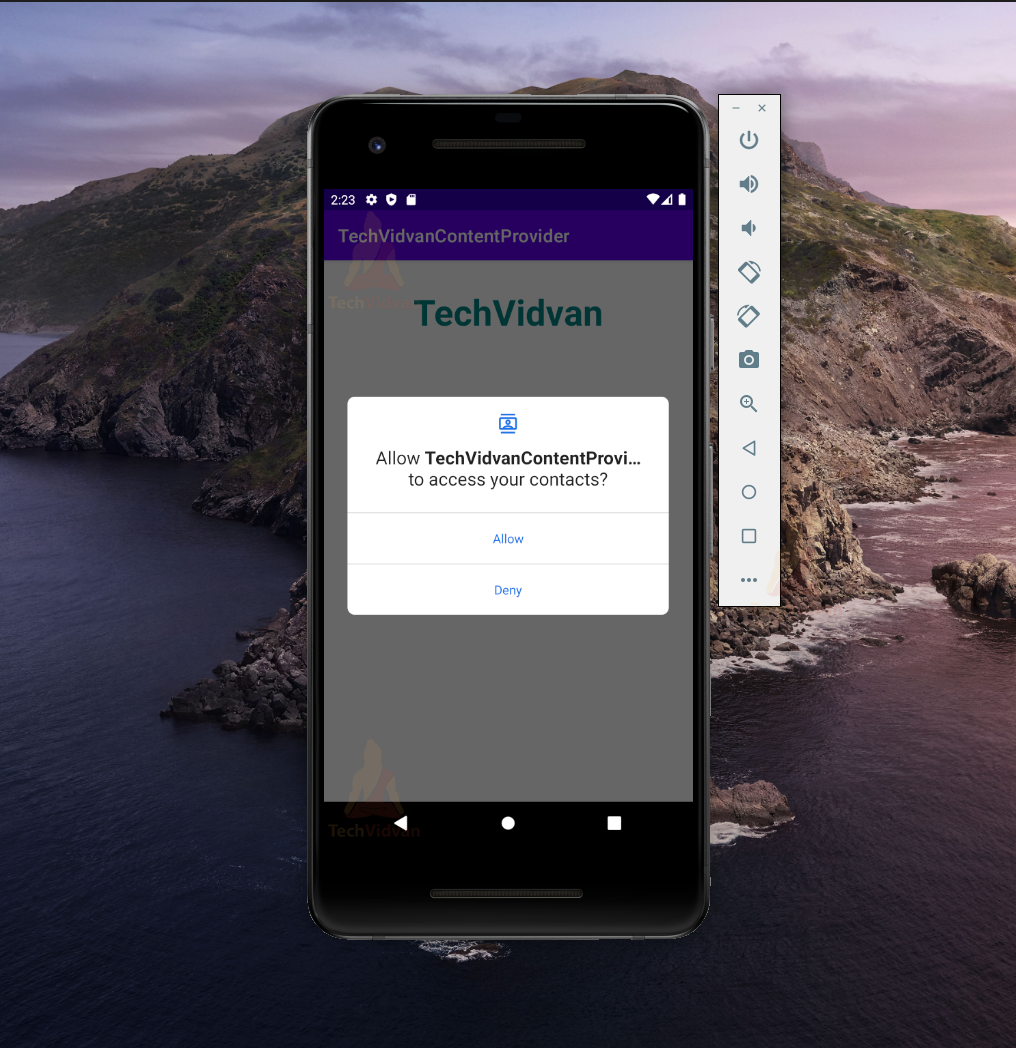
Now you are ready to test your application. Just run the application on your device or the emulator, and you can notice the following.
Firstly, the app seeks permission to access your contacts.
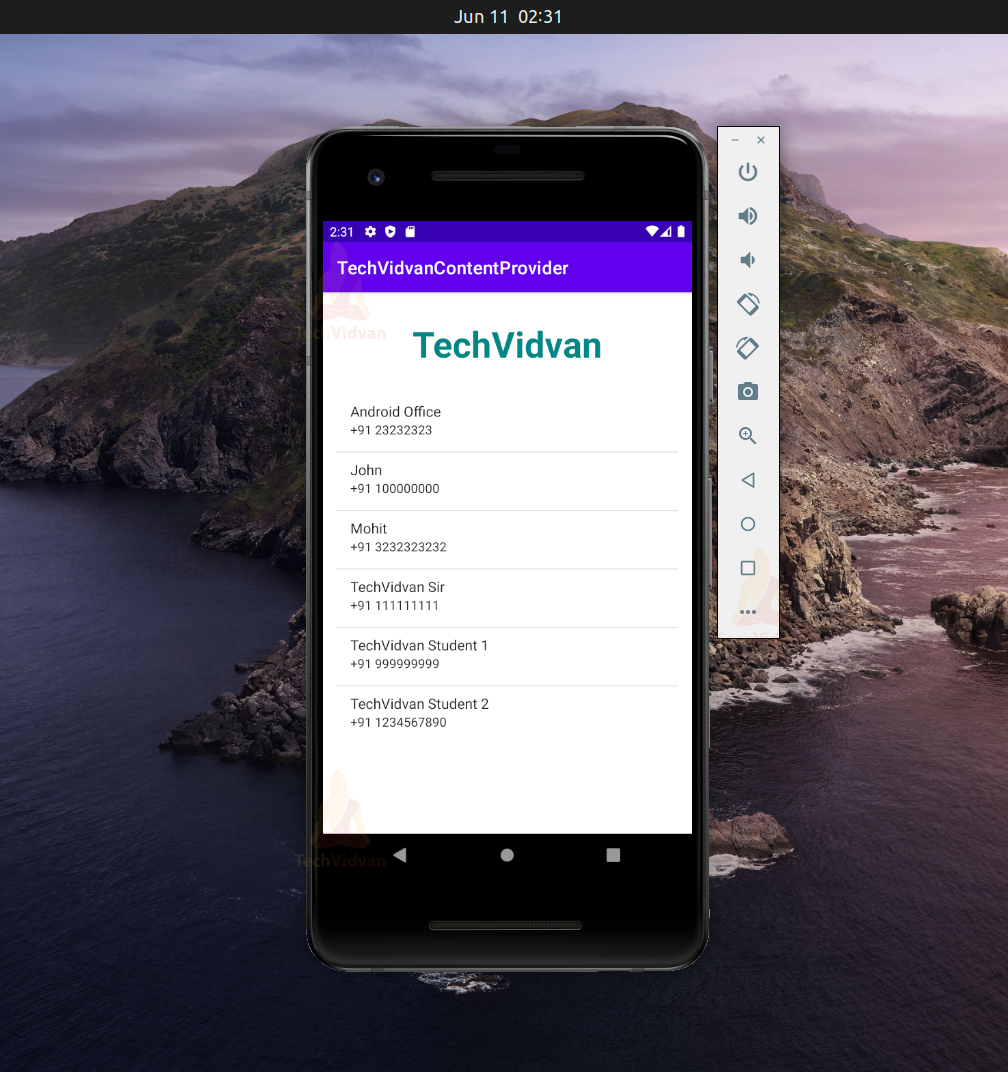
After your grant the permission then you can see your contact list like below.
Summary
Through this article, you understood what a content provider is and saw several examples of content providers. You got to know what SQLite database is and what CRUD operations are. Further, you came across the working of Content Providers and the various methods involved.
Lastly, you saw what Content URI’s are, and finally, you saw an app using which you can access your contact list.
Now you are ready to test your application. Just run the application on your device or the emulator, and you can notice the following.