Hello World Program in Android
So hope your journey with android is going well, and till now, you understood many concepts. In this article, you will learn step by step how to create your first android application. You will get to know how to test your apps on your device and an emulator.
Steps to Create a Project in Android Studio
Step 1: Opening Android Studio
If you are on windows, click on the search bar and type “Android Studio.”
If you are on Linux, click “Show Applications,” located at the bottom left corner and search android studio and open it.
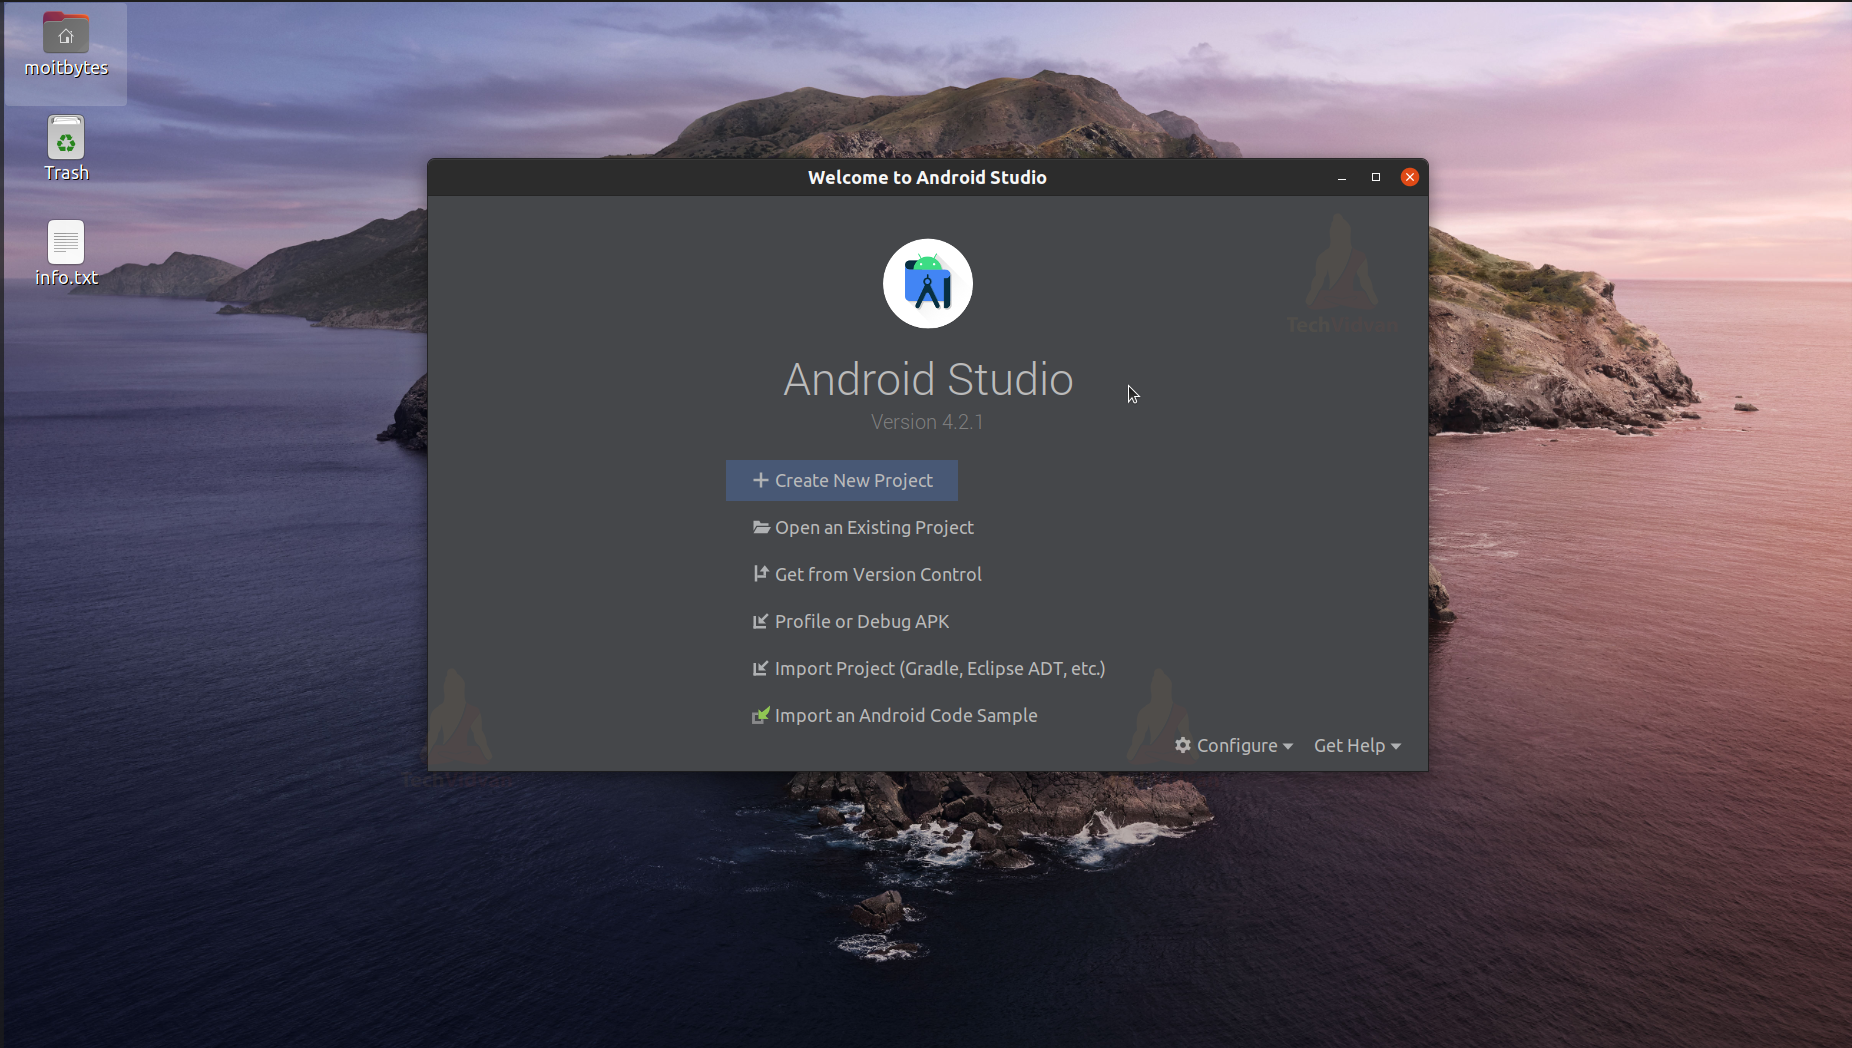
Step 2: Creating a new Project
On the screen, click on “+ Create a New Project.”
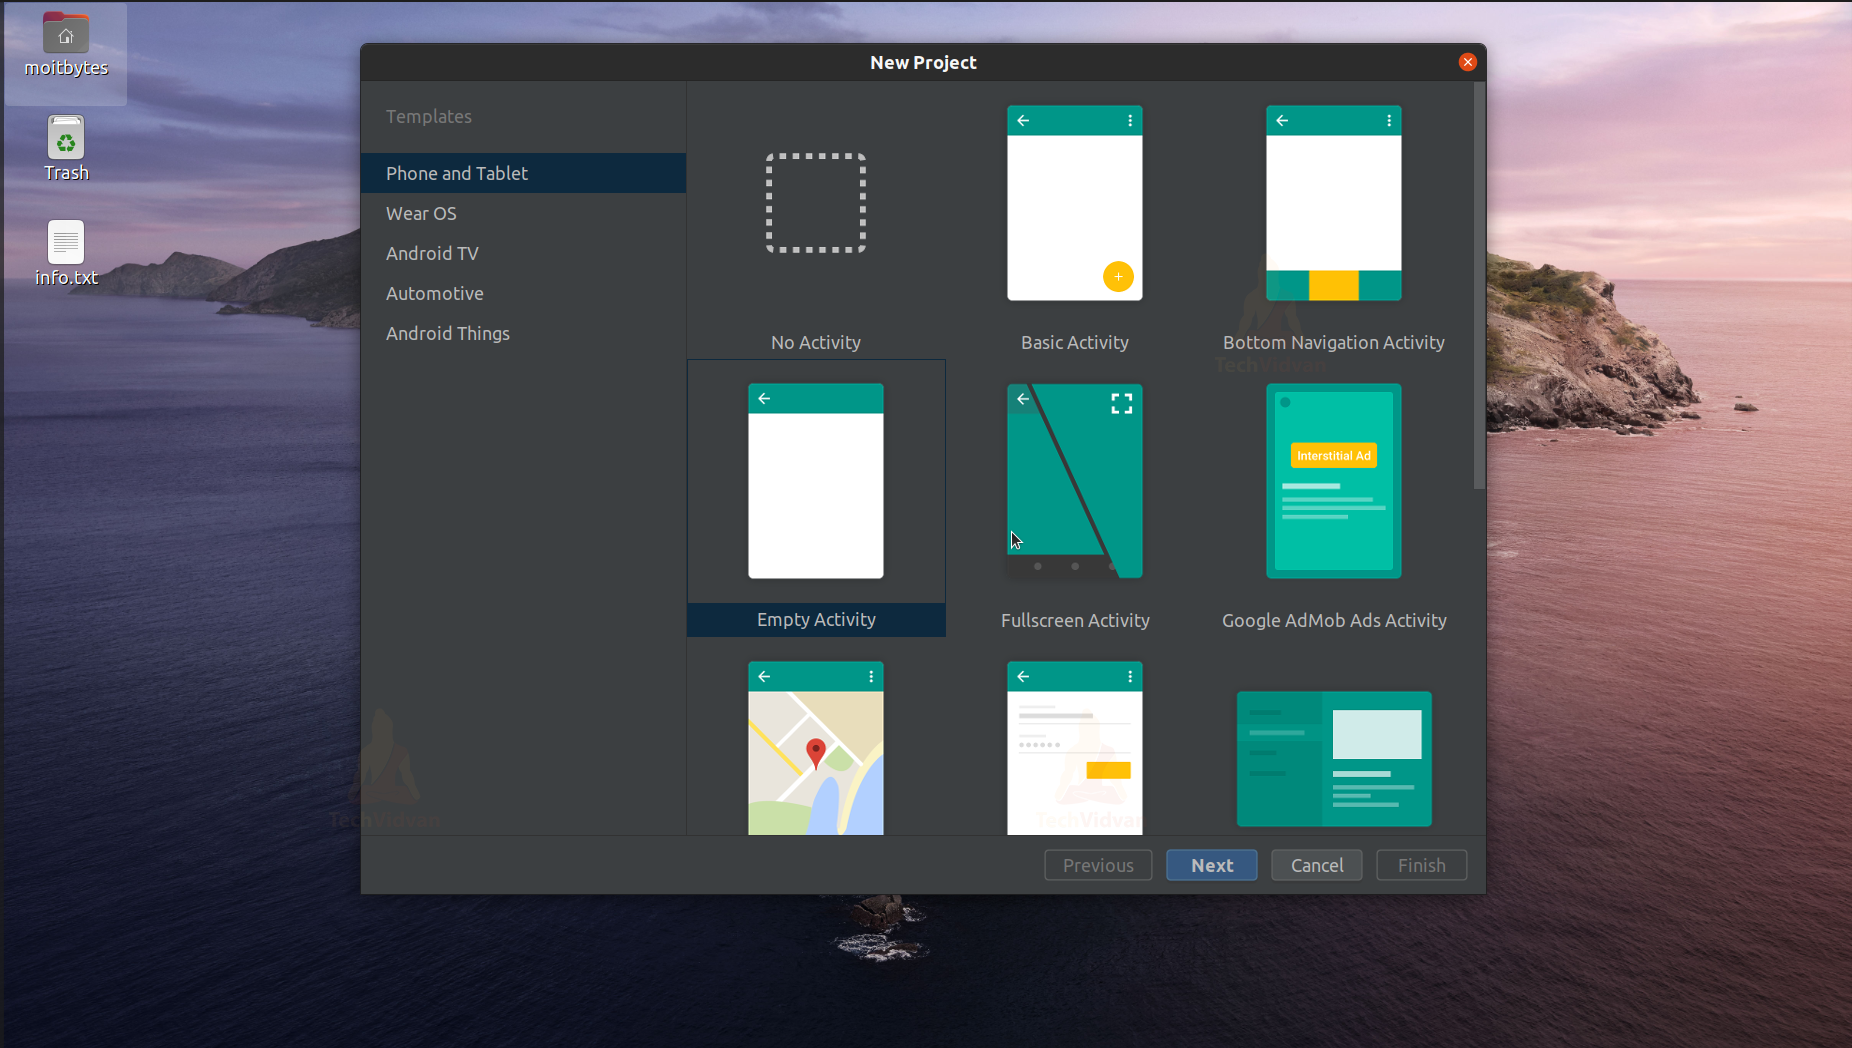
Step 3: Selecting Activity from New Project Tab.
You can see a variety of available activities in front of you. You need to select “Empty Activity” and proceed. There are options even to create apps for Wear OS and Android TV.
Step 4: Configuring your Activity
You would be available with several options, as shown below. You need to provide these details to create your empty activity. Let’s see each field.
Name –
You need to provide your application name here. In our case, it is “TechVidvan HelloWorld.” You can provide space in between the words.
Package Name:
If you are working for an organization, you can keep the company domain as a package name. Otherwise, you can proceed with the default form, which “com.example.your_app_name”.
Save Location:
You can select your location wherever you want to save this project.
Language:
Select Kotlin.
Minimum SDK:
Select API 22, which Android Lolipop. You are advised to use an android version that covers more than 90% of the users.

Step 5:
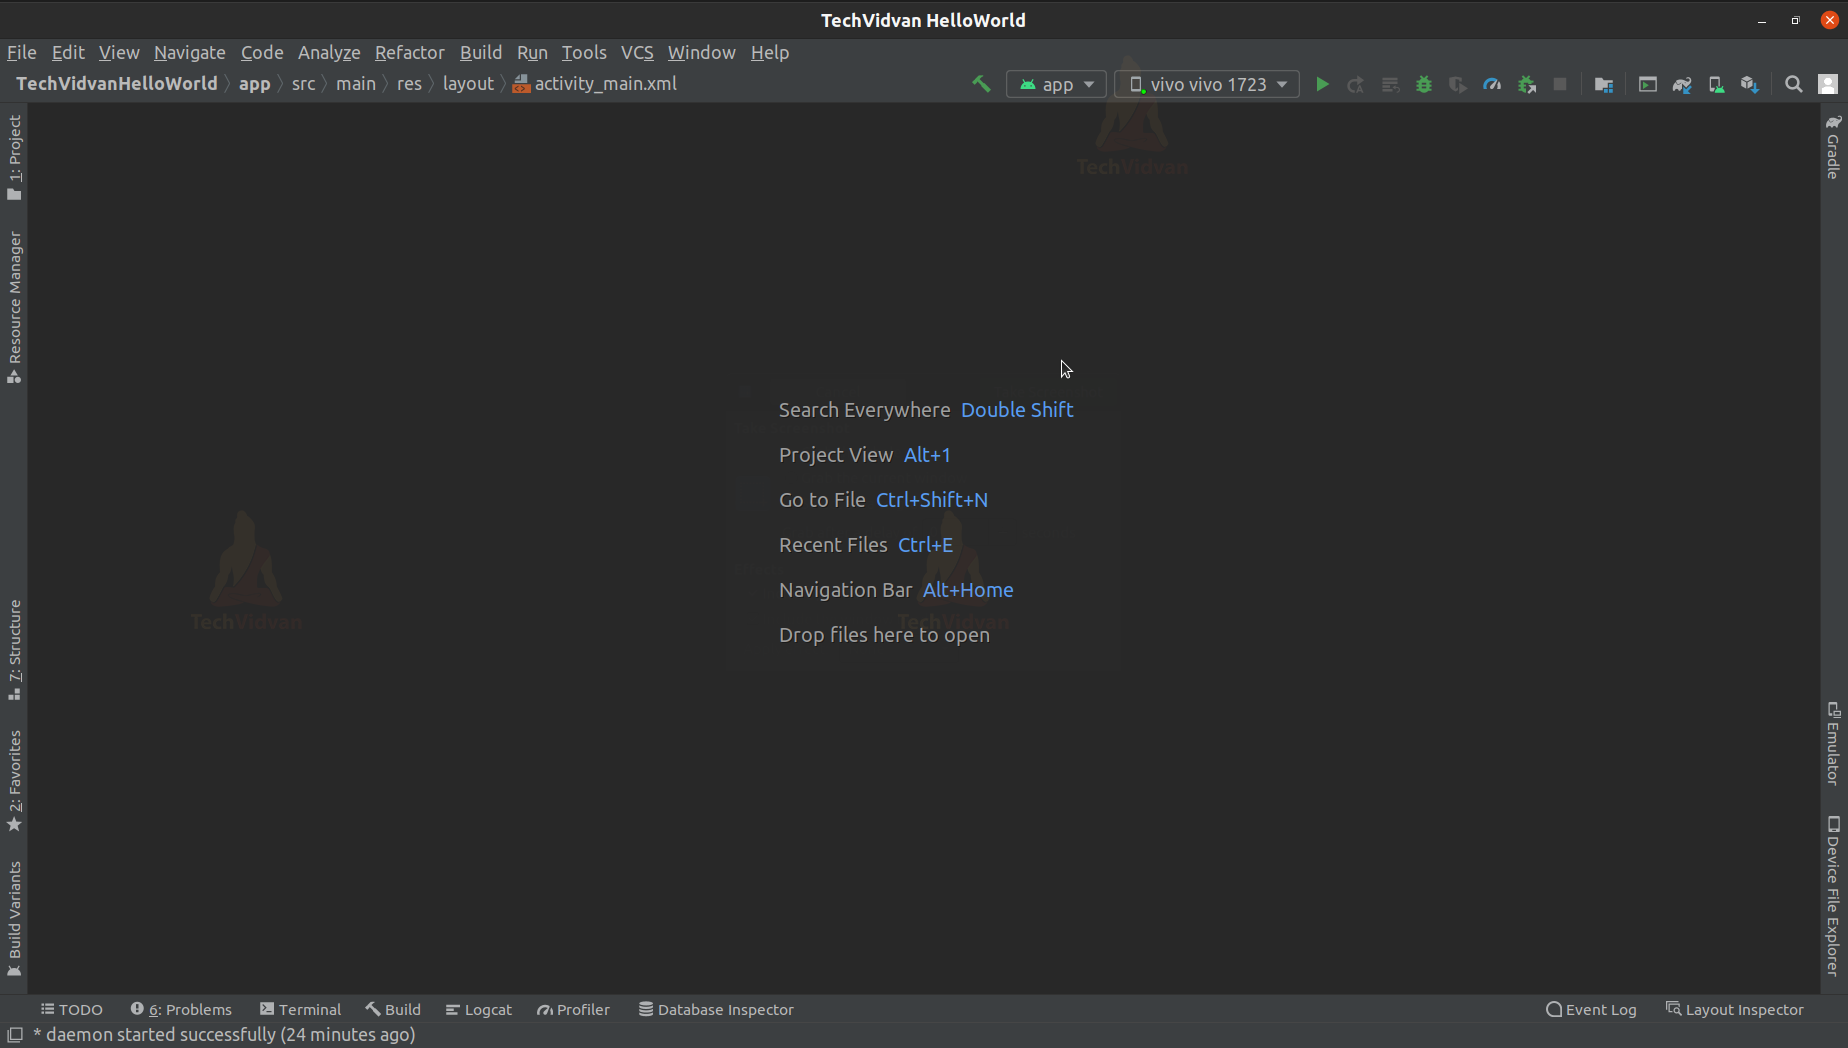
Wait for the project to build and the files to load. After the files have loaded, the screen would appear something like below:
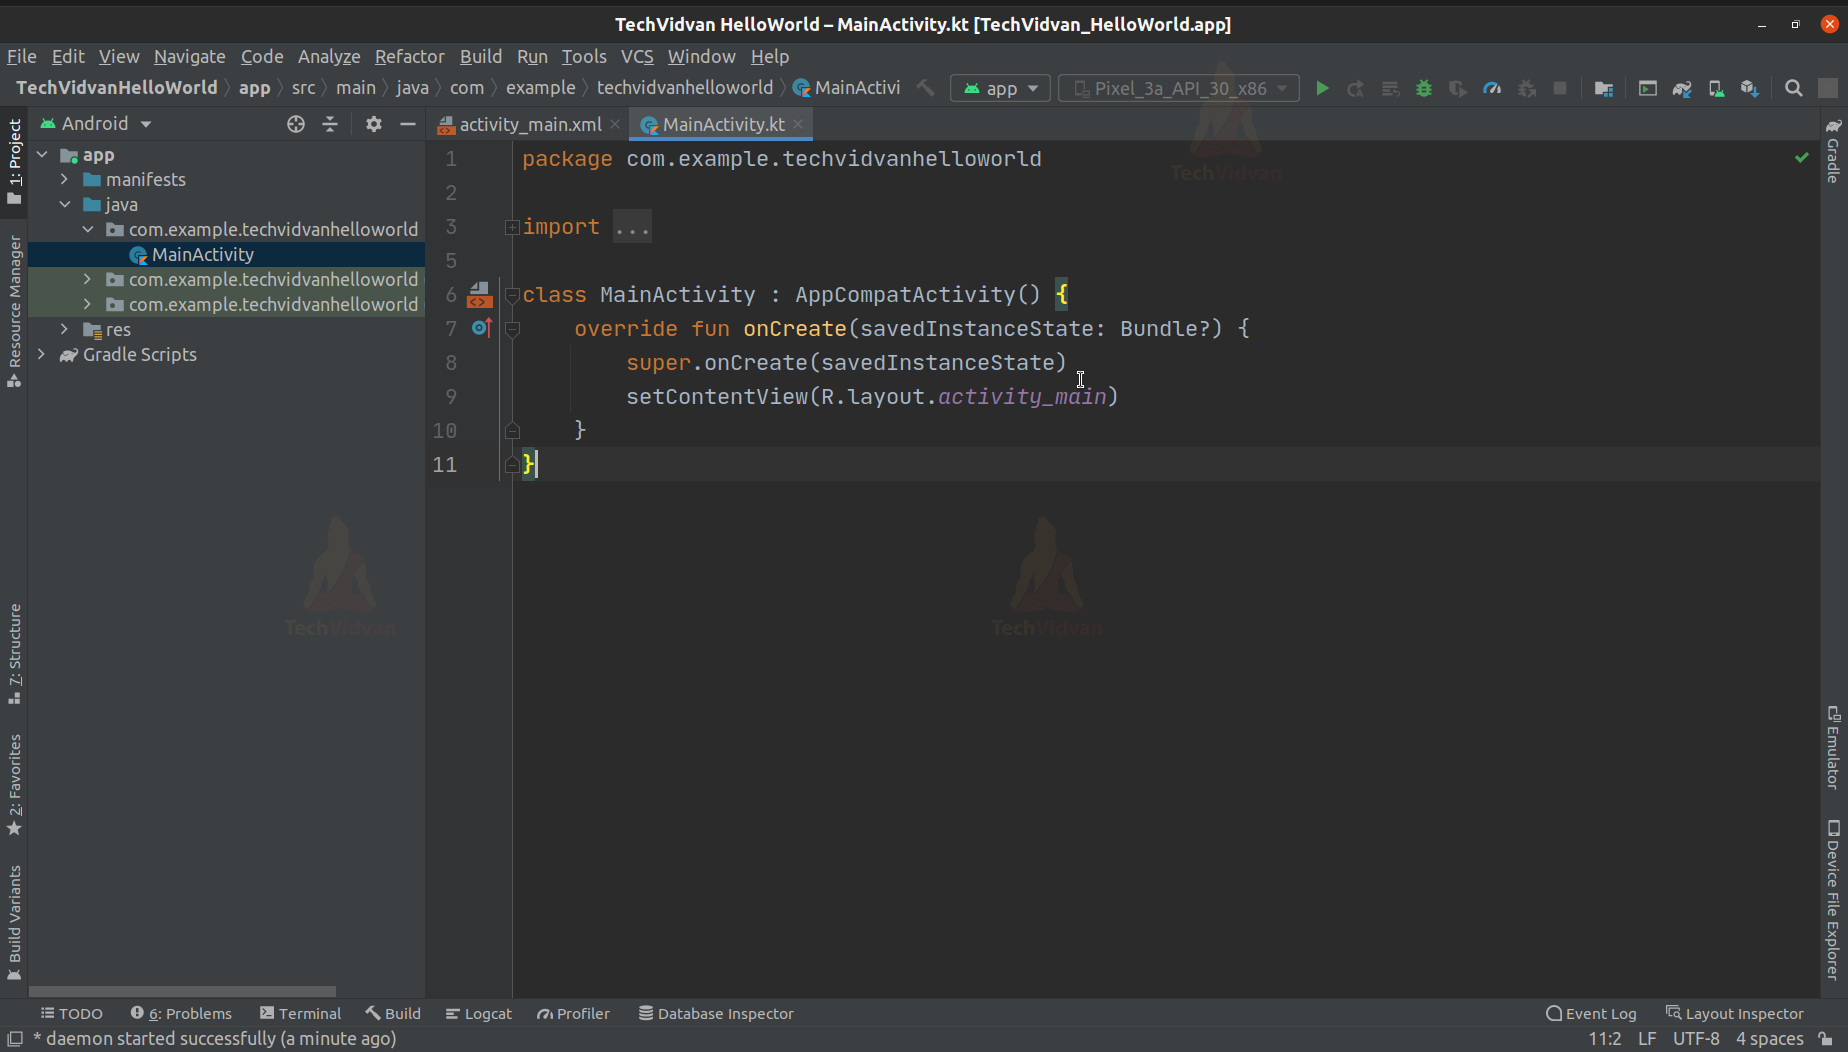
Step 6:Project Structure
On the left side, you can find the project structure. Using the project structure, you can navigate through the project files.
Step 7: Android Manifest File
On the left side, click on the manifest file, and it will load the AndroidManifest.xml file for you. (App —> Manifest —> AndroidManifest.xml)
Manifest describes the various components of Android like Activity, Services, etc. It also contains the app name and app logo and allows you to declare permissions.
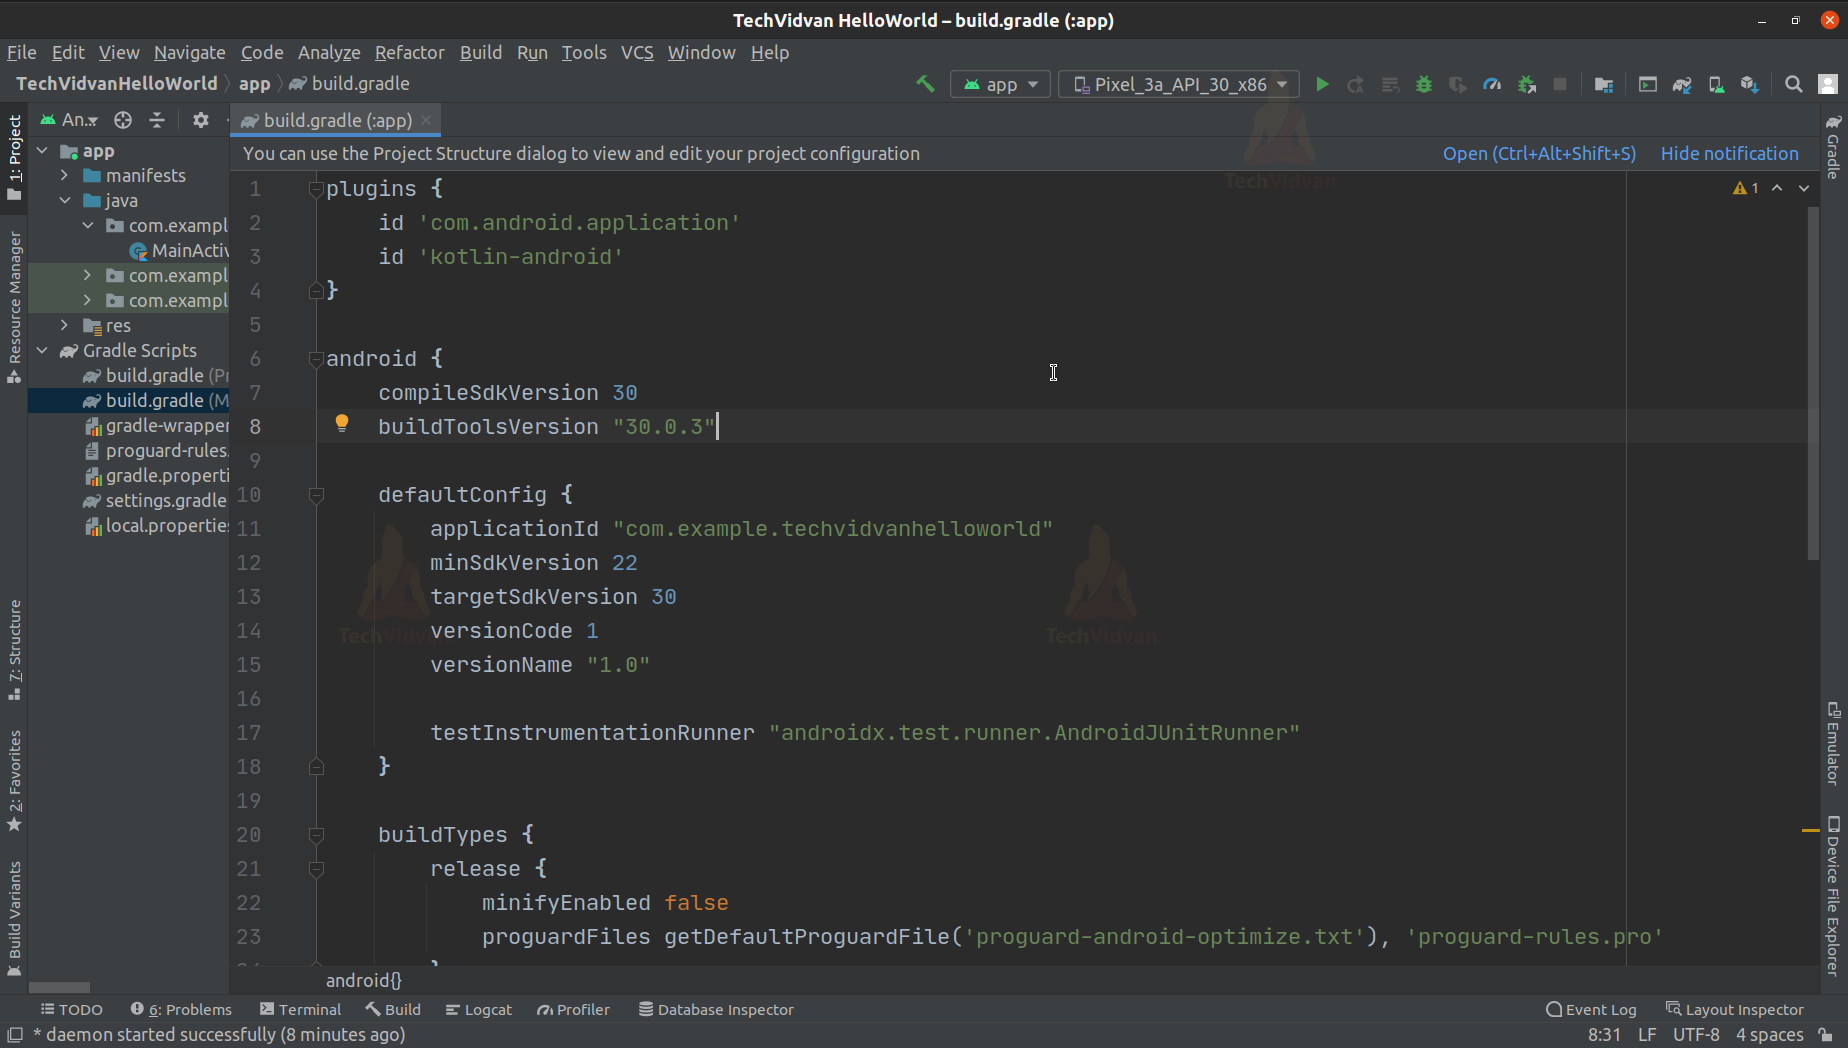
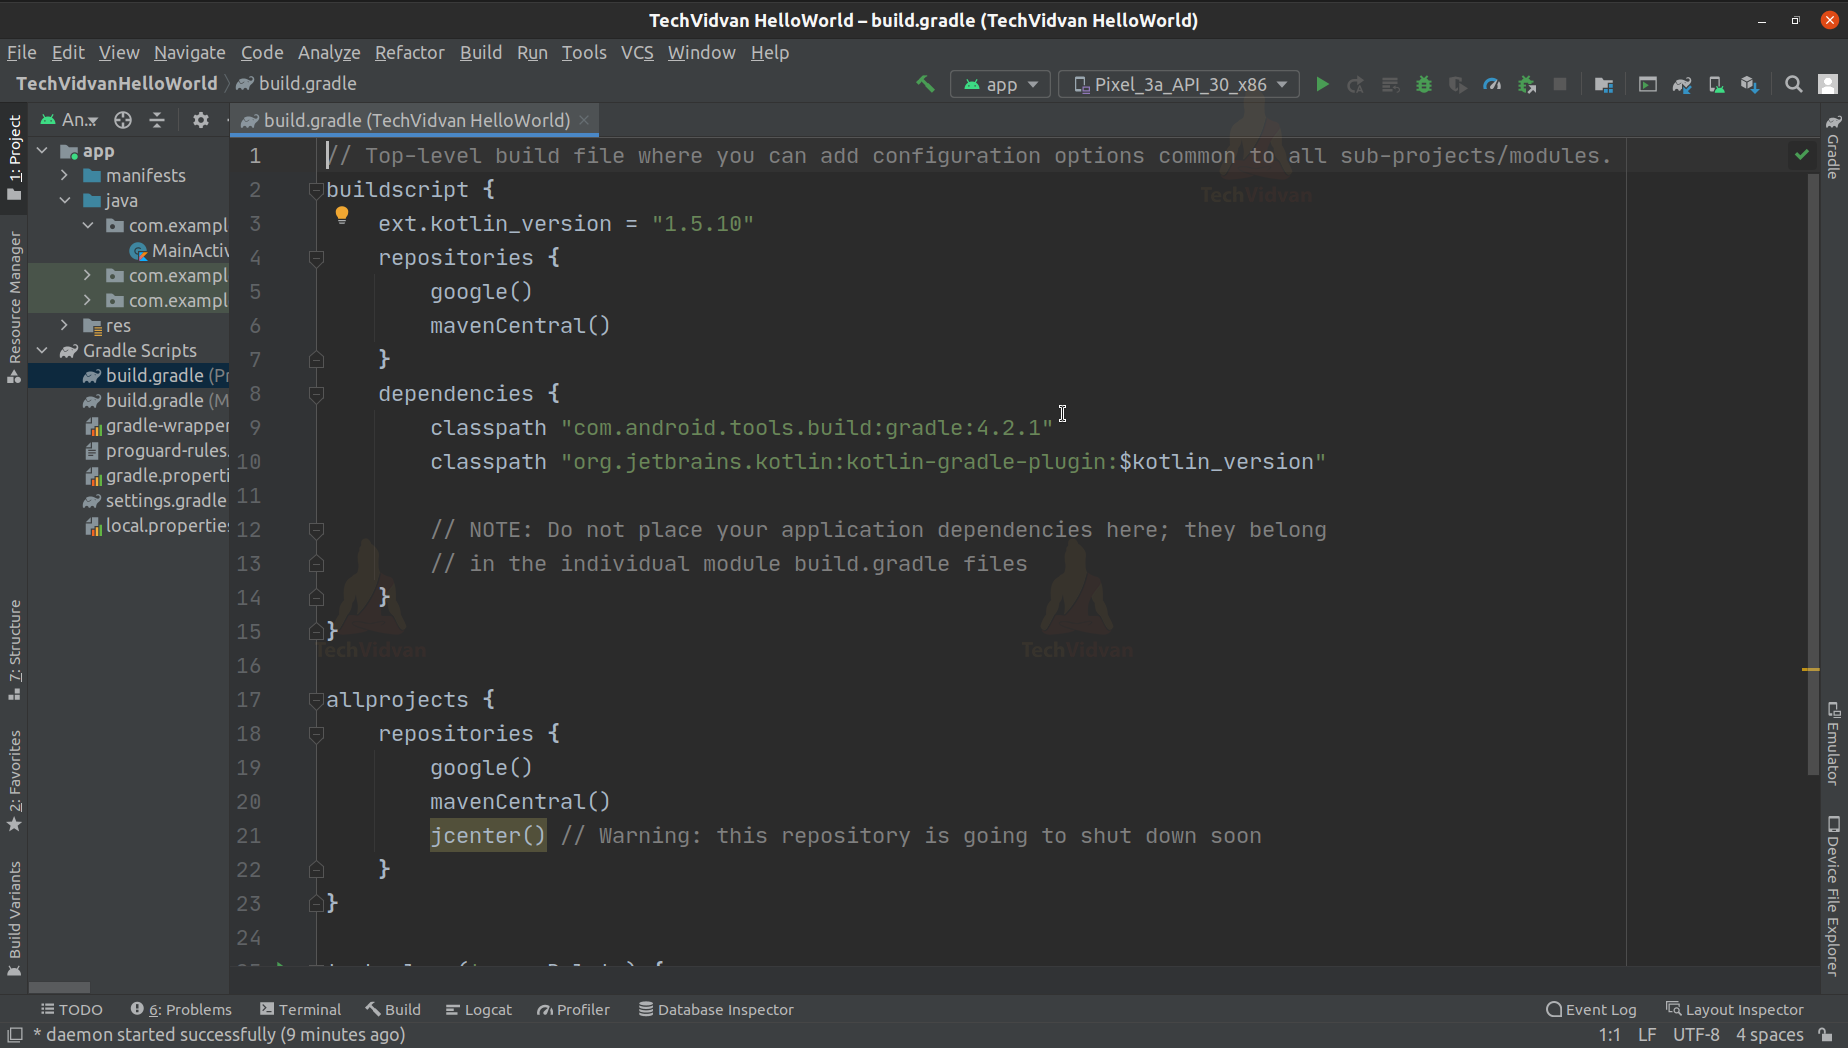
Step 8: Gradle Scripts
You can locate the Gradle files on the left-side navigation.
App—> Gradle Scripts —> build.gradle
We mainly deal with two types of Gradle files. One is the project level Gradle file and the other being the app level Gradle files. These Gradle files actually contain the dependencies of the various libraries.
App Level Gradle File:
Project Level Gradle File:
Step 9: XML Layout Files
We use XML to design the user interface or the layout of the various activities or fragments.
Go to res —> Layout —> activity_main.xml
You can see the design window. Here you can drag and drop elements.
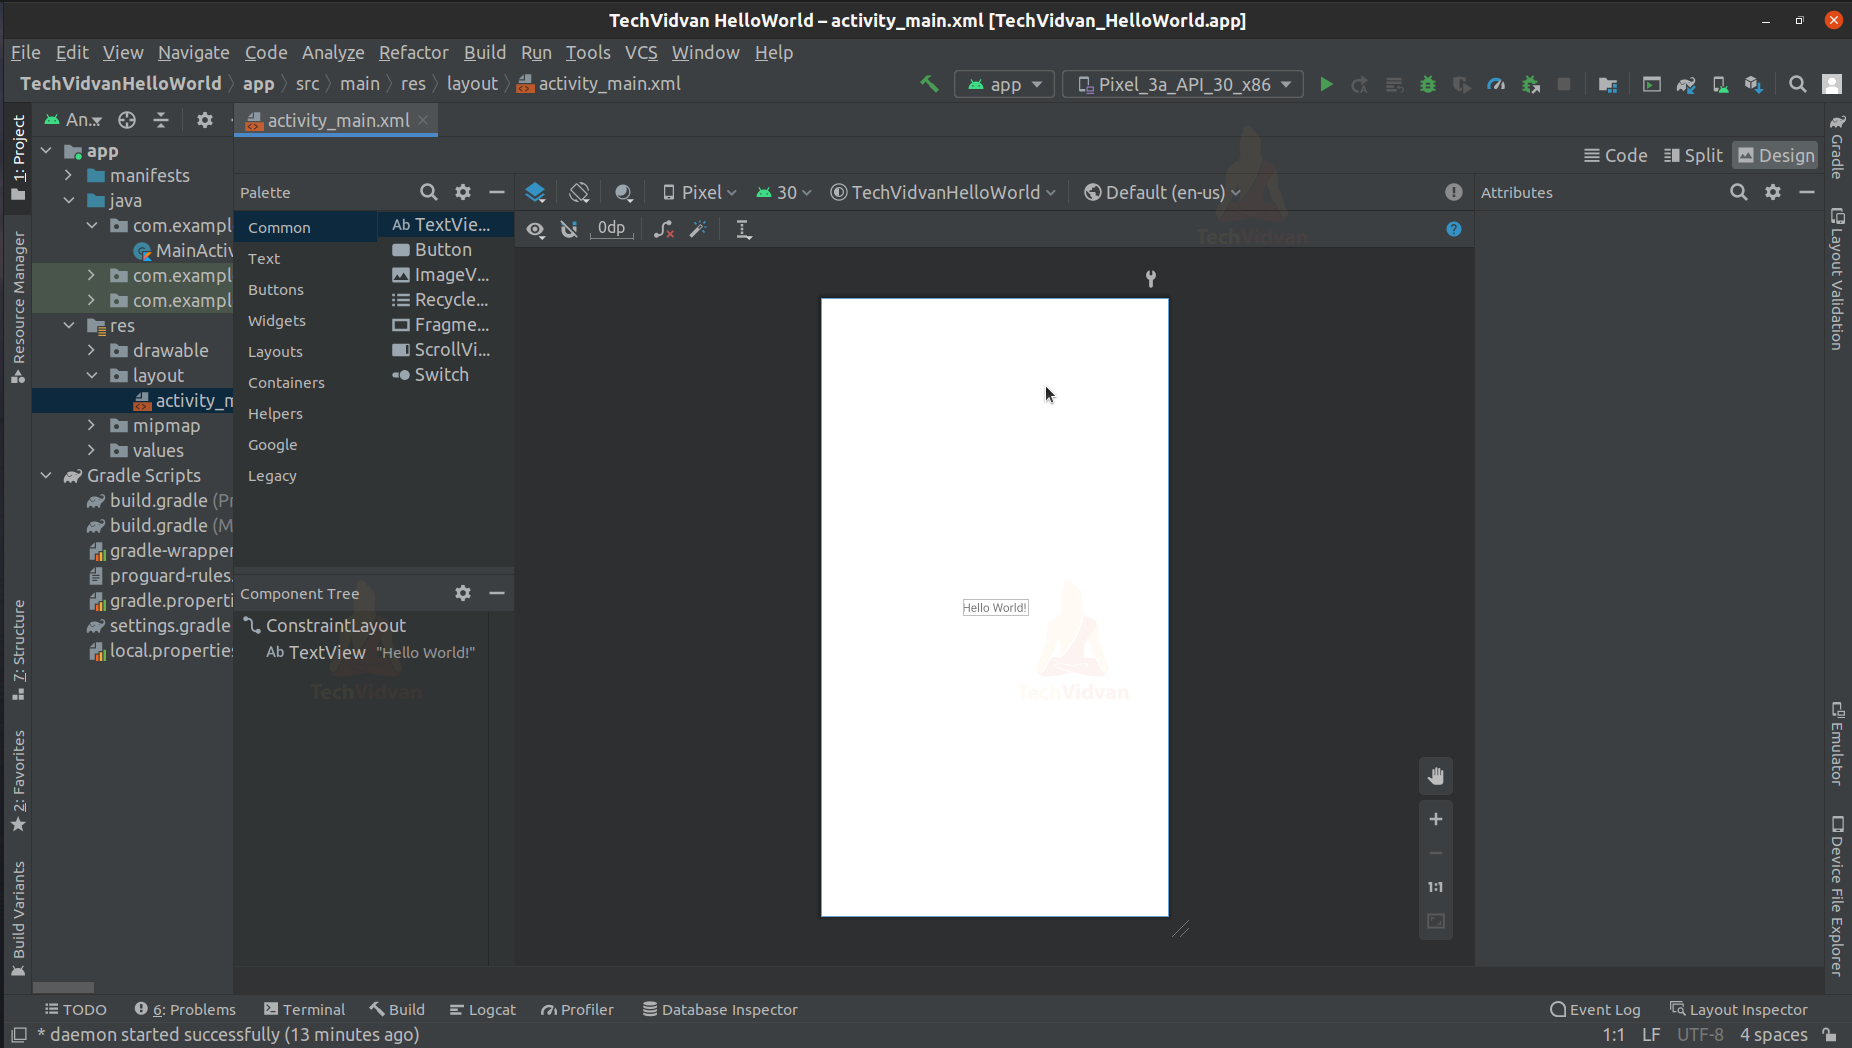
Click on the Code option to get the chance to code the layout. Now, this completes the steps to create a project in Android.
Now let’s see how you can connect your device to your android studio.
Steps to Connect your Device to Android Studio
To connect your device to Android Studio, you need to enable USB Debugging on your device. Follow the steps to do that.
Step 1:
Open your device Settings
Step 2:
Click on About Phone
Step 3:
Click on Build options 2-3 times.
Step 4:
You will get a Toast that “You are now a Developer.”
Step 5:
Now locate developer options in your settings and then enable USB Debugging.
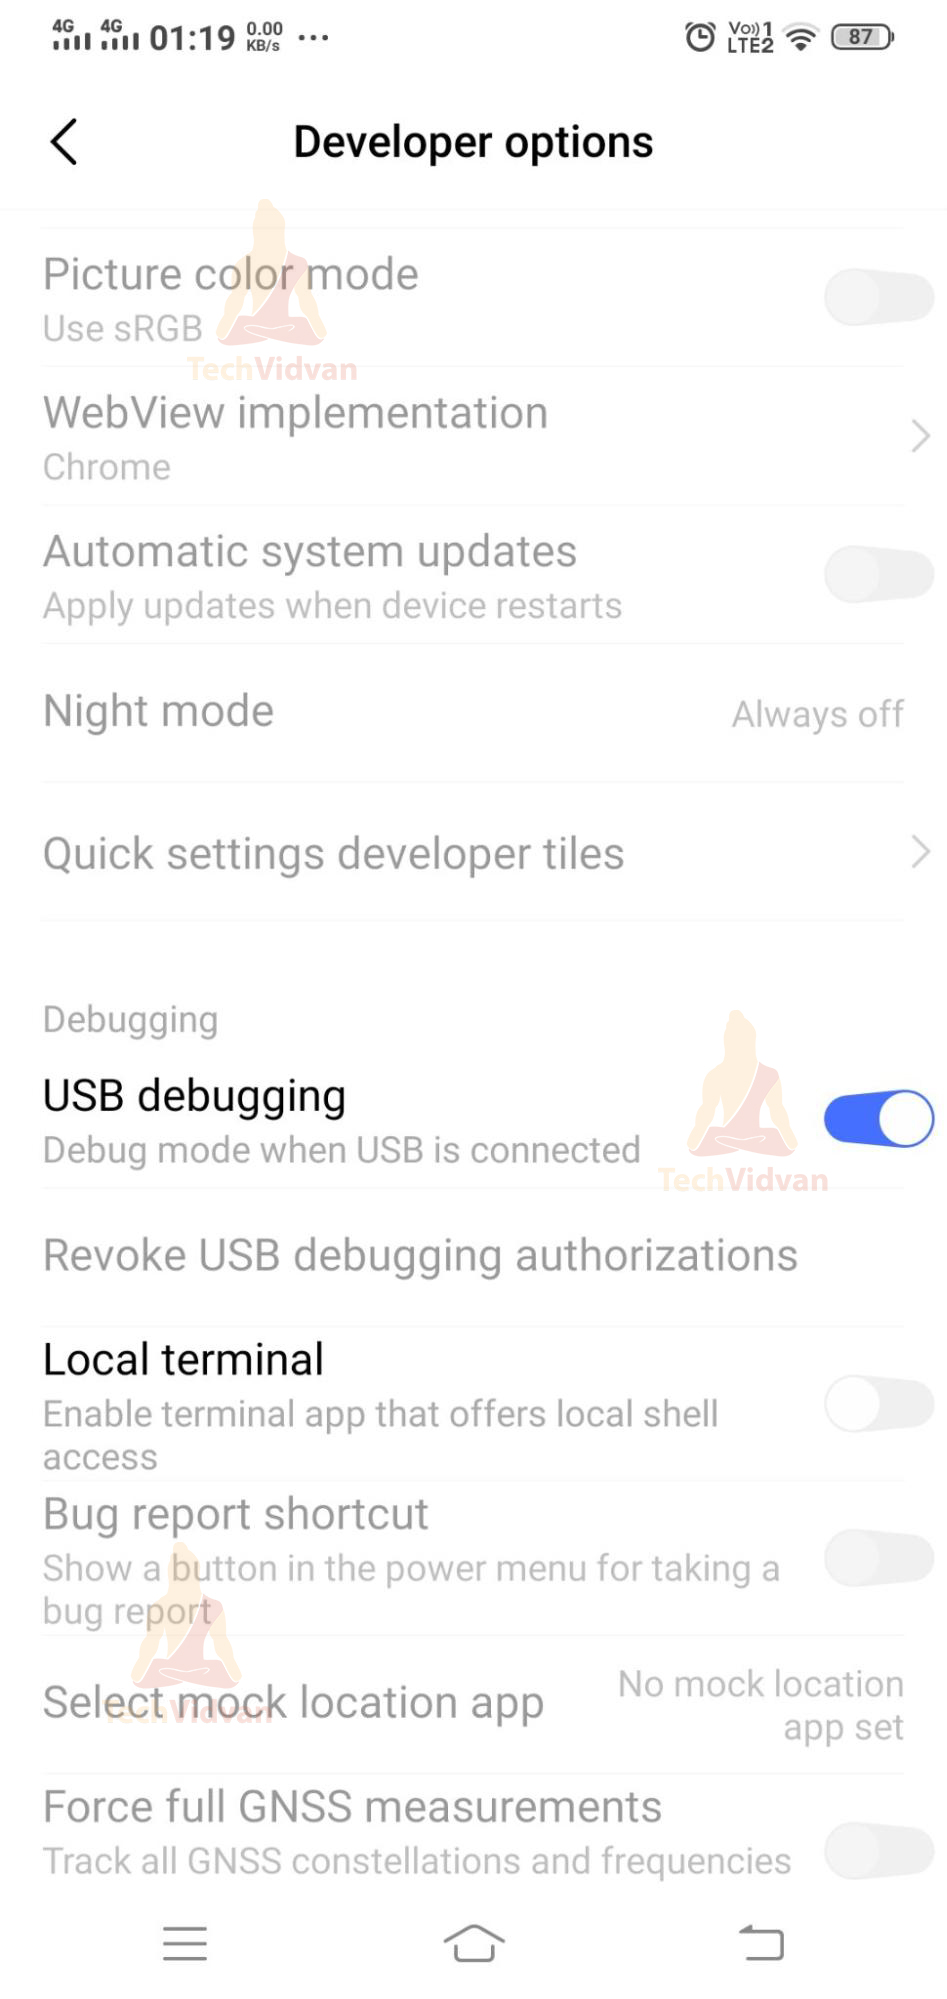
Step 6:
Now connect your device with a USB cable
Step 7:
You can see your phone detected at the top bar.
Steps to Install Emulator in Android Studio
It doesn’t matter whether you have an Android device or not. Android studio provides you a feature to create your own Android Emulator. The emulator works similar to an Android Device and can support all types of Android Applications.
Let’s see how to set up our own android emulator.
Step 1:
First open AVD Manager from the top menu bar. It will look like below.
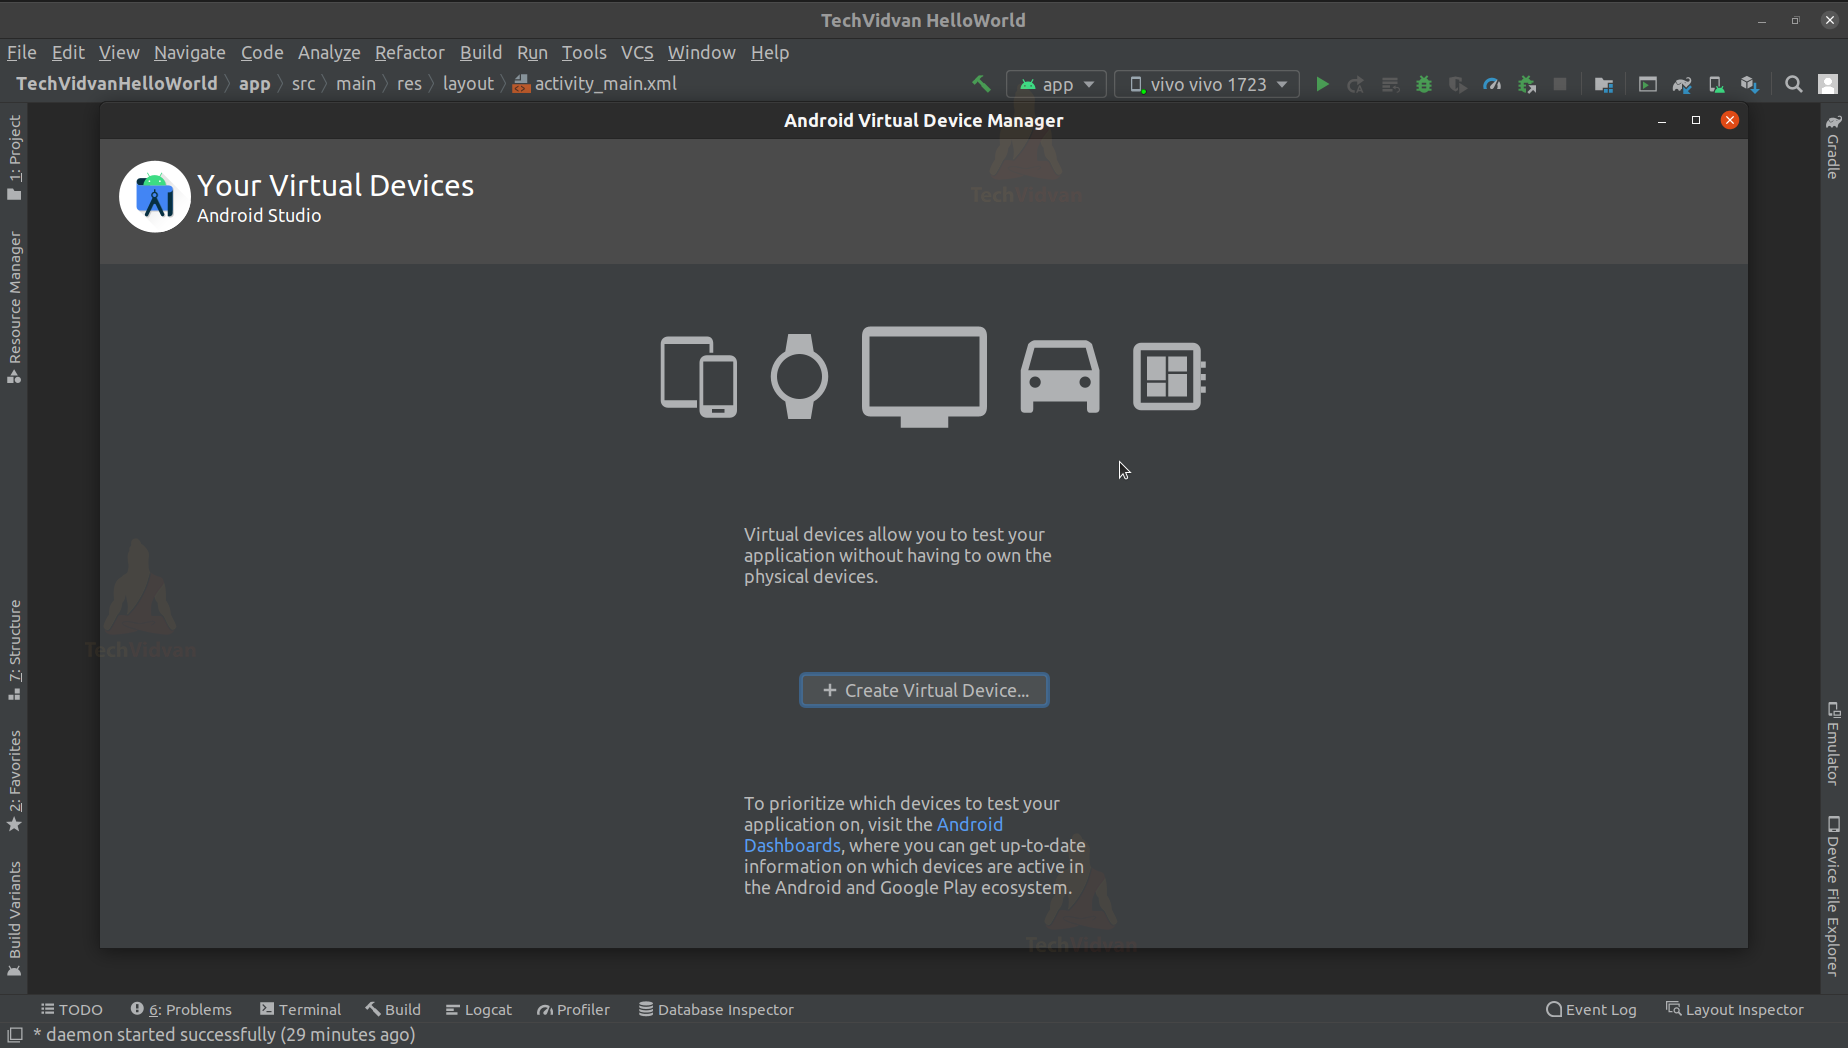
Step 2:
Now click on “+ Create Virtual Device.”
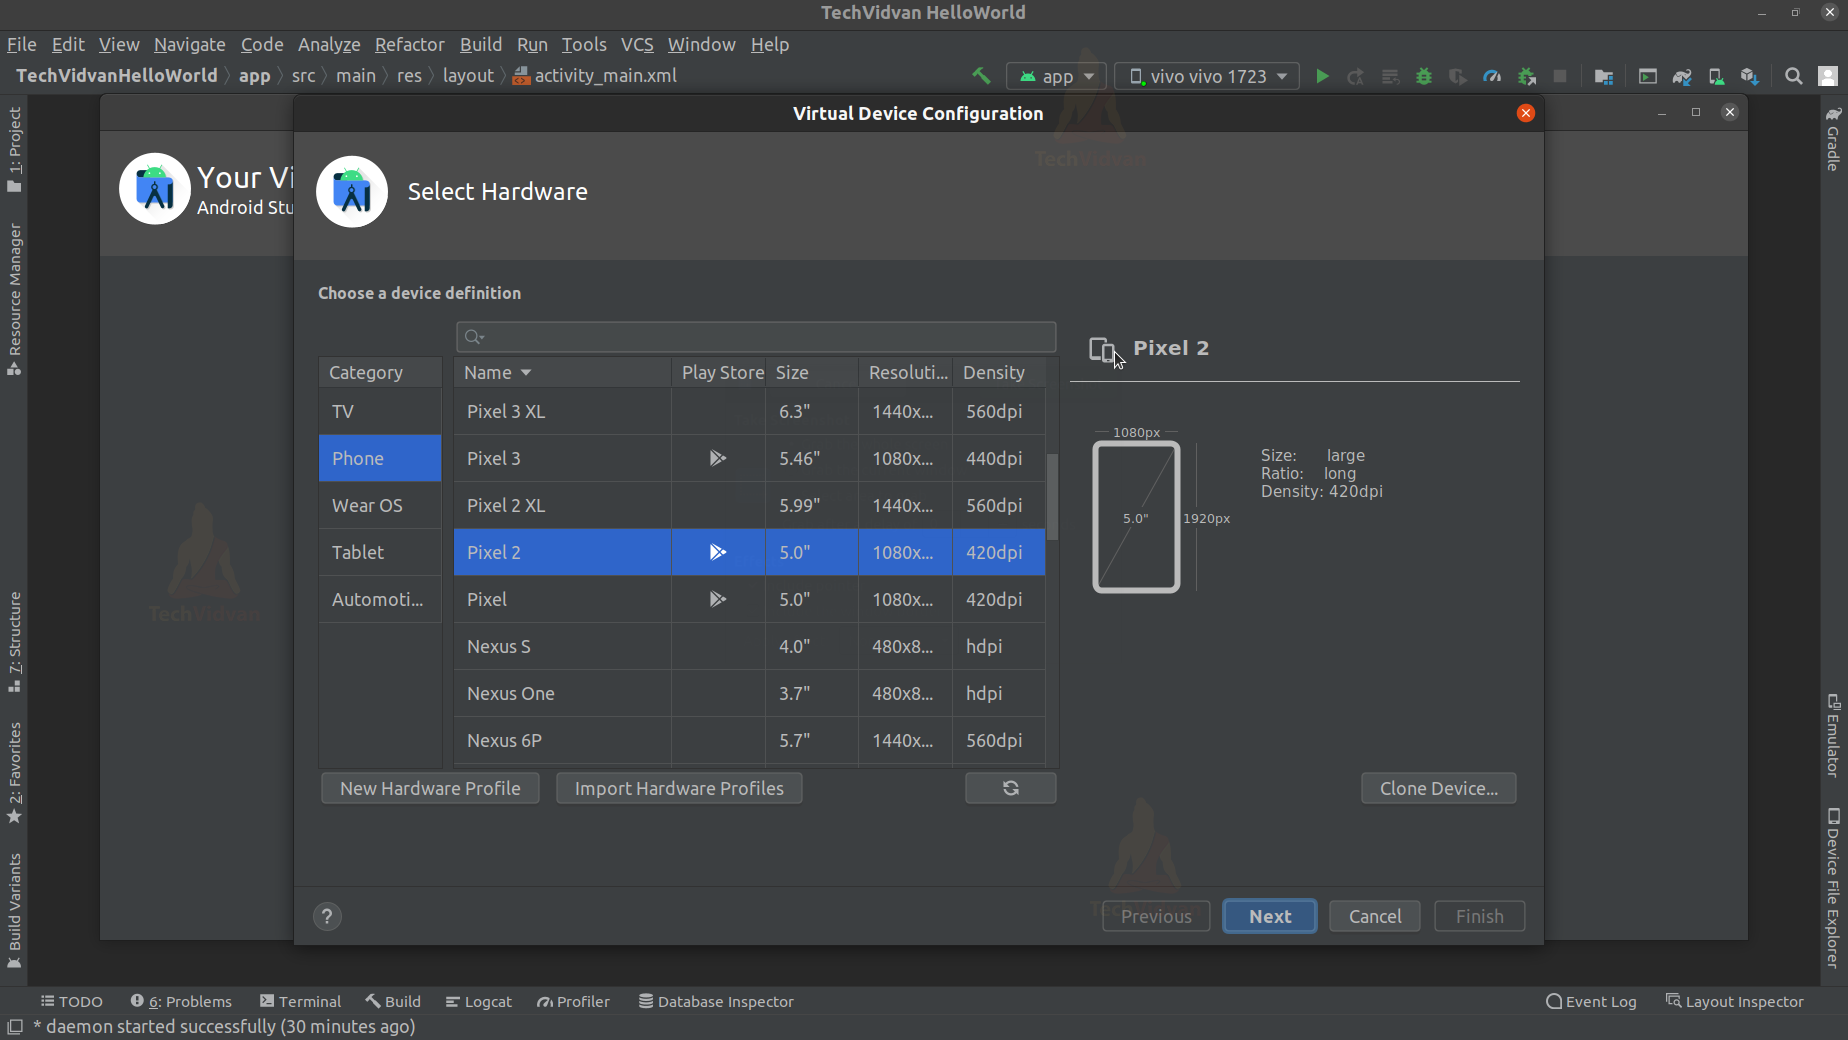
Step 3:
Select Category as Phone and Select Pixel 2 or any of your desired models. Click on Next.
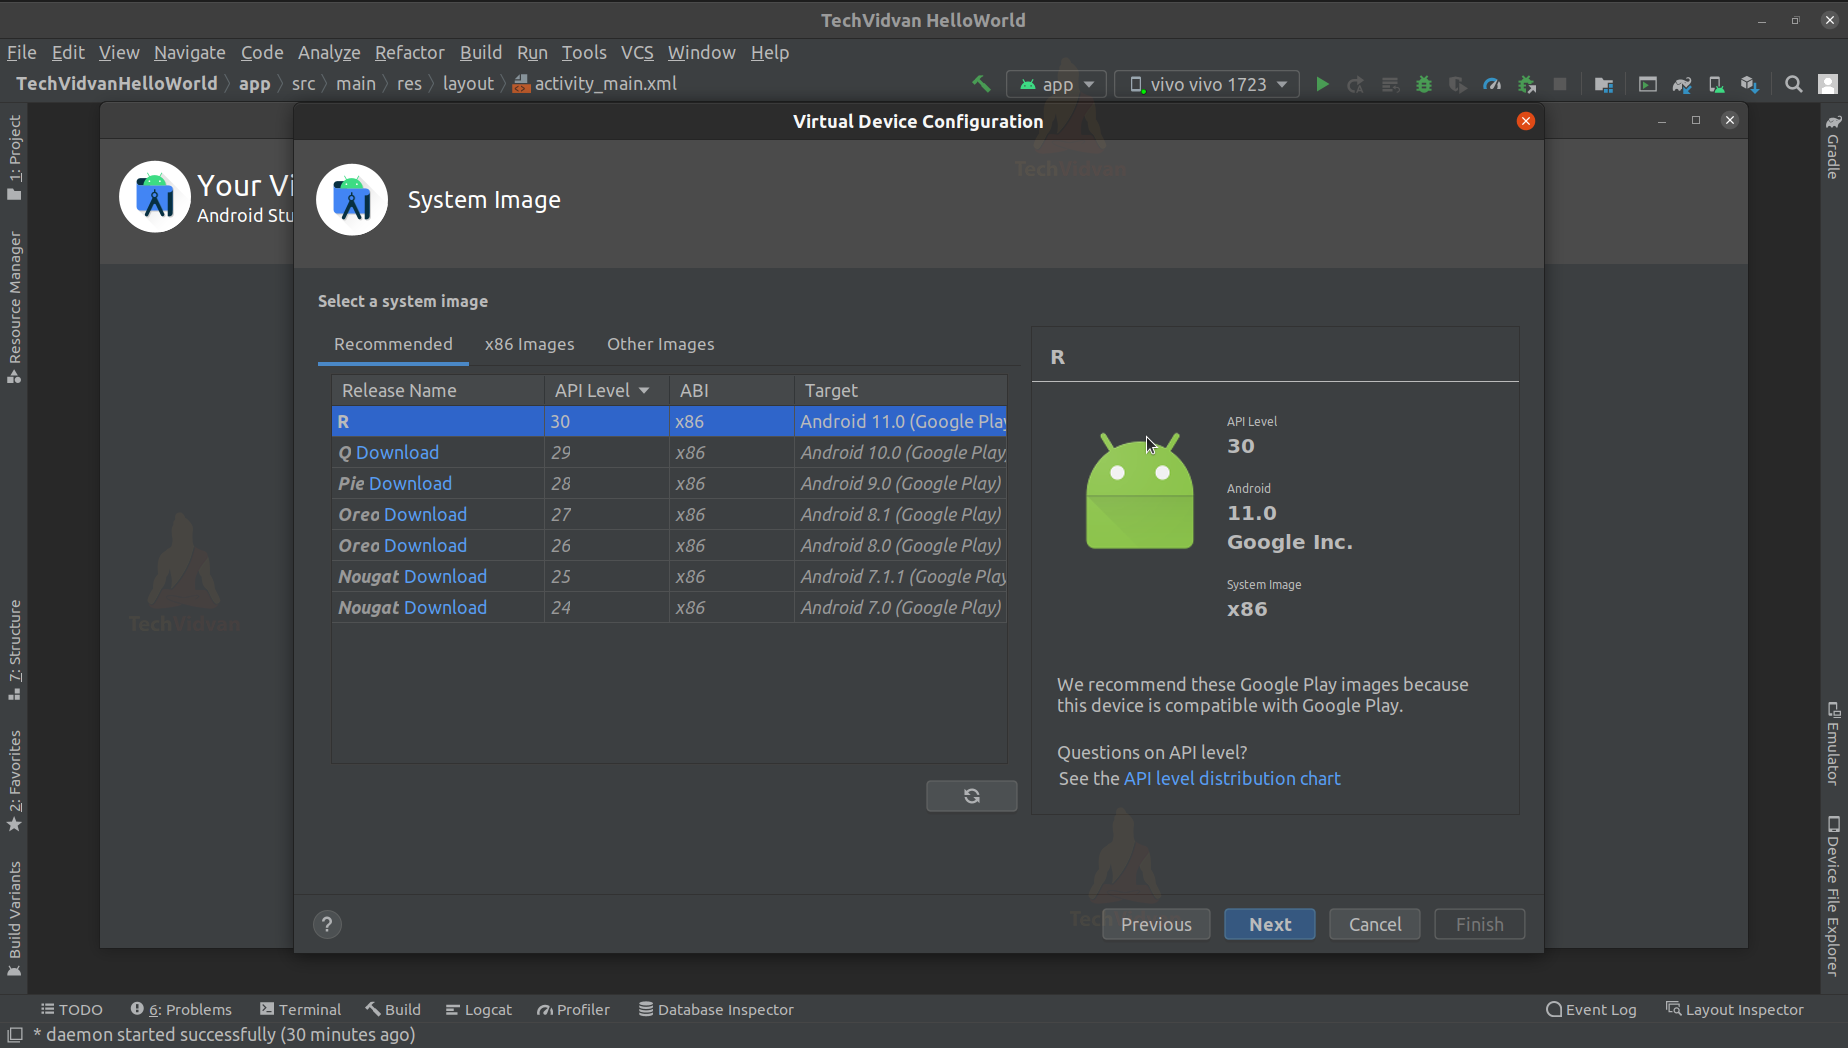
Step 4:
Now,” you need to select the Android version you wish to install. When the article is written, the latest version is Android R. Hence we will go with it.
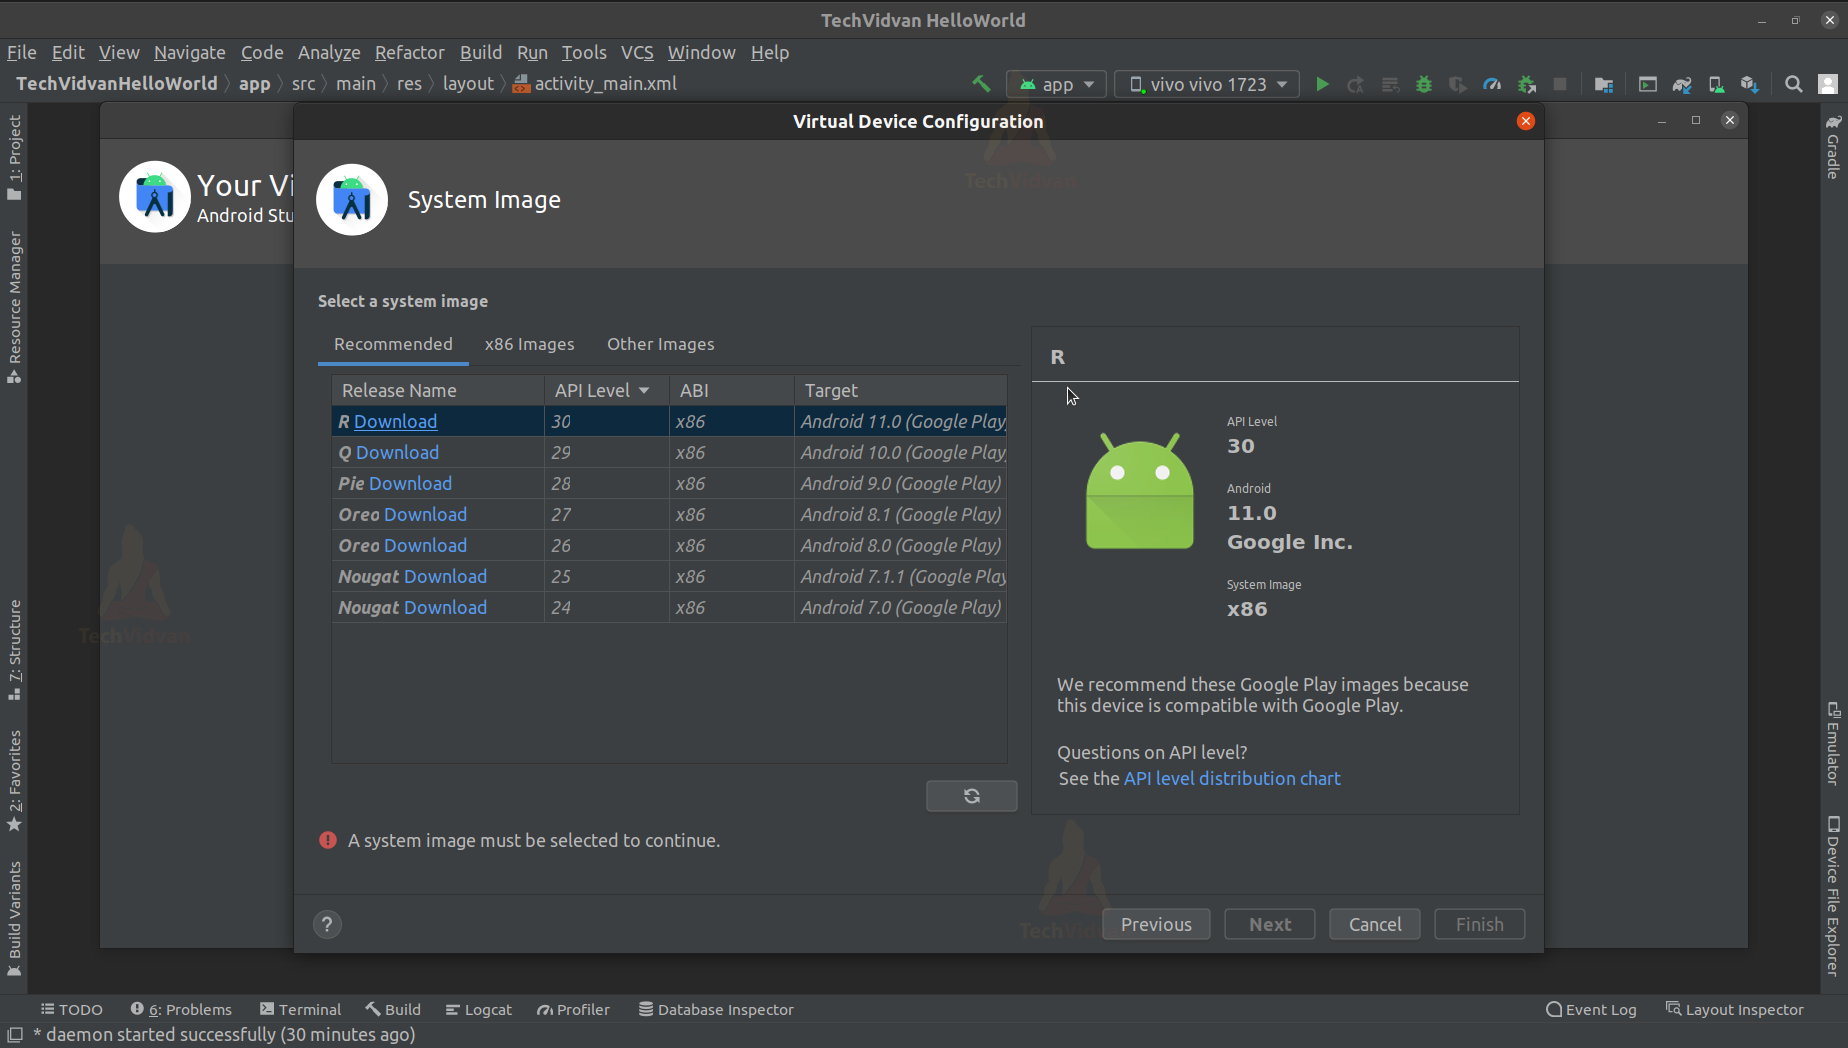
Just click on Download and proceed.
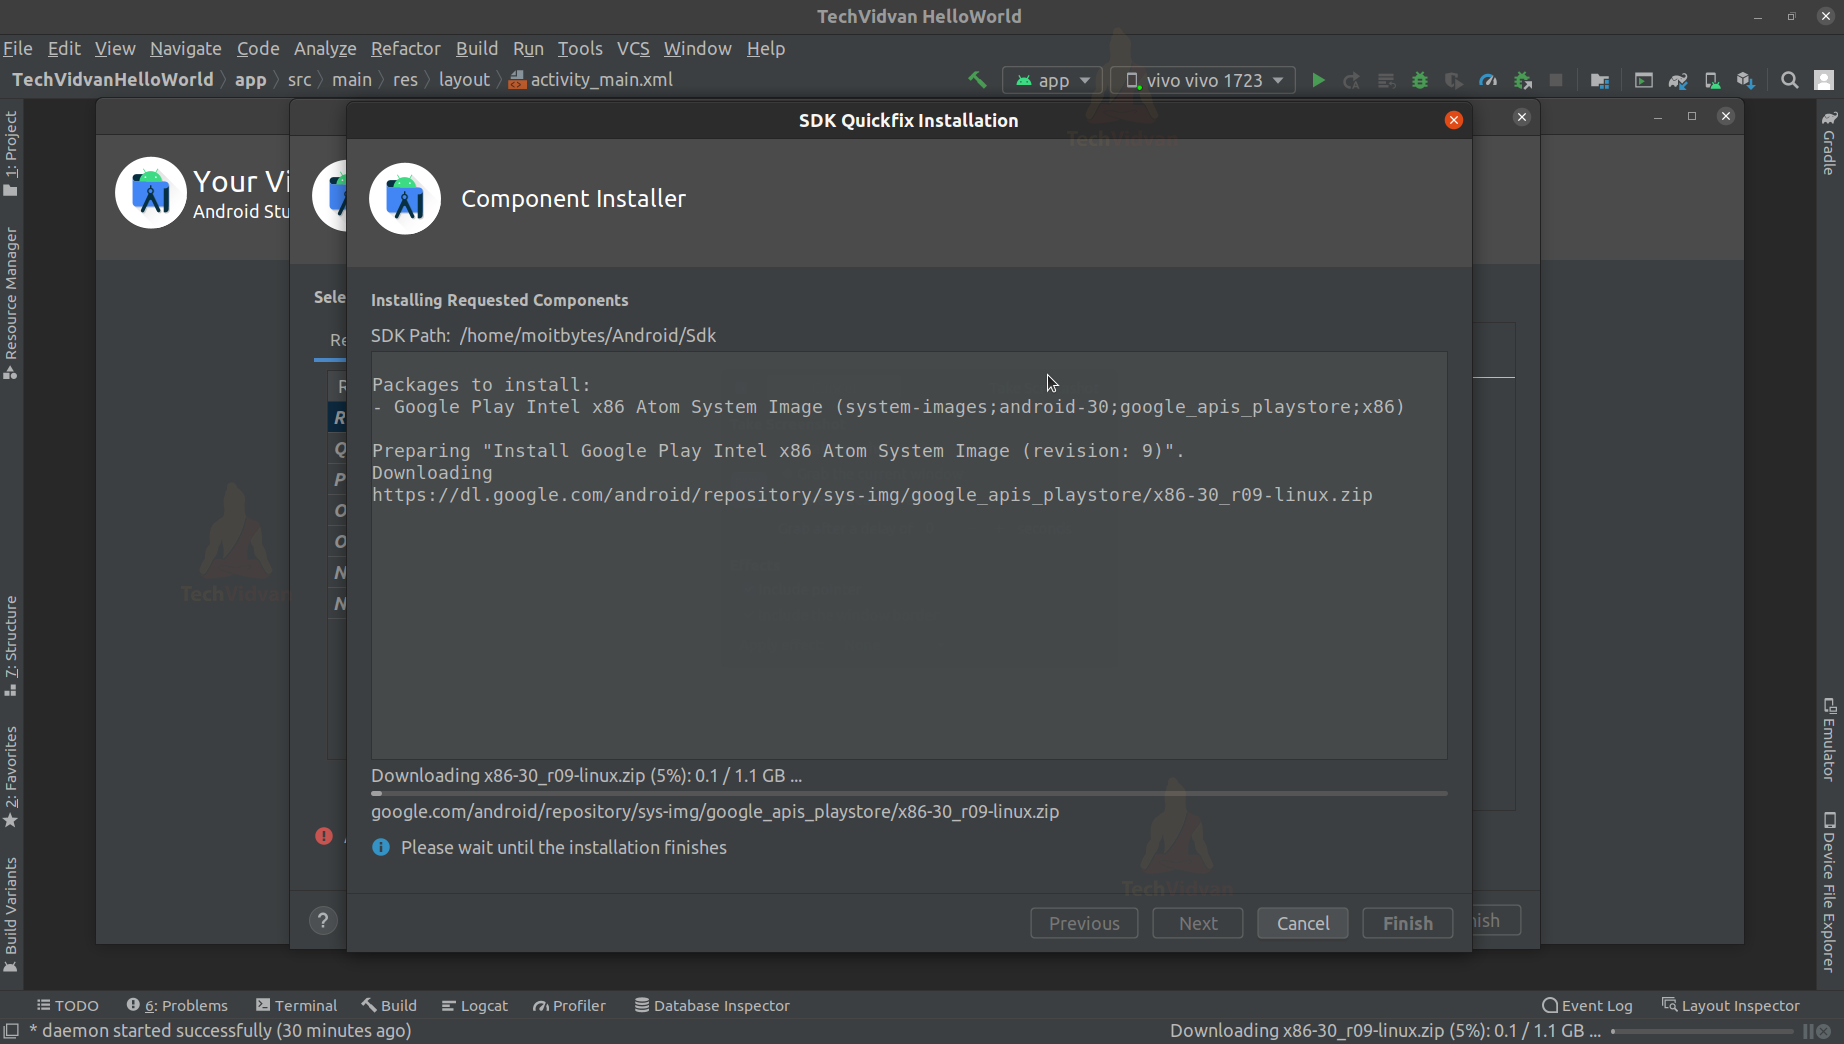
Step 5:
You can notice a window opened named “Component Installer.” It will download the android tools, components and install them on your virtual device.
Step 6:
After the installation is done, the package click on Finish.

Step 7: Virtual Device Configuration
You need to now select your downloaded system image(which is android R) and proceed.
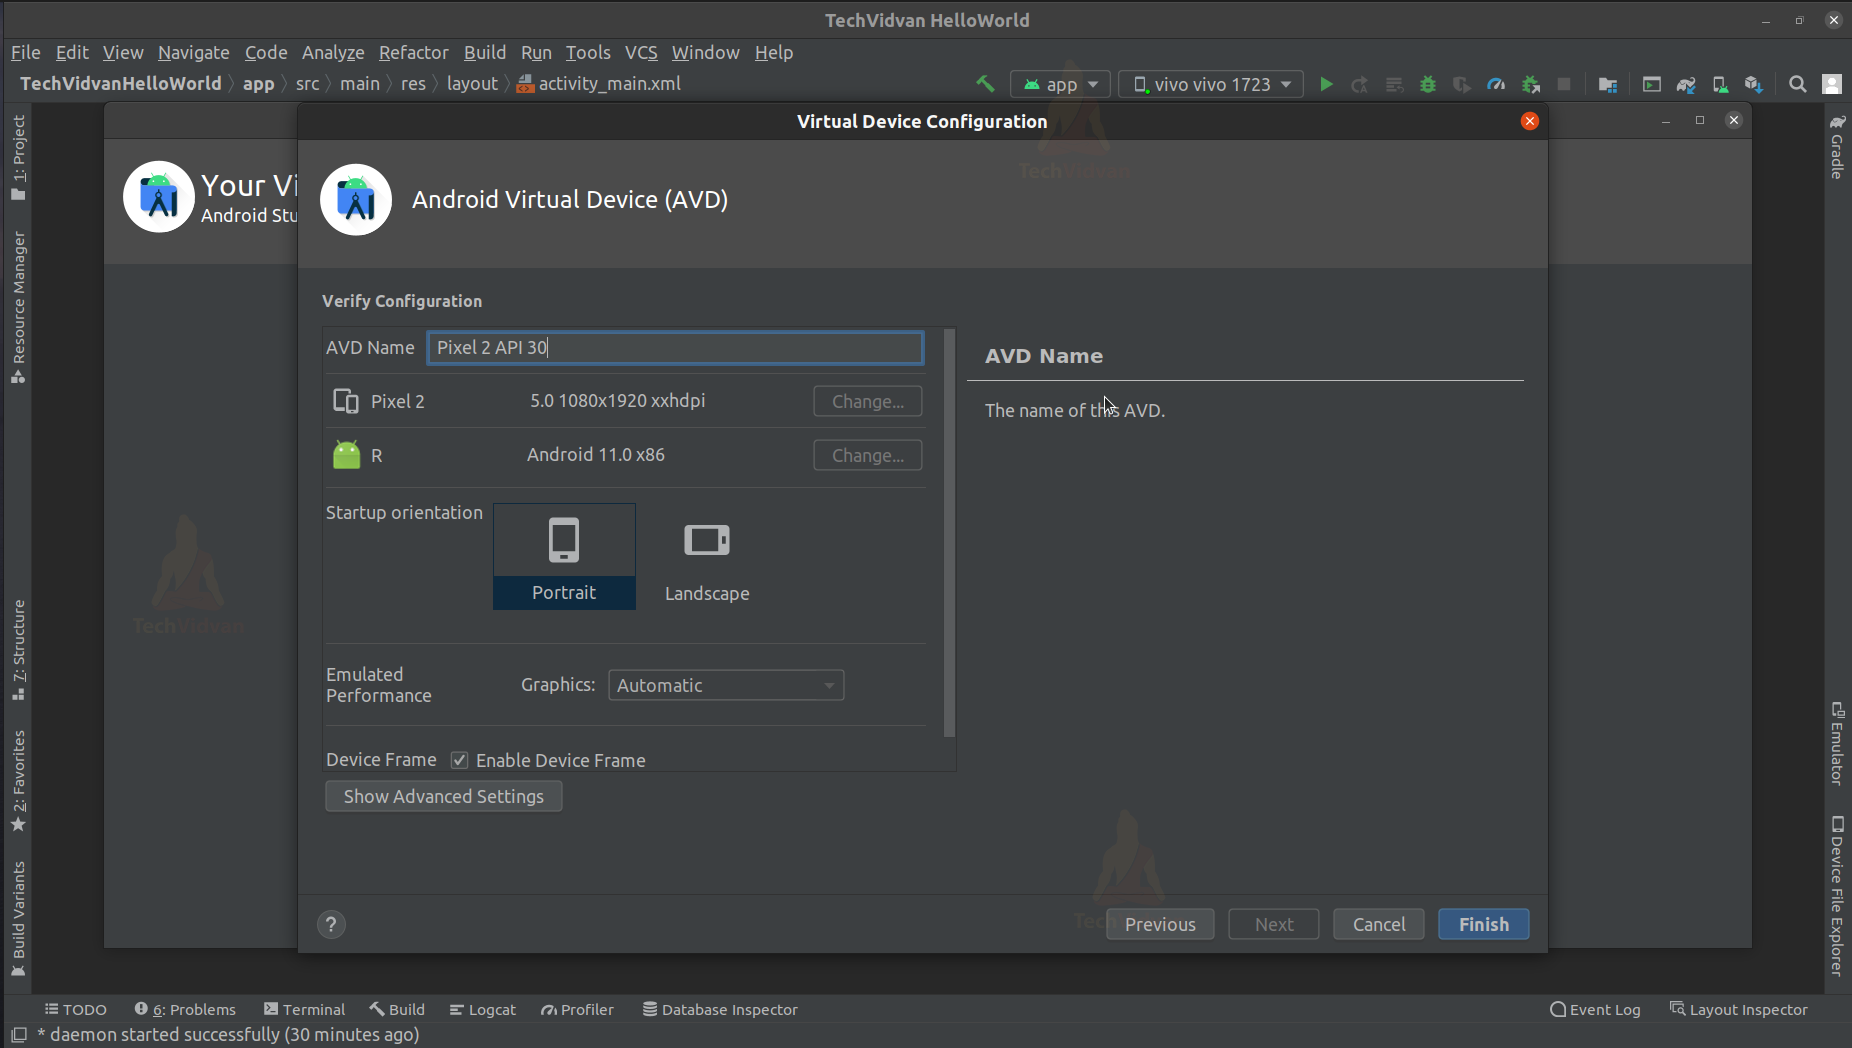
Step 8:
Give your virtual device a name and click on the finish—no need to change other settings for now.
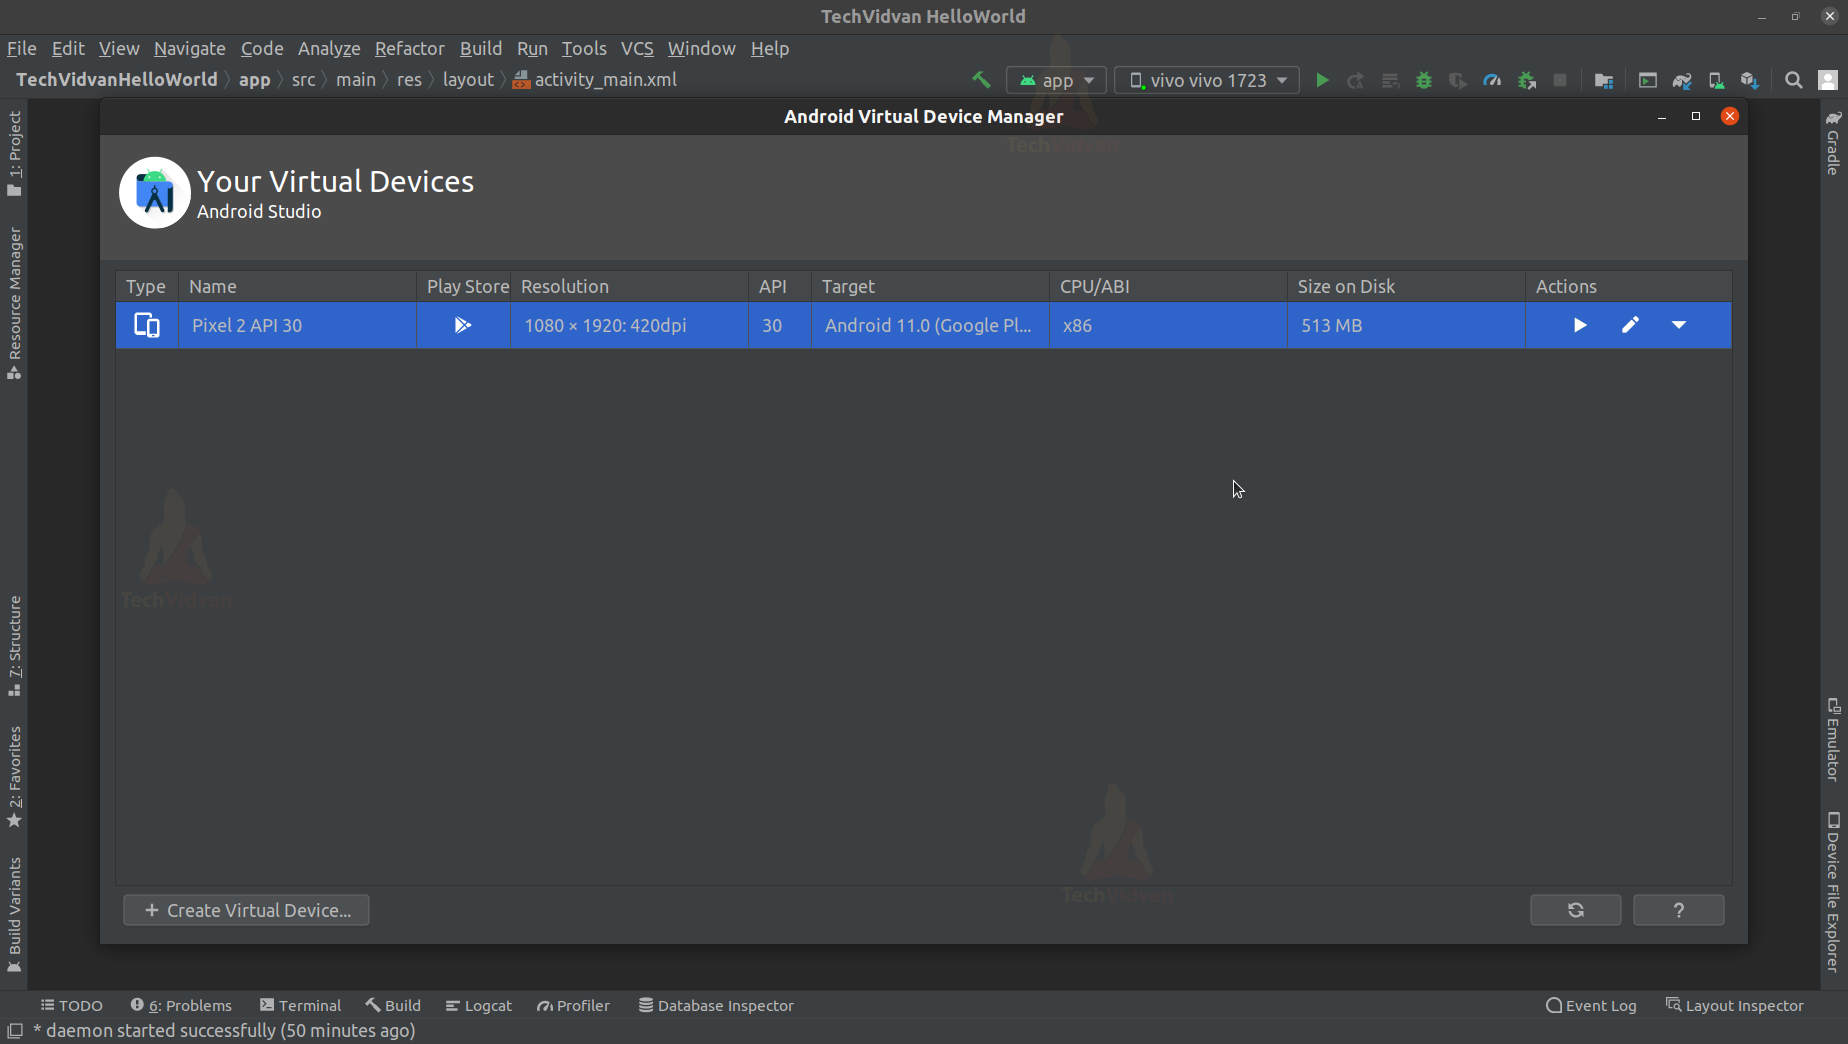
Step 9:
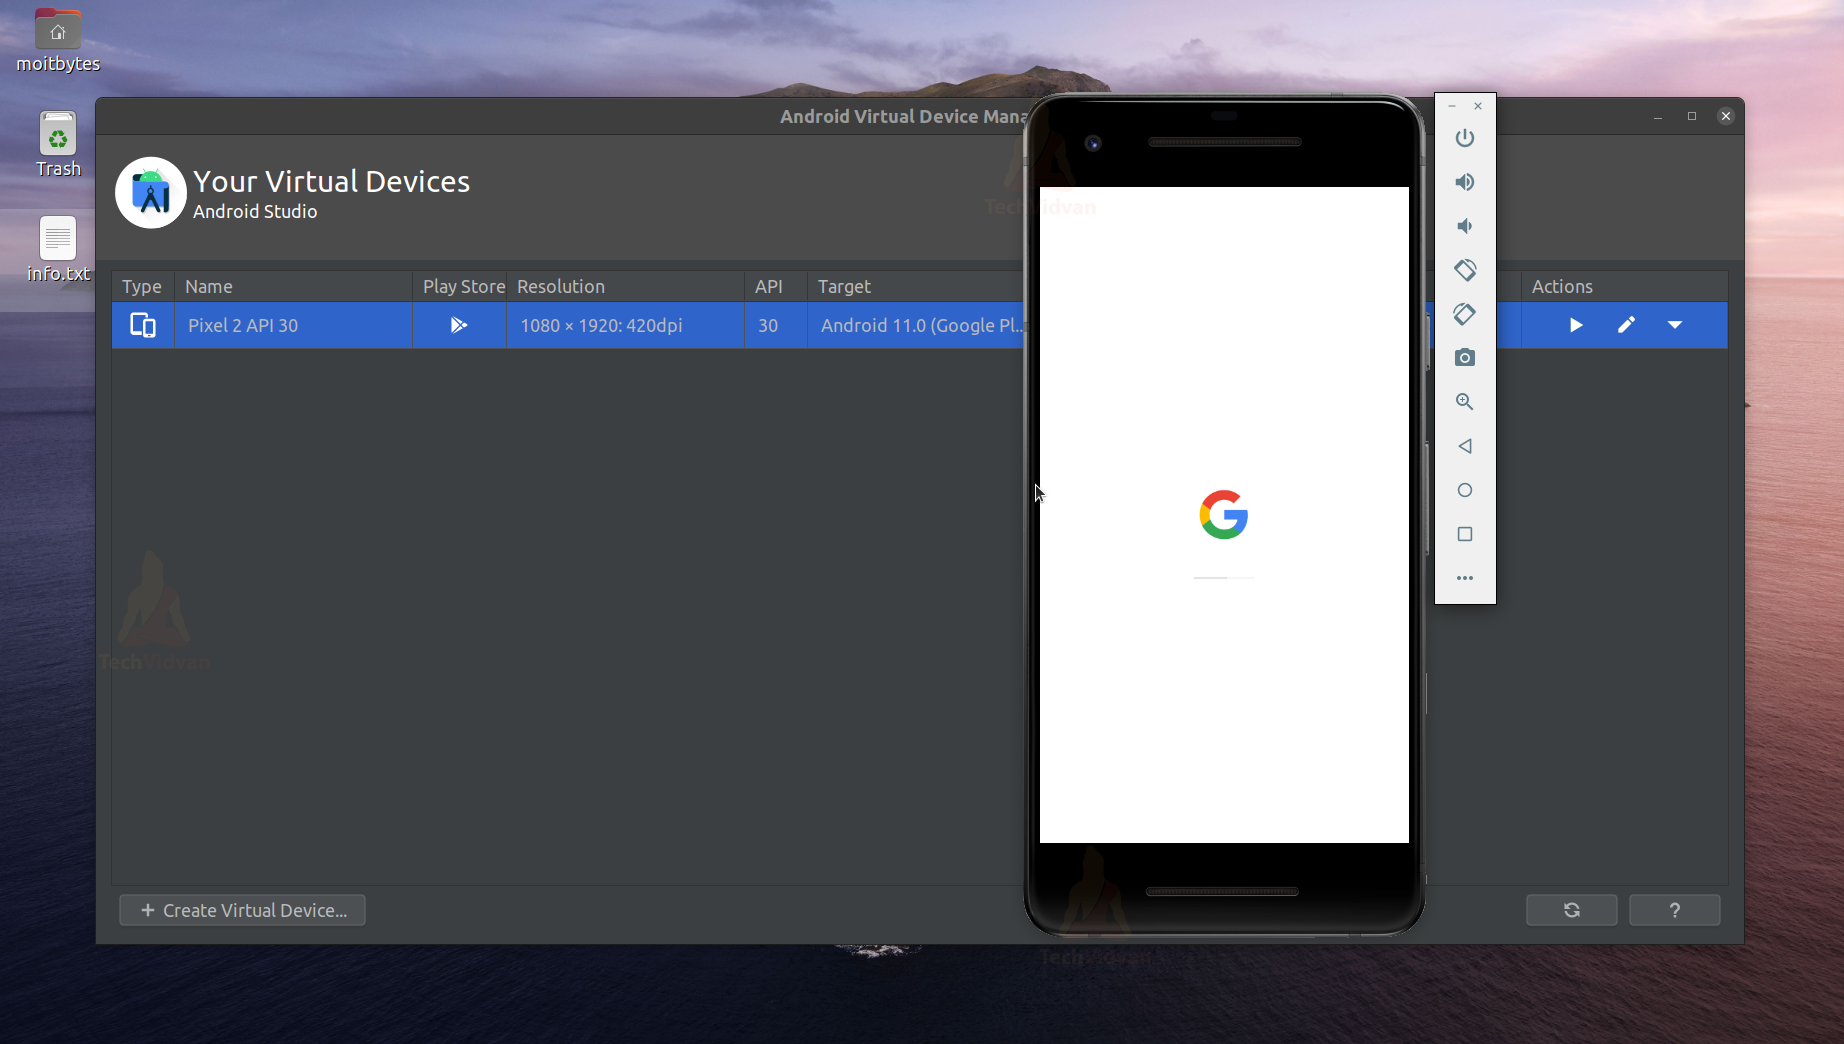
Now your emulator is successfully installed. To test your emulator, install just press on the run button present in actions.
So, below is how your android emulator would look like.
Creating a Hello World Program in Android
Step 1:
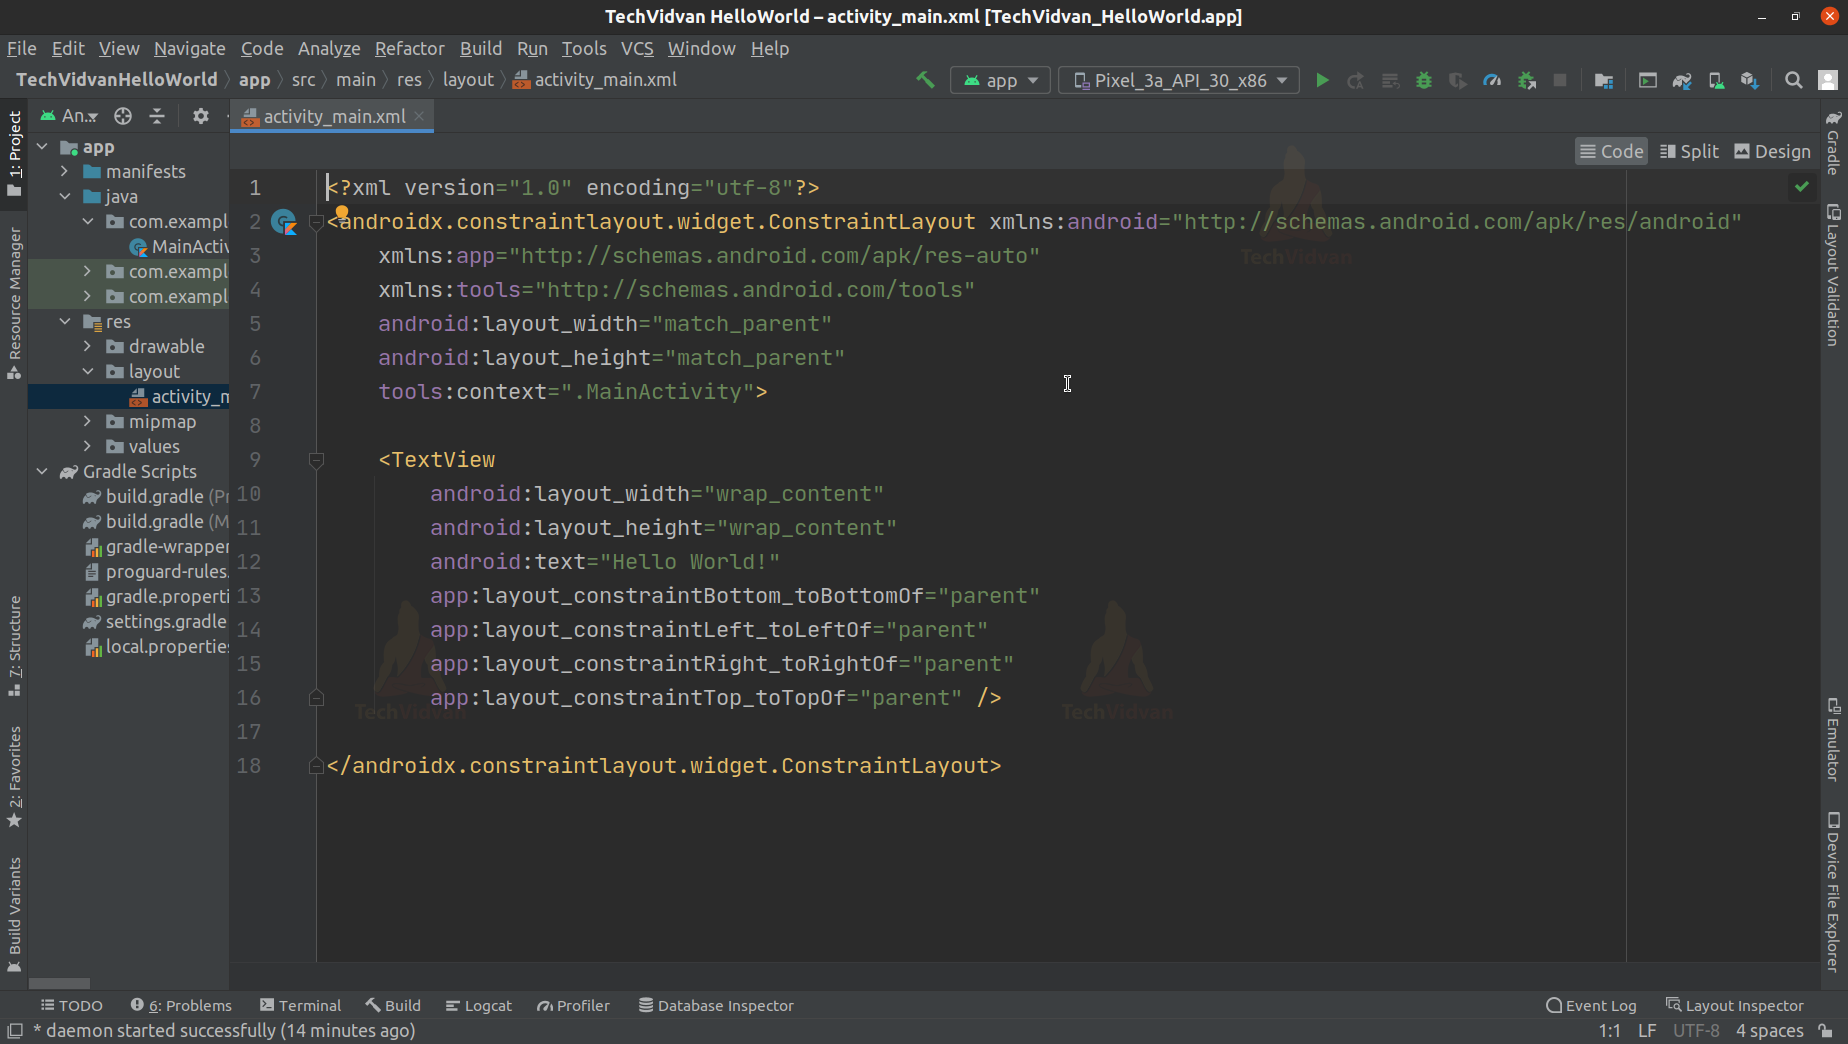
Now, as we have already set up our project, move on to activity_main.xml.
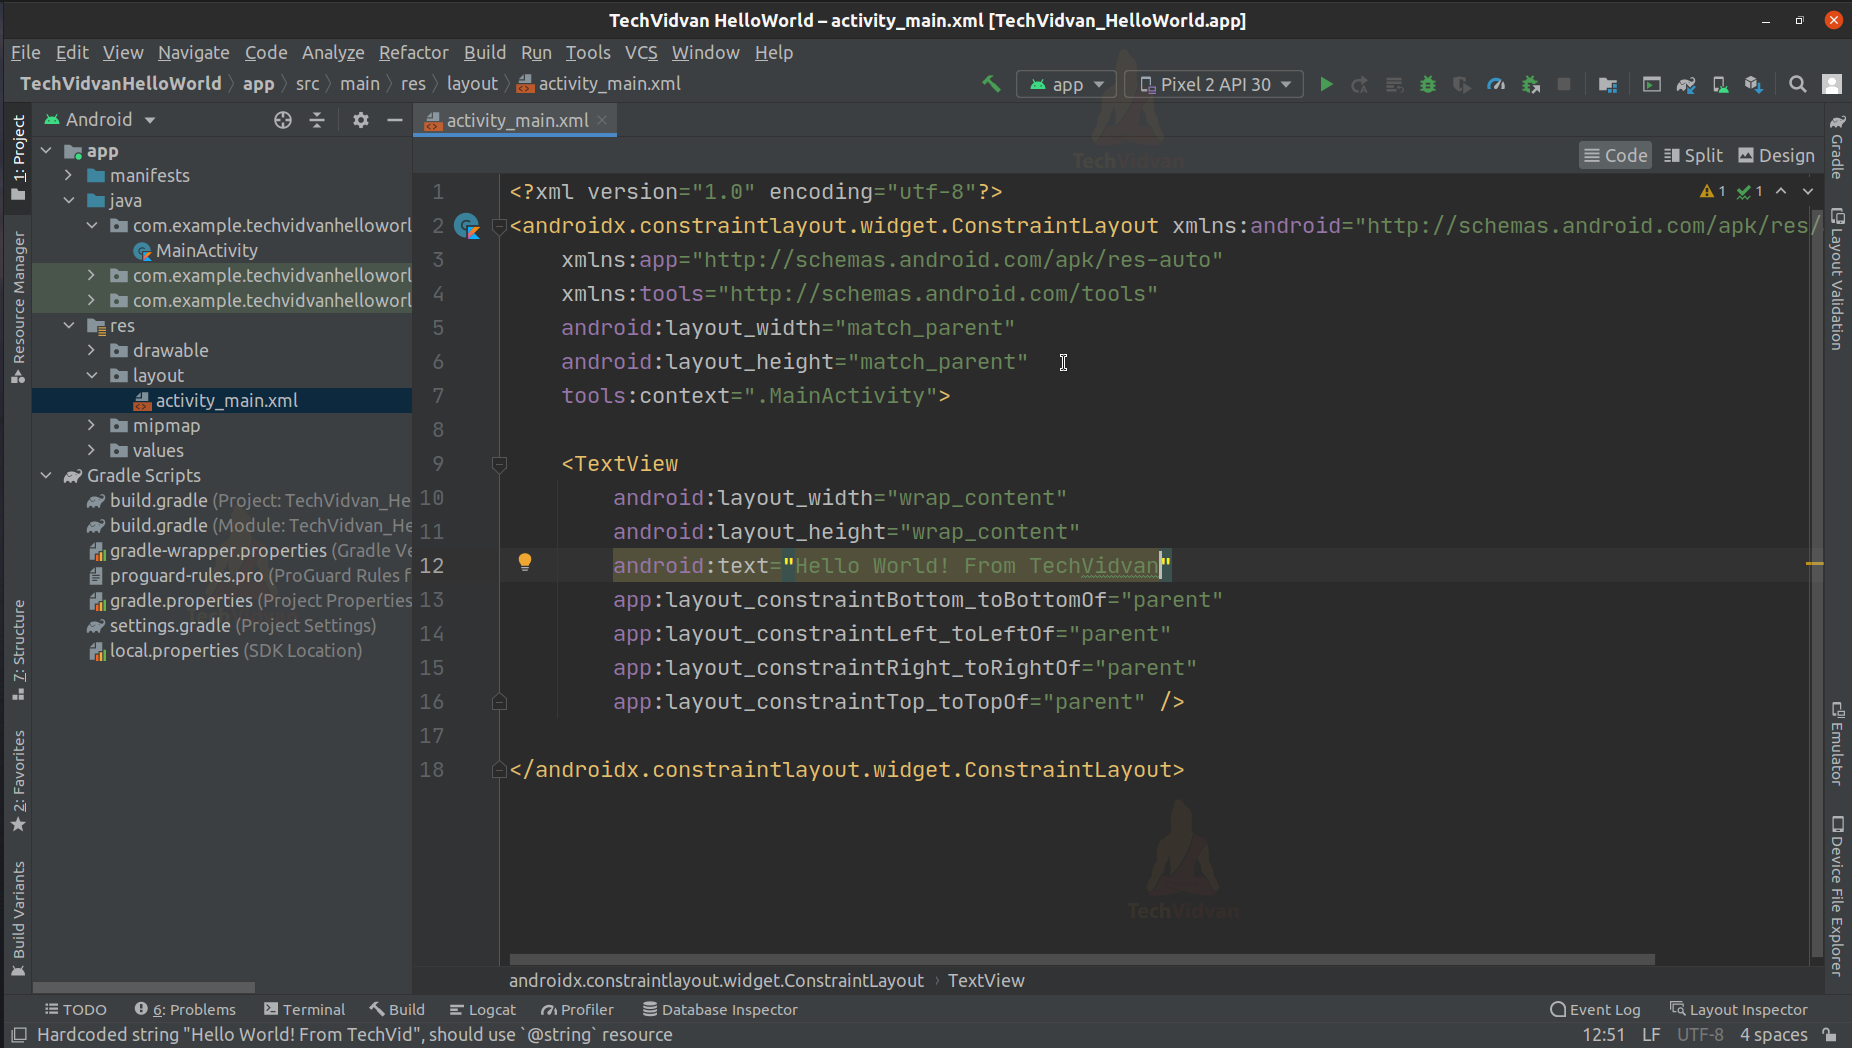
Step 2:
You can see by default a text view created containing the text “Hello World.”
Just scroll below, and you can locate an attribute named android: name = “Hello World.”
Change this with your desired text.
(Code: activity_main.xml)
<?xml version="1.0" encoding="utf-8"?>
<androidx.constraintlayout.widget.ConstraintLayout xmlns:android="http://schemas.android.com/apk/res/android"
    xmlns:app="http://schemas.android.com/apk/res-auto"
    xmlns:tools="http://schemas.android.com/tools"
    android:layout_width="match_parent"
    android:layout_height="match_parent"
    tools:context=".MainActivity">

    <TextView
        android:layout_width="wrap_content"
        android:layout_height="wrap_content"
        android:text="Hello World! From TechVidvan"
        app:layout_constraintBottom_toBottomOf="parent"
        app:layout_constraintLeft_toLeftOf="parent"
        app:layout_constraintRight_toRightOf="parent"
        app:layout_constraintTop_toTopOf="parent" />

</androidx.constraintlayout.widget.ConstraintLayout>
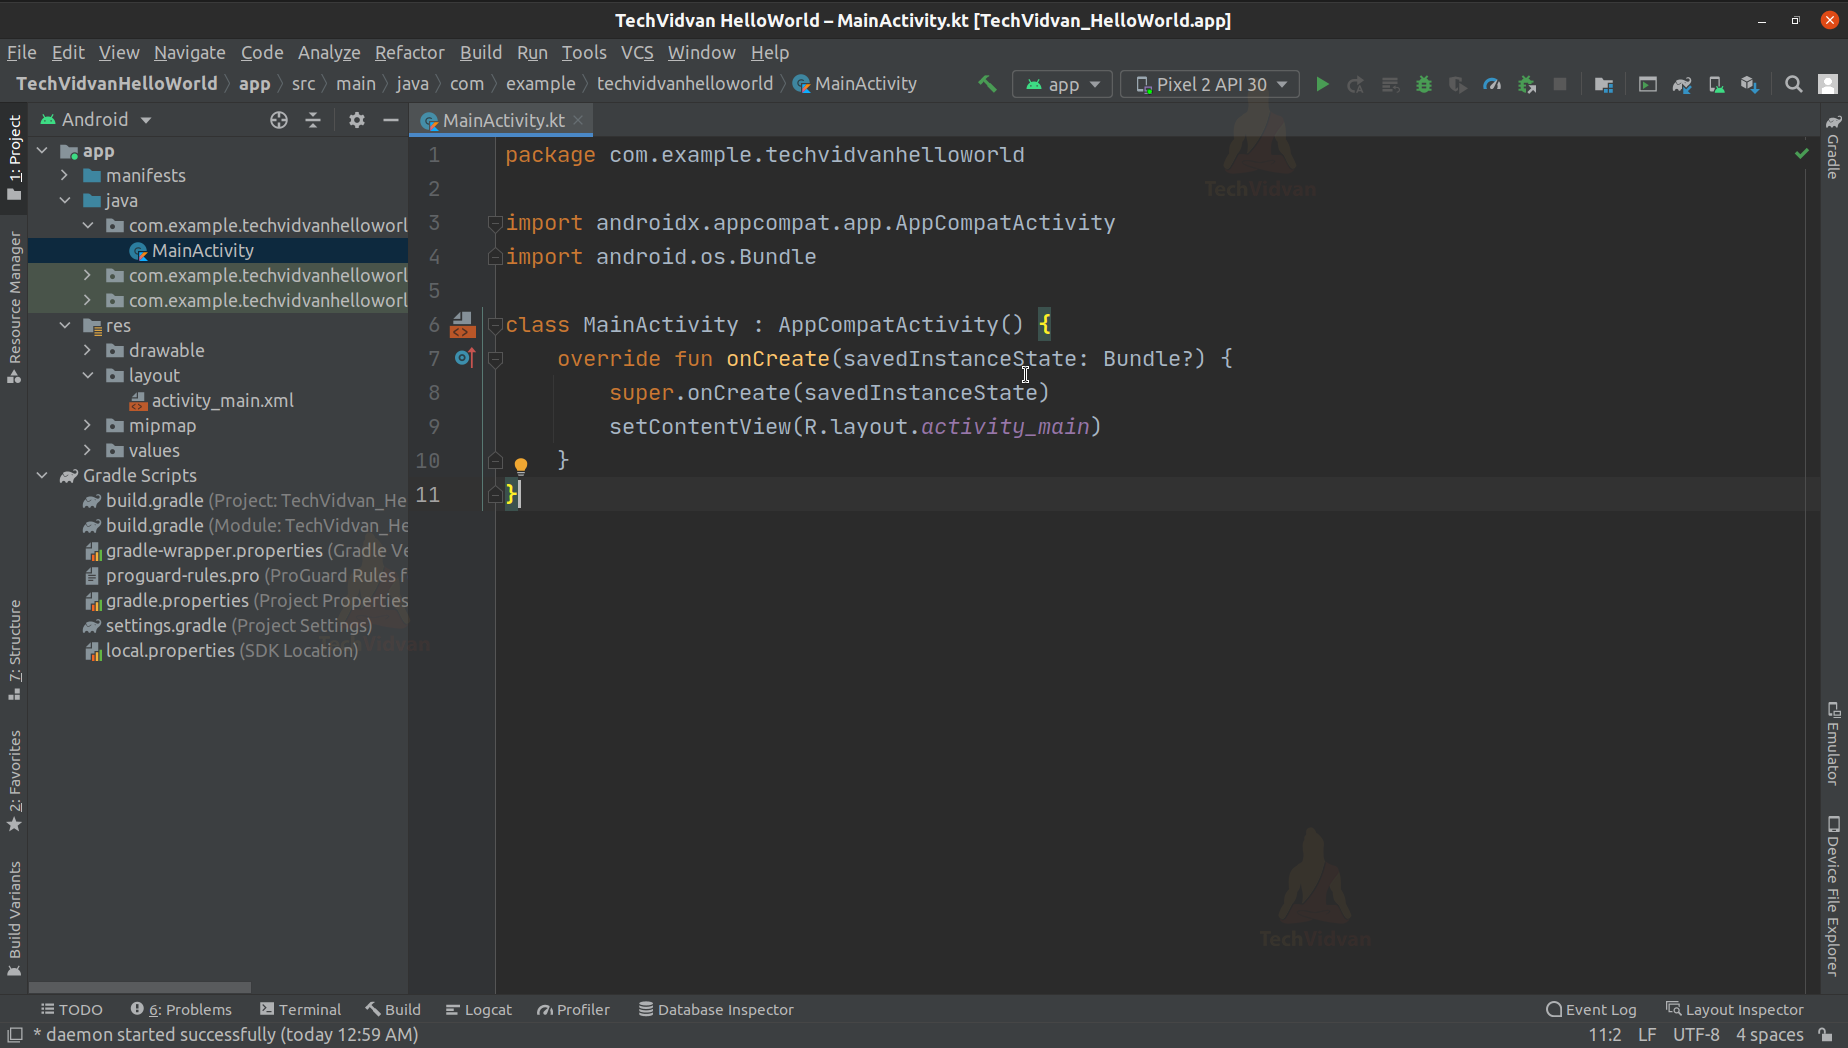
Step 3:
After this, all, come back to your MainActivity.kt. This activity is the first screen visible to the user and using this screen, the user can interact.
Just make sure that your MainActivity is bound with your activity_main.xml layout.Your MainActivity.kt file should look like below:
(Code: MainActivity.kt)
package com.example.techvidvanhelloworld

import androidx.appcompat.app.AppCompatActivity
import android.os.Bundle

class MainActivity : AppCompatActivity() {
    override fun onCreate(savedInstanceState: Bundle?) {
        super.onCreate(savedInstanceState)
        setContentView(R.layout.activity_main)
    }
}
After you are done with these then now you are ready to test your app.
Testing your Application both on Android and Emulator
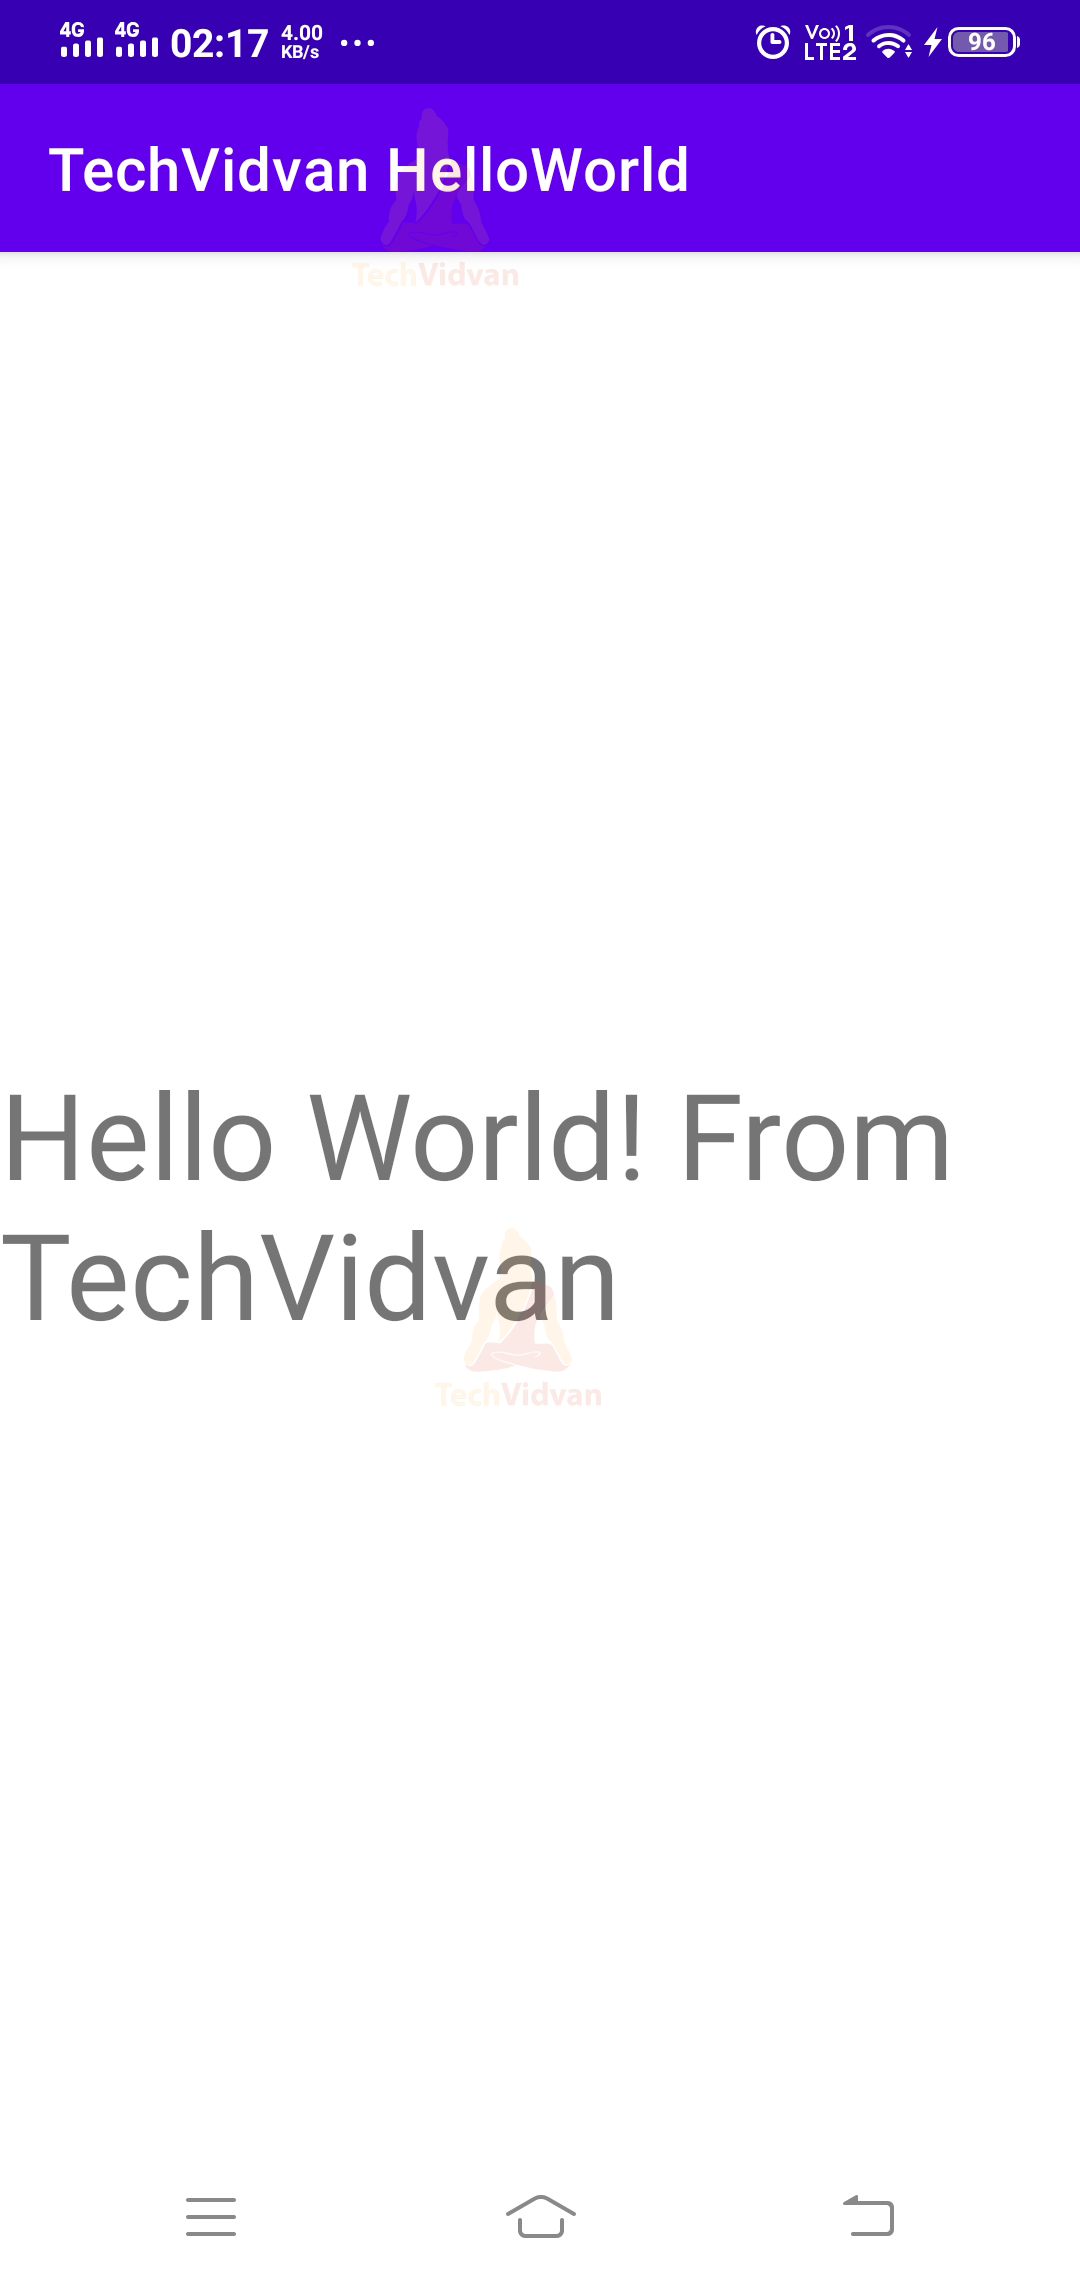
You can either select your android device or emulator from the top menu bar. After you have chosen your desired device, just go ahead to press the run button. It will install the application on your device.
For your device, your application will appear as follows:
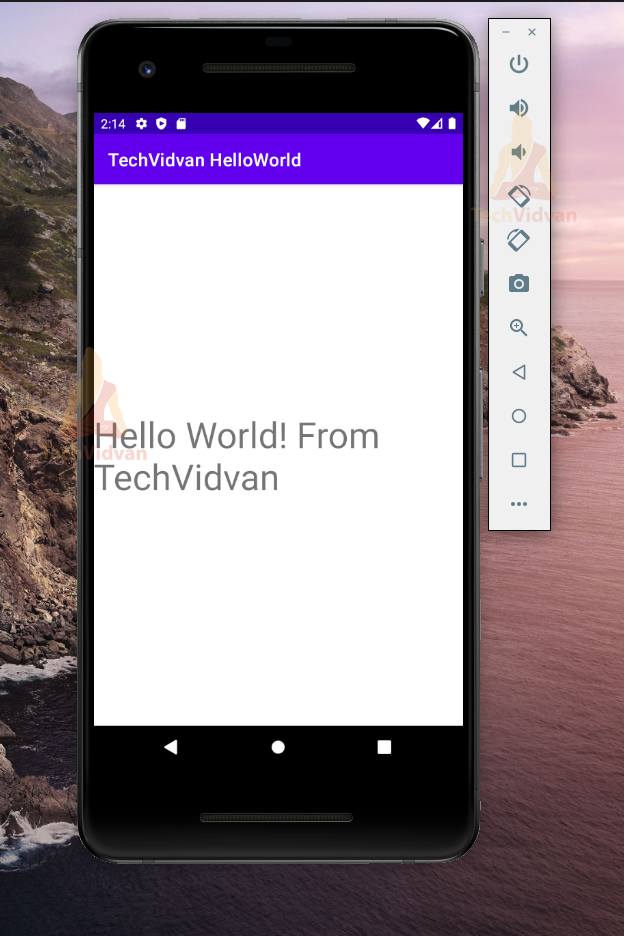
In your emulator, the application would appear as follows:
If, by chance, you face any errors while installing or building the project. Then you can locate those errors in the log located in the bottom left corner of your android studio.
Summary
So through this article, you got to know how you can build your first android application. You understood how to create a project in android studio and set up your virtual device(or emulator) on android studio. Lastly, you saw how you could test your applications both on your device and on an emulator.