Location Based Services in Android
You must have used apps like Google Maps, Waze, MapQuest, etc. These are the applications that help you track the location of the device. They also provide services like finding nearby restaurants, hospitals, petrol pumps, etc. Even the cab drivers now use maps to locate their route.
As technology is emerging, it becomes quite essential for an android developer to learn about location-based services. Through this article, you will understand the various sections of location-based services(LBS). After understanding the concepts, you will also see an implementation of the same.
What are Android Location-Based Services?
Location-Based Services(LBS) are present in Android to provide you with features like current location detection, display of nearby places, geofencing, etc. It fetches the location using your device’s GPS, Wifi, or Cellular Networks.
To build an app with location-based services, you need to access the Google Play Services Module. After that, you need to use a framework called Location Framework, which has many methods, classes, and interfaces to make your task easier.
Components of Location-Based Services in Android
The classes and the interfaces present in the Location Framework acts as the essential components for LBS. Those components are as follows:
- LocationManager Class – It is used to get Location Service access from the system.
- LocationListener Interface – It receives updates from the Location Manager class.
- LocationProvider – It is the class that provides us with the location for our devices.
- Location Class – Its objects carry information about the location. The information includes latitude, longitude, accuracy, altitude, and speed.
Location Object
The location objects carry the location of your device. The place is in the form of latitude and longitude. On the location object, you can apply the below methods. The below methods help you to get location and other information regarding the location.
1. float distanceTo(Location destination)
This method calculates and returns the approximate distance in meters between the current location and the specified destination location. It’s useful for navigation and mapping applications to provide distance-based information to users.
2. float getAccuracy()
This method returns the accuracy of the current location in meters. A smaller value indicates higher accuracy, helping users understand how precise the location data is, which is particularly important for applications requiring exact positioning.
3. double getAltitude()
This method provides the altitude of the current location above sea level in meters. It’s useful for applications that need to track elevation changes, such as hiking or aviation apps.
4. double getLatitude()
This method returns the latitude coordinate of the current location in degrees. Latitude is a geographic coordinate that specifies the north-south position of a point on the Earth’s surface.
5. double getLongitude()
This method returns the longitude coordinate of the current location in degrees. Longitude is a geographic coordinate that specifies the east-west position of a point on the Earth’s surface.
6. float getSpeed()
This method returns the current speed of the device in meters per second. It is useful for applications that track movement, such as fitness apps or vehicle navigation systems.
7. void setAccuracy(float accuracy)
Using this method, you can set the desired accuracy level for your location data in meters. This is helpful for simulating different levels of location precision during testing or development.
8. void setAltitude(double altitude)
This method allows you to set the altitude of the current location above sea level in meters. It can be used to simulate altitude changes in applications that need to account for elevation.
9. void setBearing(float bearing)
This method sets the bearing (direction) of the location in degrees. Bearing is the horizontal direction of travel relative to true north, useful in navigation and tracking applications.
10. void setLatitude(double Latitude)
You can set the latitude of your location to a specific value using this method. It’s useful for testing location-based features by simulating movement to different geographic coordinates.
11. void setLongitude(double longitude)
You can even set your location to some other longitude using the setLongitude() method.
12. void setSpeed(float speed)
This method allows you to set a custom speed for the location, in meters per second. It’s useful for testing applications that monitor or depend on speed data.
13. void reset()
This method resets the location to its initial state, clearing any custom settings you’ve applied. It’s useful for returning to a default state during testing or after simulating specific scenarios.
14. boolean hasAccuracy()
This method checks whether the location has an accuracy value set. It returns true if the location data includes accuracy information, which is useful for validating the precision of location data.
15. boolean hasAltitude()
This method checks whether the location data includes altitude information. It returns true if the altitude is available, which is important for applications that require elevation data.
16. boolean hasSpeed()
This method checks whether the location data includes speed information. It returns true if the speed is available, which is useful for applications that track movement or velocity.
17. boolean hasBearing()
This method checks whether the location data includes bearing information. It returns true if the bearing is available, which is essential for navigation and direction-based applications.
Location Quality of Service
Quality of Service(QoS) is enabled through the location request object. Location request object requests the proper and accurate location. You can find below the methods that help in the process.
- setPriority(int priority) – It allows us to mark the request with priorities. The higher priority request is executed first.
- setInterval(long millisecond) – It allows us to set the intervals on which we seek the location updates.
- setExpirationDuration(long millisecond) – It allows us to set the duration of the request after which it shall stop.
- setExpirationTime(long millisecond) – It allows us to decide the expiration time of our request.
- setNumUpdates(int number) – It allows us to set the number of updates we require for a particular place.
Geocoders
Geocoders are modules present in the Location framework that help convert latitude longitude to human-readable addresses and vice versa.
Usually, an address may come in two formats:
1. Latitude Longitude coordinates of the place.
2. Human readable address of the place.
Now for a device. “Chira Chas, Bokaro, Jharkhand, India” is not an understandable address. For us as humans, we can understand the above address. But to make it machine-understandable, we need geocoders. Geocoders will convert the above address to its respective latitude and longitude.
Now for the other scenario, suppose you got an address as “ latitude-39.98824 and longitude-134.68742”. Did you understand where it is? Obviously No. So here also geocoders come into the picture. It converts the given latitude and longitude to human-readable addresses.
We can classify the task of geocoder in the following manner:
1. Forward Geocoding-
Forward Geocoding implies translation of human-readable addresses to latitude and longitudes.
2. Reverse Geocoding –
Reverse Geocoding implies translation of latitude longitude-based address to human-readable address.
Get the Last Known Location
It’s always a better practice to keep track of your last known location. Your system uses your last known location to send you updates based on location. You can get your last known location by calling the getLastLocation() method.
Below is an example of the same.
Code:
private lateinit var fusedLocationClient: FusedLocationProviderClient

override fun onCreate(savedInstanceState: Bundle?) {

    //Create a Location Client object
    LocationClientObject = LocationServices.getFusedLocationProviderClient(this)
}
Now just call the last location method with a listener.
Code:
LocationClientObject.lastLocation
        .addOnSuccessListener { location : Location? ->
            // you got the location object
            // the location object has the latitude and longitude of the place.
         //In some cases it may contain null.
        }
Request Location Update
To get timely location updates, you can call the requestLocationUpdates() method from the onResume() method of the activity.
Below is an example of the above.
Code:
override fun onResume() {
    super.onResume()

    //calling the method

    LocationClientObject.requestLocationUpdates(locationRequest,
            locationCallback,
            Looper.getMainLooper())
}
Implementation of Location-Based Services in Android
So, after understanding the above concepts. We are ready to implement the concepts through an application. The application will contain a button using which you can get your current location.
Follow the below steps to achieve the goal.
1: Launch your Android Studio.
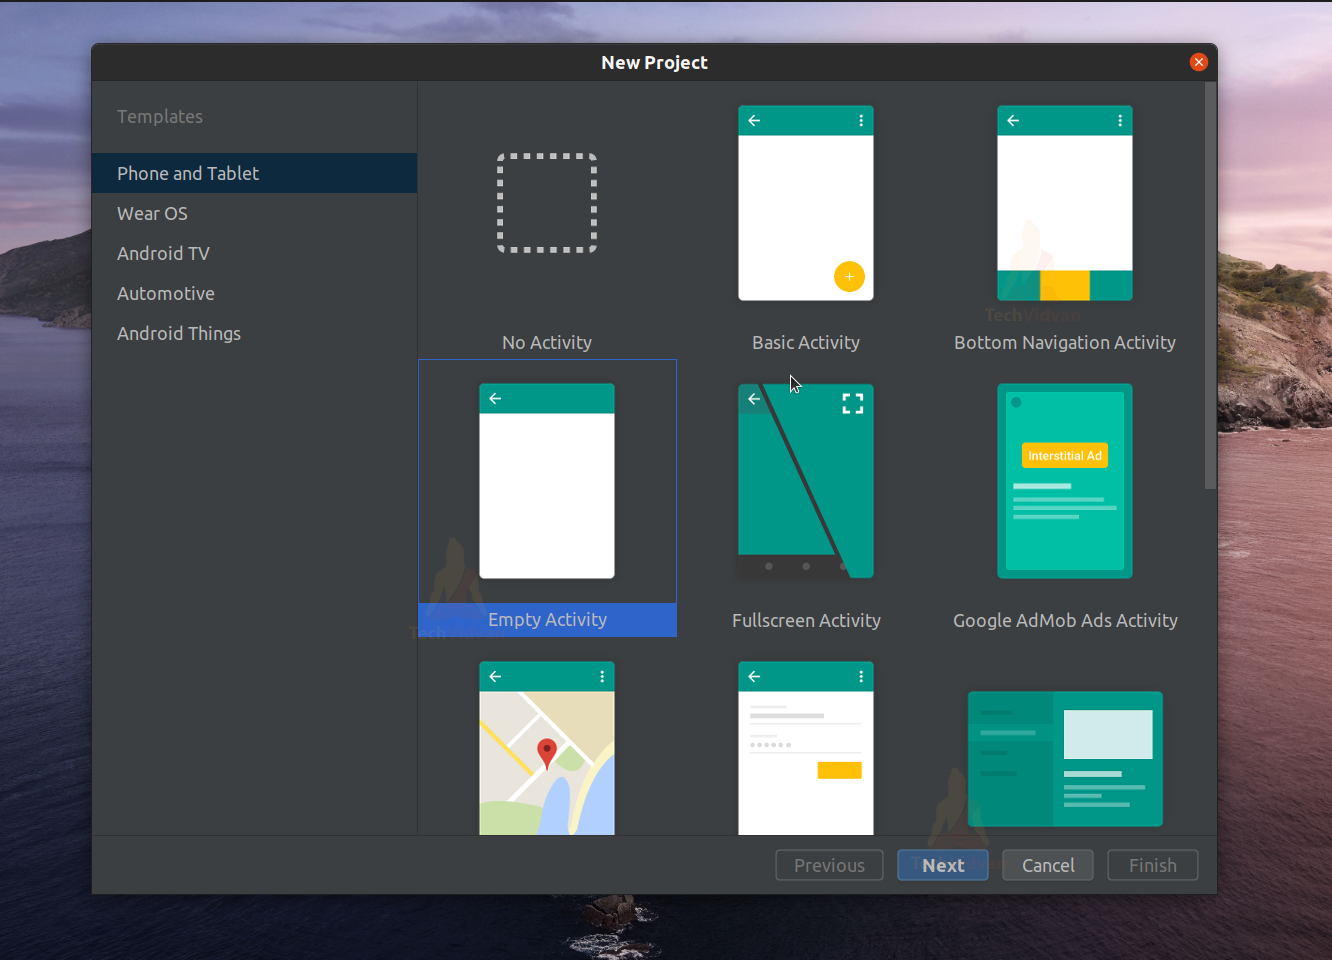
2: Select Create a New Project.

3: Select Empty Activity and proceed.
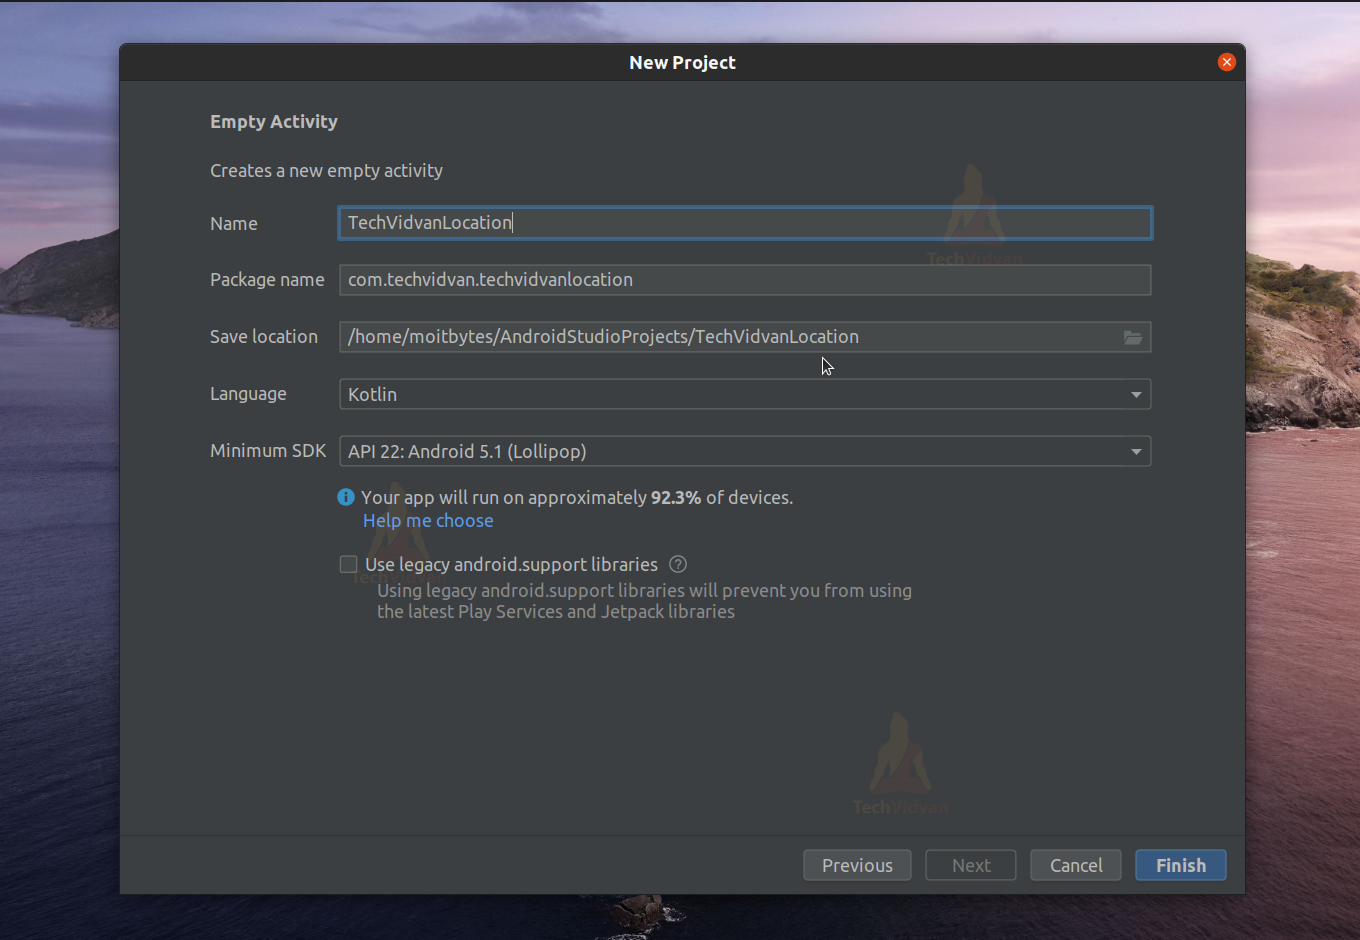
4: Enter your application name. In my case, it’s “TechVidvanLocation” Next, select Kotlin from the dropdown. For the API level, select API 22 for now.
5: Now, you need to go to your app-level Gradle file and add the google play service dependency. Using the play service, we can access Fused Location Provider.
Paste the below code under your dependencies section.
Code:
implementation 'com.google.android.gms:play-services-location:18.0.0'
After pasting the above dependency, sync your project.
Now go to your manifest file and add the permission for internet, fine and coarse location access. You can find the permissions in the below code.
Code: AndroidManifest.xml
<?xml version="1.0" encoding="utf-8"?>
<manifest xmlns:android="http://schemas.android.com/apk/res/android"
    package="com.techvidvan.techvidvanlocation">

    <!--    The required permissions are below     -->
    <uses-permission android:name="android.permission.INTERNET"/>
    <uses-permission android:name="android.permission.ACCESS_FINE_LOCATION"/>
    <uses-permission android:name="android.permission.ACCESS_COARSE_LOCATION"/>

    <application
        android:allowBackup="true"
        android:icon="@mipmap/ic_launcher"
        android:label="@string/app_name"
        android:roundIcon="@mipmap/ic_launcher_round"
        android:supportsRtl="true"
        android:theme="@style/Theme.TechVidvanLocation">
        <activity android:name=".MainActivity">
            <intent-filter>
                <action android:name="android.intent.action.MAIN" />

                <category android:name="android.intent.category.LAUNCHER" />
            </intent-filter>
        </activity>
    </application>

</manifest>
7: Now go to res —> layout —-> and open activity_main.xml. Now here, you need to add a button using which you can detect your location. You can paste the below code in your activity_main.xml file.
Code: activity_main.xml
<?xml version="1.0" encoding="utf-8"?>
<androidx.constraintlayout.widget.ConstraintLayout
    xmlns:android="http://schemas.android.com/apk/res/android"
    xmlns:app="http://schemas.android.com/apk/res-auto"
    xmlns:tools="http://schemas.android.com/tools"
    android:layout_width="match_parent"
    android:layout_height="match_parent"
    tools:context=".MainActivity">

    <TextView
        android:id="@+id/title"
        android:layout_width="wrap_content"
        android:layout_height="wrap_content"
        android:text="TechVidvan Location"
        app:layout_constraintVertical_bias=".08"
        android:textSize="28sp"
        android:textColor="#009688"
        app:layout_constraintBottom_toBottomOf="parent"
        app:layout_constraintLeft_toLeftOf="parent"
        app:layout_constraintRight_toRightOf="parent"
        app:layout_constraintTop_toTopOf="parent" />

    <Button
        android:id="@+id/show_my_location"
        android:layout_width="wrap_content"
        android:layout_height="wrap_content"
        android:text="Show My Location"
        app:layout_constraintBottom_toBottomOf="parent"
        app:layout_constraintLeft_toLeftOf="parent"
        app:layout_constraintRight_toRightOf="parent"
        app:layout_constraintTop_toTopOf="parent"
        />

</androidx.constraintlayout.widget.ConstraintLayout>
8: Now, as a final step, you need to edit your MainActivity.kt as follows.
Code: MainActivity.kt
package com.techvidvan.techvidvanlocation

import android.content.pm.PackageManager
import androidx.appcompat.app.AppCompatActivity
import android.os.Bundle
import android.widget.Button
import android.widget.Toast
import androidx.core.app.ActivityCompat
import com.google.android.gms.location.FusedLocationProviderClient
import com.google.android.gms.location.LocationServices

class MainActivity : AppCompatActivity()
{
    //variable declarations
    lateinit var locationProvideClient:FusedLocationProviderClient
    lateinit var showLocation:Button

    override fun onCreate(savedInstanceState: Bundle?)
    {
        super.onCreate(savedInstanceState)
        setContentView(R.layout.activity_main)

        //creating fused location provider object
        locationProvideClient = LocationServices.getFusedLocationProviderClient(this)

        //binding my button to the variable
        showLocation = findViewById(R.id.show_my_location)

        //applying onClick Listener on the button

        showLocation.setOnClickListener{
            //calling the method to fetch your location
            getYourCurrentLocation()
        }

    }

    private fun getYourCurrentLocation()
    {
        //Checking if location permissions are provided
        if(ActivityCompat.checkSelfPermission(this,
                android.Manifest.permission.ACCESS_FINE_LOCATION) !=
            PackageManager.PERMISSION_GRANTED &&
            ActivityCompat.checkSelfPermission(this,
                android.Manifest.permission.ACCESS_COARSE_LOCATION) !=
            PackageManager.PERMISSION_GRANTED)
            {
                //Requesting permission to access location
                ActivityCompat.requestPermissions(
                    this,
                    arrayOf(android.Manifest.permission.ACCESS_FINE_LOCATION),
                    909)
                return
        }

        //fetching your last known location
        val task = locationProvideClient.lastLocation

        task.addOnSuccessListener {
            if(it!=null)
            {
                //if the fetch is successful, then display the latitude and the longitude
                Toast.makeText(this,
                    "Latitude : ${it.latitude} \n Longitude: ${it.longitude}",
                    Toast.LENGTH_LONG).show()
            }
            else
            {
                Toast.makeText(this,
                    "Your location can't be displayed",
                    Toast.LENGTH_LONG).show()
            }

        }
    }


}
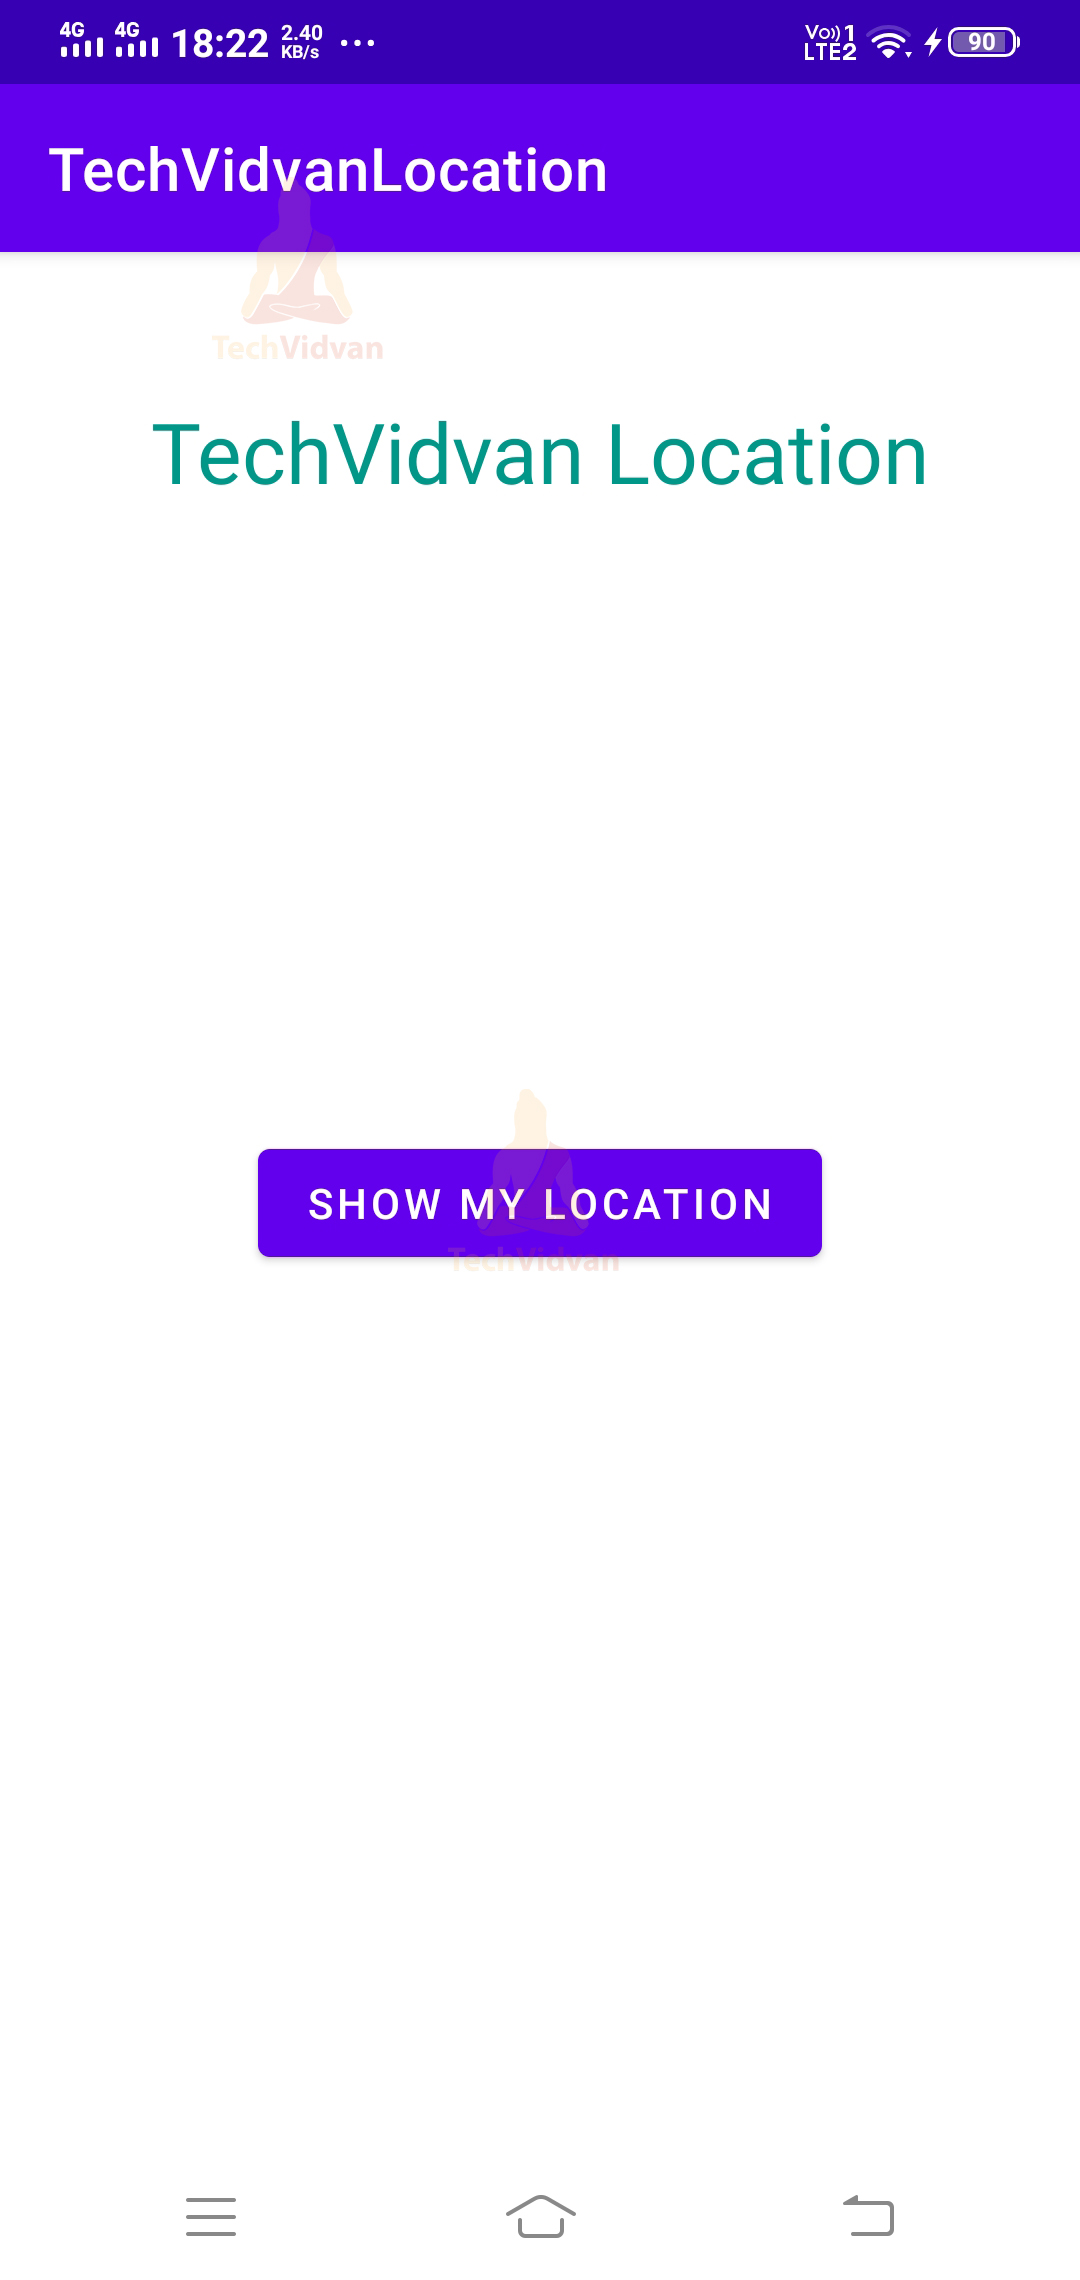
Now, you can test your application.
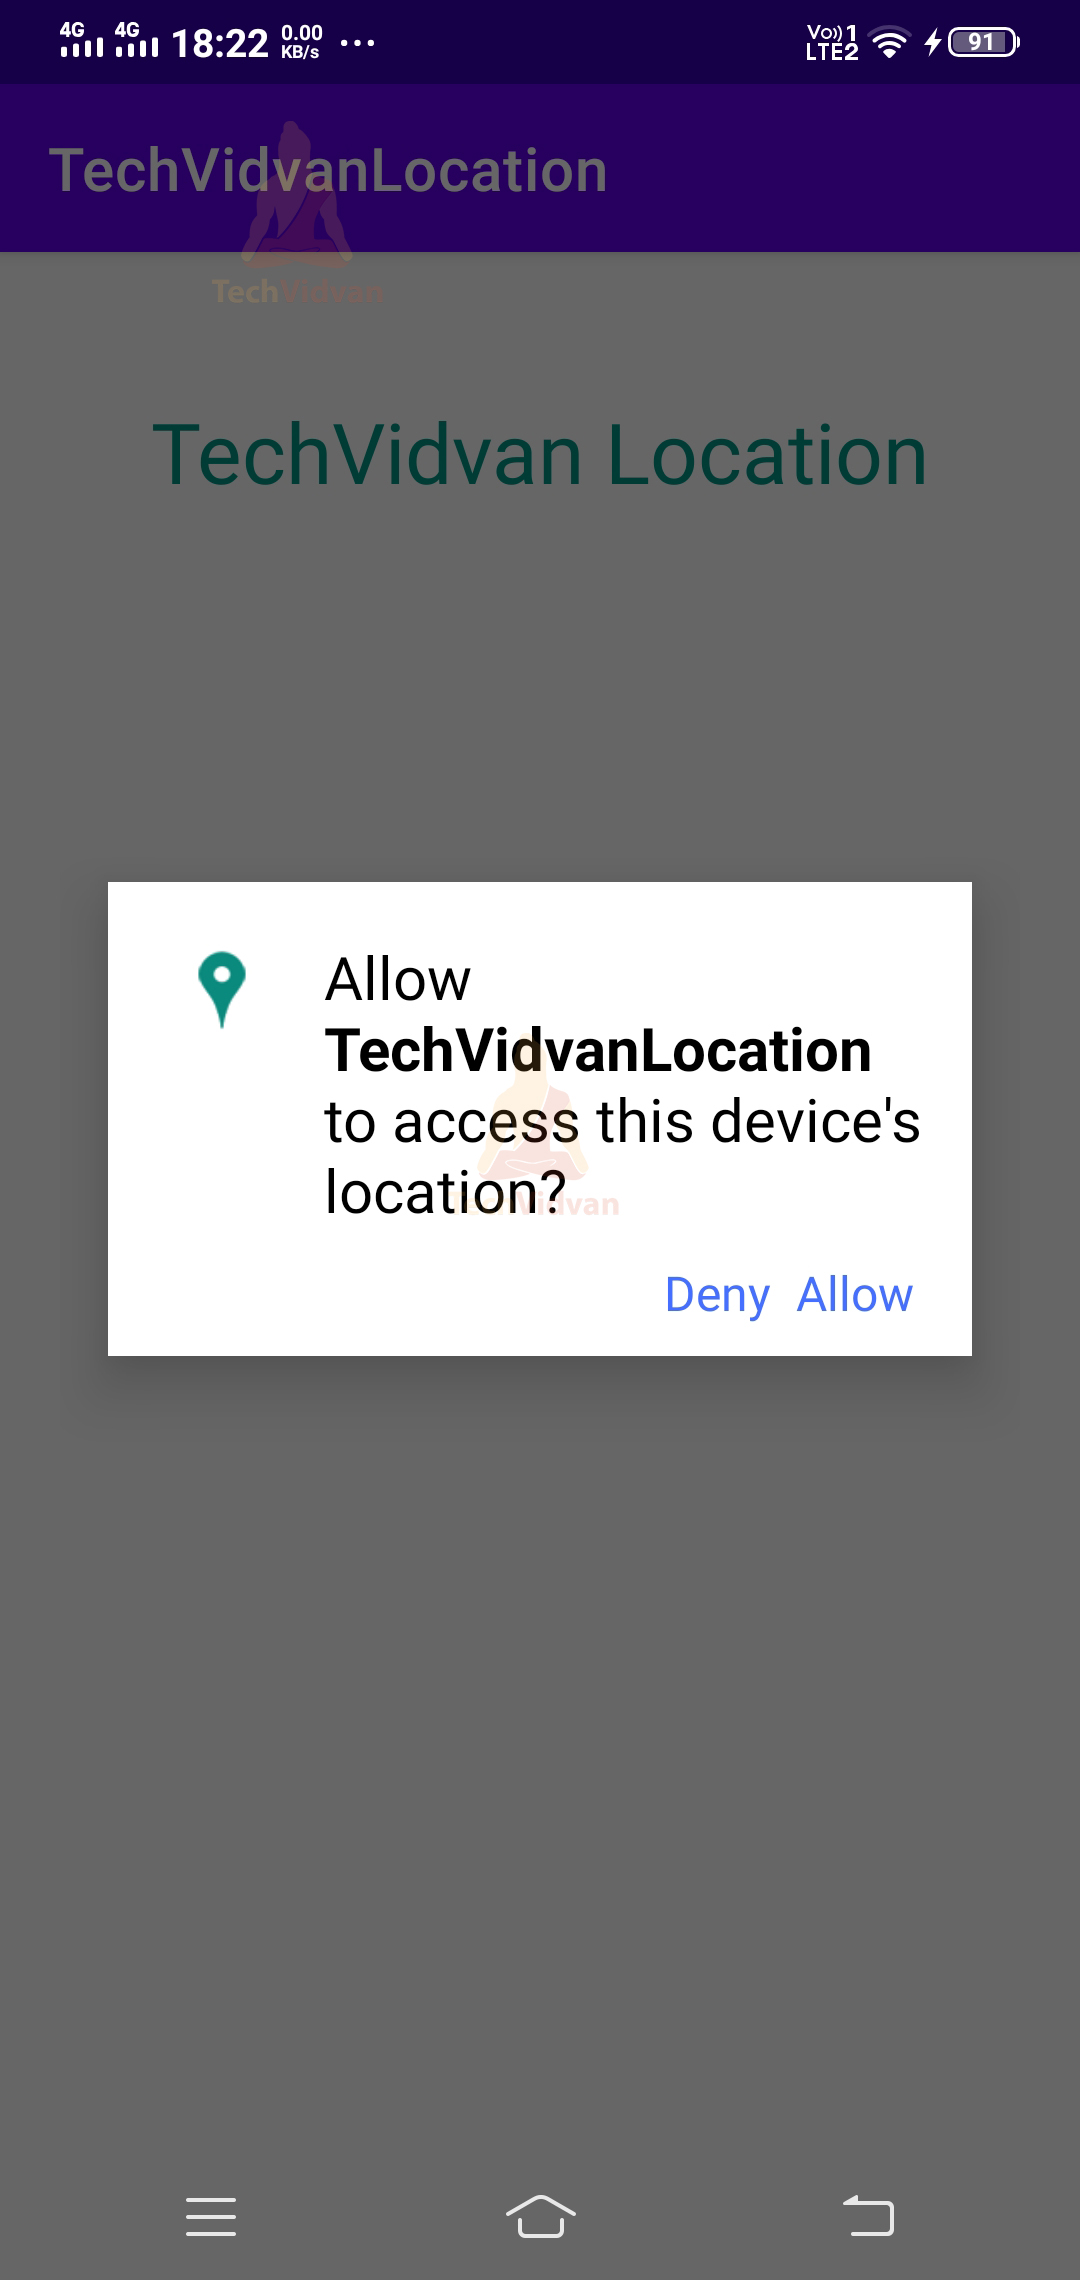
If you have not given the location access, then it will prompt you like below.
Now when you allow the location access, then you can get your current location. Just click on the show my location button.

Summary
So, through this article, we covered a vital topic called Location-Based Services. You very well saw the uses of location-based services and what they mean. Moving further, you saw several components and came across the location object. You got to know geocoders and their uses. Finally, you saw an app implementation of the learned concepts.