Python Django Project – Vehicle Identification System
The Vehicle Identification System is a web-based application built using Django, designed to manage and track vehicles. This system allows users to view vehicle details, add new cars, and manage existing ones and management processes.
About the Django Vehicle Identification System
The Vehicle Identification System aims to simplify the management of vehicle records. The application includes features for adding, viewing, updating, and deleting vehicles. It focuses on a user-friendly interface, efficient data management, and a responsive design.
Objectives of the Django Vehicle Identification System
- Develop a user-friendly interface for managing vehicle records.
- Implement functionality for adding, updating, and deleting vehicle information.
- Ensure accurate and secure handling of vehicle data.
Project Setup
Required Libraries
The project requires the following Python libraries:
- Django: For a web framework and ORM.
- Bootstrap: For responsive design and styling.
Technology Stack
- Python
- Django
- SQLite (default database)
- HTML/CSS
- Bootstrap
Prerequisites for Django Vehicle Identification System
- Basic understanding of Python programming.
- Familiarity with the Django framework.
- Knowledge of HTML/CSS for template design.
Download the Python Django Vehicle Identification System Project
Please download the source code of the Python Django Vehicle Identification System Project: Python Django Vehicle Identification System Project Code.
Step-by-Step Code Implementation of the Django Vehicle Identification System
1. Project Initialization
- The first command initializes a new Django project named vehicle_identification_system.
- The second command changes the directory to the project folder.
- The third command initializes a new Django app named vehicles in the same directory. It sets up the basic structure for the project.
django-admin startproject vehicle_identification_system
cd vehicle_identification_system
python manage.py startapp vehicles
2. Setting Up Models
- The vehicle model extends the models to define vehicle attributes in a database.
- It includes plate_number, make, model, year, color, and owner_name to store information about each vehicle.
- The __str__ method provides a readable string format for the vehicle, showing its make, model, and plate number.
- The plate_number field is unique, ensuring no two vehicles can have the same license plate in the database.
from django.db import models


class Vehicle(models.Model):
   plate_number = models.CharField(max_length=20, unique=True)
   make = models.CharField(max_length=50)
   model = models.CharField(max_length=50)
   year = models.PositiveIntegerField()
   color = models.CharField(max_length=30)
   owner_name = models.CharField(max_length=100)


   def __str__(self):
       return f"{self.make} {self.model} ({self.plate_number})"
3. Making Migrations
- makemigrations: Makes migrations based on the changes detected in the models. Migrations are how Django stores changes to the models.
- migrate: This command applies the migrations to the database, creating the tables and columns.
python3 manage.py makemigrations vehicles
python3 manage.py migrate
4. Defining Views
- vehicle_list retrieves all vehicle entries and renders them.
- vehicle_detail fetches a specific vehicle by plate_number and displays it.
- vehicle_create handles POST requests to create a new vehicle entry using VehicleForm. If valid, it saves the form and redirects to the vehicle list.
- vehicle_update updates an existing vehicle entry, while vehicle_delete handles deletion of a vehicle, with confirmation before deletion.
from django.shortcuts import render, get_object_or_404, redirect
from .models import Vehicle
from .forms import VehicleForm


def vehicle_list(request):
   vehicles = Vehicle.objects.all()
   return render(request, 'vehicles/vehicle_list.html', {'vehicles': vehicles})


def vehicle_detail(request, plate_number):
   vehicle = get_object_or_404(Vehicle, plate_number=plate_number)
   return render(request, 'vehicles/vehicle_detail.html', {'vehicle': vehicle})


def vehicle_create(request):
   if request.method == 'POST':
       form = VehicleForm(request.POST)
       if form.is_valid():
           form.save()
           return redirect('vehicle_list')
   else:
       form = VehicleForm()
   return render(request, 'vehicles/vehicle_form.html', {'form': form})


def vehicle_update(request, plate_number):
   vehicle = get_object_or_404(Vehicle, plate_number=plate_number)
   if request.method == 'POST':
       form = VehicleForm(request.POST, instance=vehicle)
       if form.is_valid():
           form.save()
           return redirect('vehicle_detail', plate_number=vehicle.plate_number)
   else:
       form = VehicleForm(instance=vehicle)
   return render(request, 'vehicles/vehicle_form.html', {'form': form})


def vehicle_delete(request, plate_number):
   vehicle = get_object_or_404(Vehicle, plate_number=plate_number)
   if request.method == 'POST':
       vehicle.delete()
       return redirect('vehicle_list')
   return render(request, 'vehicles/vehicle_confirm_delete.html', {'vehicle': vehicle})
5. Setting URLs
- The path (‘admin/’, admin.site.urls) directs to Django’s admin interface for managing the application.
- The path (‘ ‘) maps the root URL to the vehicle listing view.
- The path (‘create/’) links to the view for creating a new vehicle entry.
- Other paths handle specific vehicle operations—view details, update, and delete.
from django.contrib import admin
from django.urls import path
from vehicles import views


urlpatterns = [
   path('admin/', admin.site.urls),
   path('', views.vehicle_list, name='vehicle_list'),
   path('create/', views.vehicle_create, name='vehicle_create'),
   path('<str:plate_number>/', views.vehicle_detail, name='vehicle_detail'),
   path('vehicles/<str:plate_number>/update/', views.vehicle_update, name='vehicle_update'),
   path('<str:plate_number>/delete/', views.vehicle_delete, name='vehicle_delete'),
]
6. Creating Templates
base.html
- The <meta> tags set the character encoding and viewport for responsive design.
- The <nav> element includes links to the vehicle list and the form for adding a new vehicle, using {% url ‘vehicle_list’ %} and {% url ‘vehicle_create’ %}.
- The <div class=”container”> includes {% block content %}, which inherits page-specific content that will be inserted.
<!DOCTYPE html>
<html lang="en">
<head>
   <meta charset="UTF-8">
   <meta name="viewport" content="width=device-width, initial-scale=1.0">
   <title>{% block title %}My Vehicle System{% endblock %}</title>
   {% load static %}
   <link href="{% static 'css/style.css' %}" rel="stylesheet">
   <link href="https://stackpath.bootstrapcdn.com/bootstrap/4.5.2/css/bootstrap.min.css" rel="stylesheet">
</head>
<body>
   <nav class="navbar navbar-expand-lg navbar-light bg-light">
       <a class="navbar-brand" href="{% url 'vehicle_list' %}">TechVidvan@Vehicle System</a>
       <div class="collapse navbar-collapse">
           <ul class="navbar-nav mr-auto">
               <li class="nav-item">
                   <a class="nav-link" href="{% url 'vehicle_list' %}">Vehicles</a>
               </li>
               <li class="nav-item">
                   <a class="nav-link" href="{% url 'vehicle_create' %}">Add Vehicle</a>
               </li>
           </ul>
       </div>
   </nav>
   <div class="container">
       {% block content %}
       {% endblock %}
   </div>
   <script src="https://code.jquery.com/jquery-3.5.1.slim.min.js"></script>
   <script src="https://cdn.jsdelivr.net/npm/@popperjs/[email protected]/dist/umd/popper.min.js"></script>
   <script src="https://stackpath.bootstrapcdn.com/bootstrap/4.5.2/js/bootstrap.min.js"></script>
</body>
</html>
vehicle_list.html
- The table structure defines a table with headers for vehicle details like plate number, make, model, year, color, and owner name.
- Table rows loop through the vehicles list to create rows displaying each vehicle’s details.
- And action Links provides buttons for View, Edit, and Delete actions, linking to vehicle detail, update, and delete views.
{% extends 'vehicles/base.html' %}
{% block title %}Vehicle List{% endblock %}
{% block content %}
<h2 class="text-center">Vehicle List</h2>
<table class="table table-striped">
   <thead>
       <tr>
           <th>Plate Number</th>
           <th>Make</th>
           <th>Model</th>
           <th>Year</th>
           <th>Color</th>
           <th>Owner Name</th>
           <th>Actions</th>
       </tr>
   </thead>
   <tbody>
       {% for vehicle in vehicles %}
       <tr>
           <td>{{ vehicle.plate_number }}</td>
           <td>{{ vehicle.make }}</td>
           <td>{{ vehicle.model }}</td>
           <td>{{ vehicle.year }}</td>
           <td>{{ vehicle.color }}</td>
           <td>{{ vehicle.owner_name }}</td>
           <td>
               <a href="{% url 'vehicle_detail' vehicle.plate_number %}" class="btn btn-info btn-sm">View</a>
               <a href="{% url 'vehicle_update' vehicle.plate_number %}" class="btn btn-warning btn-sm">Edit</a>
               <a href="{% url 'vehicle_delete' vehicle.plate_number %}" class="btn btn-danger btn-sm">Delete</a>
           </td>
       </tr>
       {% endfor %}
   </tbody>
</table>
{% endblock %}
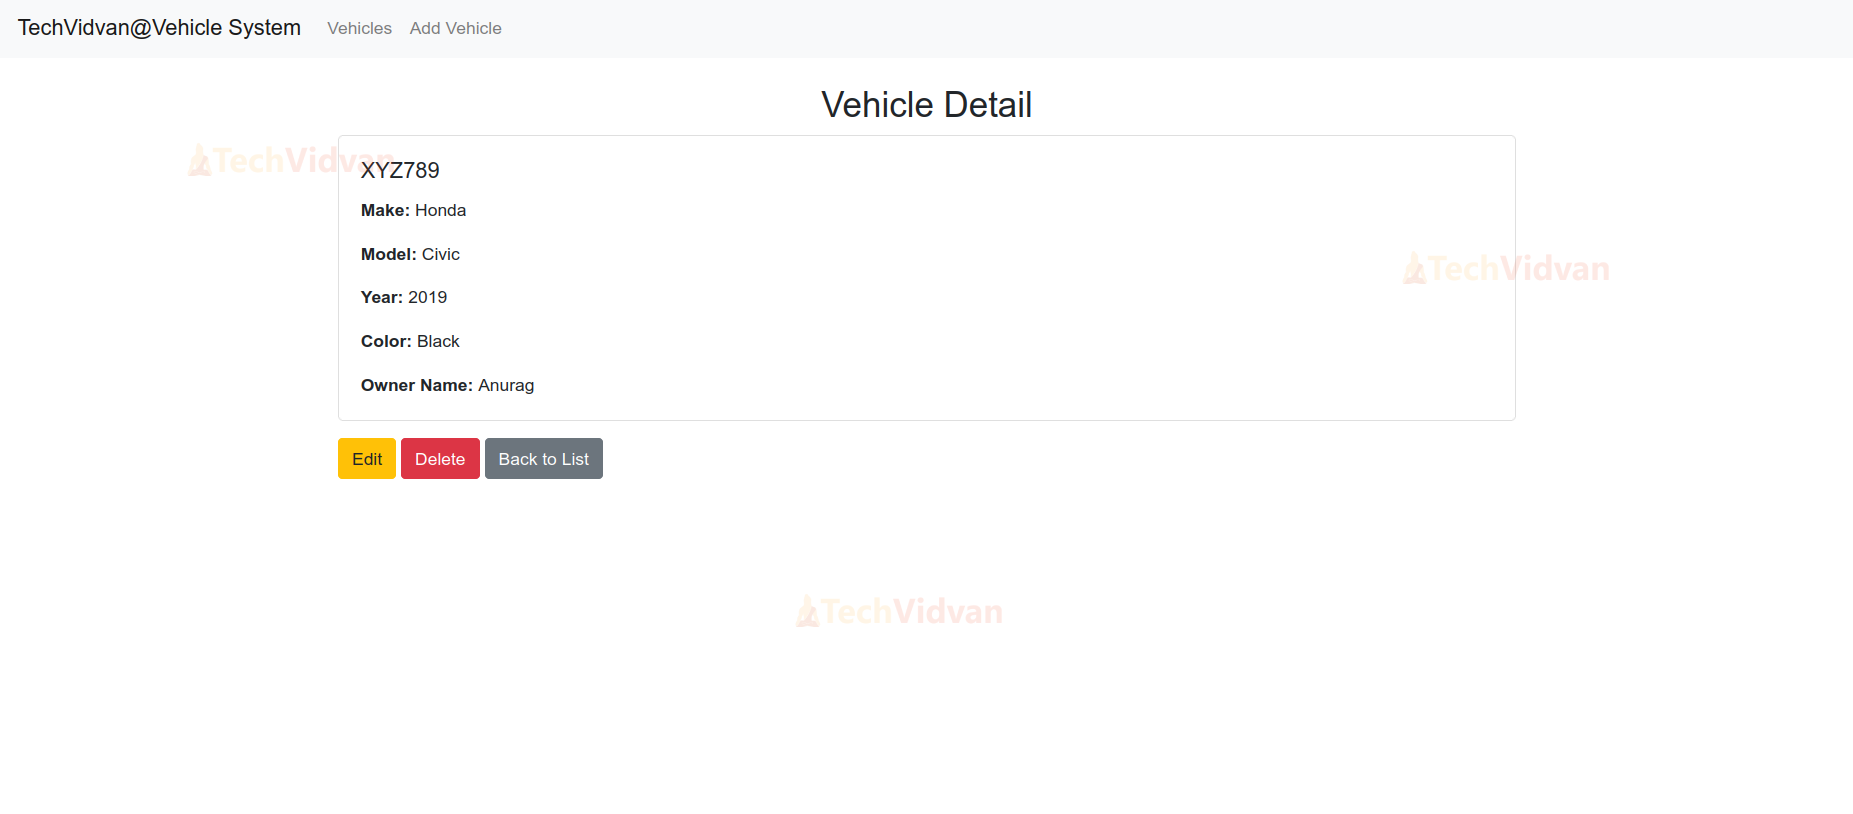
vehicle_detail.html
- It uses a card layout to display detailed information about the vehicle, including make, model, year, color, and owner name.
- Action buttons like Edit, Delete, or Back to List, linking to vehicle update, delete, and list views.
{% extends 'vehicles/base.html' %}


{% block title %}Vehicle Detail{% endblock %}


{% block content %}
<div class="container mt-4">
   <h2 class="text-center">Vehicle Detail</h2>
   <div class="card">
       <div class="card-body">
           <h5 class="card-title">{{ vehicle.plate_number }}</h5>
           <p class="card-text"><strong>Make:</strong> {{ vehicle.make }}</p>
           <p class="card-text"><strong>Model:</strong> {{ vehicle.model }}</p>
           <p class="card-text"><strong>Year:</strong> {{ vehicle.year }}</p>
           <p class="card-text"><strong>Color:</strong> {{ vehicle.color }}</p>
           <p class="card-text"><strong>Owner Name:</strong> {{ vehicle.owner_name }}</p>
       </div>
   </div>
   <div class="mt-3">
       <a href="{% url 'vehicle_update' vehicle.plate_number %}" class="btn btn-warning">Edit</a>
       <a href="{% url 'vehicle_delete' vehicle.plate_number %}" class="btn btn-danger">Delete</a>
       <a href="{% url 'vehicle_list' %}" class="btn btn-secondary">Back to List</a>
   </div>
</div>
{% endblock %}
vehicle_form.html
- This template uses bootstrap classes for styling a form with fields for plate number, make, model, year, color, and owner name, including placeholders and current values.
- It includes conditional error messages for each form field, displayed only if validation errors occur.
- The Submit button at the bottom of the form submits vehicle data.
{% extends 'vehicles/base.html' %}
{% block title %}Add New Vehicle{% endblock %}
{% block content %}
<div class="container mt-5">
   <h2 class="text-center">Add New Vehicle</h2>
   <form method="post" class="mt-4">
       {% csrf_token %}
       <div class="form-group">
           <label for="plate_number">Plate Number:</label>
           <input type="text" id="plate_number" name="plate_number" class="form-control" placeholder="e.g., ABC123" value="{{ form.plate_number.value|default_if_none:'' }}">
           {% if form.plate_number.errors %}
               <div class="invalid-feedback">
                   {% for error in form.plate_number.errors %}
                       <p>{{ error }}</p>
                   {% endfor %}
               </div>
           {% endif %}
       </div>
       <div class="form-group">
           <label for="make">Make:</label>
           <input type="text" id="make" name="make" class="form-control" placeholder="e.g., Toyota" value="{{ form.make.value|default_if_none:'' }}">
           {% if form.make.errors %}
               <div class="invalid-feedback">
                   {% for error in form.make.errors %}
                       <p>{{ error }}</p>
                   {% endfor %}
               </div>
           {% endif %}
       </div>
       <div class="form-group">
           <label for="model">Model:</label>
           <input type="text" id="model" name="model" class="form-control" placeholder="e.g., Innova" value="{{ form.model.value|default_if_none:'' }}">
           {% if form.model.errors %}
               <div class="invalid-feedback">
                   {% for error in form.model.errors %}
                       <p>{{ error }}</p>
                   {% endfor %}
               </div>
           {% endif %}
       </div>
       <div class="form-group">
           <label for="year">Year:</label>
           <input type="number" id="year" name="year" class="form-control" placeholder="e.g., 2020" value="{{ form.year.value|default_if_none:'' }}" min="1900" max="{{ current_year }}">
           {% if form.year.errors %}
               <div class="invalid-feedback">
                   {% for error in form.year.errors %}
                       <p>{{ error }}</p>
                   {% endfor %}
               </div>
           {% endif %}
       </div>
       <div class="form-group">
           <label for="color">Color:</label>
           <input type="text" id="color" name="color" class="form-control" placeholder="e.g., Red" value="{{ form.color.value|default_if_none:'' }}">
           {% if form.color.errors %}
               <div class="invalid-feedback">
                   {% for error in form.color.errors %}
                       <p>{{ error }}</p>
                   {% endfor %}
               </div>
           {% endif %}
       </div>
       <div class="form-group">
           <label for="owner_name">Owner Name:</label>
           <input type="text" id="owner_name" name="owner_name" class="form-control" placeholder="e.g., John Doe" value="{{ form.owner_name.value|default_if_none:'' }}">
           {% if form.owner_name.errors %}
               <div class="invalid-feedback">
                   {% for error in form.owner_name.errors %}
                       <p>{{ error }}</p>
                   {% endfor %}
               </div>
           {% endif %}
       </div>
       <div class="text-center">
           <button type="submit" class="btn btn-primary">Add Vehicle</button>
       </div>
   </form>
</div>
{% endblock %}
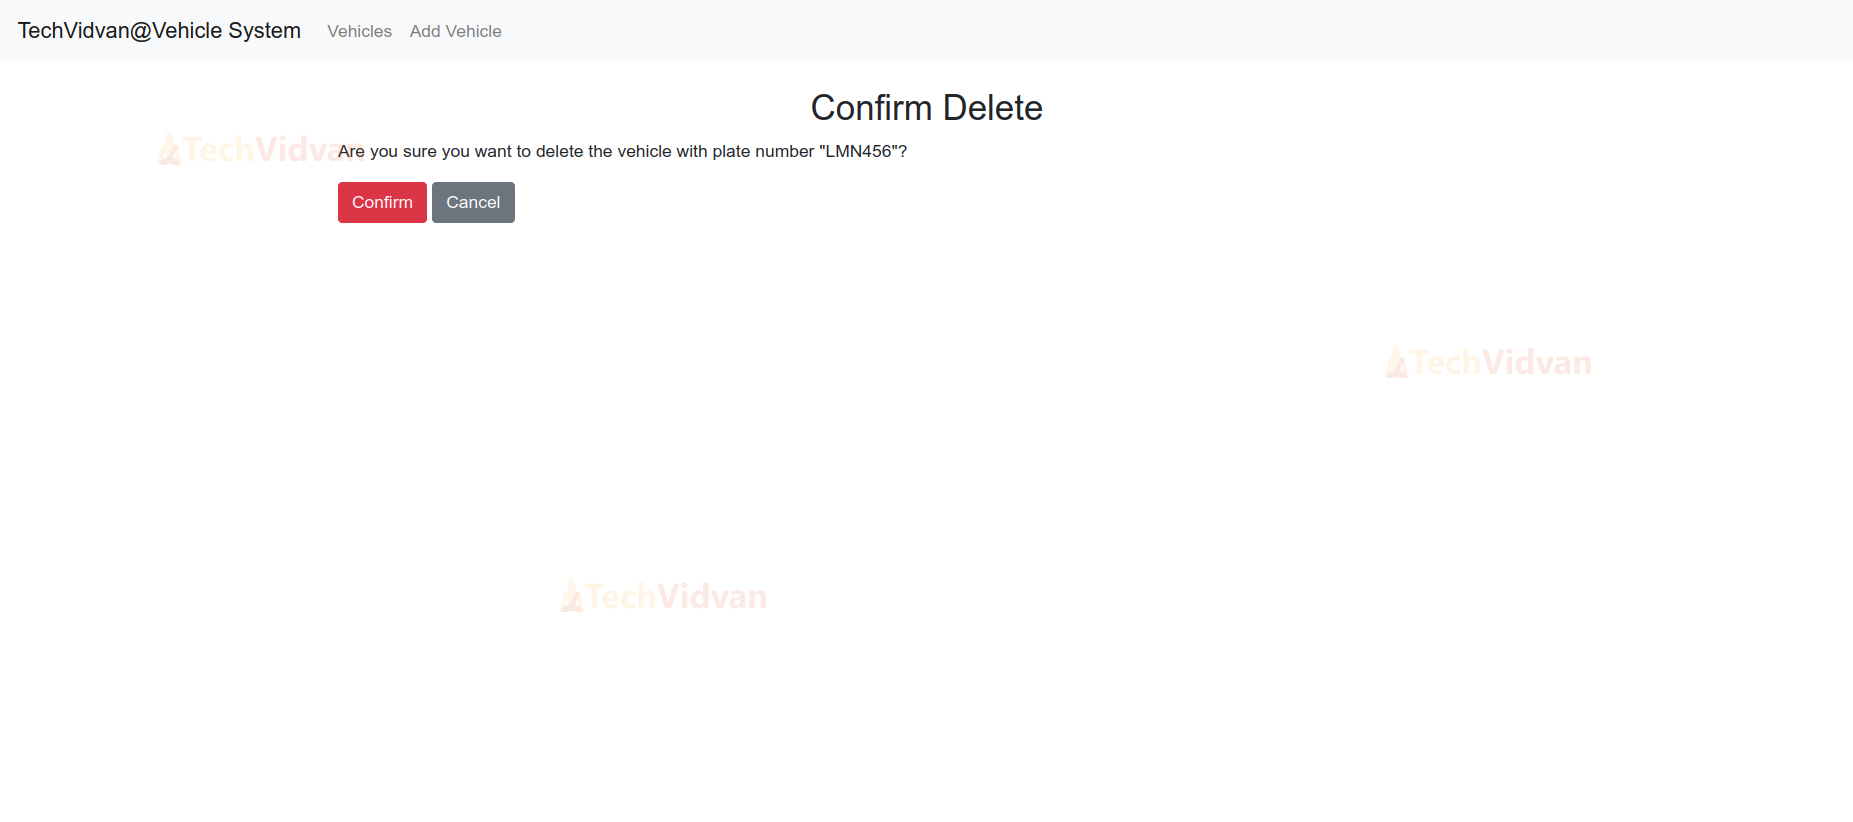
vehicle_delete.html
- It shows a message confirming the vehicle’s plate number and asking the user if they are sure about the deletion.
- It contains a form with a CSRF token for security, including a Confirm button for deletion and a Cancel button to return to the vehicle list.
{% extends 'vehicles/base.html' %}


{% block title %}Confirm Delete{% endblock %}


{% block content %}
<div class="container mt-4">
   <h2 class="text-center">Confirm Delete</h2>
   <p>Are you sure you want to delete the vehicle with plate number "{{ vehicle.plate_number }}"?</p>
   <form method="post">
       {% csrf_token %}
       <button type="submit" class="btn btn-danger">Confirm</button>
       <a href="{% url 'vehicle_list' %}" class="btn btn-secondary">Cancel</a>
   </form>
</div>
{% endblock %}
Django Vehicle Identification System Output
1. Application Interface

2. Add Vehicle Page

3. Vehicle detail Page
4. Edit Vehicle Detail Page

5. Delete Vehicle Page
Conclusion
The Vehicle Identification System leverages Django’s capabilities to build web applications for vehicle management. It provides essential features for managing vehicle records and offers a solid foundation for future enhancements such as advanced search options, user authentication, and integration with external services.