Learn the Steps to Create Your First Django Project
The installation and setting up of the virtual environment are over. Now, the next step is to create your first project using the Django web framework and run that project on the test server.
This tutorial will guide you through the steps required for creating and running your first project.
So, here are the easy steps you should follow to get going.
Prerequisites to Create your First Django Project
Make sure that the following prerequisites are satisfied:
1. You should have a Python Interpreter installed in your system. You can refer to the previous articles for the steps to download Python.
2. You should have Django Package installed. Previous articles can be referred to, for the same.
3. Virtualenv
4. Visual Studio Code
For this tutorial, the following version is put in use:
- Python 3.9.4
- Django 3.2.3
- Visual Studio Code 1.56.2
Steps to create a Project in Django
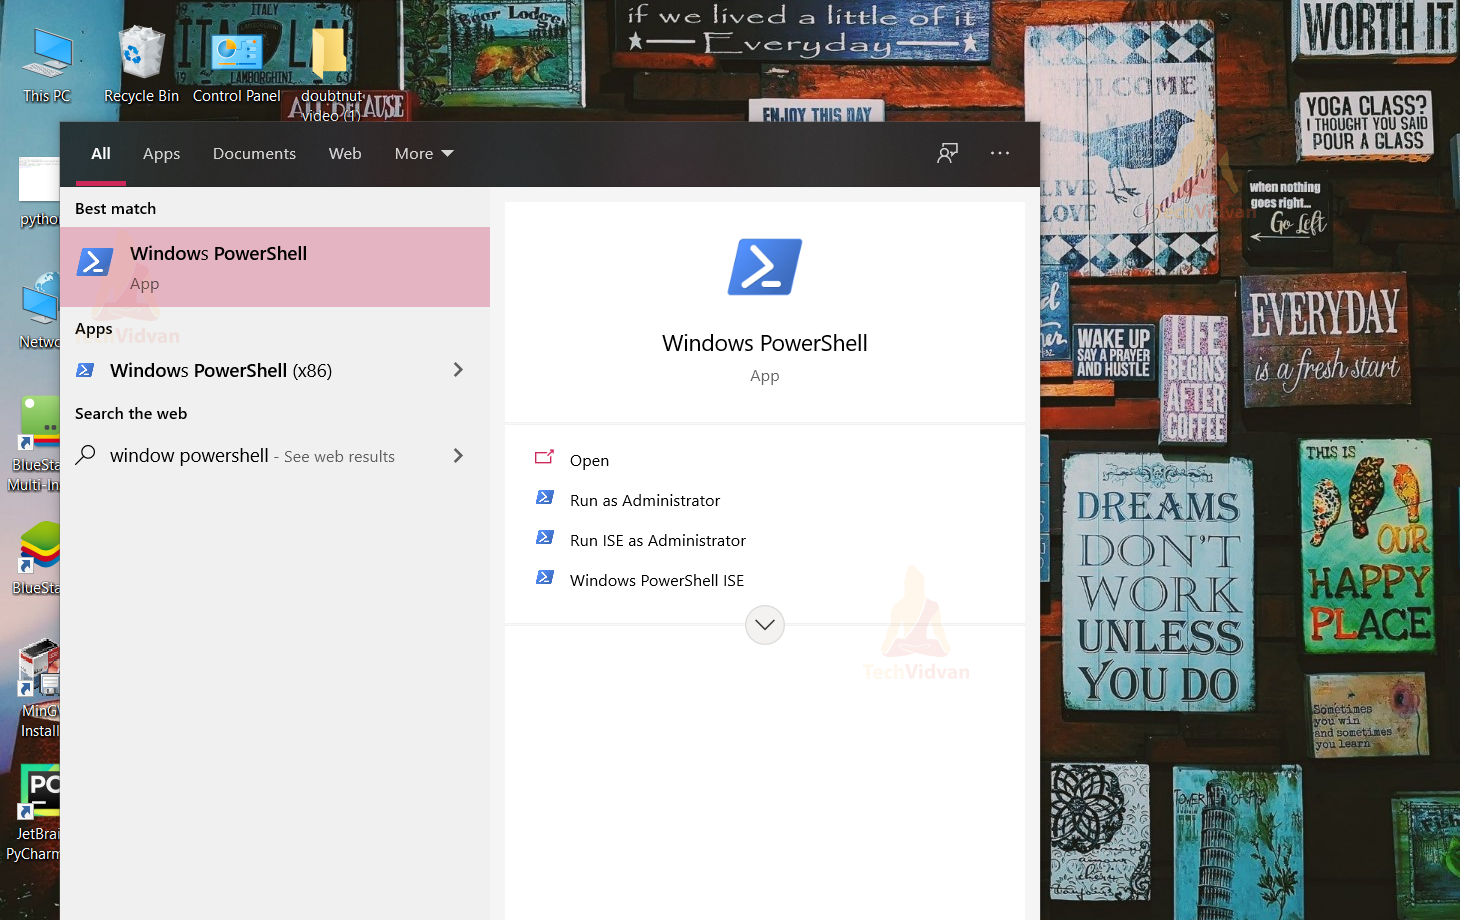
Step 1. Open the Window PowerShell
Window PowerShell will provide great help throughout the Django learning series if you are a Windows user.
Go to Windows search and type Window PowerShell, choose the option displayed on top of the search.
Step 2: Create a New Folder
Creating a different folder for all the projects is a great job. This will help you to manage all your projects, copy some previous code if you need it, and help you to merge different features of previous projects.
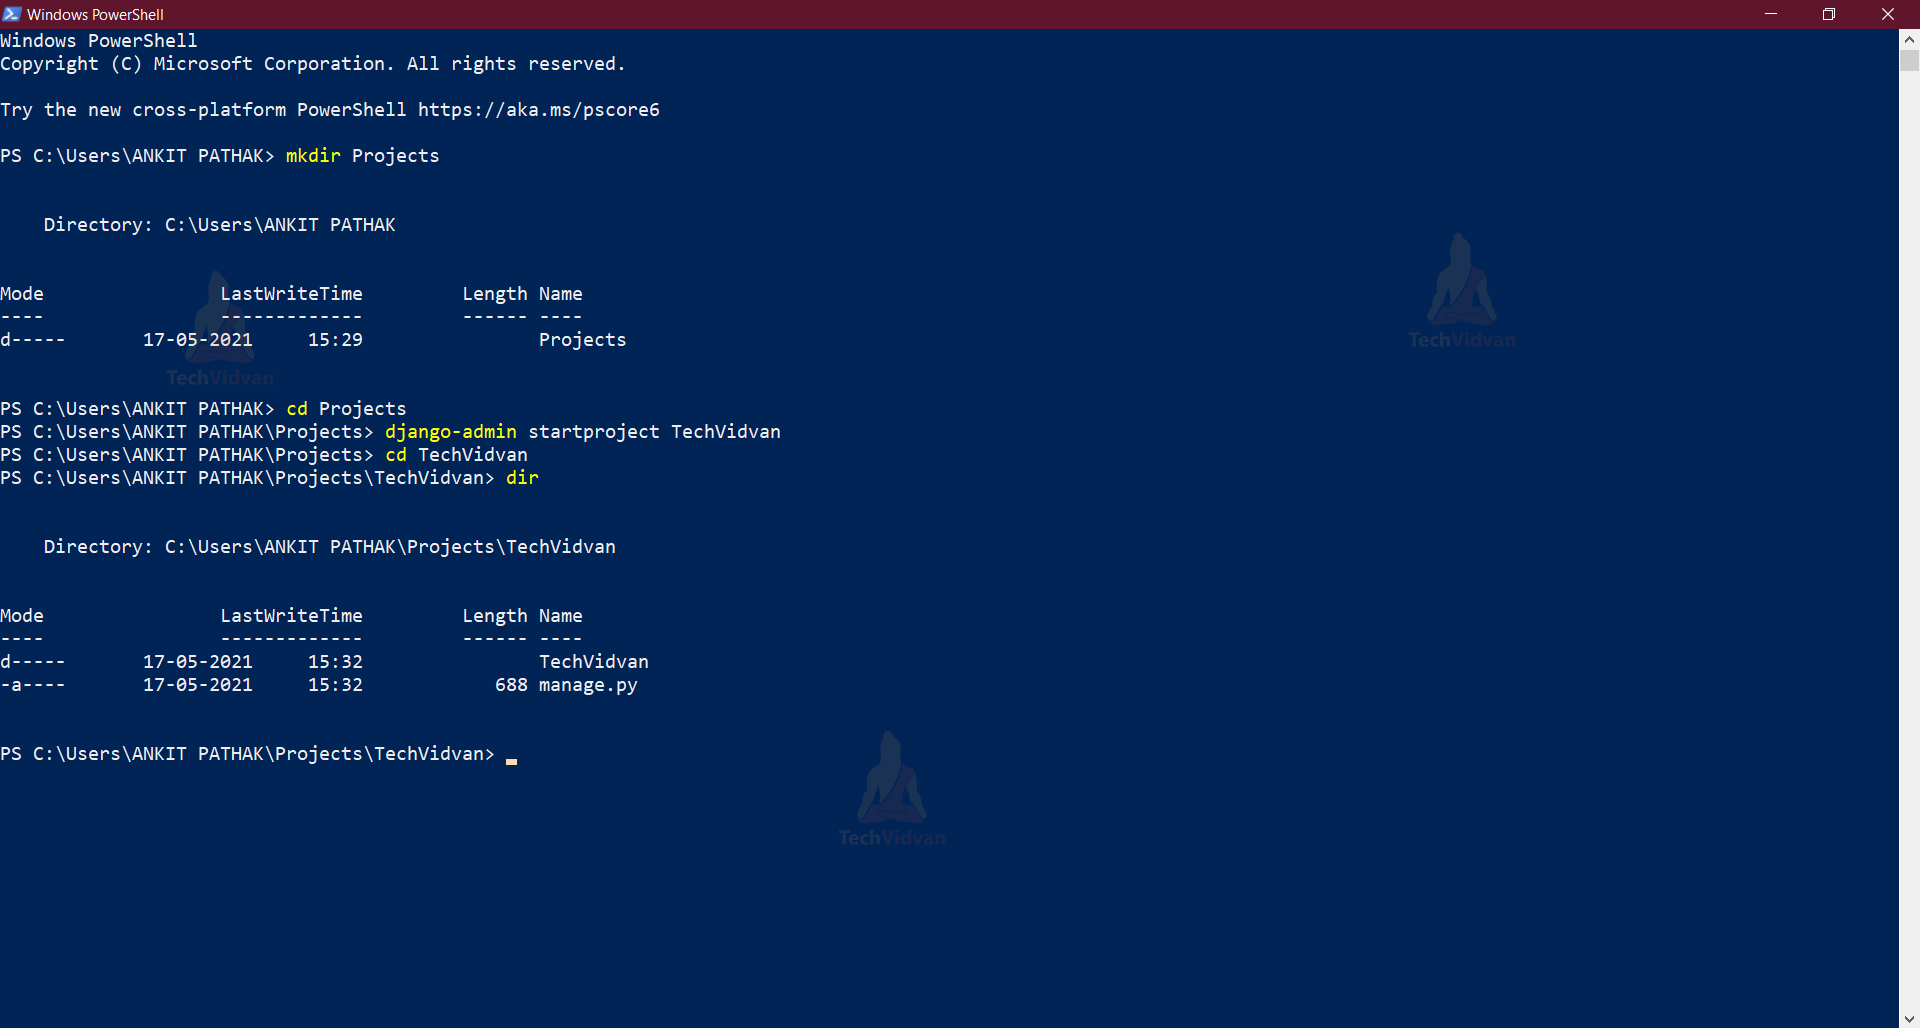
Follow the command shown below in the image.
Type mkdir Projects, this will create a folder named Projects in the directory you are currently in.
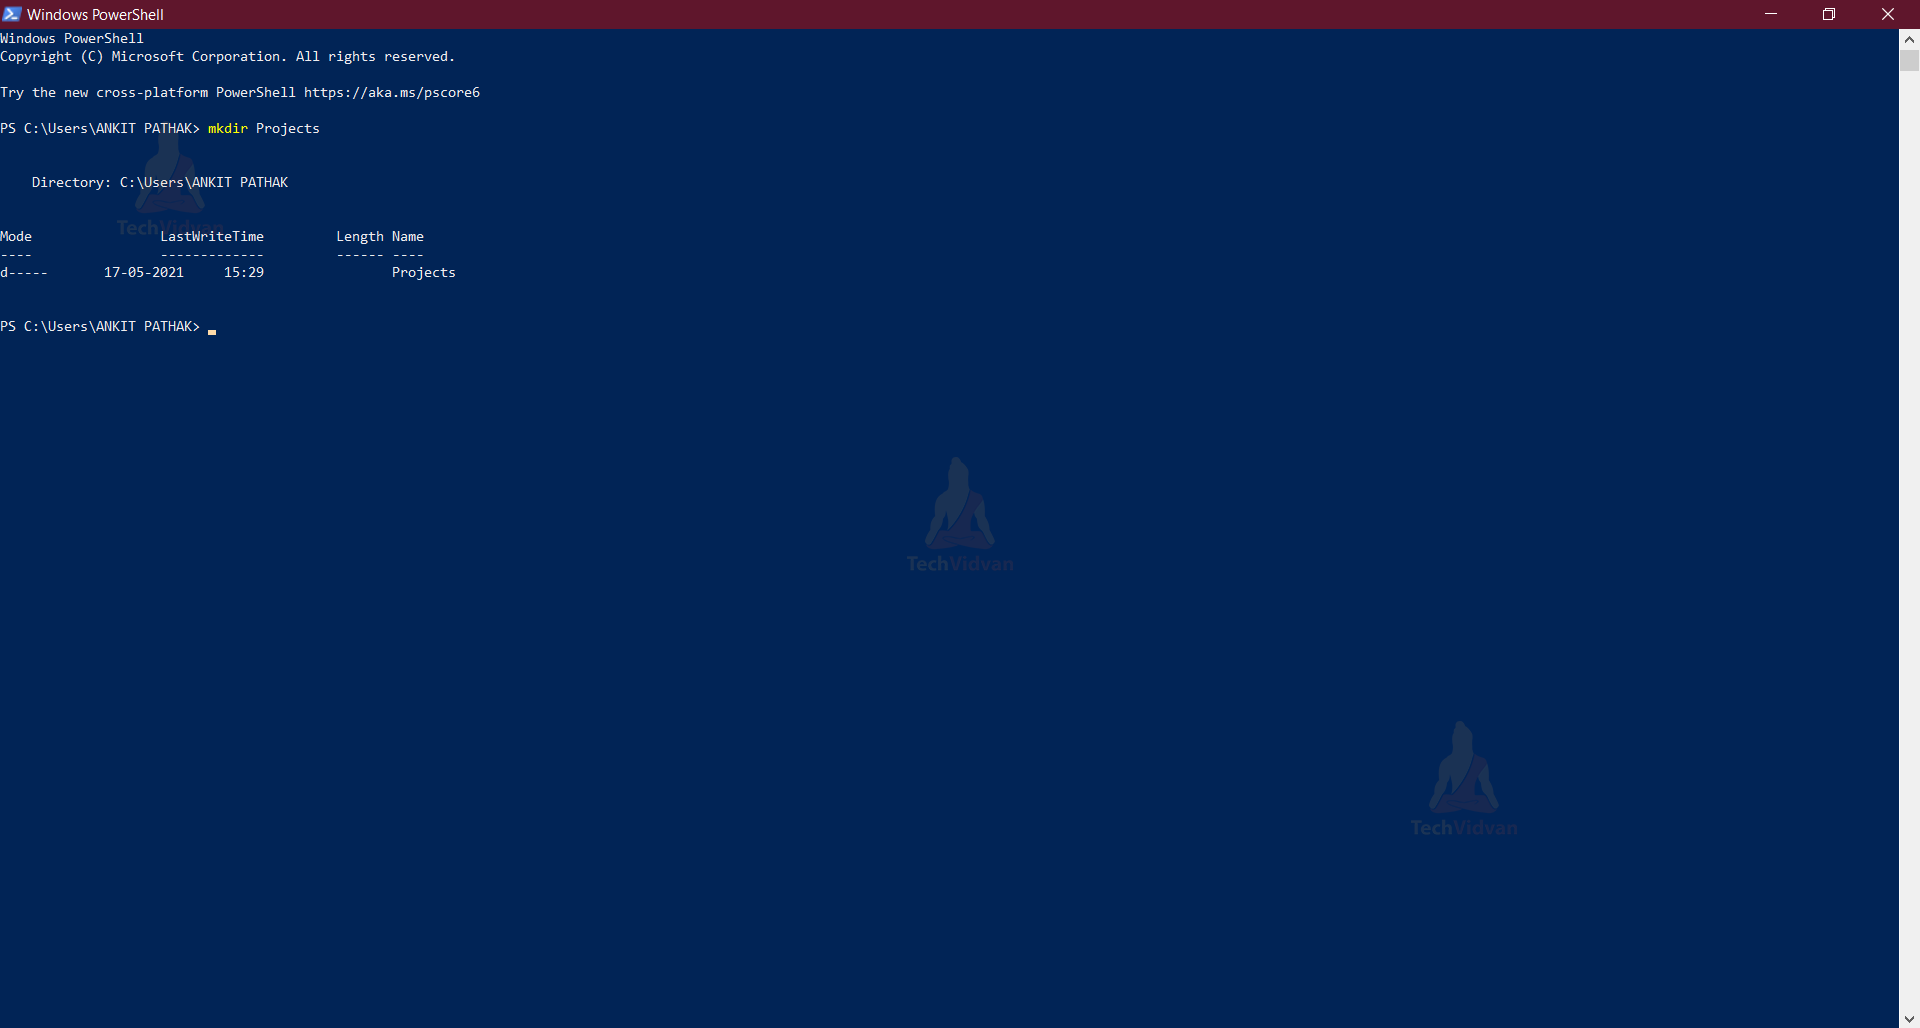
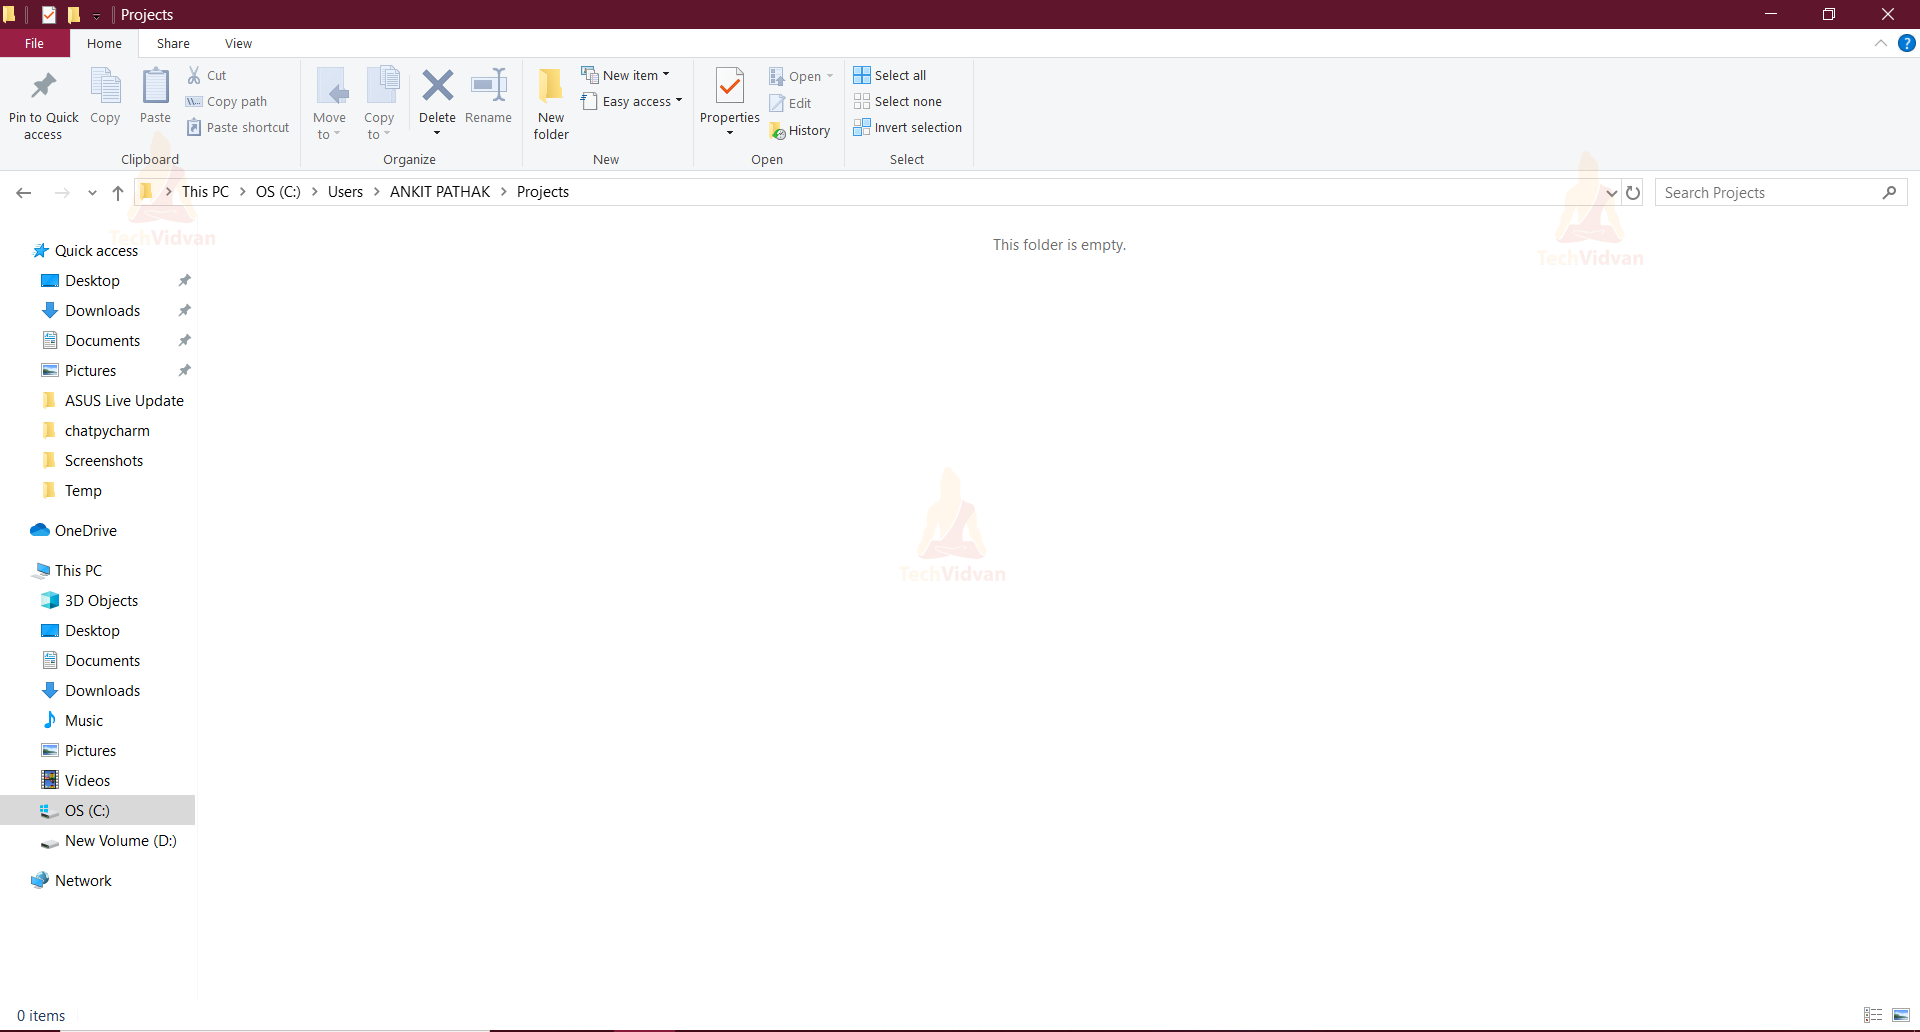
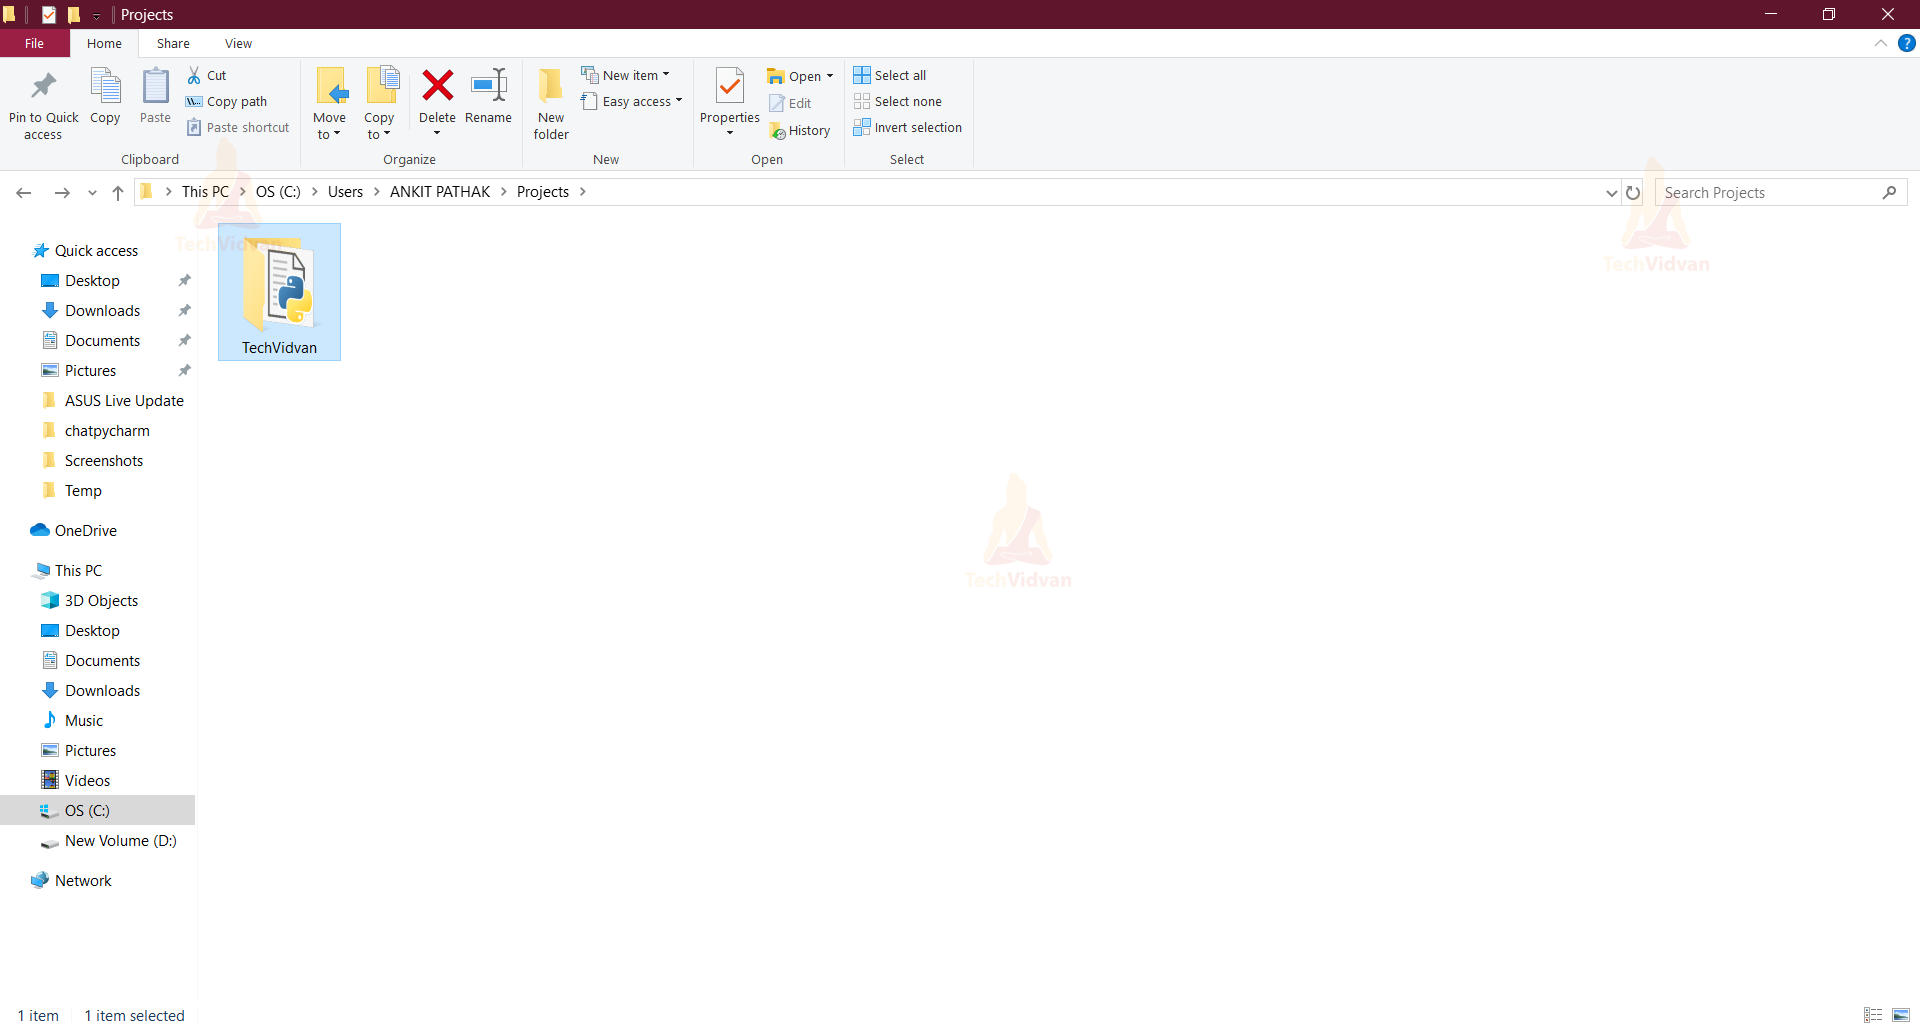
So, as you can see, “Projects” folder is created.

But it is empty right now.
Step 3: Creating First Project
Type cd Projects to access the folder.
Now type django-admin startproject TechVidvan. You can write any name in place of “TechVidvan”, as your project name.
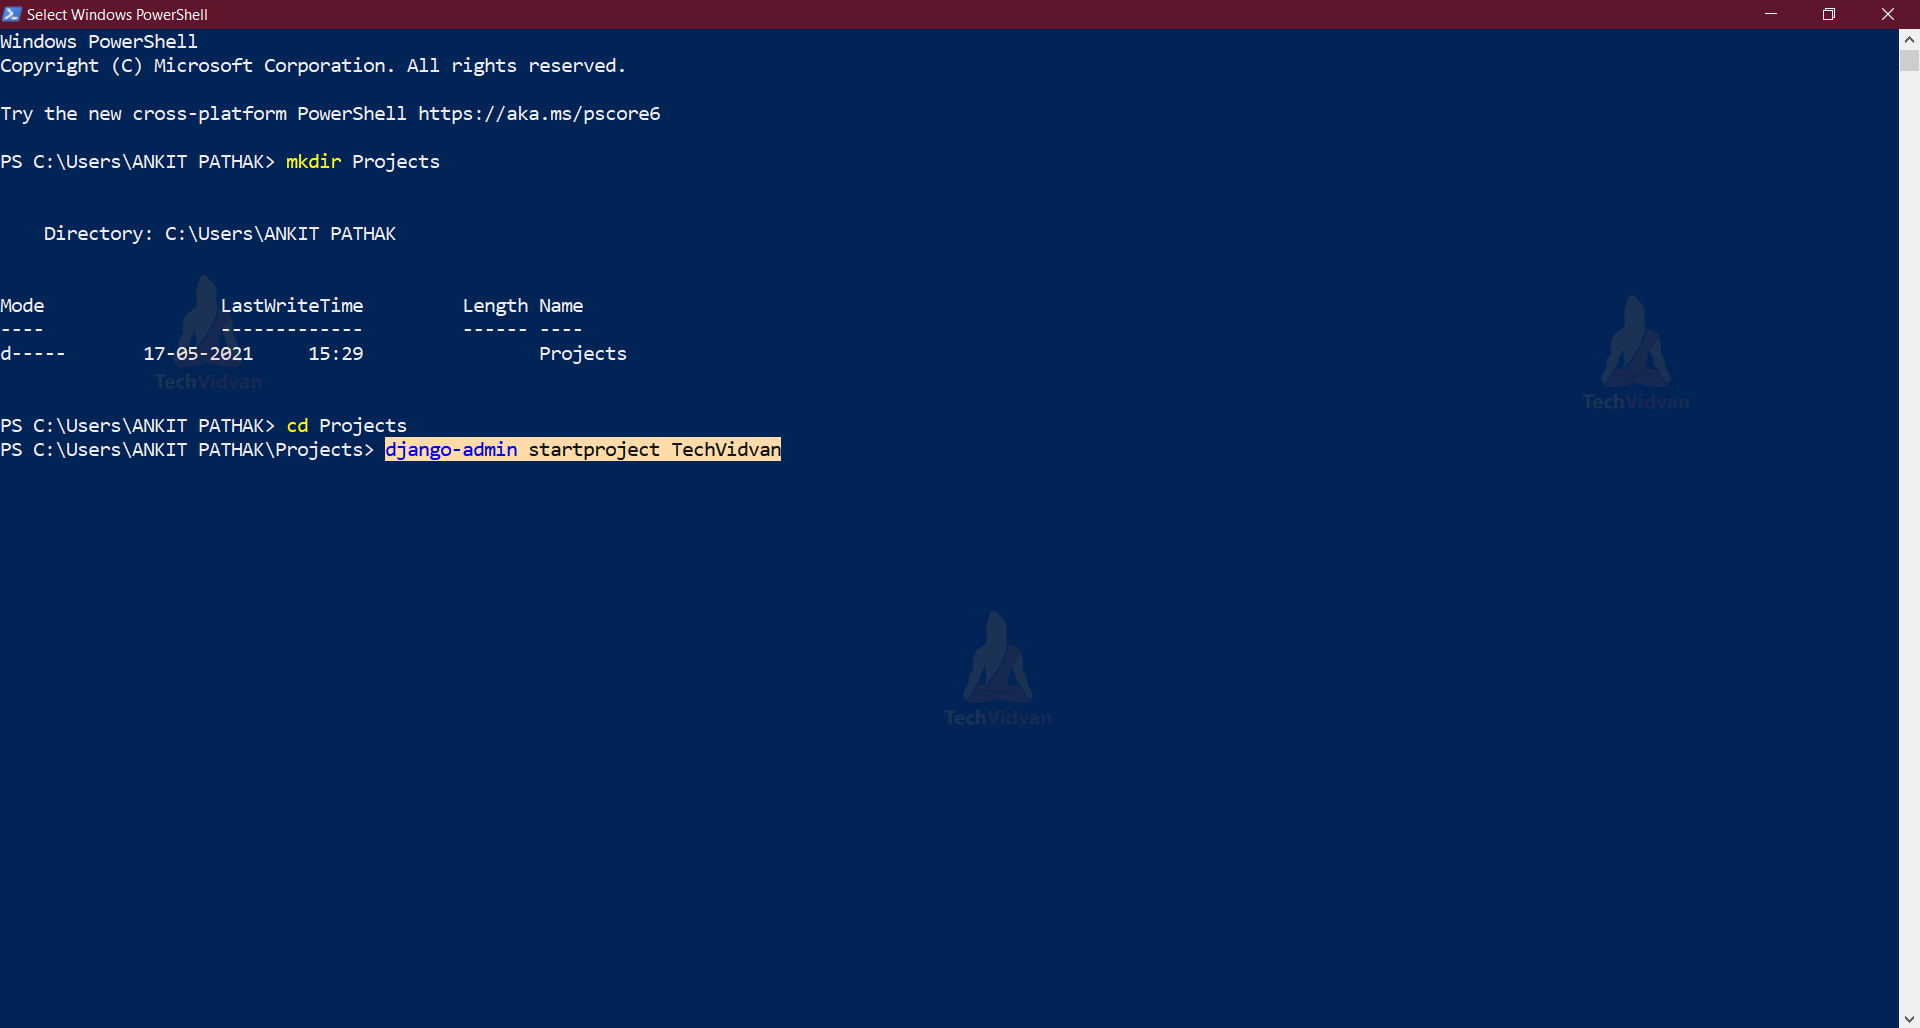
Type cd TechVidvan to access the folder.
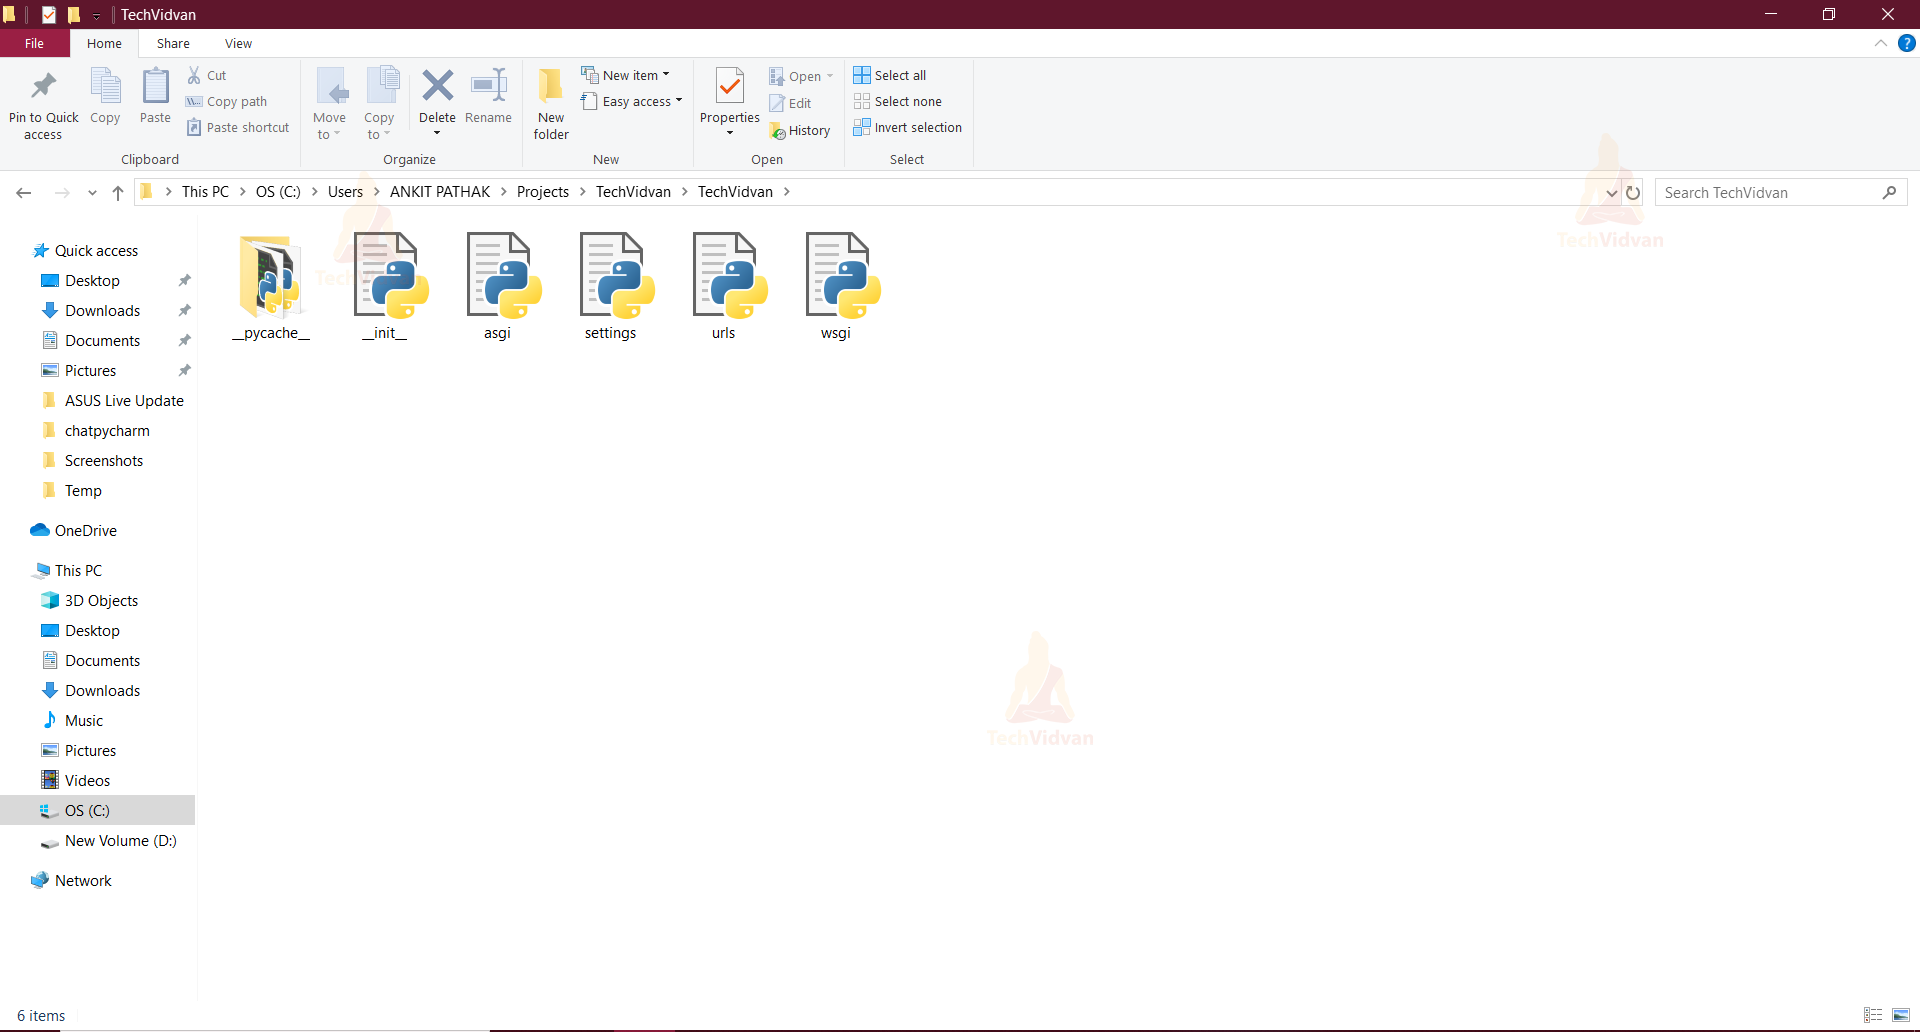
Now you can see that the “Projects” folder is not empty, it has a new folder in it named “TechVidvan”.
Step 4:
Type dir.
This will create all the necessary files that you need to run your project( _init, settings, urls, wsgi, manage.py)
Step 5: Running the Test Server
We will work with manage.py for running our project on the Test Server among all these different files.
Type python manage.py runserver
The output of the command is as follows.
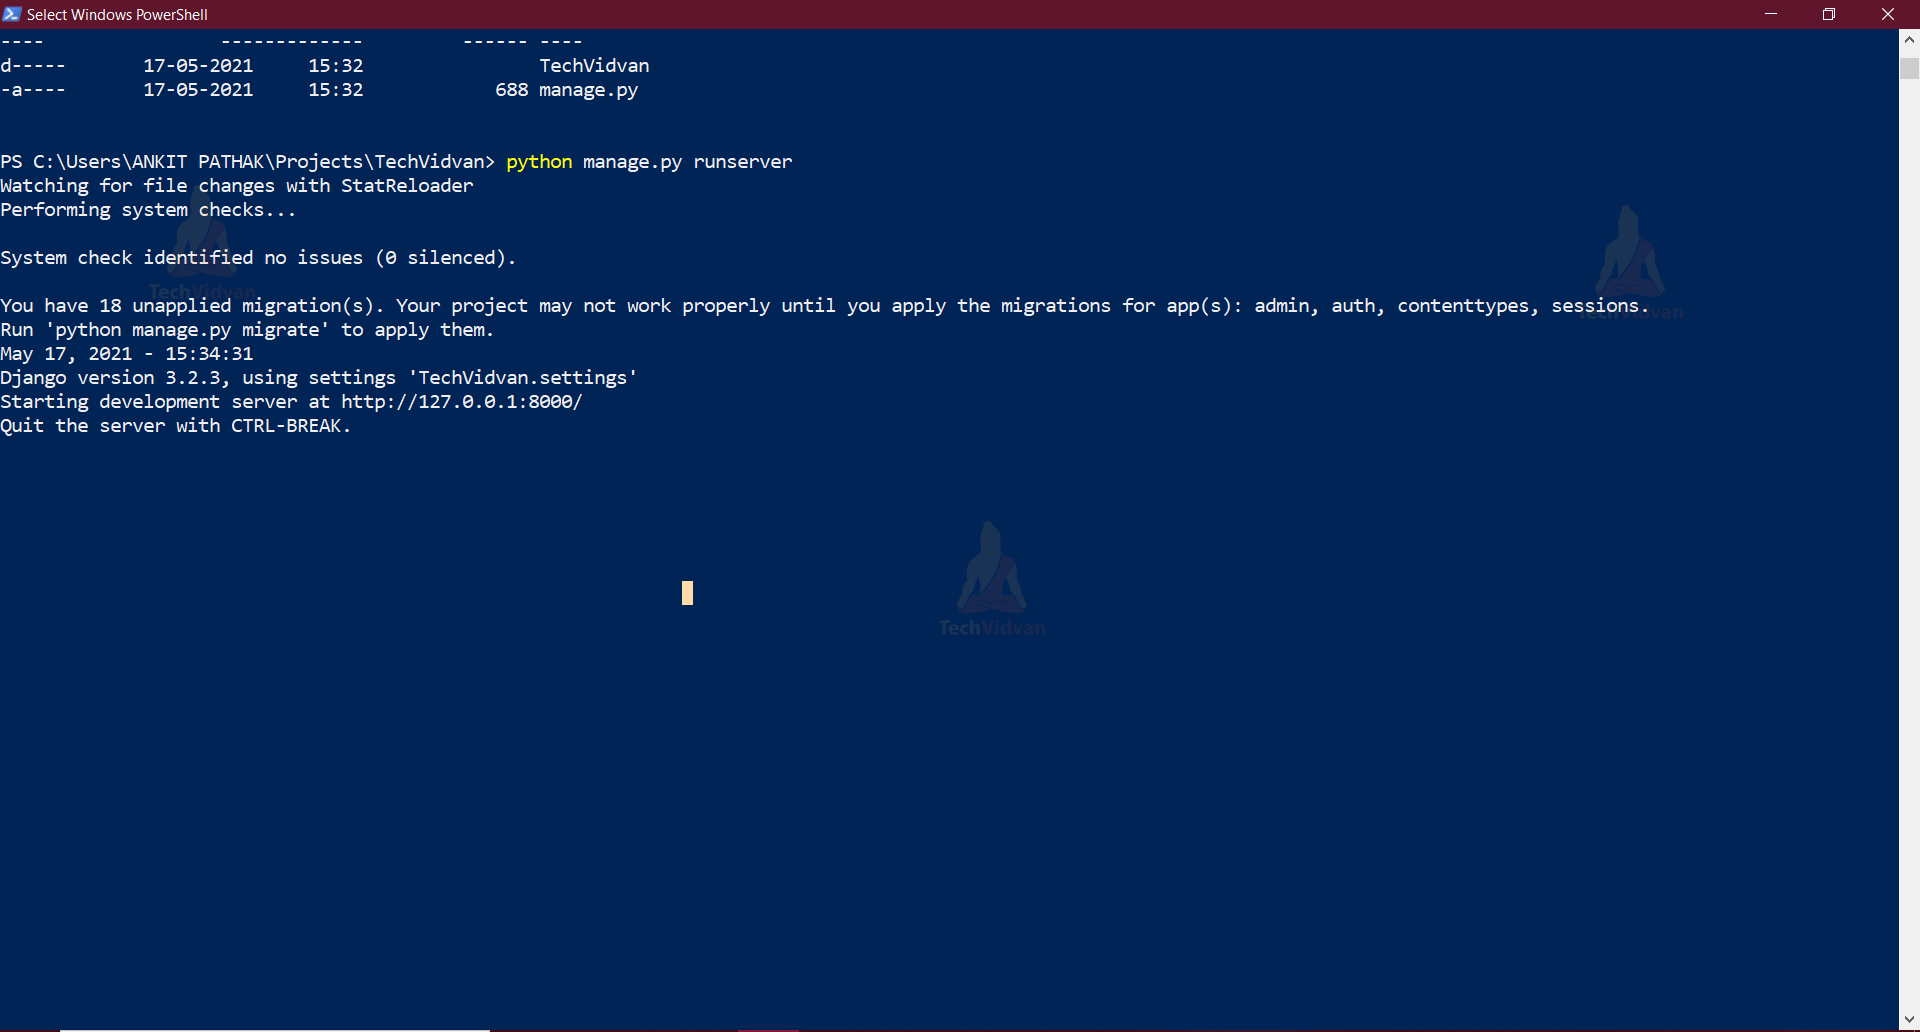
This is your Localhost IP address with port no 8000. Copy that IP address and make a google search.
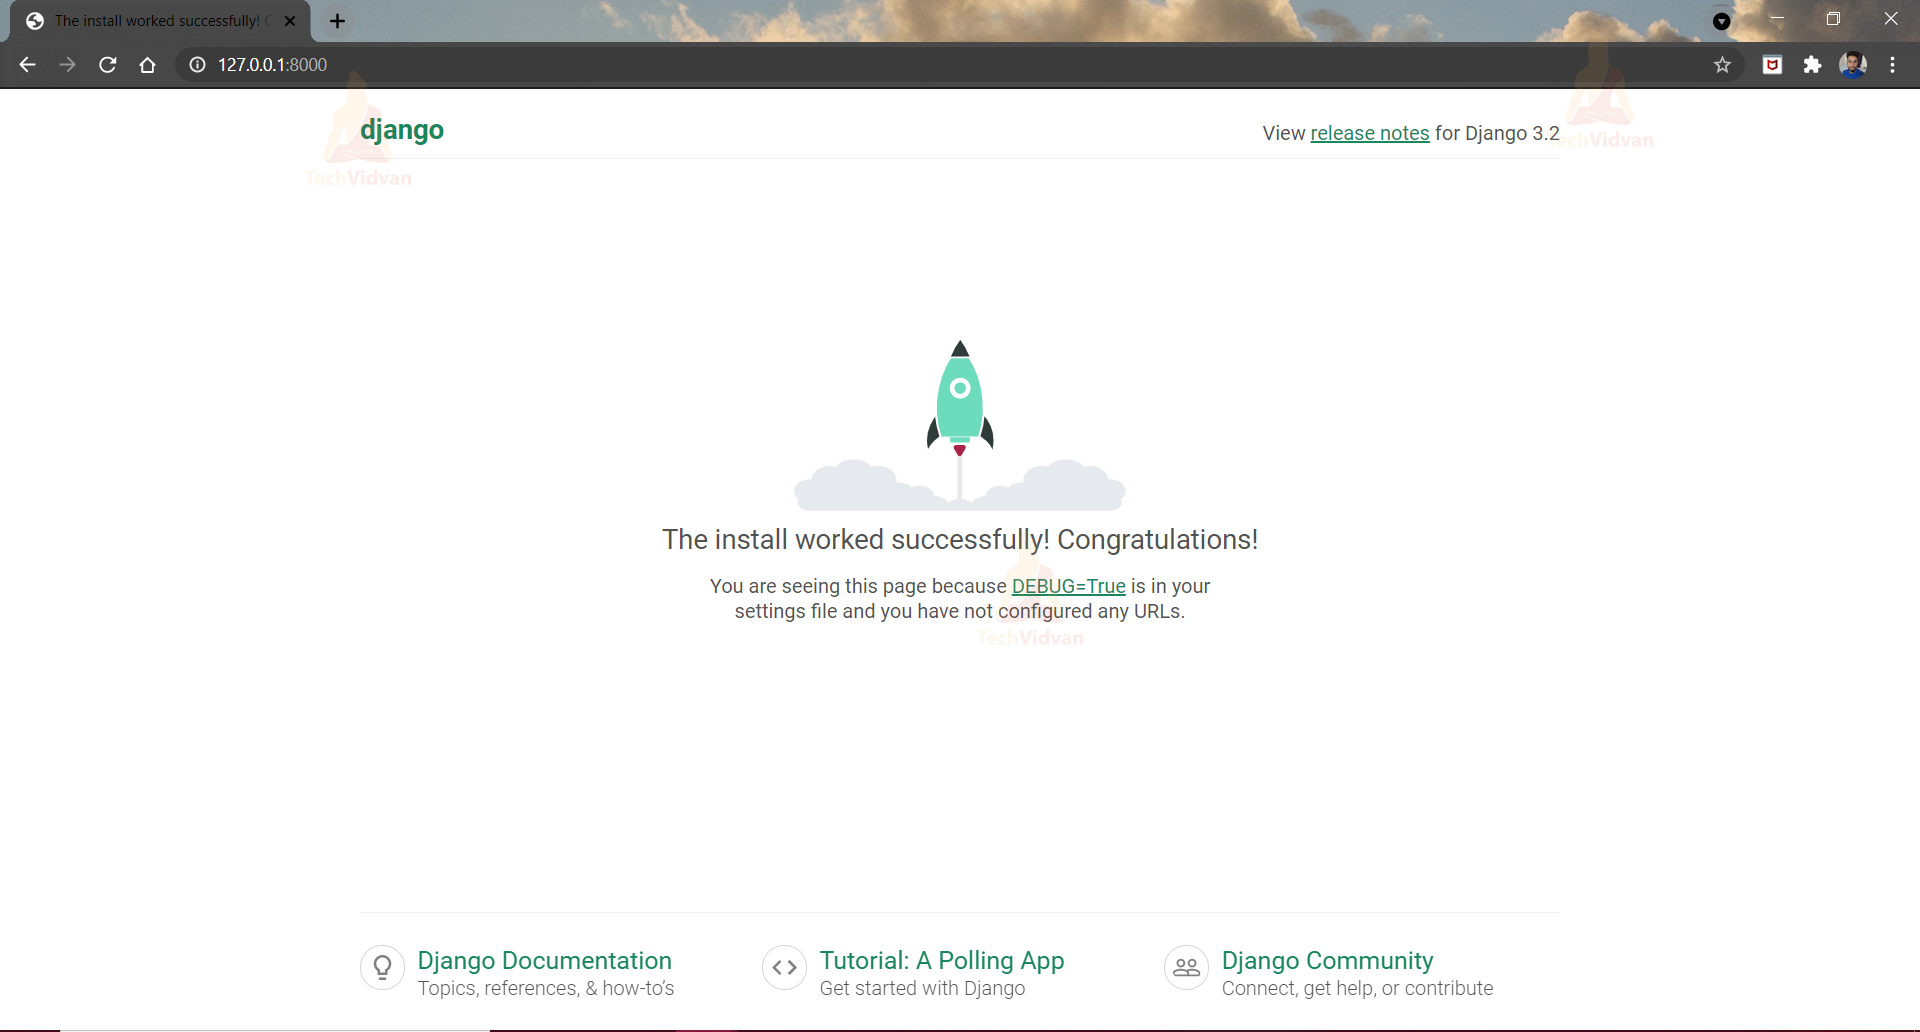
This is the Test server page, it doesn’t show anything, right? Because we have not started the real work yet.
The upcoming tutorials will teach you how to create the web applications that you want to.
Summary
So, you just learned how to create and run your first Django project. This was a crucial part that is required before going deep inside.
We will discuss all the necessary file structures and talk about Django architecture and other aspects of the Django framework in the upcoming articles.