Create a Content Aggregator using Python Django
In this article, we are going to develop yet another interesting python django project Content Aggregator
Content Aggregator
When we look for something on the internet, we get a lot of search results and it is really tiring to go through all of the content so why not we create an application which sorts and displays the required content according to our requirements.
Functionalities of Python Content Aggregator:
- Display the latest python, programming, hiring, and Covid blogs. Note: we have selected four topics for this project, you can take any topic you want.
- Update python blogs.
- Update programming blogs.
- Update hiring alerts.
- Update covid news.
Project Prerequisites
To install the required packages you can use the pip installer from the terminal.
To install Django
pip install Django
To install feedparser
pip install feedparser
Download Content Aggregator Python Code
Please download the source code of python content aggregator: Content Aggregator Python Code
Steps to Content Aggregator Project in Python Django
To start the django project, run below commands:
django-admin startproject ContentAggregator
cd ContentAggregator
django-admin startapp app
Writing Models
Code:
from django.db import models

# Create your models here.
class PyContent(models.Model):
  headline = models.CharField(max_length=300)
  img = models.URLField(null=True, blank=True)
  url = models.TextField()
  def __str__(self):
    return self.headline

class ProgContent(models.Model):
  headline = models.CharField(max_length=300)
  img = models.URLField(null=True, blank=True)
  url = models.TextField()
  def __str__(self):
    return self.headline

class HiringContent(models.Model):
  headline = models.CharField(max_length=300)
  img = models.URLField(null=True, blank=True)
  url = models.TextField()
  def __str__(self):
    return self.headline

class CovidContent(models.Model):
  headline = models.CharField(max_length=300)
  img = models.URLField(null=True, blank=True)
  url = models.TextField()
  def __str__(self):
    return self.headline
As we have discussed, we are considering four topics for this project. We have defined four models and we require the image, headline and url of the full article.
The headline would be a string(text) and in django we have ‘CharField’ to represent a string, we can specify the maximum possible length for this, in our case the max_length is 300. For images, we will store the image address(the url of the image) so we have declared the image as URLField and finally we have a url for every article.
The __str__() method returns headline as the string representation of every record in the table.
We have the same three attributes for all our models.
To actually create database tables, run the following commands:
Py manage.py makemigrations
Py manage.py migrate
admin.py
Code:
from django.contrib import admin
from .models import *

# Register your models here.
admin.site.register(ProgContent)
admin.site.register(HiringContent)
admin.site.register(PyContent)
admin.site.register(CovidContent)
To access database objects from admin panel, we are registering the models on admin panel.
Django creates the admin panel by default for every project, we can surely create our own interface for admin also, but registering models on the admin panel makes it much easier to access the database.
We need a user (a superuser/staff user to be more specific) to access the admin panel. You can follow below steps to create a superuser.
To create superuser
py manage.py createsuperuser
It will ask you to enter username, email, and password.
settings.py
To use static files (images and javascript) we have to provide the path of our static files in settings.py.
Thus, to use static files we have to append this code in settings.py.
import os
STATIC_URL = '/static/'
STATICFILES_DIRS=[
    os.path.join(BASE_DIR,'static')
]
urls.py
In django, we have to define url paths for all the view functions, to define the path we have to first import the view functions:
from app.views import *
After importing we can simply define the path of the url :
path(‘updatepython/’, updatepython,name=’updatepython’),
This file defines url paths for all the view functions
Code:
"""ContentAggregator URL Configuration

The `urlpatterns` list routes URLs to views. For more information please see:
    https://docs.djangoproject.com/en/3.1/topics/http/urls/
Examples:
Function views
    1. Add an import:  from my_app import views
    2. Add a URL to urlpatterns:  path('', views.home, name='home')
Class-based views
    1. Add an import:  from other_app.views import Home
    2. Add a URL to urlpatterns:  path('', Home.as_view(), name='home')
Including another URLconf
    1. Import the include() function: from django.urls import include, path
    2. Add a URL to urlpatterns:  path('blog/', include('blog.urls'))
"""
from django.contrib import admin
from django.urls import path
from app.views import *
from django.conf import settings
from django.conf.urls.static import static

urlpatterns = [
    path('admin/', admin.site.urls),
    path('', home,name='home'),
    path('updatepython/', updatepython,name='updatepython'),
    path('updateprog/', updateprog,name='updateprog'),
    path('updatecovid/', updatecovid,name='updatecovid'),
    path('updatehiring/', updatehiring,name='updatehiring'),
]

urlpatterns+=static(settings.MEDIA_URL,document_root=settings.MEDIA_ROOT)
views.py
Code:
from app.models import *
from django.shortcuts import render,redirect
from django.http  import HttpResponse
import feedparser

# Create your views here.
def updatepython(request):
    #-------python----------------
    url = feedparser.parse(
            "https://medium.com/feed/tag/python"
        )
    for i in range(10):
        info = url.entries[i]
        content= PyContent()
        content.headline= info.title
        #-----finding image link
        desc = info.description
        start=desc.find("img src=")
        end=desc.find("width")

        print(desc[end:])
        desc=desc[start+9:end-2:]
        print("-----------------------------")
        print(desc)

        #---------------
        content.img = desc
        content.url  = info.link
        content.save()

    return redirect('/')

def updatecovid(request):
    #-------python----------------
    url = feedparser.parse(
            "https://medium.com/feed/tag/covid"
        )
    for i in range(10):
        info = url.entries[i]
        content= CovidContent()
        content.headline= info.title
        print("################################")
        print(content.headline)
        #-----finding image link
        desc = info.description
        start=desc.find("img src=")
        end=desc.find("width")

        print(desc[end:])
        desc=desc[start+9:end-2:]
        print("-----------------------------")
        print(desc)

        #---------------
        content.img = desc
        content.url  = info.link
        content.save()

    return redirect('/')

def updateprog(request):
    #-------python----------------
    url = feedparser.parse(
            "https://medium.com/feed/tag/programming"
        )
    for i in range(10):
        info = url.entries[i]
        content= ProgContent()
        content.headline= info.title
        #-----finding image link
        desc = info.description
        start=desc.find("img src=")
        end=desc.find("width")

        print(desc[end:])
        desc=desc[start+9:end-2:]
        print("-----------------------------")
        print(desc)

        #---------------
        content.img = desc
        content.url  = info.link
        content.save()

    return redirect('/')

def updatehiring(request):
    #-------python----------------
    url = feedparser.parse(
            "https://medium.com/feed/tag/hiring"
        )
    for i in range(10):
        info = url.entries[i]
        content= HiringContent()
        content.headline= info.title
        #-----finding image link
        desc = info.description
        start=desc.find("img src=")
        end=desc.find("width")

        print(desc[end:])
        desc=desc[start+9:end-2:]
        print("-----------------------------")
        print(desc)

        #---------------
        content.img = desc
        content.url  = info.link
        content.save()

    return redirect('/')

def home(request):
    pycontent = PyContent.objects.all()
    progcontent = ProgContent.objects.all()
    hiringcontent = HiringContent.objects.all()
    covidcontent = CovidContent.objects.all()
    context = {
        'pycontent': pycontent,
        'progcontent': progcontent,
        'hiringcontent': hiringcontent,
        'covidcontent': covidcontent,
    }
    return render(request,'app/home.html',context)
In views.py we have home() method. Here is a short description of the method.
Home()
This function renders all the objects of PyContent, ProgContent, HiringContent, and CovidContent. To render the objects of the model we are using the all() method which returns all the objects of the model. After that, we are passing all this information to home.html.
Home.html displays all the objects beautifully using html, css and bootstrap.
{% extends 'app/links.html' %}
{% load static%}
{% block content %}
<div class="container ">
<h1>Python Blogs</h1>
<div class="card-columns" style="padding: 10px; margin: 20px;">
{% for p in pycontent %}
<div class="card" style="width: 18rem; border:5px black solid">
<img class="card-img-top" src="{{p.img}}" alt="Card image cap">
<div class="card-body">
<h5 class="card-title">{{p.headline}}</h5>
<a href="{{p.url}}">For more info click here </a>
</div>
</div>
{% endfor %}
</div>
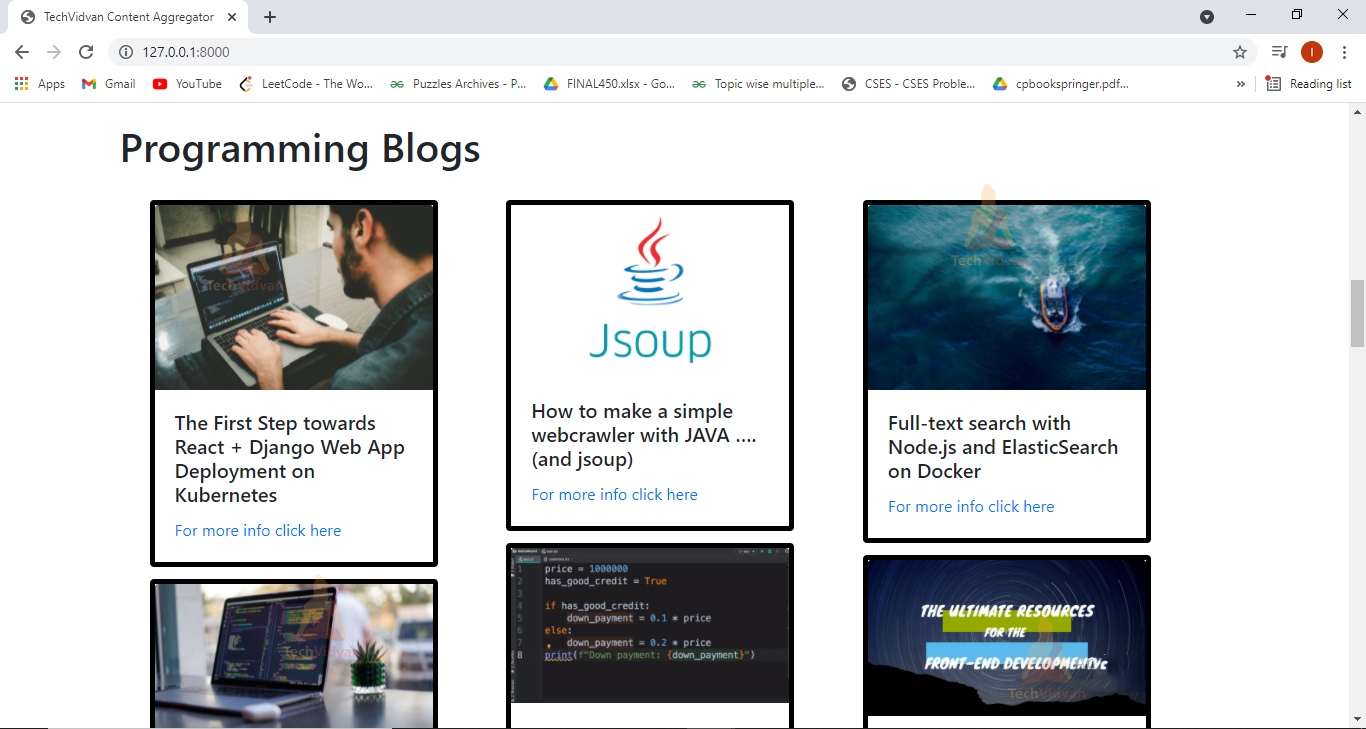
<h1>Programming Blogs</h1>
<div class="card-columns" style="padding: 10px; margin: 20px;">
{% for p in progcontent %}
<div class="card" style="width: 18rem; border:5px black solid">
<img class="card-img-top" src="{{p.img}}" alt="Card image cap">
<div class="card-body">
<h5 class="card-title">{{p.headline}}</h5>
<a href="{{p.url}}">For more info click here </a>
</div>
</div>
{% endfor %}
</div>
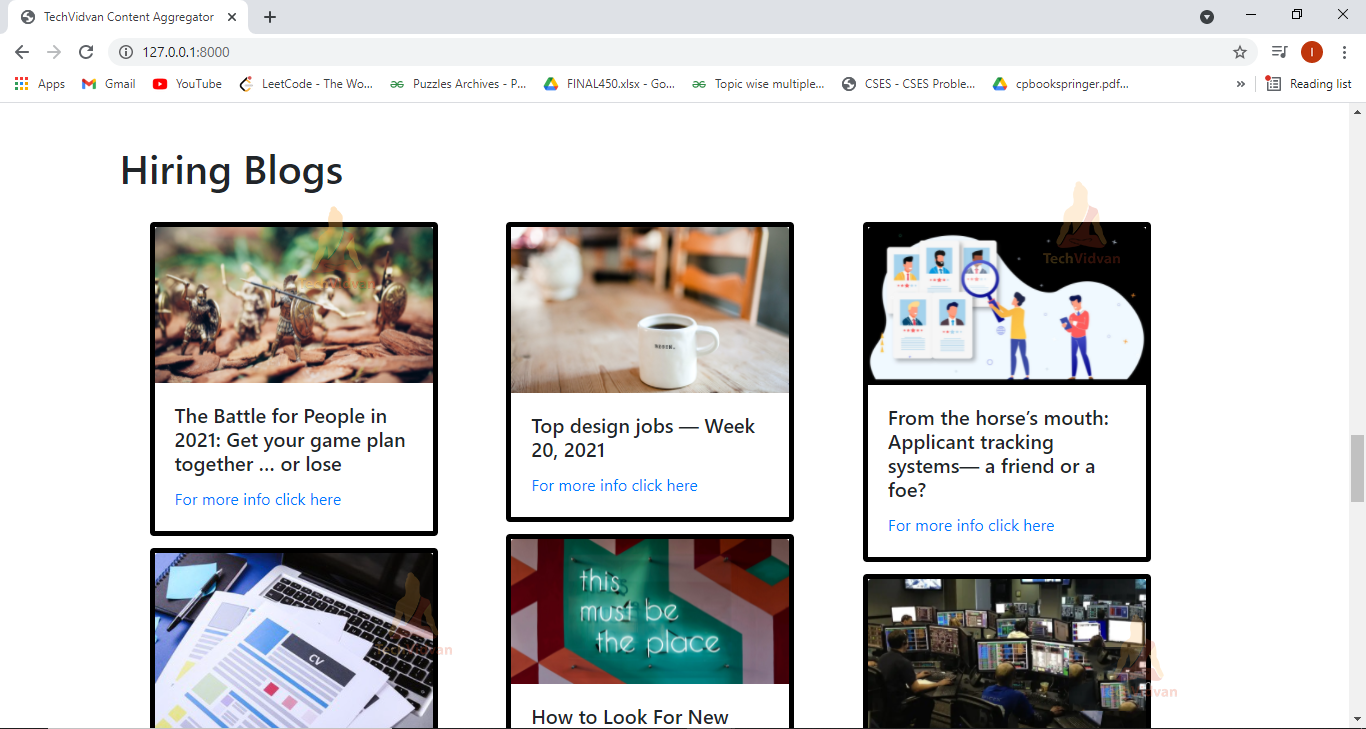
<h1>Hiring Blogs</h1>
<div class="card-columns" style="padding: 10px; margin: 20px;">
{% for p in hiringcontent %}
<div class="card" style="width: 18rem; border:5px black solid">
<img class="card-img-top" src="{{p.img}}" alt="Card image cap">
<div class="card-body">
<h5 class="card-title">{{p.headline}}</h5>
<a href="{{p.url}}">For more info click here </a>
</div>
</div>
{% endfor %}
</div>
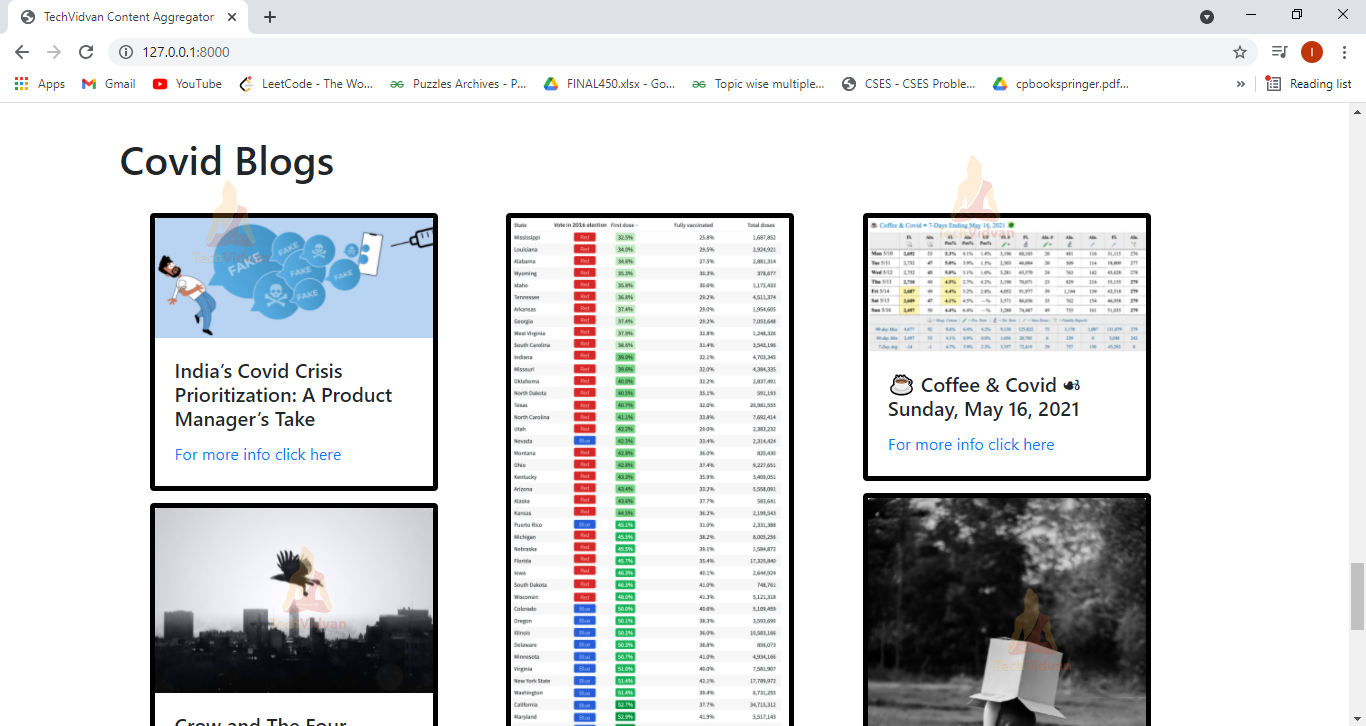
<h1>Covid Blogs</h1>
<div class="card-columns" style="padding: 10px; margin: 20px;">
{% for p in covidcontent %}
<div class="card" style="width: 18rem; border:5px black solid">
<img class="card-img-top" src="{{p.img}}" alt="Card image cap">
<div class="card-body">
<h5 class="card-title">{{p.headline}}</h5>
<a href="{{p.url}}">For more info click here </a>
</div>
</div>
{% endfor %}
</div>
{% endblock %}
UpdatePython:
This function we are using feedparser to parse the contents from the url and store the information in the database. Feedparser is a python module to download and parse websites.
For parsing we are using feedparser. Feedparser is a python module for scraping or downloading feeds.
Steps involved:
- Install feedparser.
- Import feedparser.
- After that we have to provide the required url (for scraping) to the feedparser’s parse function. We are storing all the parsed information in the ‘url’ variable.
- And then, we are just accessing the parsed content from the ‘url’ variable and storing the information in our database.
- For better understanding, you may visit the url of the websites and look for the content we need to store.
- To store the information in the database, we are creating an object of the particular model (HiringContent, ProgContent, CovidContent, or PyContent) and after storing information in all three attributes (url, images, and headline) we are saving the newly created object in the database using save() method.
Python Content Aggregator Output
templates
links.html
This file contains all the bootstrap links and this file also includes navbar.html’s code. All the html file in the project are extending this html page.
{% load static %}
<html>
    <head>
        <title>
            TechVidvan Content Aggregator
        </title>
        <link rel="stylesheet" href="https://stackpath.bootstrapcdn.com/bootstrap/4.5.0/css/bootstrap.min.css" integrity="sha384-9aIt2nRpC12Uk9gS9baDl411NQApFmC26EwAOH8WgZl5MYYxFfc+NcPb1dKGj7Sk" crossorigin="anonymous">
    </head>
    <body>
        {% include 'app/navbar.html' %}
        {% block content %}
        {% endblock %}
        <br>

        <script src="https://code.jquery.com/jquery-3.5.1.slim.min.js" integrity="sha384-DfXdz2htPH0lsSSs5nCTpuj/zy4C+OGpamoFVy38MVBnE+IbbVYUew+OrCXaRkfj" crossorigin="anonymous"></script>
    <script src="https://cdn.jsdelivr.net/npm/[email protected]/dist/umd/popper.min.js" integrity="sha384-Q6E9RHvbIyZFJoft+2mJbHaEWldlvI9IOYy5n3zV9zzTtmI3UksdQRVvoxMfooAo" crossorigin="anonymous"></script>
    <script src="https://stackpath.bootstrapcdn.com/bootstrap/4.5.0/js/bootstrap.min.js" integrity="sha384-OgVRvuATP1z7JjHLkuOU7Xw704+h835Lr+6QL9UvYjZE3Ipu6Tp75j7Bh/kR0JKI" crossorigin="anonymous"></script>
    </body>
</html>
navbar.html
This file has the code for the navigation bar of the project.
{% load static %}

<style>
  .greet{
    font-size: 18px;
    color: #fff;
    margin-right: 20px;
  }
</style>

<nav class="navbar navbar-expand-lg navbar-dark bg-dark">
  <button class="navbar-toggler" type="button" data-toggle="collapse" data-target="#navbarNav" aria-controls="navbarNav" aria-expanded="false" aria-label="Toggle navigation">
    <span class="navbar-toggler-icon"></span>
  </button>
  <div class="collapse navbar-collapse" id="navbarNav">

    <ul class="navbar-nav">

      <li class="nav-item active">
        <a class="nav-link" href="{% url 'home' %}">Home</a>
      </li>
      </li>
      <li class="nav-item active">

      </li>
      <li class="nav-item">
        <a class="nav-link" href="{% url 'updatepython' %}">Update Python News</a>
      </li>

      </li>
      <li class="nav-item">
        <a class="nav-link" href="{% url 'updateprog' %}">Update Programming News</a>
      </li>

      </li>
      <li class="nav-item">
        <a class="nav-link" href="{% url 'updatehiring' %}">Update Hiring News</a>
      </li>

      </li>
      <li class="nav-item">
        <a class="nav-link" href="{% url 'updatecovid' %}">Update Covid News</a>
      </li>
    </li>
    </ul>
  </div>

</nav>
Summary
We have successfully developed Content Aggregator Python Django Project. We have used Bootstrap to design most of the html pages and Django framework for backend work.