Django Cookies Handling- Learn the Way to Set up Cookies in Django
Django is a framework that allows us to interact with cookies. Cookies give you the possibility of storing and retrieving data that is saved in sessions. These cookies have an expiration date and are deleted after a specified amount of time has passed.
We already know that whenever we log in to any web page or application, the site will ask for the storage of our user id and password, as well as the auto-filling of a few details based on our previous logged in sessions. This is all done using cookies. Similarly, we can store cookies on the client-side to assist end-users in making their jobs easier.
This tutorial will teach you the basics of computer cookies and why they are used on the internet. We’ll also learn how to use the server to create Django cookies.
Let’s start with a definition of cookies.
What are Cookies in Django?
Cookies, also known as HTTP Cookies, are little text files that your browser creates and maintains in response to a specific Web-Server request. Your browser saves them locally, and most browsers will display you the cookies that have been generated under the Privacy and Security settings.
The HTTP protocol is stateless. When a request is sent to a server using this protocol, the server is unable to tell whether the user is new or has previously visited the site.
If you log in to a website, the website will send cookies to your browser that contain a unique user identity issued by the server as well as other information relevant to the website’s context.
Cookies make it simple to incorporate certain features that were previously impossible to do using HTTP.
How do Django Cookies work?
Cookies function in the same way as other HTTP requests on the Internet.
- The request is sent to the server by the browser.
- The server transmits the response to the browser along with one or more cookies.
- The cookie that the browser receives from the server is saved. From now on, every time a request is made to the server, the browser will send this cookie to the server until the cookie expires.
- The cookie is removed from the browser when it expires.
Cookies are used in a variety of contexts, such as when you log in to a website or shop online. The cookies that Google AdSense and Google Analytics create can also be used to track you. Cookies are used differently by different websites depending on their needs.
What is the purpose of cookies in Django?
You may have noticed that if you leave an eCommerce or social networking site like Facebook without signing out, your account remains signed in the next time you visit the site. Cookies are used to accomplish this (which contain user-session information).
Similarly, you can see product recommendations on several eCommerce websites. This is due to the cookies that store the search results on your browser.
How do I use Django to set cookies?
Cookie Attributes in Django
A cookie attribute in Django can do one of two things. It can place (set) a cookie on a user’s computer and then access those cookies (get). Let’s understand both the concepts, one by one.
1. Set cookies in Django
This cookie attribute creates a cookie, which the server sends to the user’s browser to save data.
set cookie() has the following syntax:
set_cookie(cookie_name, value, max_age = None, expires = None)
name: It provides the cookie name.
Value: The text or variable you wish to store in the cookie is specified by value.
max_age: It’s the duration of a cookie in seconds. It will expire at the end of the period. It’s an optional parameter; if it’s not set, the cookie will remain active until the browser is closed.
Expires: A string in the format “Wdy, DD-Mon-YY HH:MM:SS GMT” or a datetime.datetime object in UTC should be used. The max_age will be determined if expires is a datetime object.
2. Get cookies in Django
The server uses this feature to retrieve previously delivered cookies and read data from them. To obtain the cookie, use the following syntax:
request.COOKIES['cookie_Name']
Let’s look at an example of how to manually set a cookie in Django:
Coding the views
We recently learned what cookies are. The following steps will help you to make your first cookie. The foremost step is to modify the view.py file.
View for sending a cookie
In your views.py file, include the following code.
def setcookie(request):
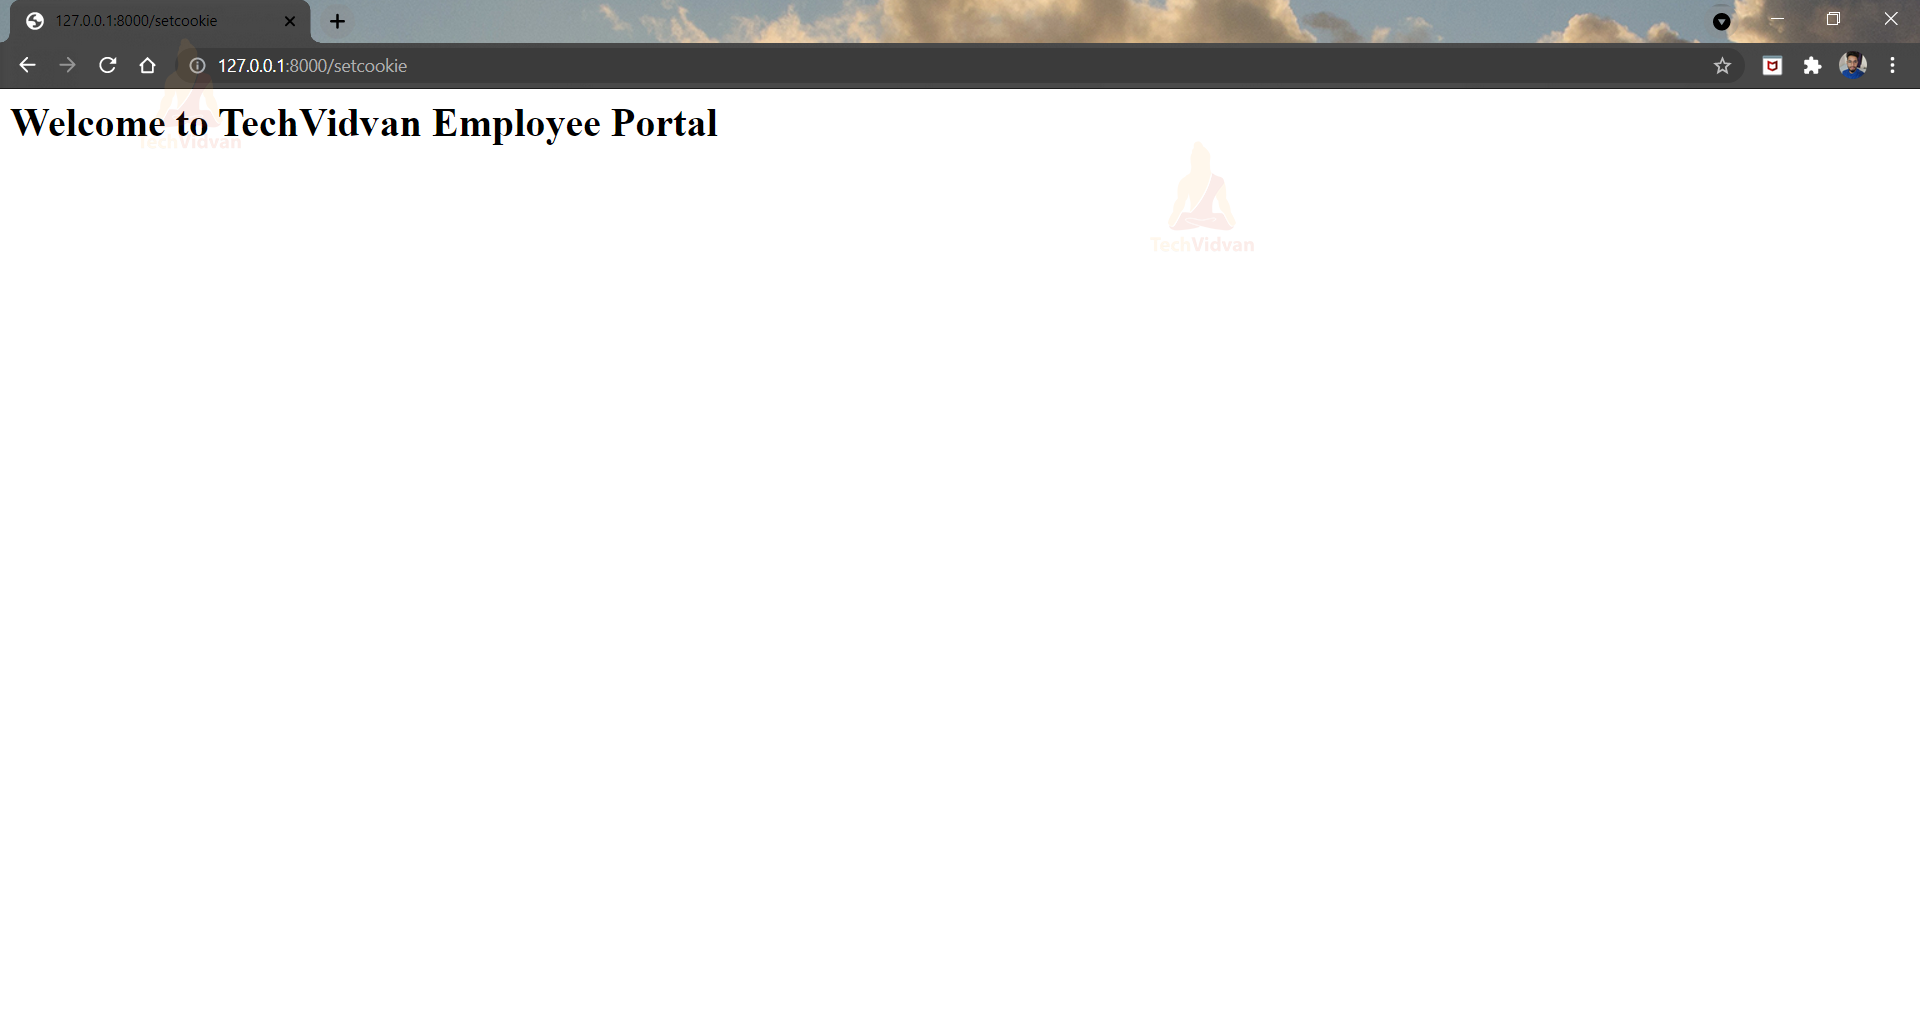
html = HttpResponse("<h1>Welcome to TechVidvan Employee Portal</h1>")
html.set_cookie('TechVidvan', 'We are setting a cookie', max_age = None)
return html
Setting up the urls.py file
path('setcookie', views.setcookie),
View for getting Cookie
In your views.py file, include the following code.
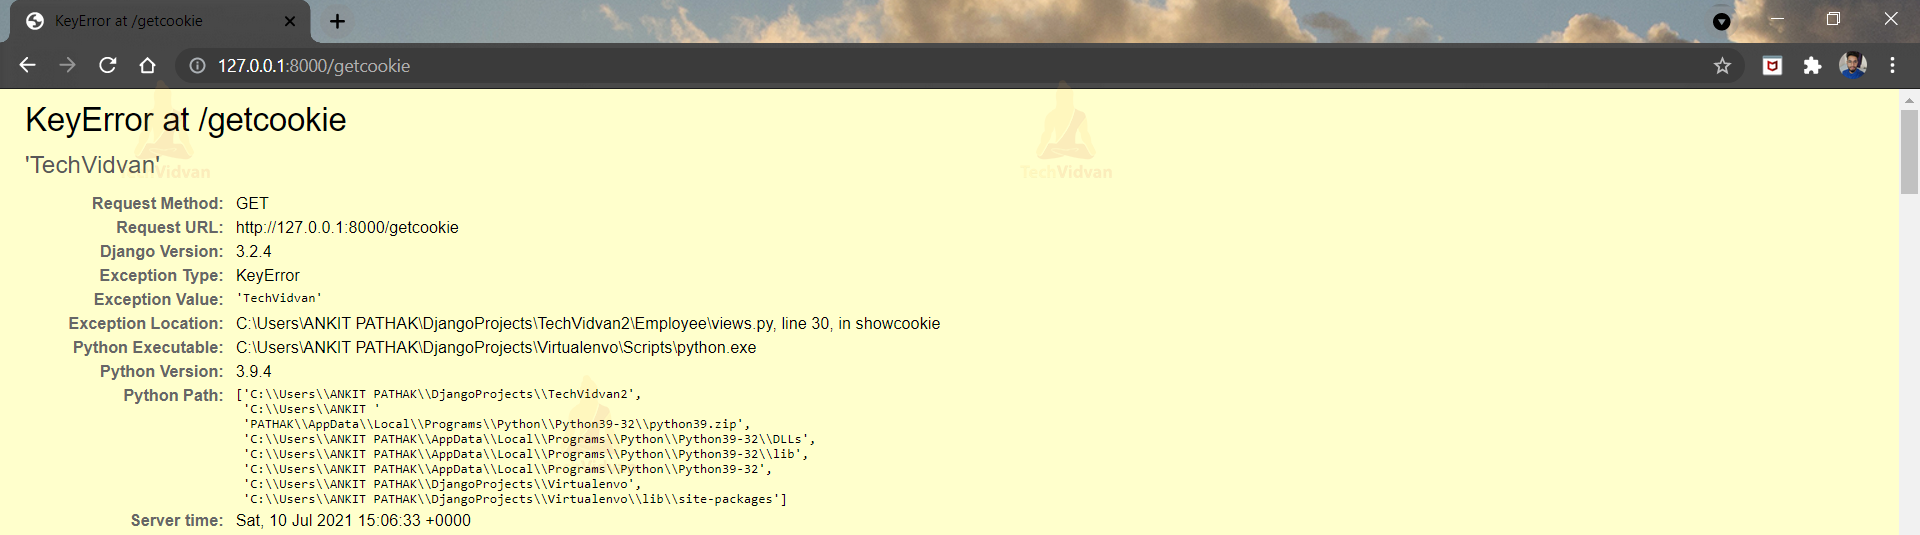
def showcookie(request):
    show = request.COOKIES['TechVidvan']
    html = "<center> New Page <br>{0}</center>".format(show)
    return HttpResponse(html)
Setting up the urls.py file
path('getcookie', views.showcookie),
Django Cookie implementation
Now let’s see the combined Views.py file (which includes both of the aforementioned section files).
This is how your views.py file should look like. Simply paste the code into your views.py, as well as the URL maps, and we’re ready to go:
Explanation of the above-mentioned code:
The above code demonstrates how the HttpResponse method is used to display any output to the screen. We define the cookie in a separate function and then use the request function with the variable/expression COOKIE appended to it for displaying or receiving the cookie that has been set.
The urls.py file will have the following structure:

Explanation of the above-mentioned code:
We define all the paths that are to be connected to each function that is in the views.py file with the python urls file.
Guys, that’s it!! Now let’s test the server!!
Use the command line to start the server:
python manage.py runserver
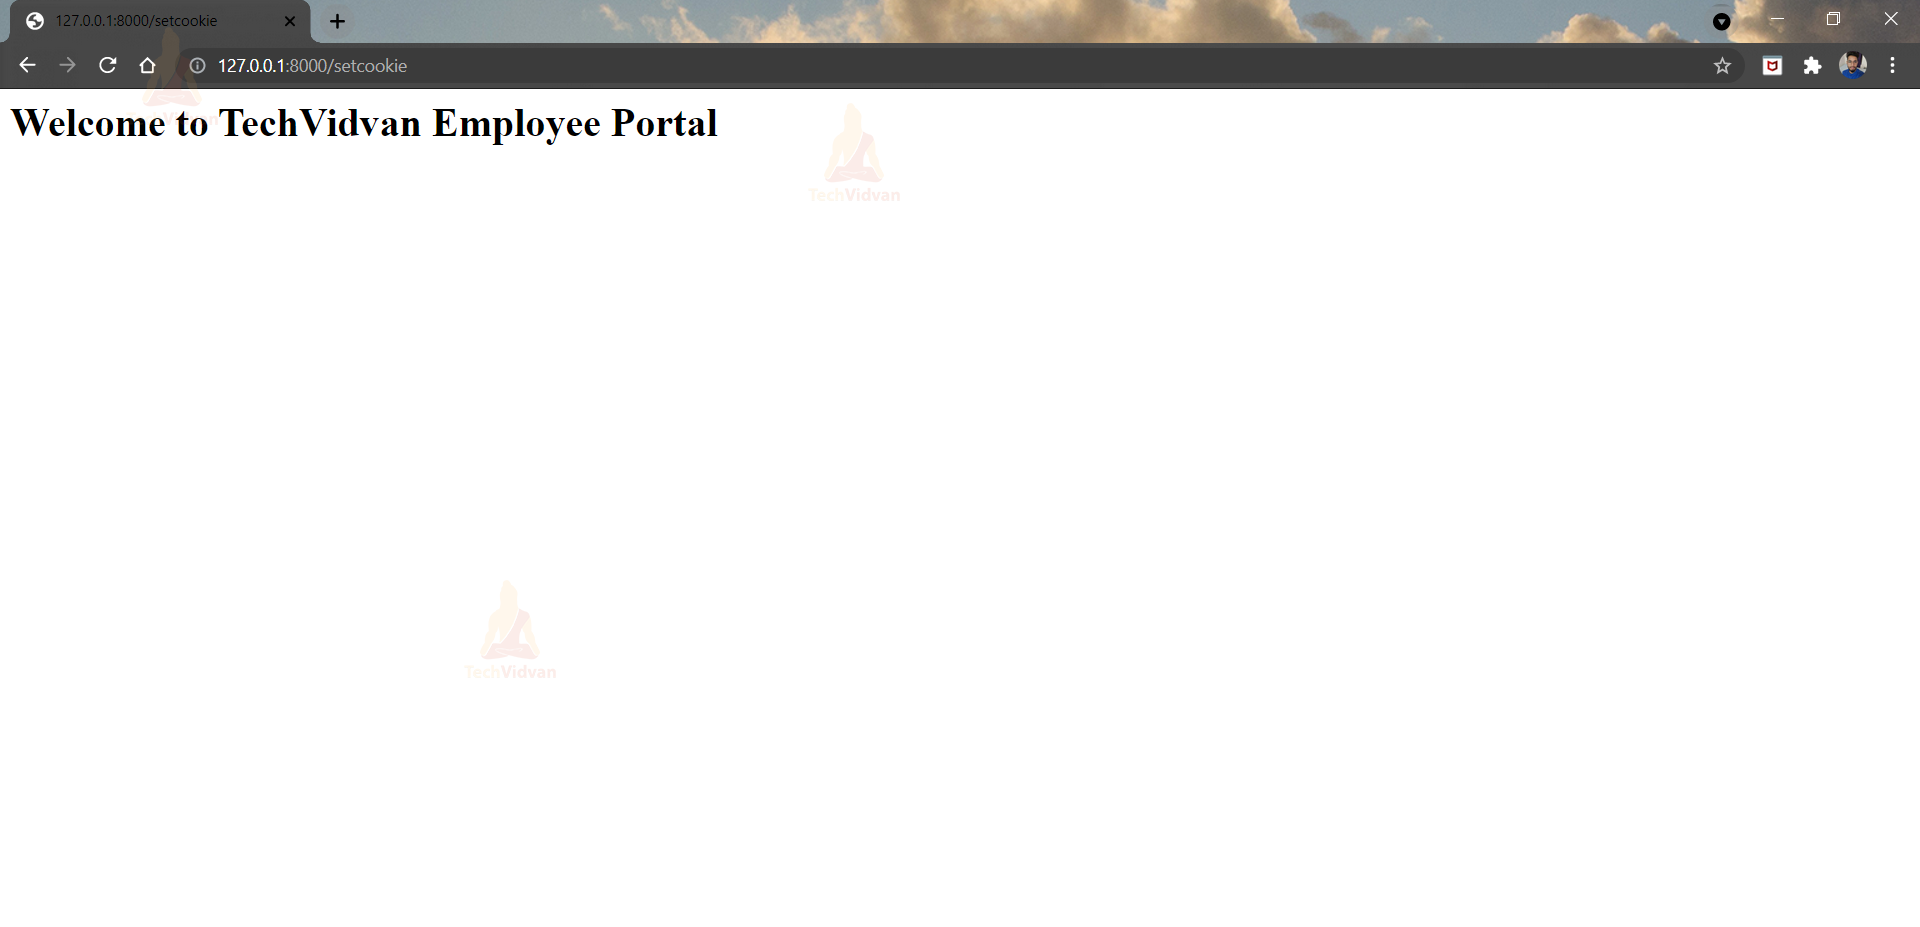
setcookie
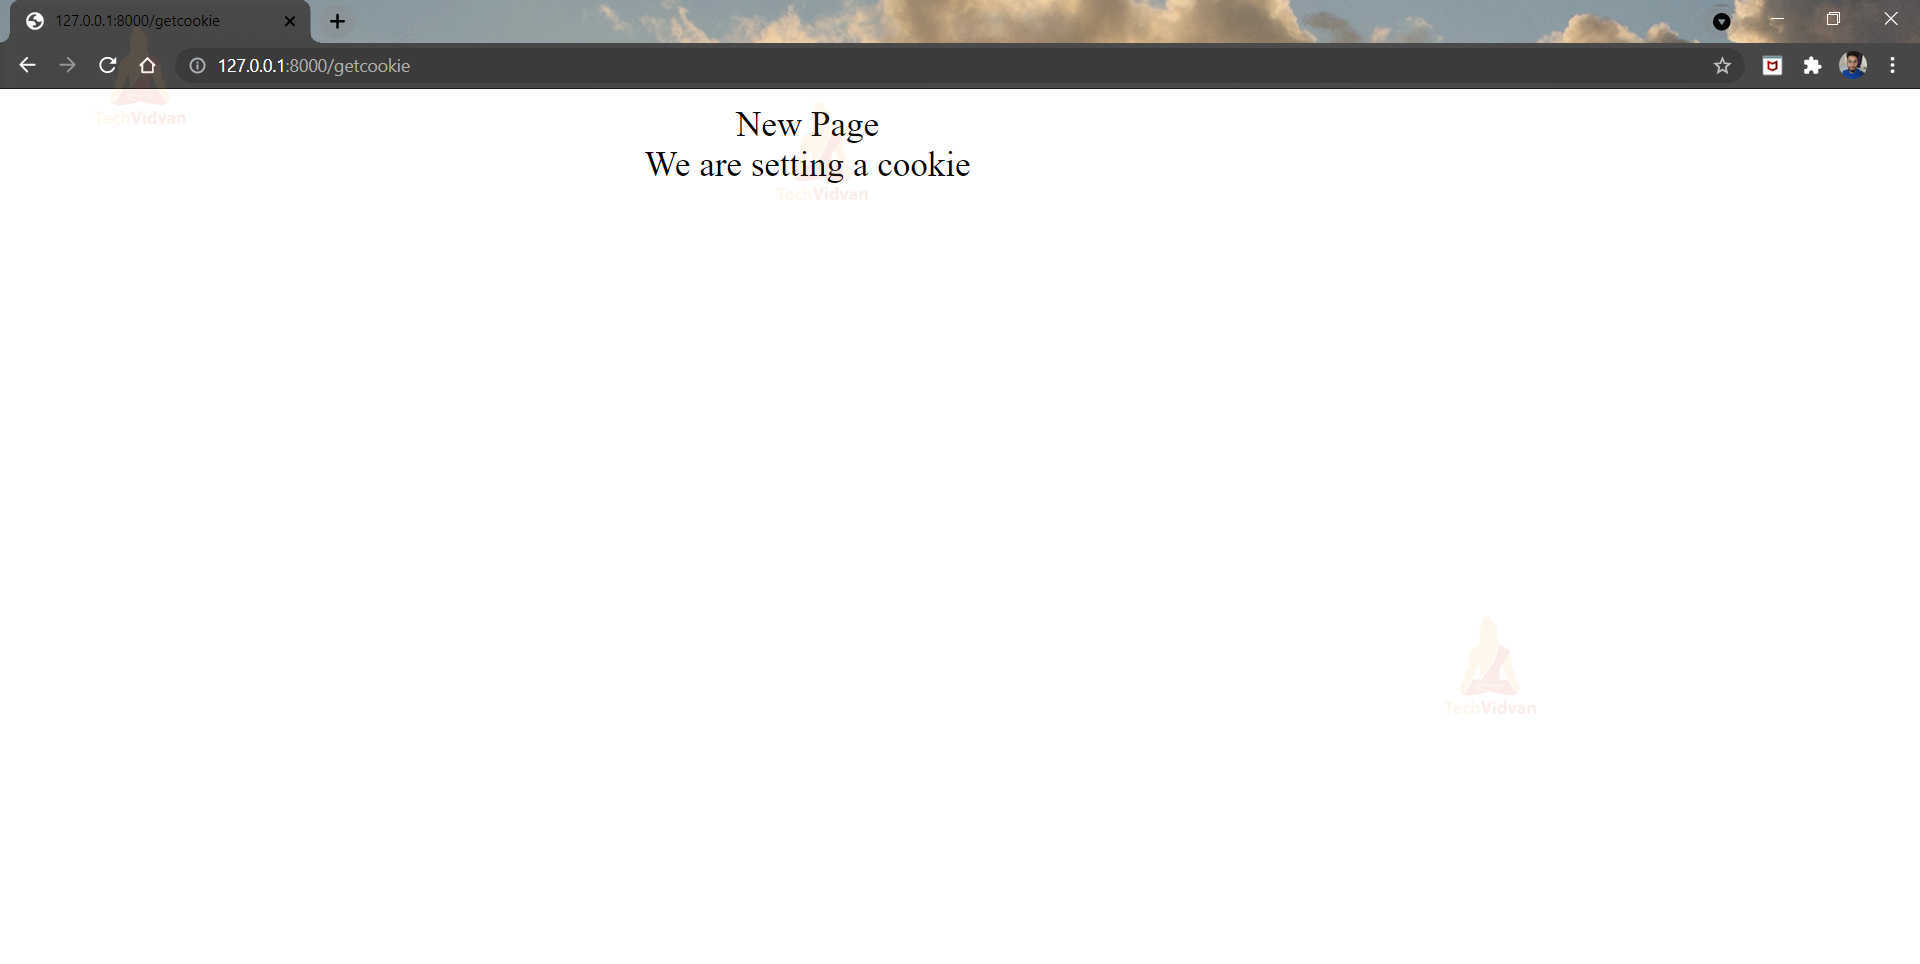
getcookie
Modify Cookie:
Let’s look at how we can modify a cookie now.
View.py
def updating_cookie(request):
    html = HttpResponse("We are updating  the cookie which is set before")
    html.set_cookie('TechVidvan','Updated Successfully')
    return html
This new function will modify the previous function. Hence, we will have a modified cookie.
Urls.py
Make the following changes to the urls.py file.
path('update', views.updating_cookie),
Run the server:
Visit all the pages in the following manner. You will come across these outputs.
1st output: /setcookie

2nd output: /getcookie

3rd output: /update

4th output: /getcookie

As you can see, the cookie’s value has been modified from the previously set value to the new value. This allows us to change or update the cookie value after it has been set.
Update Cookie:
Instead of using Httpresponse, we can use the redirect function to update a cookie. Yet, here we will use the set cookie function.
Let’s add a new function to it.
Views.py
Go on, make some changes again in the views.py file.
def updating_cookie1(request):
    html = redirect(setcookie)
    html.set_cookie('TechVidvan','This is your Updated Page')
    return html
Run the server:
Execute the command and visit the below pages.
1st output: /getcookie

2nd output: /setcookie

3rd output: /getcookie

Delete Cookie in Django
Let’s take a look at how to delete a cookie that has already been placed.
We already know that the set cookie function has an optional parameter called max_age that, by default, deletes the cookie session. We added the following code to the above code to make it a lot easier.
Views.py
Again, we need to work with the views.py file.
def deleting_cookie(request):
    html = HttpResponse("Deleting the cookie which is set")
    html.delete_cookie('TechVidvan','Updated Successfully')
    return html
Urls.py
And some changes in the urls.py file too.
path('delete',views.deleting_cookie),
Run the server:
1st output: /getcookie

2nd output: /delete

3rd output: /getcookie
A different approach is also available:
- For handling the end of a cookie session, we also use an attribute called “expires.”
- You can experiment with the expire function and know how to delete a cookie.
- The following format is put in use to write the code:
response.cookies[‘cookie_name’][‘expires’] = datetime.today() + timedelta(days= number_of_days)
- So that’s another way to delete the cookie.
Read Cookies from request
Every time a client requests something from a website, cookies are sent to that website. As a result, the server obtains a cookie with each request. Django makes retrieving data from a cookie very simple.
1. Using request.COOKIES[]
This is what we discussed above.
2. Using request.COOKIES.get()
Django additionally includes a way for retrieving the cookie’s desired value. Using the get method on the request object, you may directly get that value.
The following is the syntax we’ll use:
COOKIES.get(‘cookie_name’, ‘value’)
Let’s make a few adjustments to our earlier example.

We’ll need to redirect(), so import it now.
Code for setcookie:
def setcookie(request):
    html = HttpResponse("<h1>Welcome to TechVidvan Employee Portal</h1>")
    if request.COOKIES.get('visits'):
        html.set_cookie('TechVidvan', 'Welcome Back')
        value = int(request.COOKIES.get('visits'))
        html.set_cookie('visits', value + 1)
    else:
        value = 1
        text = "Welcome for the first time"
        html.set_cookie('visits', value)
        html.set_cookie('TechVidvan', text)
    return html
This code will determine whether the request contains cookies and then set the cookies accordingly.
We’ll make use of the COOKIES.get().
Make the necessary changes to our showcookie now ()
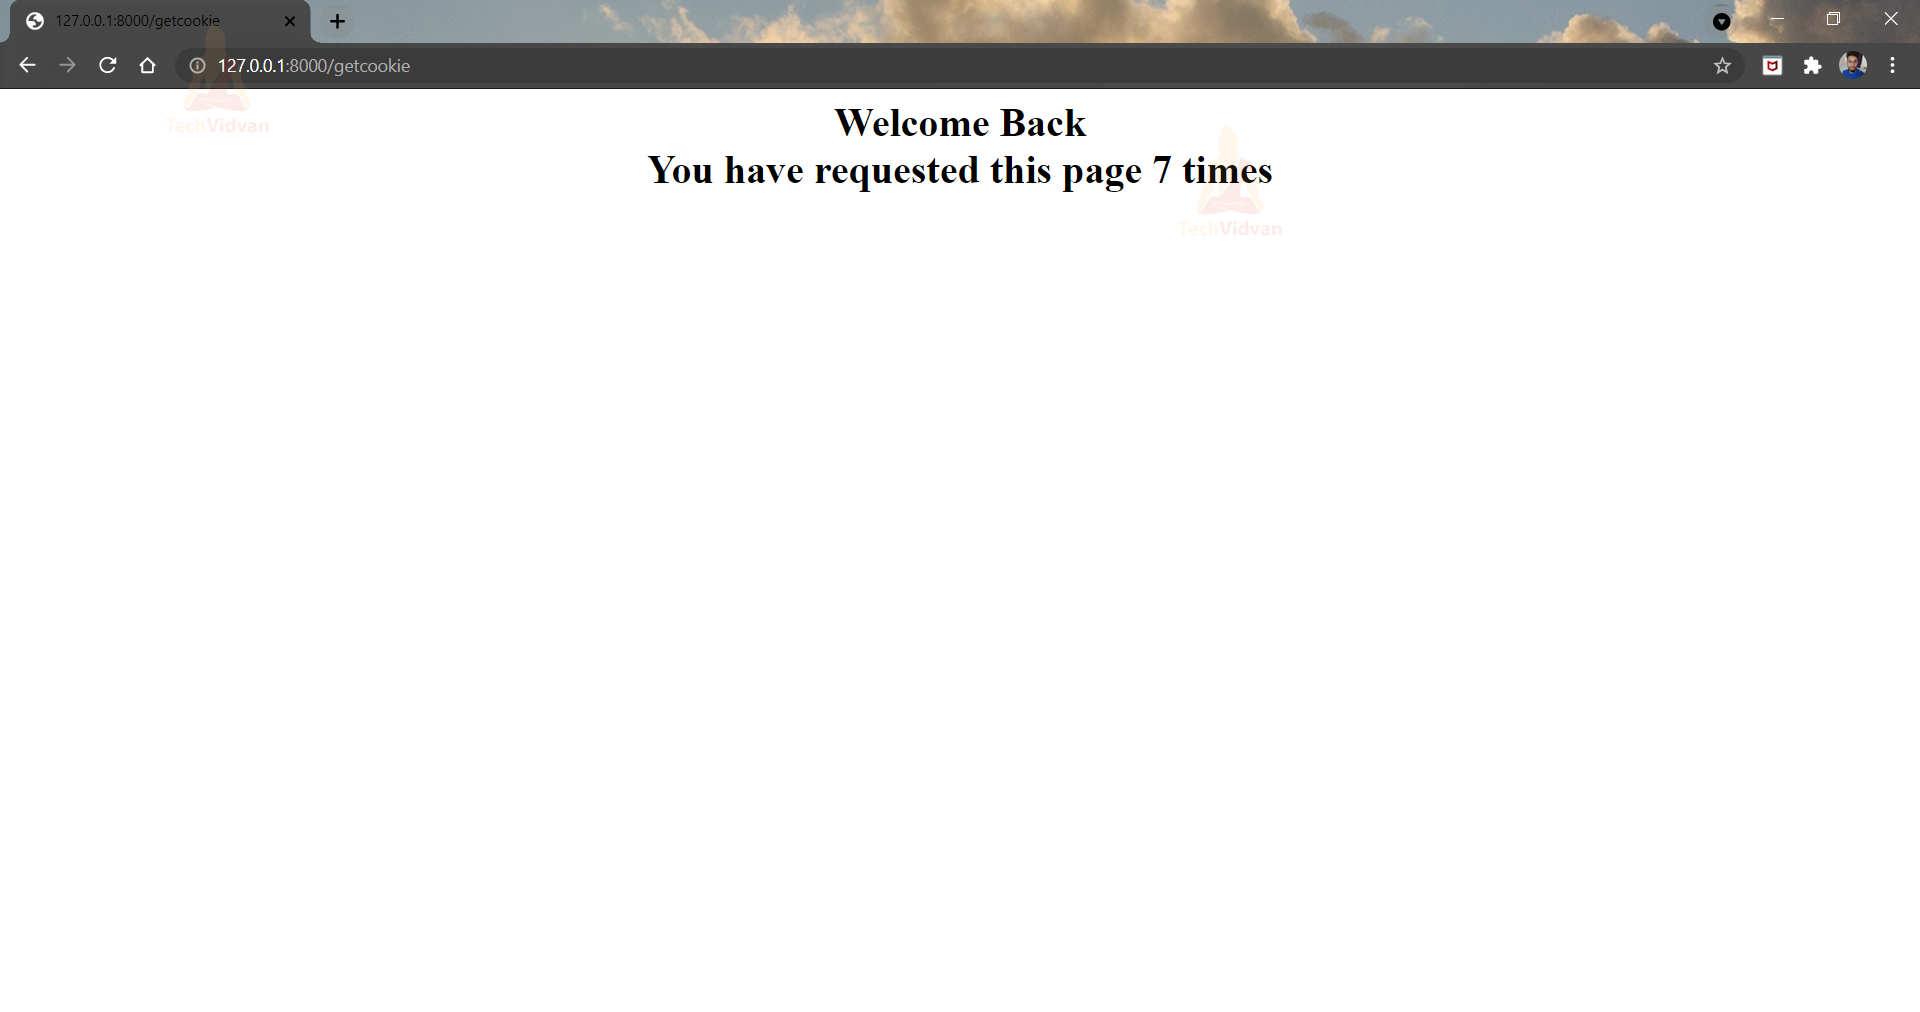
Code for showcookie:
def showcookie(request):
    if request.COOKIES.get('visits') is not None:
        value = request.COOKIES.get('visits')
        text = request.COOKIES.get('TechVidvan')
        html = HttpResponse("<center><h1>{0}<br>You have requested this page {1} times</h1></center>".format(text, value))
        html.set_cookie('visits', int(value) + 1)
        return html
    else:
        return redirect('/setcookie')
This code will check for cookies, and then we’ll be able to run it.
Simply launch your server and type getcookie/ into the address bar.
You should get something like this as a result. The code then checks whether the cookie has a value and, if it doesn’t, redirects you to the setcookie function.
In the URL bar, look for getcookie/ once more.
Django Cookie Enable and Disable
The settings python file determines which cookies are enabled and disabled. The settings file contains session variables that can handle session cookies. Cookies are enabled and disabled manually by setting, updating, and deleting cookies. There are additional session-level cookies that can be set to true if necessary.
By default, they are set to FALSE. These session cookies are secure since they are encrypted. We can use session cookies and update the number of counts whenever a specific website is visited by employing various techniques.
When you’re using cookies, keep this in mind.
- Cookies should never be used to store sensitive information such as passwords. Because cookies store data in plain text, anyone can access and modify them.
- Most browsers won’t let you save more than 4KB of data in a cookie (i.e. 4KB for each cookie). Furthermore, most browsers will only accept up to 30 cookies per website.
- Remember that once the cookie is placed in the browser, it will be sent to the server with each request. Let’s imagine we’ve put 20 cookies, each 4KB in size, for a total of 80KB. That means that every time the browser sends a request to the server, it must send an additional 80KB of data!
- The cookies can be deleted at any time by the user. Users can even set their browsers to refuse to accept cookies altogether.
Issues with Django Cookie Security
- Client Information can be misused.
- Users can be tracked.
- The client may delete the cookies.
Limitation of Django Cookies
- Each cookie can hold up to 4096 bytes of data.
- Both the browser and the server can store cookies.
Summary
Guys, that’s it!! This concludes our discussion on Django cookies and how to include them in your projects.
We learned what a cookie is and how to deal with them in this article. We created, updated, and finally deleted the cookies. These cookies can help in the quick retrieval of data since when a user asks for information, the system does not always go to the database, search for it, and then return the results to the user. However, we must be cautious about hackers when dealing with these cookies.
You’re now ready to make your cookies and use them the way you like.
Do you have any questions or suggestions? Please feel free to share your thoughts below in the comments area.