Python Django Project – Blog Web Application
In this article, we will learn to build an interesting project using django – Blog Web Application
Django is an open source python web framework that follows model view template (MVT) architectural pattern. It is easy to learn and use, so you can easily understand this project even if you have no or less knowledge of django.
A blog application will have the following fields:
- Title of the blog
- Description
- Image
- Likes
Features:
- See existing blogs.
- Create new blogs.
- Like existing blogs.
Project Prerequisites
We will use the following technologies / tools:
- Python
- HTML
- CSS
- Bootstrap
- Django framework
To install the framework, you can type the following on your cmd/terminal.
pip install Django
Download Django Blog Application Source Code
Please download the source code of blog web application in django: Blog Application Project Code
Steps to Create Blog Application in Python Django
1. Writing Models
We will need only one model class that will store blogs and the fields are already discussed above and here is the code.
Code:
from django.db import models

# Create your models here.
class Blogs(models.Model):
    Image=models.ImageField(null=True,blank=True)
    title=models.CharField(max_length=200,null=True)
    description=models.CharField(max_length=1200,null=True)
    date=models.DateField(auto_now_add=True,null=True)
    likes=models.IntegerField(default=0)
2. forms.py
Code:
from .models import *
from django import forms
from django.forms import ModelForm

class blogForm(ModelForm):
    class Meta:
        model=Blogs
        fields='__all__'
        exclude=['likes','date']
Here, we are using Django’s ModelForm class to make an create blog form which will have all the fields except likes and date because date will be automatically filled and the creator shouldn’t have access to modify likes.3. admin.py
To access models on admin site we need to first make a super user, so type the following command in cmd
Py manage.py createsuperuser
After creating super user we need to register the model in admin.py
Code:
from django.contrib import admin
from .models import *

# Register your models here.
admin.site.register(Blogs)
4. settings.py
Code:
STATIC_URL = '/static/'
MEDIA_URL = '/images/'
MEDIA_ROOT = os.path.join(BASE_DIR,'media/')
We will use ImageField to upload images, so we need to configure MEDIA_URL in setting.py.
So for configuring please append above code in settings.py and then follow the next step.
5. urls.py
Code:
from django.contrib import admin
from django.urls import path
from django.conf import settings
from django.conf.urls.static import static
from blog.views import *

urlpatterns = [
    path('admin/', admin.site.urls),
    path('', home,name='home'),
    path('add/',addBlog,name='addblog'),
    path('like/<str:pk>',likeBlog,name='like'),
]+ static(settings.MEDIA_URL ,document_root=settings.MEDIA_ROOT)
6. views.py :
Code:
from django.shortcuts import render,redirect
from .models import *
from .forms import *

# Create your views here.
def home(request):
    AllBlogs=Blogs.objects.all()
    context={
        'blogs':AllBlogs,
    }
    print(AllBlogs)
    return render(request,'home.html',context)

def addBlog(request):
    form=blogForm()
    if request.method=='POST':
        form=blogForm(request.POST,request.FILES)
        if form.is_valid():
            form.save()
            return redirect('/')
    context={
        'form':form,
    }
    return render(request,'addblog.html',context)

def likeBlog(request,pk):
    blog=Blogs.objects.get(id=pk)
    blog.likes+=1
    blog.save()
    return redirect('/')
We have created three functions in this file:
1.Home: It stores all the blog objects in ‘AllBlogs’ and pass them to home.html
Home.html:
{% load static %}
<html>
    <head>
        <title>
            Techvidvan Blog Application
        </title>
        <link rel="stylesheet" href="https://stackpath.bootstrapcdn.com/bootstrap/4.5.0/css/bootstrap.min.css" integrity="sha384-9aIt2nRpC12Uk9gS9baDl411NQApFmC26EwAOH8WgZl5MYYxFfc+NcPb1dKGj7Sk" crossorigin="anonymous">
        <link rel="stylesheet" href=" {% static '/css/main.css' %} ">
    </head>
    <body>
        {% block content %}
        <div class="container">
            <a href="{% url 'addblog' %}" class='btn btn-primary'>Add Blog</a>
            <br>
        {%for b in blogs %}
        <br>
            <div class="row">
                <div class="col-md-3">
                    <div class="card" style="width: 22rem;">
                        <img src="{{b.Image.url}}" class="card-img-top" alt="">
                        <div class="card-body">
                        <h5 class="card-title">{{b.title}}</h5>
                        <p class="card-text">{{b.description}}</p>
                        <form action='{%  url 'like' b.id %}' method=POST>
                            {% csrf_token %}
                            <button type='submit' class='btn btn-success'>{{b.likes}} Like</button>
                        </form>
                        <p class="card-text">Published on: {{b.date}}</p>
                        </div>
                    </div>
                </div>
            </div>
        <br>
        {% endfor %}
        </div>
        {% endblock %}
    </body>
    <script>

    </script>
In this file, We are displaying all the stored blogs in separate bootstrap cards.
We have used bootstap for all the designing part so there is no CSS code required.
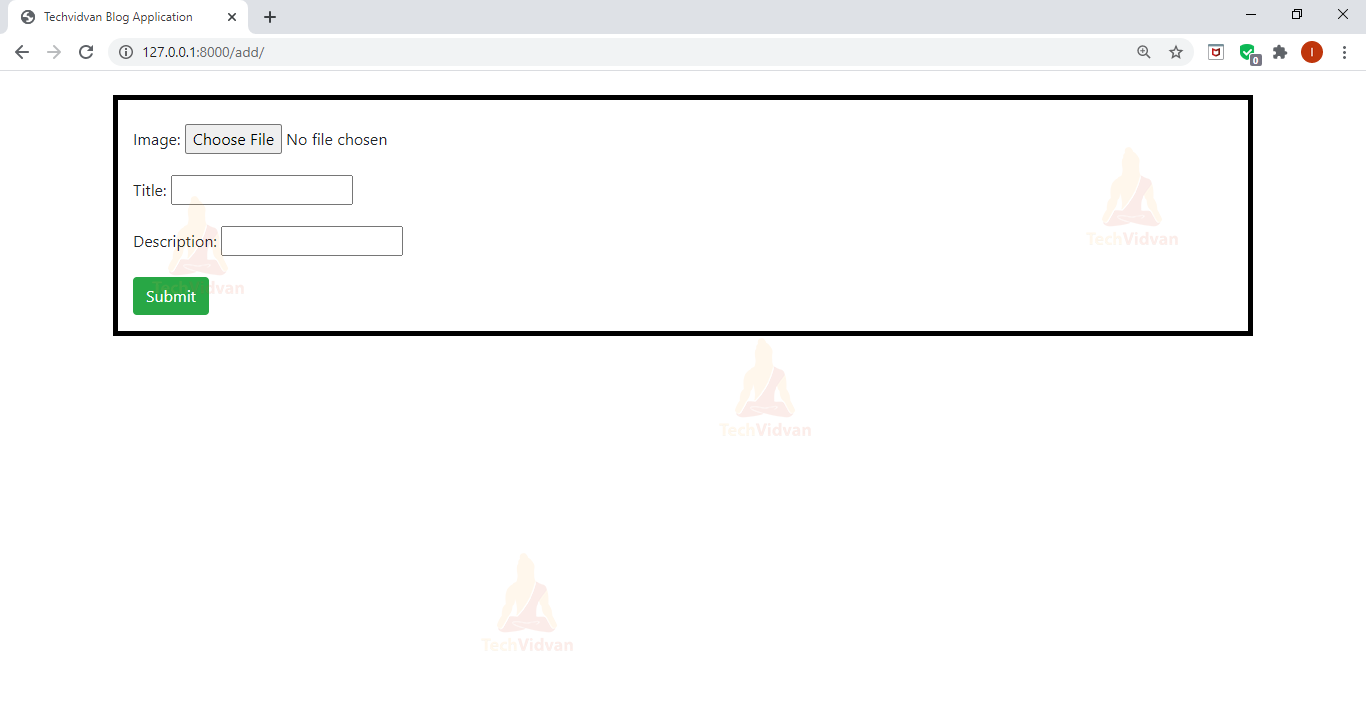
2. addBlog: It uses blogForm to create a form and pass it to addblog.html and addblog.html again calls this function with POST request, then it checks the validation of the form and after checking it saves it in the database abd redirects to the home page.
AddBlog.html
{% extends 'home.html' %}
{% load static %}
{% block content %}
<br>
<div class="container " style="border:5px solid black">
    <br>
    <form action="" method='POST' enctype="multipart/form-data">
        {% csrf_token %}
        {{form.as_p}}
        <input class="btn btn-success" type="submit" name="Add">
    </form>
</div>
{% endblock %}
Django Blog Web Application Output
Summary
We have successfully developed Django Blog Web Application. This project will surely help you to become a pro in Python Django


