Django Static Files and Templates
Static assets such as CSS, Javascript, and fonts must be managed in any modern web application. Django gives us a lot of freedom and flexibility when it comes to organising and providing static files in various settings.
In this tutorial, we’ll look at how to set up static files in Django.
What are Static Files?
Additional files, such as images, CSS, and JavaScript, are usually required for websites to render complete web pages in a browser. We may work around this in small projects by providing absolute paths to our resources or adding inline CSS and JavaScript functions in the HTML files. This is not just against best coding standards, but it also becomes difficult when working on larger projects, especially those involving numerous applications.
Static files are the files required for interactive user experience, document presentation, and functional web pages in Django. Static files are the names given to these types of files.
We’ll look at how to deal with multiple sets of static files provided by each application to enhance the appearance and feel of a website in this article. Every website or application will require a specific number of static files to operate effectively, which we will discuss here.
Static File versus Media File
Django distinguishes between two sorts of files that your website serves unchanged;
Static Files:
You, the website developer, give “static” files. These could include JavaScript, CSS files and HTML files for static pages, image and font files to improve the look of your pages, sample files for users to download, and so on. Static files are frequently kept with your code in version control systems.
Media Files:
Files provided by site users uploaded to and maintained by the site, and maybe offered to site users later are referred to as “media” files. These can include things like uploaded photos, avatars, user files, and so on. These files aren’t created until users begin to use the site.
Django’s storage class has two jobs.
In Django storage classes, both types of files are controlled by the code. You can modify how files are managed in Django by configuring it to use different storage classes.
The functions of the storage class:
- Accept a name and a blob of data from Django and save it under that name.
- Accept the name of a previously stored blob of data and return a URL that, when clicked, returns that blob of data.
The beauty of this method is that we don’t even have to store our static and media content as files. Everything will function as long as the storage class is capable of those two tasks.
Static Files Have the Following Advantages:
They are static. Until the developer replaces them with a new one, these files remain unchanged. As a result, the server just gets them from the disc, which takes very little time.
Static files are easy to cache because they don’t change and the server doesn’t modify them. As a result, the performance is quicker.
Static files save energy because they are only retrieved from the disc when they are needed. They don’t require any processing, which reduces processing overhead and speeds up page response.
What is Template Inheritance, and how does it work?
Static files boost the website’s performance. It is one of Django’s core features, and it helps developers work more efficiently with the template inheritance approach.
The main idea is that we establish the common components of a webpage, such as navigation bars and the About section. All of these elements are made up of HTML with a few static files. Similar parts will be found on the majority of web pages.
The issue is that when there are a lot of web pages, changing them gets difficult. Let’s say we want to change the About section. The developer will then have to alter the code on each and every page. This will cause confusion and will surely end up in bugs.
Configuring Static Files in Django
Django gives you a lot of options when it comes to serving static files. We’ll go over how to use static files in both local development and production, which is a little more complicated. First and foremost, let’s set up the basic configuration.
Django’s “django.contrib.staticfiles” module collects static files from all of your applications (and any other locations you designate) into a single location that can be served in production.
In your settings.py file, “INSTALLED_APPS” should appear like this.
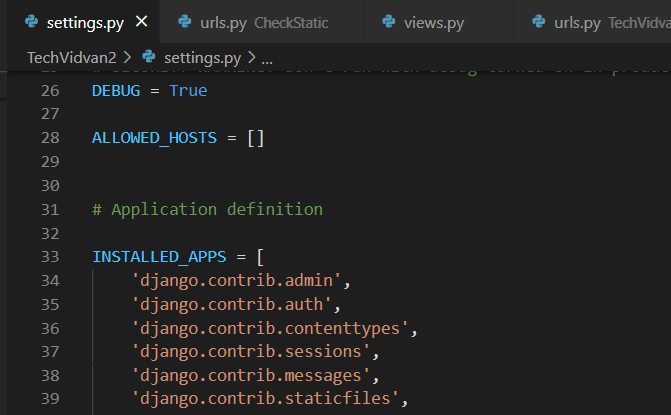
To begin, open the settings.py file and look for the STATIC_URL setting, which should look something like this.
STATIC_URL = '/static/'
This static URL, such as “http://127.0.0.1:8000/static/css/style.css” will be appended to the base URL for delivering static files in development. Essentially, consider this a reference to static files.
You can change it to whatever you like. Just remember to end it with the following slash ‘/’.
The STATICFILES_DIRS must be declared next.
STATICFILES_DIRS = [
 Path(BASE_DIR, 'CheckStatic/static/')
This tells Django where all of our project’s static files are. All static files should be kept in a top-level static directory.
Because STATICFILES_DIRS is a list, it’s possible to have more than one static directory.
The STATIC_ROOT variable must now be set.
STATIC_ROOT = Path(BASE_DIR, 'static')
The single root directory from which the Django application will serve static files in production is called STATIC_ROOT.
Typically, you’d want to serve static files from the /var/www/example.com directory during deployment.
The command “manage.py collectstatic” compiles all static files in the project and sends them into a single root directory titled STATIC_ROOT.
We’ve finished with the settings, so save and exit the file.
Configuration of Django Static (CSS, JavaScript, Images)
Apart from business logic and data handling, we must also handle and maintain static resources such as CSS, JavaScript, and pictures in a web application.
It is critical to manage these resources so that our application’s performance is not harmed.
Django handles it with ease and provides a handy way to access resources.
Before we begin further, let’s create a folder named “Static”. All images, JavaScript, and CSS files should be kept in the application’s static folder.
Example of Django Image Loading
Step 1: Create an image.html file
Create an “image.html” file under the template folder.
Copy the following code and paste it under “image.html”.
<!DOCTYPE html>
<html lang="en">
<head>
  <meta charset="UTF-8">
  <title>Index</title>
  {% load static %}
</head>
<body>
<img src="{% static '/wallpaper.jpg' %}" alt="My image" height="300px" width="700px"/>
</body>
</html>
Just remember, that the image you are using should be present at the correct location mentioned in the codes.
Step 2: Making changes in the Views.py file
Let’s define the function named “Image” that would return the “image.html” file.
Copy the following code under the view.py file.
def Image(request):
  return render(request,'image.html')
Step 3: Adding path into the Urls.py file
Now it’s time to add the path to your urls.py file.
path('image/', Image)
Use the python manage.py runserver command to start the server.
Then, using the localhost:8000/image URL, access the template, which will output the following to the browser.

Adding the concept of JavaScript:
To begin with the concept of JavaScript, firstly create a new “Scripts.html” file under the template folder.
Step 1: Creating Scripts.html file.
Once you create theScripts.html file, add the following code to it.
<!DOCTYPE html>
<html lang="en">
<head>
 <meta charset="UTF-8">
 <title>Index</title>
 {% load static %}
 <script src="{% static '/js/scripts.js' %}" type="text/javascript"></script>

</head>
<body>
 <p>TechVidvan</p>
 <form>
 <input type="button" value="click" onclick="msg()"/>
 </form>
</body>
Step 2: Creating the “scripts.js” file under the static folder.
Add the following code in the “scripts.js” file. This will help in taking the input from this file.
function msg()
{
alert("Hello, Welcome to TechVidvan");
}
Step 3: Defining the views.py file
Let’s again define the function named “Scripts” to return “Scripts.html”.
def Scripts(request):
 return render(request,'Scripts.html')
Step 4: Making changes in the urls.py file.
The next step is to add the path to the urls.py file.
path(scripts/', Scripts)
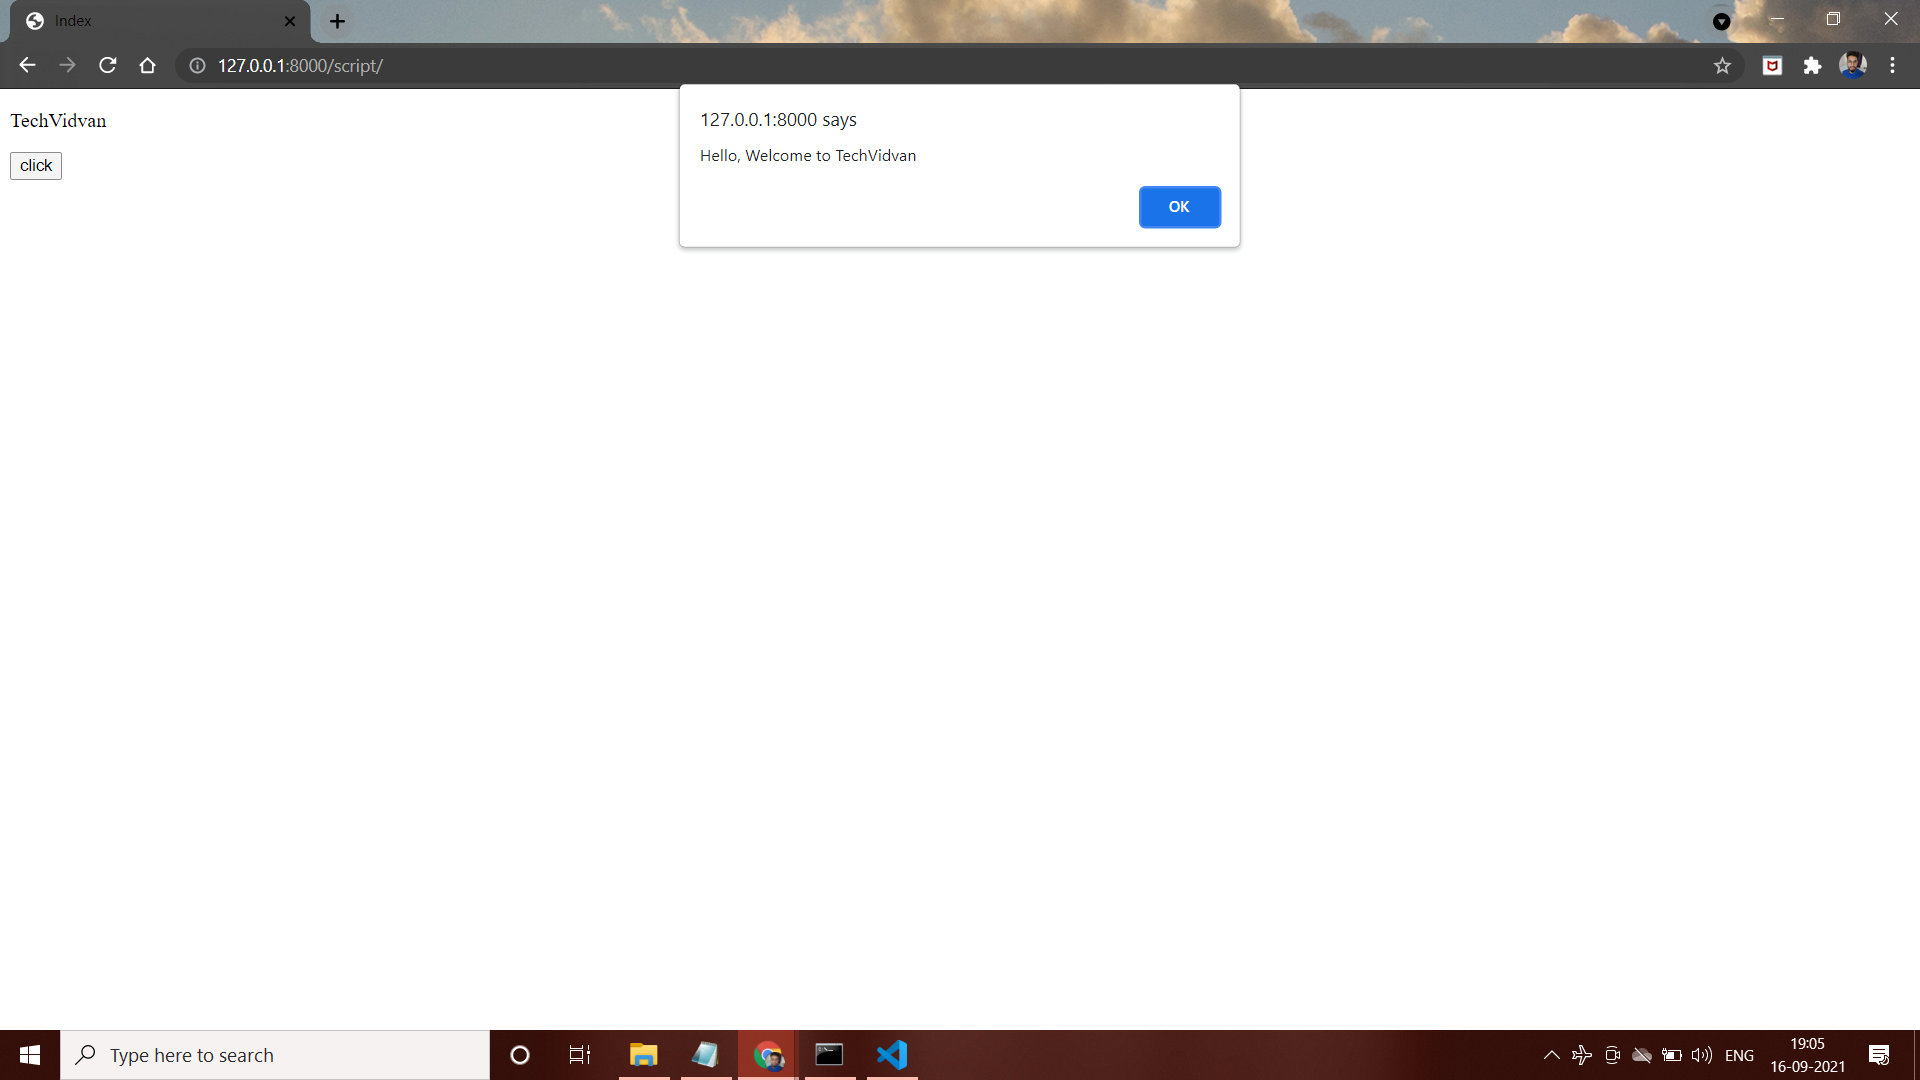
Start the server with the python manage.py runserver command.
Then, using the localhost:8000/scripts URL, go to the template, which will show up in the browser as follows.
Introducing the concept of CSS in Django
Step 1: Creating the css.html file is the first step.
Add the following code to the css.html file once it’s been created.
<!DOCTYPE html>
<html lang="en">
<head>
 <meta charset="UTF-8">
 <title>Index</title>
 {% load static %}
 <link href="{% static 'css/style.css' %}" rel="stylesheet">
</head>
<body>
<h1>Welcome to TechVidvan</h1>
</body>
</html>
Step 2: In the static folder, create the “style.css” file.
In the “style.css” file, paste the following code. This will help in the extraction of data from this file.
body {
background-color: powderblue;
}
h1 {
color: blue;
}
p {
color: red;
}
Step 3: Defining the views.py file as the third step
To return “css.html,” let’s define the function “CSS” once more.
def CSS(request):
return render(request,'css.html')
Step 4: Modifying urls.py
The path will be added to the urls.py file as the following step.
path('css/',CSS)
Using the python manage.py runserver command, restart the server.
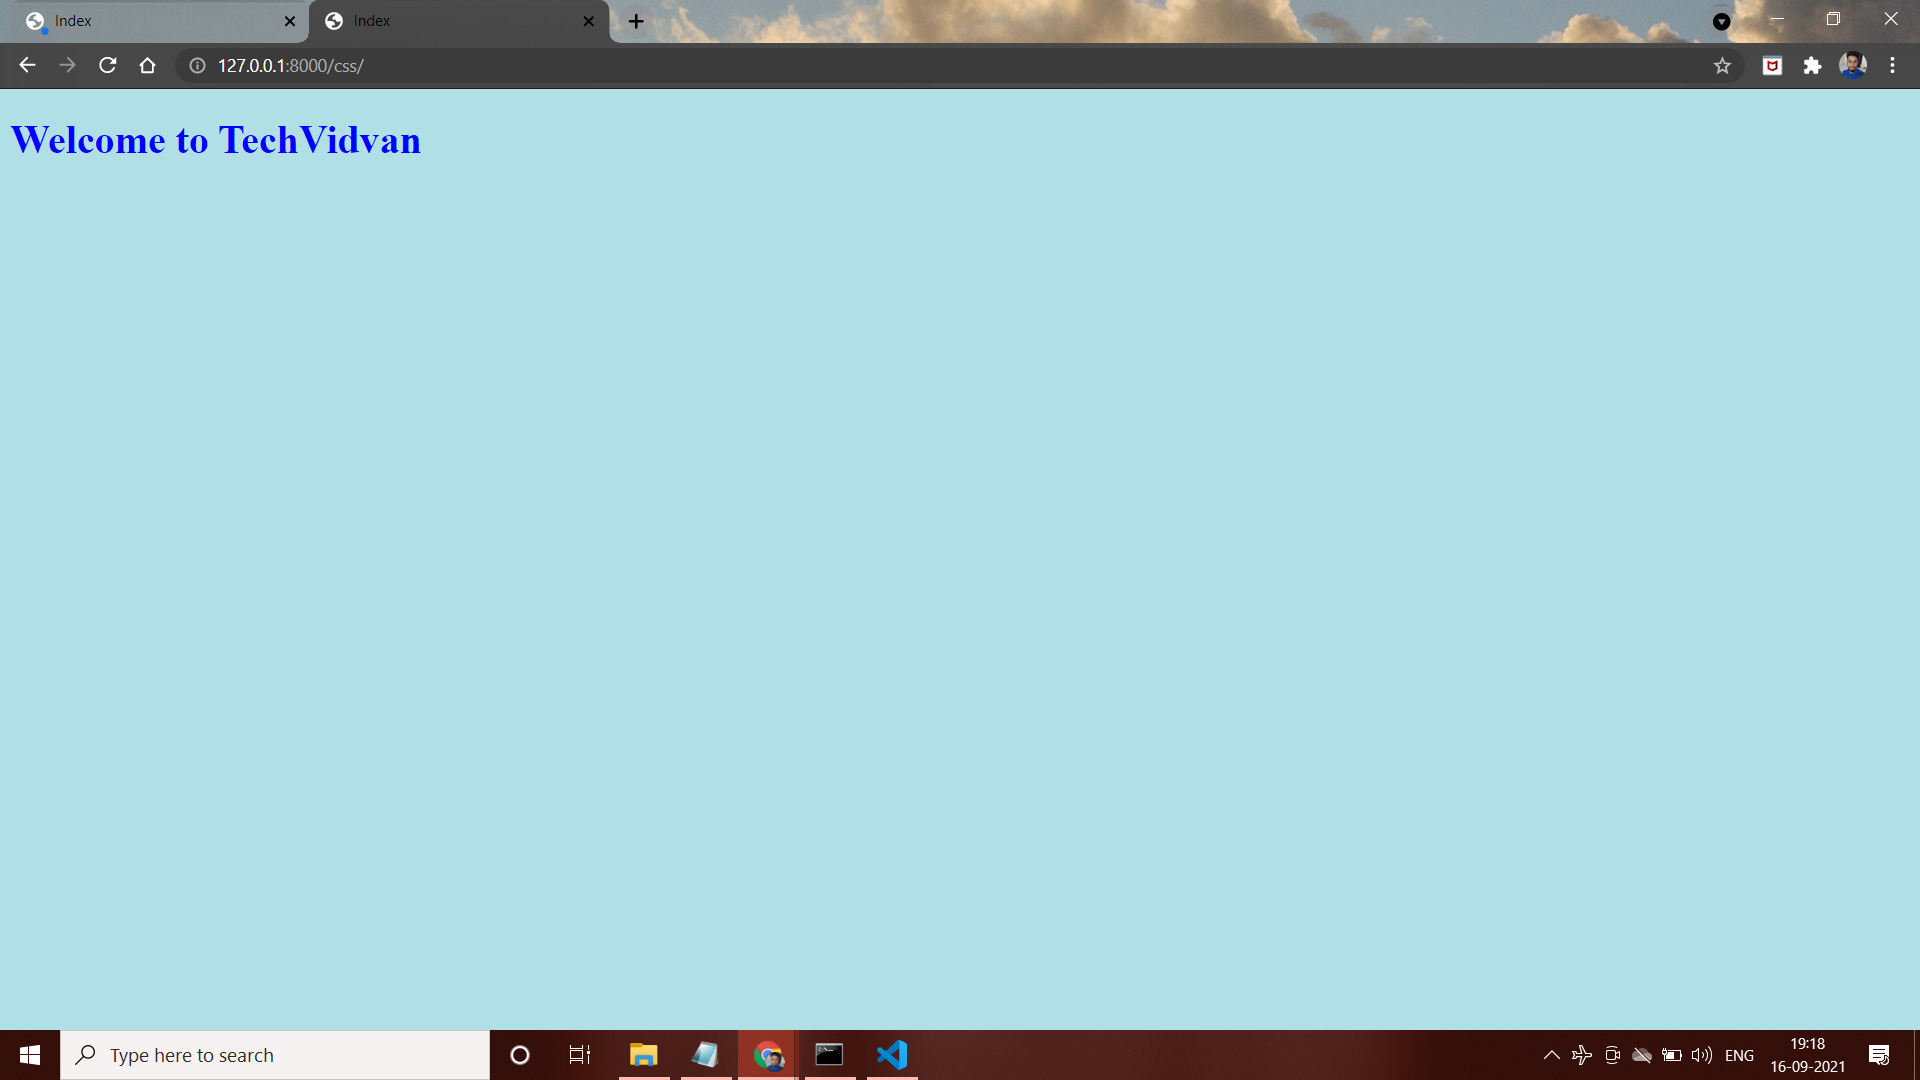
Then, using the localhost:8000/css URL, navigate to the template, which should look like this in the browser.
Developing a Project:
Now, let’s see a bigger picture. Wherein, all the above images, CSS and JavaScript concepts can be included. You have the free will to add all the above examples in this, but, I’ll build a simple webpage to make it easier at one go.
Let’s begin with activating the virtual environment.
Step 1: Activate the virtual environment.
Navigate to the location where you created the Virtual Environment setup.
Type the following command to activate your virtual environment:
(virtual-environment-name)\Scripts\activate.bat
Your virtual environment has been activated.
Step 2: Make a new Django application
Now we’ll make a new Django app. Go to the root folder after your virtual environment has been activated. Then, in a terminal or PowerShell window, run this command.
python manage.py startapp Home_page
All of the templates will be stored in this application. In the following portions of this article, we will practise using this programme.
Add this name to the list of INSTALLED_APPS. Don’t forget to put a comma in the end, if you want your application to run smoothly.
Step 3: Some View Functions Should Be Defined
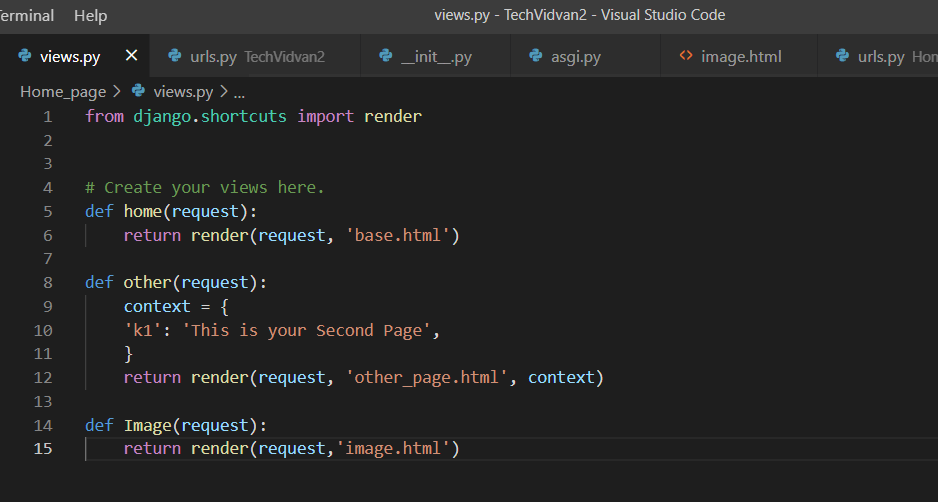
For this project, we’ll define some view functions. In your Home_page/views.py file, paste the following code.
from django.shortcuts import render

# Create your views here.

def home(request):
 return render(request, 'base.html')

def other(request):
 context = {
 'k1': 'This is your Second Page',
 }
 return render(request, 'other_page.html', context)
Step 4: Adding files in the Templates.
We can now create our templates. To begin, create a new folder “templates” under
the Home_page app and Create two subfiles, base.html and other_page.html, in that subdirectory.
Paste the following code to the newly created base.html file:
<!DOCTYPE html>
<html>
<head>
 <style>
   body{
    background-color:olivedrab;
   }
 </style>

 <title>HomePage</title>
</head>
<body>
 center>
 <h1>TechVidvan Employee Portal</h1>
{% block body_block %}
<h1>This is the Home Page</h1>
<h2> Search for next Page/ </h2>

{% endblock %}
</center>
</body>
</html>
Now, let’s make an addition to the other_page.html:
{% extends "base.html" %}
{% block body_block %}
  <h2> search for / </h2>
  <h1>{{ context.k1 }}</h1>
{% endblock %}
Step 5: Making changes with the Urls.py file.
We need to link our views and urls together. As a result, make changes to the urls file.
Under the Home_page directory, create a new urls.py file.
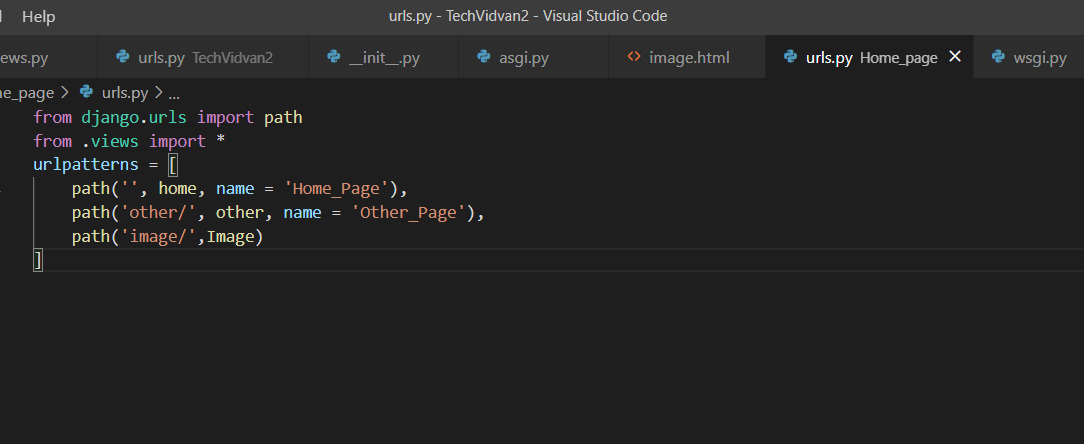
Paste this into the Home_page/urls.py file.
from django.urls import path
from .views import *
urlpatterns =
[
  path('', home, name = 'Home_Page'),
  path('other/', other, name = 'Other_Page'),
]
In your urls.py file in the root directory, add the following code.
from django.contrib import admin
from django.urls import path
from django.urls.conf import include, include

urlpatterns = [
  path('admin/', admin.site.urls),
  path('', include('Home_page.urls')),

]
Step 6: Run the Server
Finally, we’ll put our functions to the test. Check to see if you’ve completed the entire tutorial.
Let’s run our favourite command in the terminal, “python manage.py runserver”.
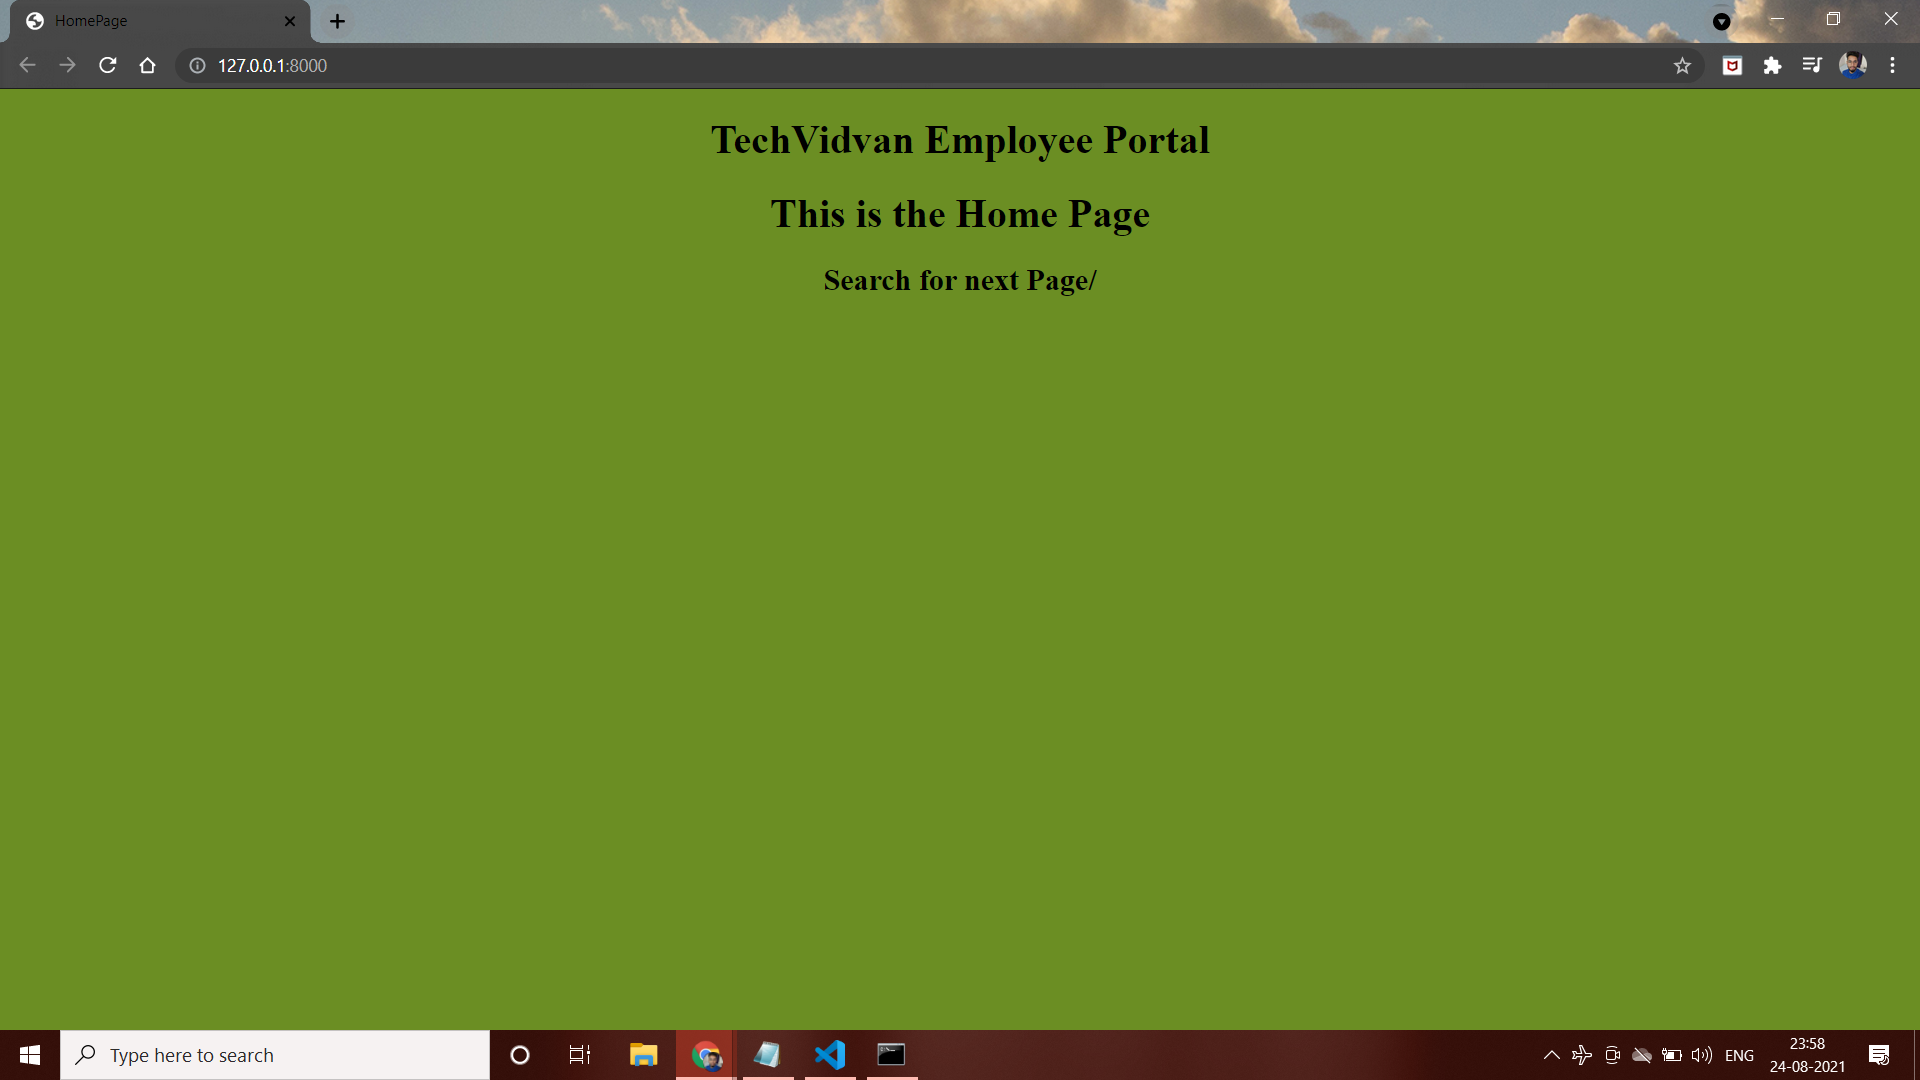
Enter – localhost:8000 in the URL bar.
This is how the output will look like.
Search for the “/other” in the searching bar:
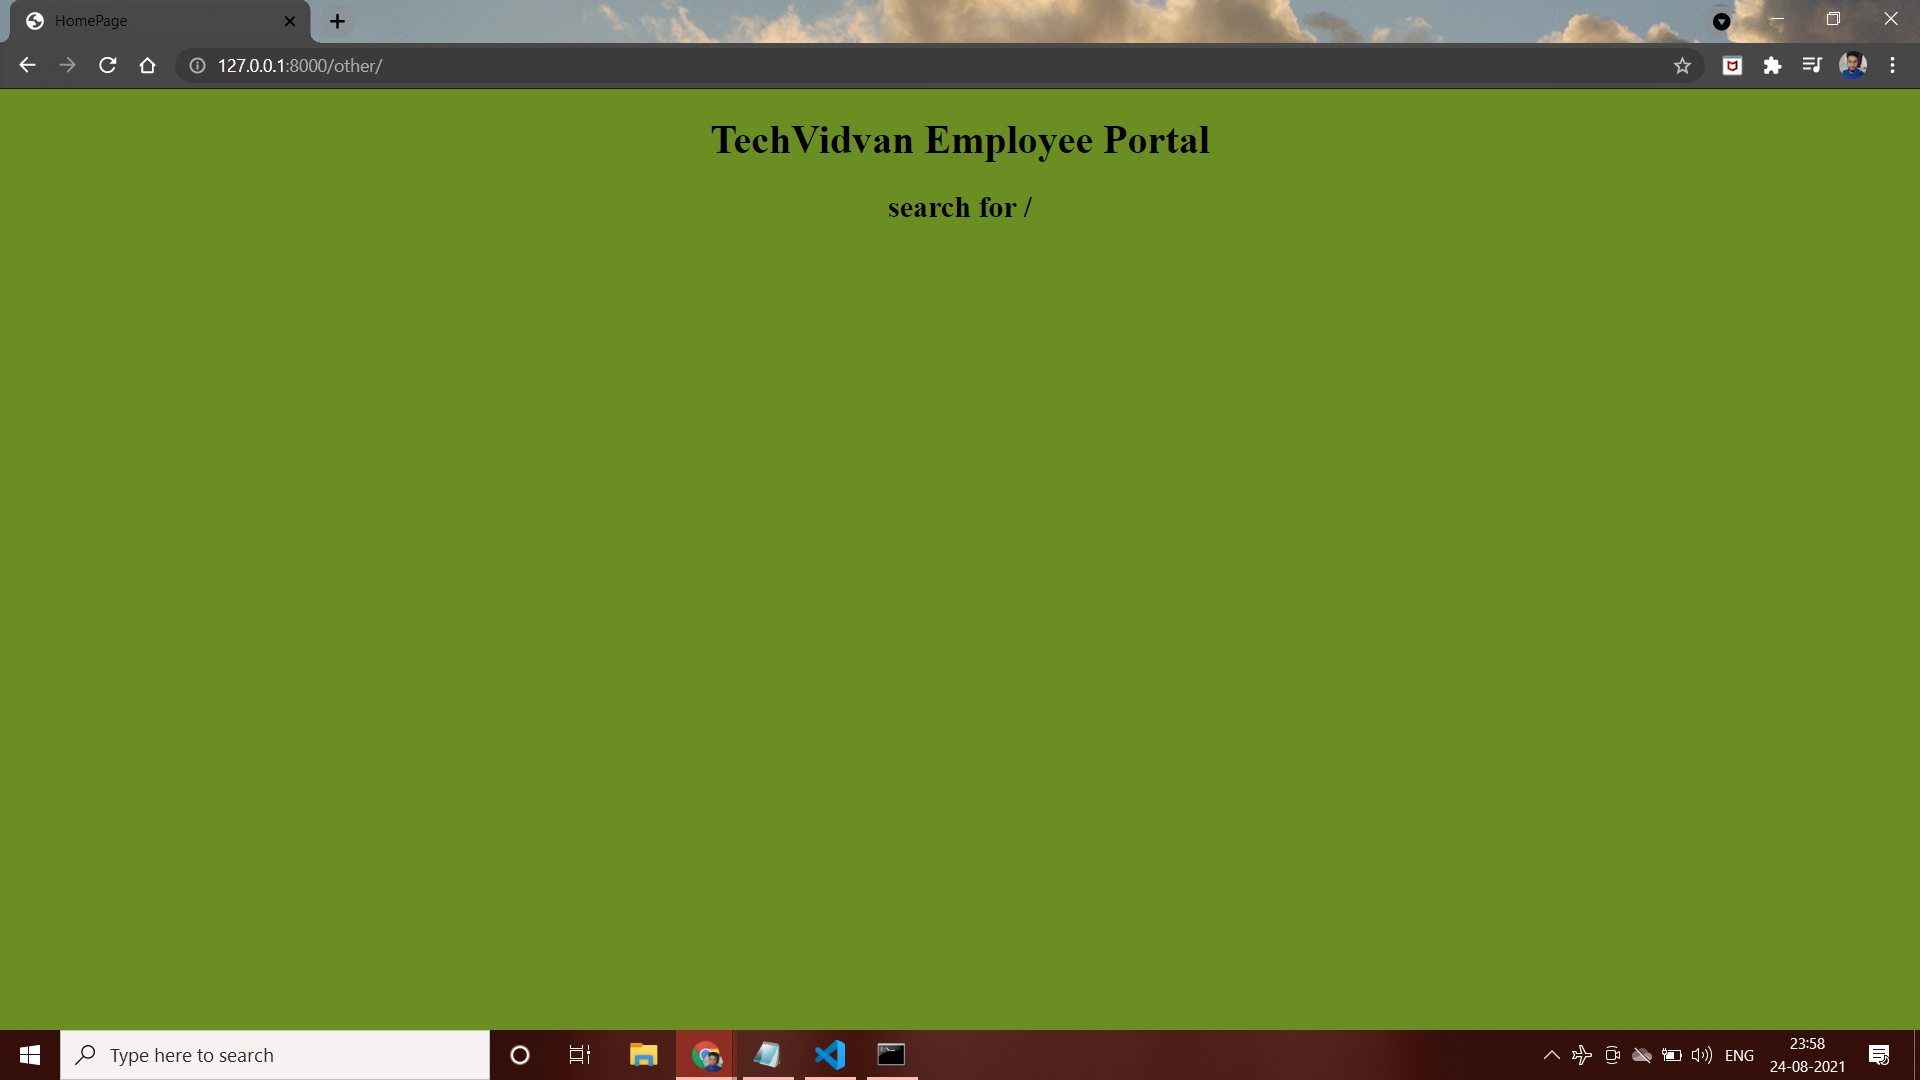
You have done a great job!
This is how template inheritance is done.
What are Django Template Filters, and how do you use them?
Template filters are indicated by the pipe character. A Python DateTime object is present in this time dictionary. If we just need to print the year, we use a date filter. All other portions of the time will be removed except the year.
To make data received from the server more attractive, template filters are employed. There are numerous filters available to modify the look and feel of the data. We can even construct our own data filters from scratch. It’s quite a big concept that deserves its own article. We’ll go through it in more detail in future articles.
Django Performance Optimization:
Optimization is another important thing to care about in the staticfiles. I didn’t include it in the configuration section because it’s not a necessary setting for static file functionality, but we’re ready for it now that we’re thinking about optimization.
The STATICFILES_STORAGE setting is the final one we’ll look at. This option governs how Django stores and accesses static files. STATICFILES_STORAGE may need to be changed to increase the application’s efficiency. File caching will provide the most benefit from this configuration.
In an ideal environment, your application would only need to send a static file to a user’s browser exactly once. If an application wanted to utilise the file again in that case, the browser would use the previously received cached file. Static files change with time, which poses a problem for us.
For example, suppose you altered “style.css” to change the application’s styling. You wouldn’t want a browser to revert to an older version since it lacks the most recent and significant modifications you made.
So the solution that we can implement are as follows:
- We simply need to deploy a single app when using WhiteNoise, and Python will handle all of the processing. WhiteNoise is a fantastic application. This complete caching scheme can be handled by this library.
- With pip install WhiteNoise, you may set up WhiteNoise. Then, modify the MIDDLEWARE list and STATICFILES_STORAGE options.
- Python is not the Fastest programming language available, despite it having many advantages. It will take longer for Python to serve your static requests than it will for other methods. Furthermore, rather than focusing entirely on dynamic requests, your web server’s processes must spend time providing static assets.
Using A Reverse Proxy To Boost Performance
Using another application as a reverse proxy is an alternative to using Django to deliver static files. This setup is more complicated, but if you require it, it can provide superior performance. A reverse proxy is software that lies between your Django application server and your users.
When you set up a reverse proxy, you may tell it to do a variety of tasks, including handling URL routes that lead to your site’s domain. Outside of Django, STATIC_ROOT and collectstatic come in handy. You can use a reverse proxy to serve all of the files collected by Django under
STATIC_ROOT.
The procedure is basically as follows:
1. To place files in STATIC_ROOT, run collectstatic.
2. Configure the reverse proxy to handle any URL pattern that begins with STATIC_URL (for example, /static/) and forward those requests to the STATIC_ROOT directory structure.
3. Anything that doesn’t appear to be a static file (like /accounts/login/) gets delegated to the Django app server.
The reverse proxy handles such requests before they reach the app server, so the Django app never has to worry about providing static files in this scenario. The reverse proxy is the source of the performance gain. Because they are built to handle a specific problem: routing requests, most reverse proxies are written in high-performance languages like C. This flow allows Django to handle dynamic requests while preventing slower Python processes from doing the tasks that reverse proxies are designed to do.
Performance and Availability
Your website’s performance and dependability are influenced by a variety of factors. Here are a few key ones to keep in mind while dealing with static and media files, regardless of how you manage them.
Cost
It costs money to serve files to a user for two reasons: storage and bandwidth. You must pay the hosting company not only to store the data for you, but also to serve the files. The cost of bandwidth is far higher than the cost of storage (for example, AWS S3 charges 2.3 cents per gigabyte for storage versus 9 cents per gigabyte of data transfer out to the Internet at the time of writing).
Compression and Transcoding
The majority of issues created by static assets such as photographs and movies are due to their size. Naturally, developers respond by attempting to reduce the size of these files. There are two types of lossless and lossy compression and transcoding techniques that can be used to accomplish this.
Lossless compression preserves the original quality of the assets while providing only minor file size reductions. Lossy compression, also known as transcoding into a lossy format, allows for substantially reduced file sizes at the cost of some of the original artifact’s quality. Transcoding video to a lower bitrate is an example of this.
Minification
While JavaScript and CSS files are often smaller than images, they can often be compressed to fit into fewer bytes. Minification is the term for this procedure. The encoding of the files isn’t changed by minification; they’re still text, and a minified file must still be valid code for its original language.
The original extensions of minified files are preserved. The major thing that gets deleted in a minified file is unwanted whitespace, and nearly all whitespace in CSS and JavaScript is useless from the computer’s perspective. Variable names are shortened and comments are removed as part of the minification process.
Global Availability
Just as sending a letter to your neighbour takes less time than sending it across the country, transmitting data locally takes less time than transmitting data globally. A CDN increases page performance in several ways, including replicating assets to servers all around the world. When a client makes a request, the static assets are sent from the nearest server (commonly referred to as an edge node), reducing load times.
Caching of the client side
What could be better than a static file on a server close to your user? Having the static file already on the device of your user! Caching is the practice of temporarily saving the results of computations or requests so that they can be accessed more rapidly in the future. A CSS stylesheet can be cached in the client’s browser the first time they load a page from your site, much like it can be cached in a CDN around the world.
Summary
To create a great and effective website, every website developer requires static files. Django not only makes it simple to configure static files, but it also gives you a lot of freedom when it comes to deploying them.
We examined numerous methods for integrating static files in a Django web application in both local development and production in this article.
We looked at the following:
- How to configure static files in Django
- Adding Images, CSS and JavaScripts.
- The way to work with static files
- How to handle static files when deploying your site to the internet
- Template inheritance
- Django Performance Optimization
- Challenges faced
We have covered quite a lot in this article that you might find confusing at once. If you come across any such doubts, feel free to clarify them in the comment section