Django Form Handling and Validation
In this article, we will learn about forms in Django, form handling and validation. Let’s start!!!
What are forms in Django?
Forms are a set of HTML elements used to collect user input. In simple terms, a form is used whenever you give any kind of instruction or input on the internet.
The input elements are included within <form></form> tags. An HTML form is a name given to all of them. All of the websites make use of forms, each with its own set of use-cases.
Forms can be found at the following places daily:
1. Conduct a Google search
2. Facebook status updates and stories
3. Registrations over the internet
4. Online Quizzes, Tests, and Other Resources
There are too many examples to list. Forms have evolved into an important component of online applications.
They help us organise and send user data over HTTP. They give the user a variety of input choices.
Prerequisites
All prior tutorial topics, including Django Installation and Architecture.
What exactly is HTTP?
HyperText Transfer Protocol is an acronym for HTTP. It is a set of rules that all computers on a network must follow to send data to other computers. This protocol is the foundation for all client/server designs.
The transmission of data through HTTP can be done in a variety of ways. GET and POST are the two most popular techniques among all of them.
1. GET
This approach is used for user data that does not affect the website’s state. GET is a URL technique for sending form data.
The best example is Google search. This method is used to send data that does not modify the database.
When we wish to bookmark pages, the GET technique comes in useful because our search query is included in the URL.
The size of the URL usually limits the GET technique. It is not possible to send anything larger than the URL size. We can only send text requests as a result of this.
2. POST
This approach alters the state of the webpage and is used for sensitive data. POST is an HTTP method for sending data as a collective structure. It is delivered by the client as a separate request, similar to cookies, alongside URL requests.
POST data isn’t the same as a cookie; it’s a separate kind of resource. As this data is not in a URL, this approach is more secure than fetching. The POST method also has a larger size limit, making it possible to upload files.
On all registration forms and quizzes, this procedure is employed.
HTML Forms
Two key attributes are there for the tag:
-
Action
This attribute indicates where the form data should be submitted. It can be left empty, but the data will be delivered to the same URL in that case. This attribute simply instructs the form to send the data to the appropriate location.
-
Method
The procedure for submitting data is specified by this attribute. For the same, there are POST and GET values. This attribute should be written in all caps.
Form Handling Process in Django
Django form handling employs all of the mechanisms we’ve seen in earlier tutorials (to display data about our models.): the view receives a request, do any necessary actions (reading data from the models is included), and then produces and returns an HTML page (We pass a context containing the data to be shown into a template.)
What complicates things further is that the server must be able to process data provided by the user and redisplay the page if any problems occur.
This is a flowchart that displays how Django handles the form requests.

According to this flowchart, form handling in django does the following:
1. The default form will be displayed the first time the user requests it.
- If you’re establishing a new record, the form may include blank fields or be pre-populated with default values. As it is not coupled with any user-entered data at this point, the form is referred to as unbound (though it may have initial values).
2. Data from a submitted request is received and bound to the form.
- When we bind data to a form, we ensure that the user-entered data and any mistakes are available when the form is re-displayed.
3. Validate and clean the data.
- Cleaning the data (for example, deleting invalid characters that may send harmful stuff to the server) and turning it to Python types that are consistent.
- Validation ensures that the values are appropriate for the field (e.g., within the correct date range, not too short or lengthy, and so on).
4. Re-display the form with any user populated values and error warnings for the problem fields if any of the input is incorrect.
5. Perform required steps if all data is valid.
6. Redirect the user to another page after all actions are completed.
Django offers a variety of tools and approaches to aid you in completing the tasks listed above. The Form class is the most basic, as it simplifies both form HTML production and data cleaning and validation. We’ll go through how forms function in the next part, using the example of a website that allows librarians to renew books.
Django Form Class
The Django form class is used to implement forms. Django comes with several built-in jobs, including:
1. Rendering Form
2. Form Validation
There are many others, but we’ll focus on these two in our guide because they’re the most important.
Django forms and Django models are extremely similar classes. With forms and associated validations, the Django form class offers a lot of capability. There are numerous built-in forms in this class that you may use to render HTML directly.
Let’s follow the below steps to create a Registration form.
Step 1: Enable the virtual environment.
You first have to activate your virtual environment before beginning an application.
Open your PowerShell or Command prompt to enter the following code.
Follow the code to do the same.
(Virtual Environment name)\Scripts\activate.bat
The above code will activate the environment. The next step is to go to the directory you are planning to work with.
Step 2: Create a new application.
In our existing Django Project, we will develop a new application for this course.
Enter the following in the command line:
python manage.py startapp (Application_name)
In our case, the application name is “RegistrationForm”.
Now install it in the settings.py file.
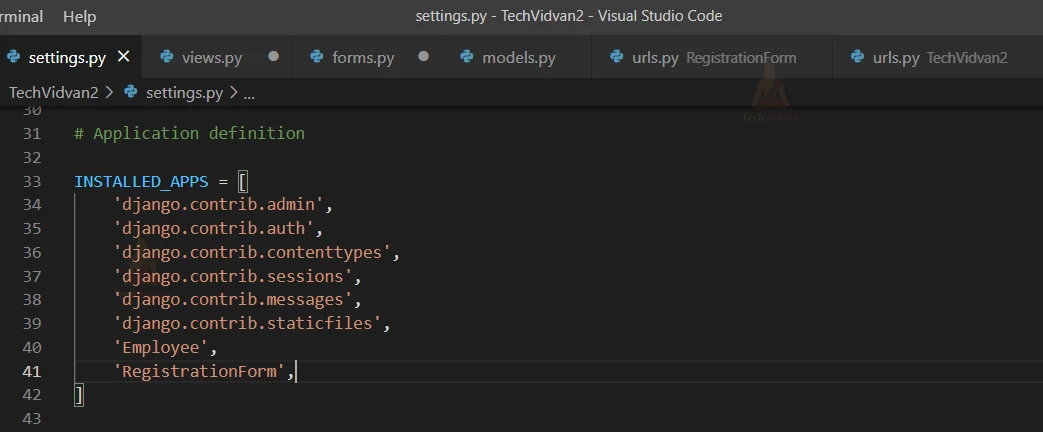
With this, our application is successfully installed.
Step 3: Working with Forms.py file.
Create a new python file called forms.py within your RegistrationForm app. You are going to define your form in this file.
Right-click on the application name. Then click on the “New File” option and name it ‘forms.py’.
Enter the following code in the newly created forms.py file:
from django import forms

class SignUp(forms.Form):

employee_name = forms.CharField(help_text = 'Employee_name', )
email = forms.EmailField(help_text = 'Enter your Email Id', )
Emp_Department = forms.CharField(help_text = 'Enter your Department', )
Emp_contact = forms.IntegerField()
password = forms.CharField(widget = forms.PasswordInput)
re_password = forms.CharField(help_text = 'Re-enter your password', widget = forms.PasswordInput)
Understanding the code:
In line 1, we have imported a Django form class here. We then constructed the SignUp class. It is a subcategory of form. We defined several fields just like models. It’s nearly the same as the model class.
The fields will turn into various forms of input when we make them available in the HTML file. Django has several fields for various input elements.
- BooleanField
- CharField
- ChoiceField
- DateField
- DecimalFieldSome common properties can be used to manipulate these fields. These qualities are useful for data validation. They offer a more restricted data selection.
Required:
It takes true or false values. It is true, by default, and makes fill in the field mandatory. You can declare it false if you wish to change it.
Initial:
The fields have an initial value such as text boxes that are filled with a certain generic text. This is the first argument.
Help-text:
We apply help-text if you want a few instructions to show that field. This attribute shows the string in which you pass.
Disabled:
We do not want the user to modify particular fields many times. We use the disabled parameter in that instance. It takes Boolean python, true or false. This staticizes the field, i.e. the user cannot alter it.
Widget:
Some fields can replicate different types of input. Like CharField for all text inputs, including passwords. With built-in widgets like PasswordInput, we can use a widget attribute.
Validators:
When we use data validations, this attribute is useful. The validators are built-in and we can also construct custom validators.
Label:
You don’t have to specify it if you want to see the name of your field as the form. The label is shown as a string before the related form field.
There are many more such attributes, but here the most common ones are discussed.
The table below lists the most commonly used fields and their descriptions.
| Name | Class | HTML input | Value |
| BooleanField | BooleanField(**kwargs) | CheckboxInput | False |
| CharField | CharField(**kwargs) | TextInput | Whatever you specified for
’empty_value.’ |
| DateTimeField | DateTimeField(**kwargs) | DateTimeInput | None |
| DateField | DateField(**kwargs) | DateInput | None |
| ChoiceField | ChoiceField(**kwargs) | Select | “ “ (empty string). |
| EmailField | EmailField(**kwargs) | EmailInput | “ “ (empty string). |
| ImageField | ImageField(**kwargs) | ClearableFileInput | None |
| DecimalField | DecimalField(**kwargs) | NumberInput | None |
| FileField | FileField(**kwargs) | ClearableFileInput | None |
Step 4: Working with views.py file:
We must now deal with views.py. When passed to HTML, the form will be automatically rendered.
Add this code in your views.py:
from django.shortcuts import render
from . import forms


def EmpRegForm(request):

form = forms.SignUp()

if request.method == 'POST':
form = forms.SignUp(request.POST)
html = 'You have already filled the form'

else:
html = 'Welcome to the Signup form'
return render(request, 'signup.html', {'html': html, 'form': form})
The Code: An Overview:
We declared forms in the above view function the same way we declared models. A new instance of the form class is created. Then we examined which method is being used to receive our form, whether it is the POST method or another.
This is a critical situation. It will determine whether the user is filling out the form for the first time or has previously completed one. We receive a GET request when a user requests a form for the first time, but a POST request is sent after the user submits data in the form. As a result, we will send the appropriate response.
Step 5: Configuration of the URL
Now we must create a new file in the “RegistrationForm” directory with the name urls.py.
Add the following code to the urls.py file:
from django.urls import path
from .views import *

urlpatterns = [

path('', EmpRegForm, name = 'registration form'),

]
Then, in your main urls-config file, make the necessary changes.
Add this to your urlpatterns list:
from django.contrib import admin
from django.urls import path
from RegistrationForm import views


urlpatterns = [

path('admin/', admin.site.urls),

path('Registration', views.EmpRegForm),
]
Step 6: HTML template creation:
Now we can start rendering our forms. Make a new folder called templates in your “RegistrationForm” directory. Make a new file called signup.html in that folder.
In signup.html, paste the following code:
<!DOCTYPE html>
<html>
<head>
<style>
body{
background-color:olivedrab;
}
</style>
<title>TechVidvan Employee Portal</title>
</head>
<body>
<pre><center>
<h1>Employee Registration Form</h1>
<h3>TechVidvan Employee Portal</h3>
<h2>{{ html }}</h2>
<form action = '' method="post">
<!-- Very Important csrf Token -->
{% csrf_token %}
<table>
{{ form.as_table }}
</table>
<input type="submit" name="register">
</form>
</center></pre>
</body>
</html>
What does the code say?
We have a general HTML file here. The primary difference begins with the <form> tags. The form tag has two attributes: the action, which is blank, indicating that the page’s view function will handle all the answers, and the method, which we have set as a post. If an error occurs, use an uppercase POST value.
Then we used the letter {%csrf_token%}. This is the first time we’ve used any of Django’s security features.
Cross-site Request Forgery, or CSRF, is a type of security vulnerability to websites that collect data. Django includes built-in support for this by requiring the use of this token.
Bots can fill out your website forms if you don’t have a CSRF token. Your web data, on the other hand, may end up on other websites.
Using a CSRF token avoids this. This field contains a value that is created at random by your server and must match that value when the form is submitted. Other servers will reject that value as well. As a result, web data remains where it belongs.
Following that, we used tags. We declared {{form.as_table}} inside of that. This is how Django handles form templating. More possibilities are available if we declare this as a paragraph.
After that, we created a submit button. Our form will be sent after you click this button.
Now enter the following code in the terminal to run the server:
python manage.py runserver
The final output will look like this:

Validation of Django Forms:
Validation of form data is referred to as form validation. When working with model forms, form validation is essential. We’re converting our form data to Python data types when we validate it. After that, we’ll be able to store them in the database.
This validation is put in use because it adds a layer of security to our database, ensuring that unethical data cannot harm it.
NOTE:
Several JavaScript Validation methods are easier to use, however, they are not recommended because JavaScript is a client-side scripting language. The data will not be validated if the client browser does not support JavaScript. It also causes significant issues for developers.
As a result, server-side data validation is always required. On the client-side, however, JavaScript validation is possible.
Form validation follows the below mentioned ways:
1. Validation for a Particular Field:
This method is put in use when we wish to validate specific fields. At this stage, we must abide by Django rules to declare our methods and other items.
Add the following lines of code to our forms.py file:
#Validation

def clean_It(self):

password = self.cleaned_data['password']

if len(password) < 6:
raise forms.ValidationError("Increase the length of the password")
return password
Syntax:
clean_fieldname()
There are a few points to remember:
- Then we used self.cleaned_data[‘field_name’]
This is likewise a field-specific term. This list contains the data from the form that has been cleaned. The data that has been cleaned is now in Python data-type format. It enables us to use Python functions on data stored in a variable.
- Following that, we applied some constraints. What’s more significant is that we made an error. It is possible to customise the error messages.
ValidationErrors are Django’s built-in methods and subclasses. They’re also employed in models.
- This function should always return the data on which it is operated, regardless of whether the data is changing or not. That data may or may not be altered.
The user can use the following code, however, it is not recommended for professional use. This solution necessitates a lot more code, which goes against Django’s principles. Alternatives exist that are far more efficient.
This will be the result.
2. Using the is_valid() method:
When you need to validate whole form data, you can use is_valid(). Python-data types will be checked throughout this validation. The result of this method is True or False (Python Data Types).
To demonstrate this, let’s modify our view function a little.
def EmpRegForm(request):

form = forms.SignUp()

if request.method == 'POST':
form = forms.SignUp(request.POST)
html = 'You have already filled the form'

if form.is_valid():
html = html + "The Form is Valid"

else:
html = 'Welcome to the Signup Form'
return render(request, 'signup.html', {'html': html, 'form': form})
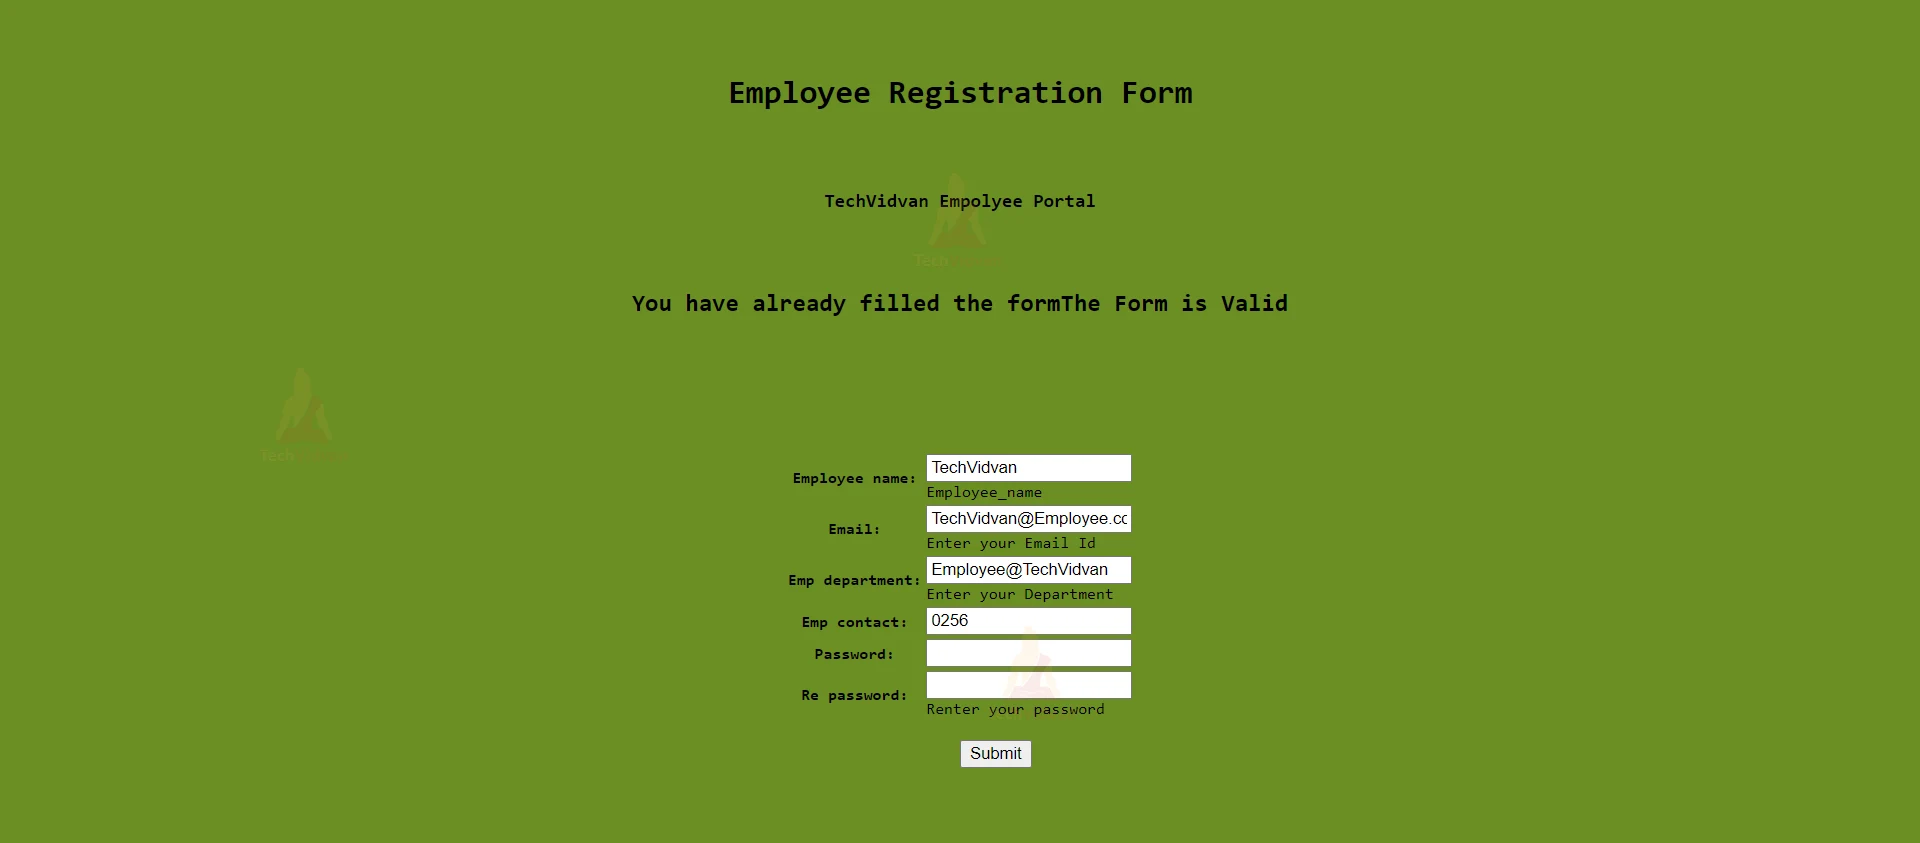
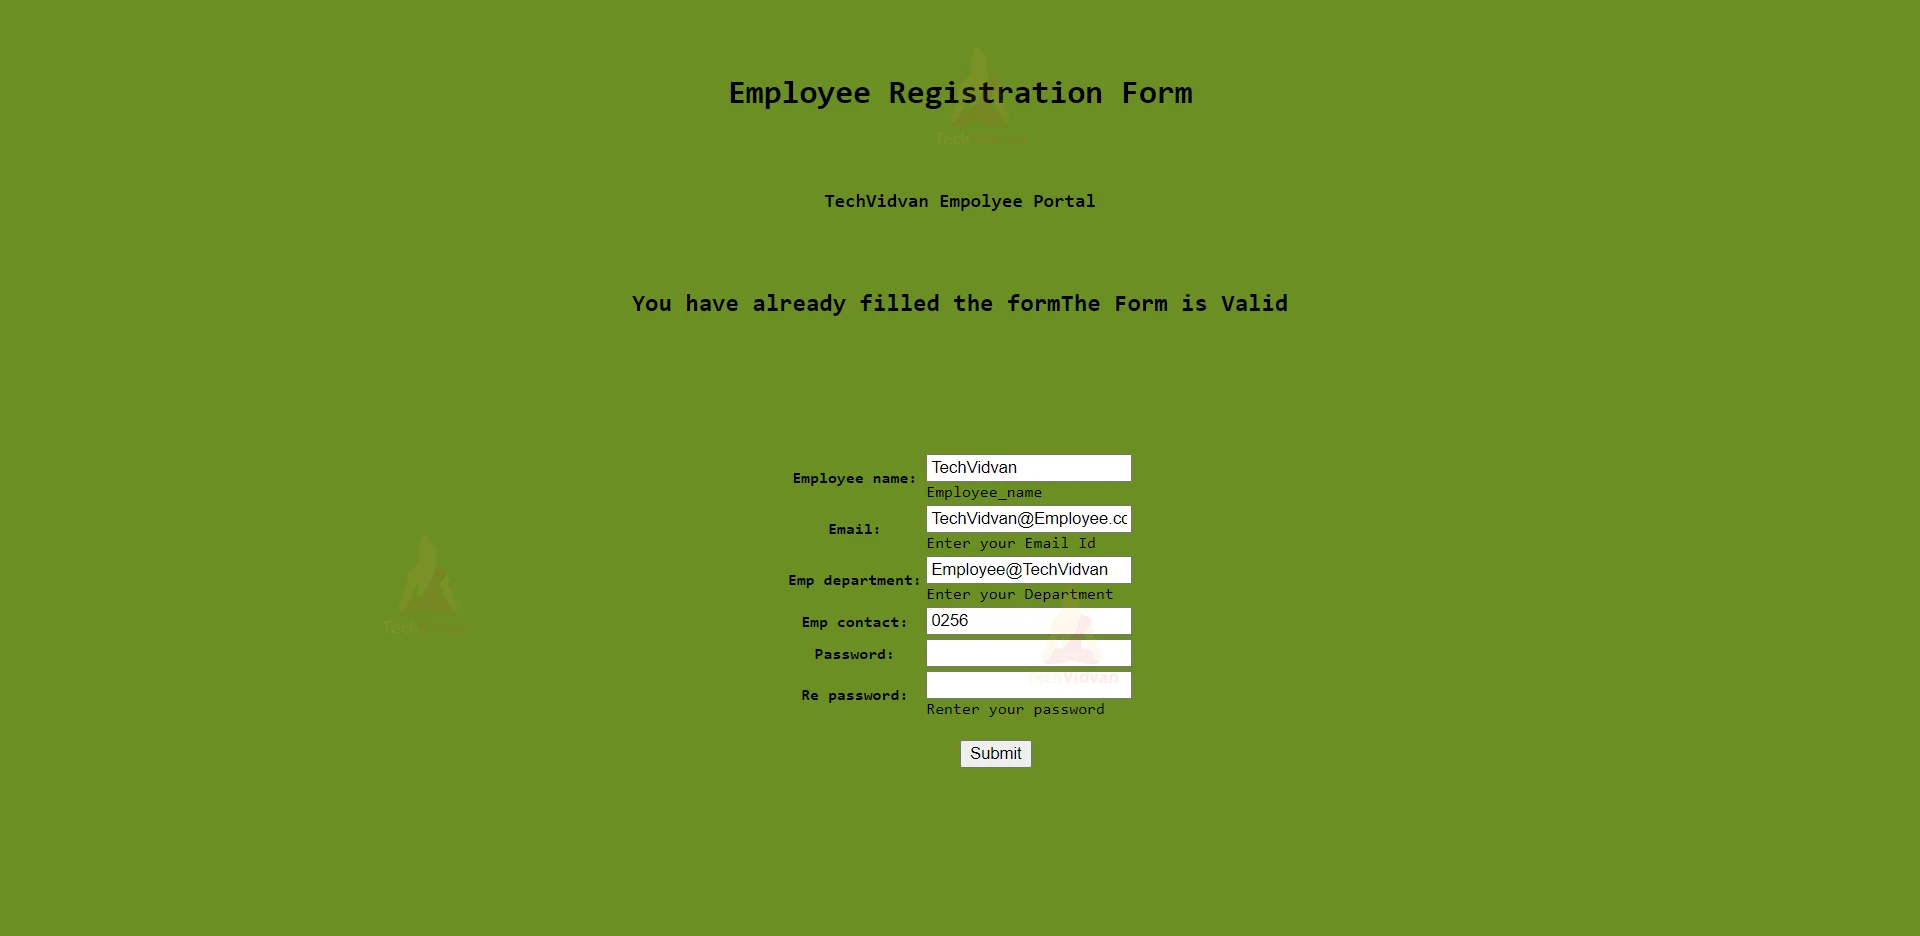
When we merely want our data to be python type, we commonly use this method. It verifies all of the information. In view functions, we use “is valid()” because it returns True and False values directly.
When your form data is valid, the output of the above code should look like this.
3. Using Validators:
We’ll now learn how to validate forms professionally. It’s simple to use and gives you a lot more control over fields.
Let’s make a few modifications to our forms. py file one more time:
from django import forms
from django.core import validators

class SignUp(forms.Form):

employee_name = forms.CharField(initial = 'Employee Name', )
email = forms.EmailField(help_text = 'Enter your Email id', required = False)
Emp_Department = forms.CharField(help_text = 'Enter your Department',required = False)
Emp_contact = forms.IntegerField(required = False, )
password = forms.CharField(widget = forms.PasswordInput, validators = [validators.MinLengthValidator(6)])
re_password = forms.CharField(widget = forms.PasswordInput, required = False)
A validator is similar to a callable function. We primarily use them to raise ValidationErrors when certain requirements aren’t met.
Validators are generic attributes that can be applied to any field. Each field has its own set of validators. We’re using MinLengthValidator and passing a value of 6 as an argument.
As a result, our password fields must be at least 6 characters long.

This error also has a user-friendly interface and provides thorough information.
4. Using the Custom Validators:
Let’s say you have some fields that need to be validated, but there isn’t a built-in validator for your use case. After that, you’ll be able to design your validators.
- Simply declare a function with the value of the parameter.
- Then, on the value, conduct your desired validations. When a value satisfies any of the conditions, a ValidationError occurs.
- Just as we did with validators, add that function name to the validators argument of the chosen field.
Edit your forms.py, for example:
from django import forms
from django.core import validators


def check_size(value):

if len(value) < 6:
raise forms.ValidationError("Increase the length of your password.")


class SignUp(forms.Form):

employee_name = forms.CharField(initial = 'Employee Name', )
email = forms.EmailField(help_text = 'Enter your Email id', required = False)
Emp_Department = forms.CharField(help_text = 'Enter your Department',required = False)
Emp_contact = forms.IntegerField(required = False, )
password = forms.CharField(widget = forms.PasswordInput, validators = [check_size, ])
re_password = forms.CharField(widget = forms.PasswordInput, required = False)
This will result in the following output:

Summary:
You may now easily create all of the django forms and collect various types of information from the user. On a website, forms are really useful. They also present a lot of ethical issues because they contain user data. As a result, always create forms in a secure manner that adheres to international standards.
We’ve learnt all the methods for validating our forms, although the final two are recommended.
Forms can do a lot more. Each task has its built-in form. You can now create a web application on your own. Work on it; it’ll be enjoyable.
If you have any questions about Django forms and form handling, please leave them in the comments area. We’ll be happy to assist you in any way we can.