Python Image Steganography Project
Image Steganography is hiding information within images such that it deceives the viewer as if there is no hidden information within the image. With the help of this, two people can communicate secretly. Let’s start developing the Python Image Steganography Project, which helps to encode and decode an image.
About Image Steganography Project
This is an interesting project in which we will be given two options: encode and decode. By clicking the encode button secret message, the name of the file should be entered and uploaded. After uploading the file the image will be encoded. By clicking the decode button upload the file that is to be decoded and after uploading the hidden text will be displayed on the screen.
Python Image Steganography Project
The objective of this Python project is to hide the message within the image and then decode the image. It uses Tkinter, Stegano modules. Functions in Python will also be used.
Python Image Steganography Project Prerequisites
Basic knowledge of Tkinter and Stegano is required. Knowledge of functions in Python is also a must for this project.
Download Image Steganography Project in Python
Please download python source code for image steganography project from the following link: Image Steganography Project Project Code
Project File Structure
Steps to follow to develop Image Steganography Project using Python:
1. Installation of Tkinter and Stegano modules
2. Importing modules
3. Initializing the screen
4. Function to decode the image
5. Function to encode the image
1. Installation of Tkinter and Stegano modules:
If these modules are not installed on your system, install these modules by running the following command on the command prompt or the terminal.
pip install tkinter
pip install stegano
2. Importing modules:
#importing modules for python Image Steganography project
from tkinter import *
from tkinter.filedialog import *
from PIL import ImageTk,Image
from stegano import exifHeader as stg
from tkinter import messagebox
Code Explanation:
a. Tkinter: It is the Graphical user interface package.
b. tkinter.filedialog : This module offers a set of classes and functions that can be used to work with files.
c. PIL: It helps to save many different formats of images.
d. Stegano: It’s the python steganography module.
e. Messagebox: It is used to display the message boxes.
3. Initializing the screen:
#Initializing the screen for python Image Steganography project
Screen = Tk()
Screen.title("Image Steganography by - TechVidvan ")
Screen.geometry("500x500+300+300")
Screen.config(bg= "blue")
#creating buttons
EncodeButton = Button(text="Encode",command=Encode)
EncodeButton.place(relx=0.3,rely=0.4)

DecodeButton = Button(text="Decode",command=Decode)
DecodeButton.place(relx=0.6,rely=0.4)
Code Explanation:
a. Tk(): Main window is created with the help of Tk().
b. title(): The title on the main window is displayed with the help of this function.
c. geometry(): The geometry of the screen(length,height,width) is set with the help of this function.
d. config(): It helps to access the attributes of the object after initialisation.
e. bg: It sets the background colour of the screen.
f. Button(): It creates the button on the screen.
g. place: It is used to set the position and size of a window.
h. relx: It is the fraction of the width of the parent widget.
i. Rely: It is the fraction of the height of the parent widget.
4.Function to decode the image:
# decoding the file for python Image Steganography project
def Decode():
    Screen.destroy()
    DecScreen = Tk()
    DecScreen.title("Decode- TechVidvan")
    DecScreen.geometry("500x500+300+300")
    DecScreen.config(bg="pink")
    def OpenFile():
        global FileOpen
        FileOpen=StringVar()
        FileOpen = askopenfilename(initialdir="/Desktop",title="Select the File",filetypes=(("only jpeg files","*jpg"),("all type of files","*.*")))

    def Decoder():
        Message=stg.reveal(FileOpen)
        label3 = Label(text=Message)
        label3.place(relx=0.3,rely=0.3)

    SelectButton = Button(text="Select the file",command=OpenFile)
    SelectButton.place(relx=0.1,rely=0.4)
    EncodeButton=Button(text="Decode",command=Decoder)
    EncodeButton.place(relx=0.4,rely=0.5)
Code Explanation:
Decode function is made to decode the image. Decscreen variable creates the decode window screen. OpenFile function is used for selecting files and Decoder function is used to decode the image and display the text on the screen.
a. destroy(): It is used to destroy the widget.
b. StringVar(): It holds a string.
c. askopenfilename(): The selected file name is returned by this function.
d. reveal(): It is used to reveal the hidden message.
f. Label(): It specifies the container box where the text can be placed.
5. Function to encode the image:
def Encode():
Screen.destroy()
EncScreen = Tk()
EncScreen.title("Encode- TechVidvan")
EncScreen.geometry("500x500+300+300")
EncScreen.config(bg="yellow")
label = Label(text="Confidential Message")
label.place(relx=0.1,rely=0.2)
entry=Entry()
entry.place(relx=0.5,rely=0.2)
label1 = Label(text="Name of the File")
label1.place(relx=0.1,rely=0.3)
SaveEntry = Entry()
SaveEntry.place(relx=0.5,rely=0.3)
def OpenFile():
global FileOpen
FileOpen=StringVar()
FileOpen = askopenfilename(initialdir = "/Desktop" , title = "SelectFile",filetypes=(("jpeg files","*jpg"),("all files","*.*")))
label2 = Label(text=FileOpen)
label2.place(relx=0.3,rely=0.3)
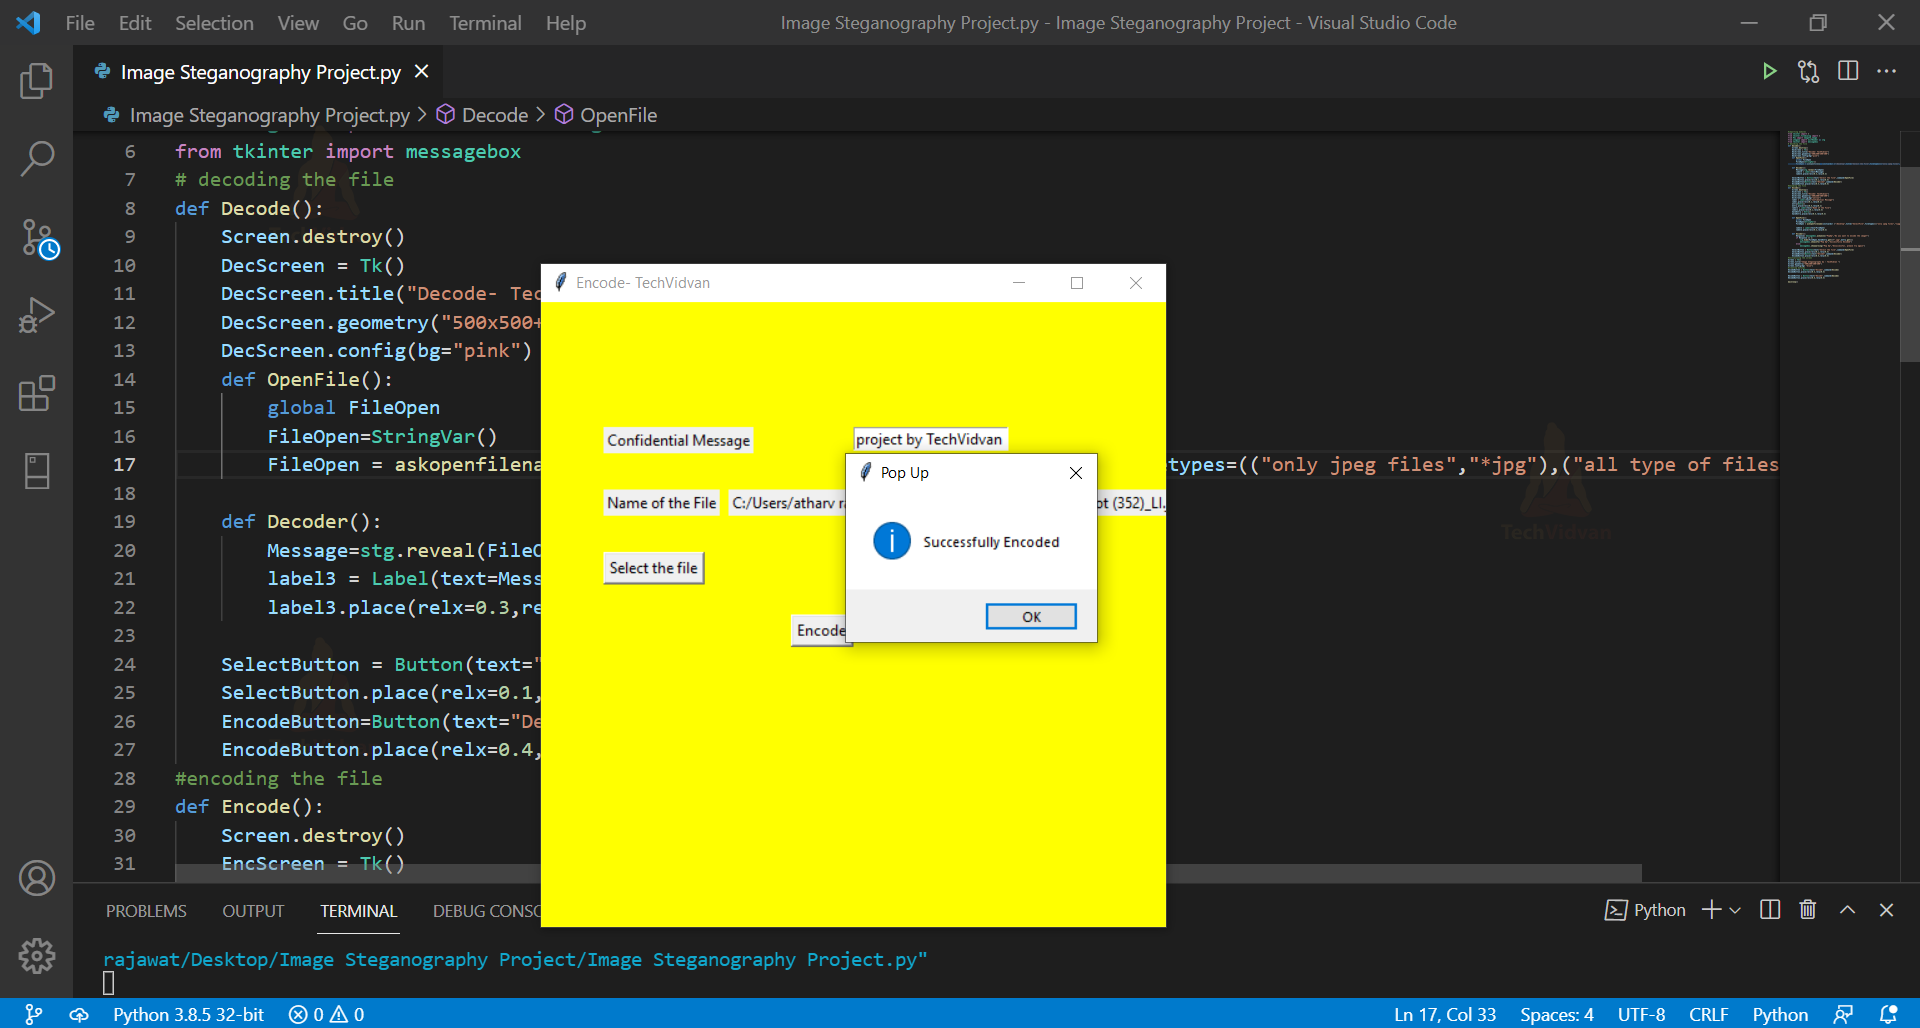
def Encoder():
Response= messagebox.askyesno("PopUp","Do you want to encode the image")
if Response == 1:
stg.hide(FileOpen,SaveEntry.get()+".jpg",entry.get())
messagebox.showinfo("Pop Up","Successfully Encoded the image")
else:
messagebox.showwarning("Pop Up","Unsuccessful,please try again")
SelectButton = Button(text="Select the file",command=OpenFile)
SelectButton.place(relx=0.1,rely=0.4)
EncodeButton=Button(text="Encode",command=Encoder)
EncodeButton.place(relx=0.4,rely=0.5)
mainloop()
Code Explanation:
Encode function takes the secret message that will be displayed after decoding the image and takes the image’s file name. Encscreen variable is the encoded window screen. OpenFile function is used to select the file that is to be encoded and Encoder function encodes the image.
a. Entry(): Single line text strings are accepted by this function from the user.
b. askyesno: It shows a dialog box for confirmation from the user.
c. showinfo(): It is used to display an appropriate message.
d. showwarning(): It displayed the warning message to the user.
e. mainloop(): In tkinter, the event loop is runned by this function.
Python Image Steganography Output
Summary
We have successfully completed the python Image Steganography project with the help of Tkinter and Stegano modules. We also learned how to create buttons. Various functions were also used while developing this project.