Python Voice Recorder Project with Source Code
Have you ever tried recording audio? There are times when we feel the need to record something important. Let us create a voice recorder project using Python which will help us record audio.
About Voice Recorder
A Voice Recorder is an application to record audio. The recording is saved and can be shared and seen afterward. We are going to have a start button and a stop button as well.
Python Voice Recorder Project Details
The objective of this project is to create a Voice Recorder which will have a start button to start recording and a stop button to stop the recording and save it as well. We will use two Modules to create this project –
- Tkinter Module
- PyAudio Module
Project Prerequisites
Install the following libraries as we are going to use them in our project. The commands to install are the following:
- Tkinter Module – pip install tk
- PyAudio Module – pip install pyaudio
Download Python Voice Recorder Project Code
Before proceeding ahead, please download the source code of python voice recorder project from the following link: Voice Recorder Project
Steps to Build the Voice Recorder Project
Let us look at the steps to build Python Voice Recorder Project –
1. Import the Required Libraries:
#importing libraries
import tkinter as tk
from tkinter import *
import recorder
- To start the project, we are going to import the libraries that we will be using to create the project.
- Tkinter Module – This module will help us create the GUI of our project. It has some inbuilt libraries that will help us create the GUI very easily.
- PyAudio Module – This module is useful to record the audio.
2. Creating GUI Window:
window = Tk()#creating window
window.geometry('700x300')#geometry of window
window.title('TechVidvan')#title to window
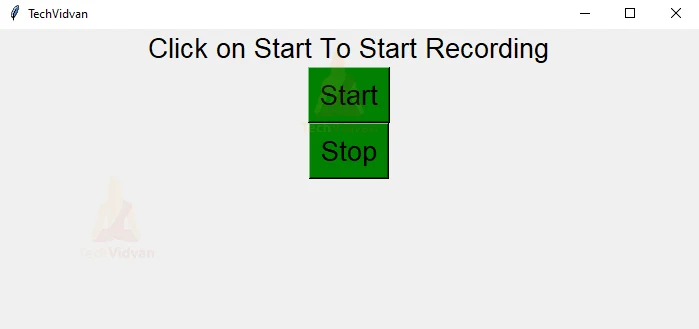
Label(window,text="Click on Start To Start Recording",font=('bold',20)).pack()#label
- In this segment, we are going to create a GUI window with all the necessary elements in the window.
- Tk() – This function helps us create a window. Here we have named our window – window. After creating the window we specify the geometry and title of the window using the geometry() and title() functions respectively.
- Label() – This function helps us create an area where we can display our specific text. Inside this Label() function, we can specify the font, size, colour etc of the label. We have created two such labels.
Button(window,text='Start',bg='green',command=start,font=('bold',20)).pack()#create a button
Button(window,text='Stop',bg='green',command=stop,font=('bold',20)).pack()#create a button
- Button() – This function will create a Button on the window. Just like in the label, in the button also we can specify the text on the button, colour, font, size etc. command=record initiates the record function. We have created two buttons – Start and Stop.
- pack() – To display every widget in the window, we have used the pack() function. Pack() function helps us display the widget without any x and y coordinates.
3. Start Button Functionality:
def start():
    global running

    if running is not None:
        print('already running')
    else:
        running = rec.open('untitled.flac', 'wb')
        running.start_recording()
    Label(window,text='Recording has started').pack()
- We have created a global variable running. This variable has already been set as None.
- When the start button is clicked, an untitled recording is opened using the open() method. After opening the audio file, we start recording using the start_recoding() method.
- As soon as the button is clicked, we get a Label displayed that the recording has started.
4. Stop Button Functionality:
def stop():
    global running

    if running is not None:
        running.stop_recording()
        running.close()
        running = None
        Label(window,text='Recording has stopped').pack()
    else:
        print('not running')
- As soon as the button is clicked, the recording is stopped using the stop_recording() and immediately after it the recording is closed and saved using the close() method.
- When the recording is stopped and saved, we get a Label displayed that the recording is stopped.
Hurray! We have completed the Voice Recorder Project. Let’s have a look at the output.
Python Voice Recorder Output
After you record audio, you can see that a recording appears.
Summary
In this article, we have learned how to use Python PyAudio Module and Tkinter Module and create the python voice recorder project. Now we can use this project to record audio and save it.